How To Stop Ants From Nesting Between Your Pavers In Oklahoma
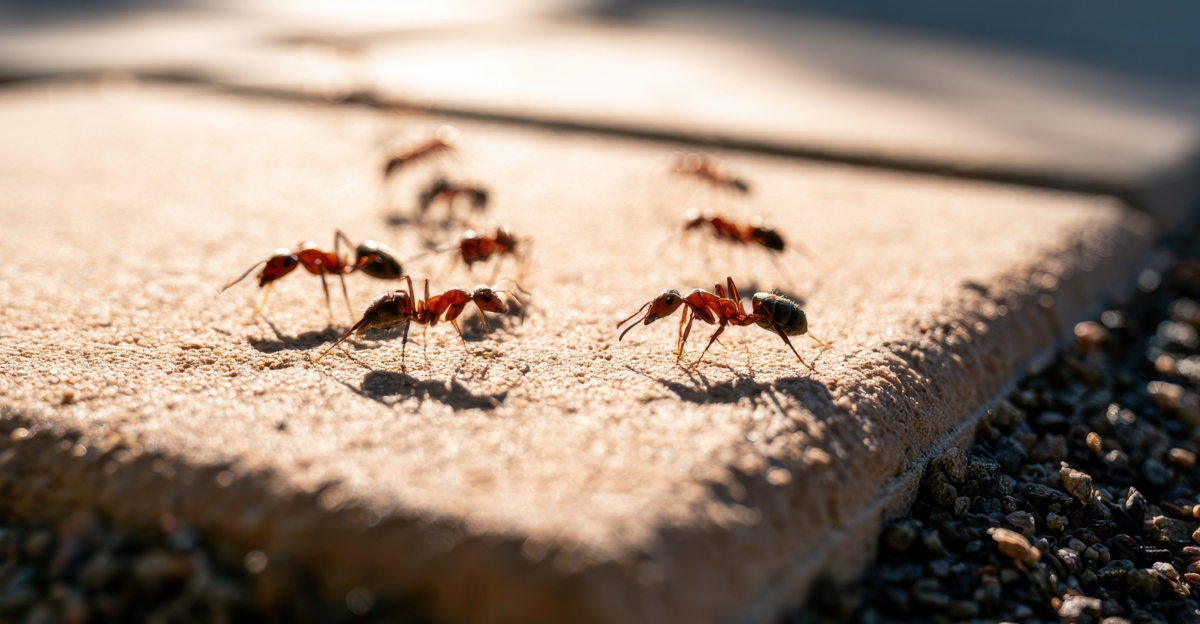
Tiny mounds appear overnight, and you already know exactly what caused them. Ants have quietly claimed the gaps between your pavers as prime real estate.
Oklahoma summer heat turns those narrow seams into perfect nesting chambers. Sand shifts, moisture pools, and colonies multiply fast underground. You notice the trails quickly, then spot the shifting grout.
Nobody wants invasive pests overtaking how your patio looks. Pavers loosen slowly as tunnels spread beneath the surface. Summers in Oklahoma only accelerate this steady underground takeover.
Chemical sprays offer quick fixes but rarely deliver lasting ones. Smarter methods exist, and they actually work fast. Your outdoor space deserves far better than shared ownership with insects.
Every single day without action lets your colony grow stronger. Patience alone will not solve this problem for you.
Waiting only gives ants even more time to dig deeper. What you do next determines whether they stay or go.
1. Fill Paver Joints With Polymeric Sand
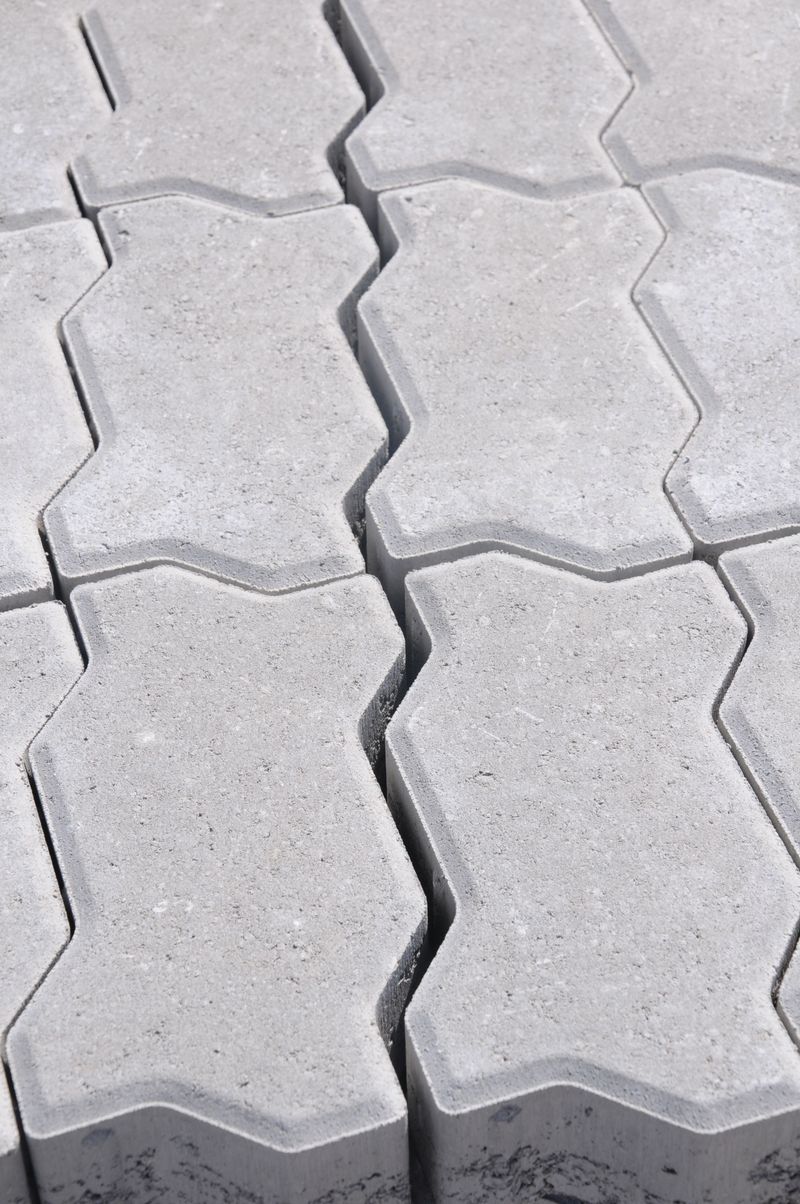
Ants quickly claim open paver joints as nesting sites. Polymeric sand is one of the best long-term fixes you can use to stop ants from nesting between your pavers in Oklahoma.
This special sand contains a binding agent that hardens when wet. Once it sets, it creates a firm, locked surface that ants cannot easily dig through or loosen.
Start by cleaning out the old sand and debris from your paver joints. Use a stiff broom or a leaf blower to clear everything out before you add anything new.
Pour the polymeric sand over your pavers and sweep it firmly into every crack and joint. Make sure you pack it in well so there are no air pockets left behind.
Once you have filled the joints, mist the surface lightly with water. The moisture activates the binding agent and starts the hardening process almost immediately.
Let it cure according to the product label (often 24 hours or more) before walking on it again.
Polymeric sand also resists weeds, erosion, and heavy rain, which makes it a smart all-around investment. You are solving the ant problem and improving your patio at the same time.
Check the joints every season for cracks or shifting, and reapply as needed. A little maintenance goes a long way toward keeping those sneaky six-legged neighbors out for good.
2. Sprinkle Diatomaceous Earth Along The Cracks
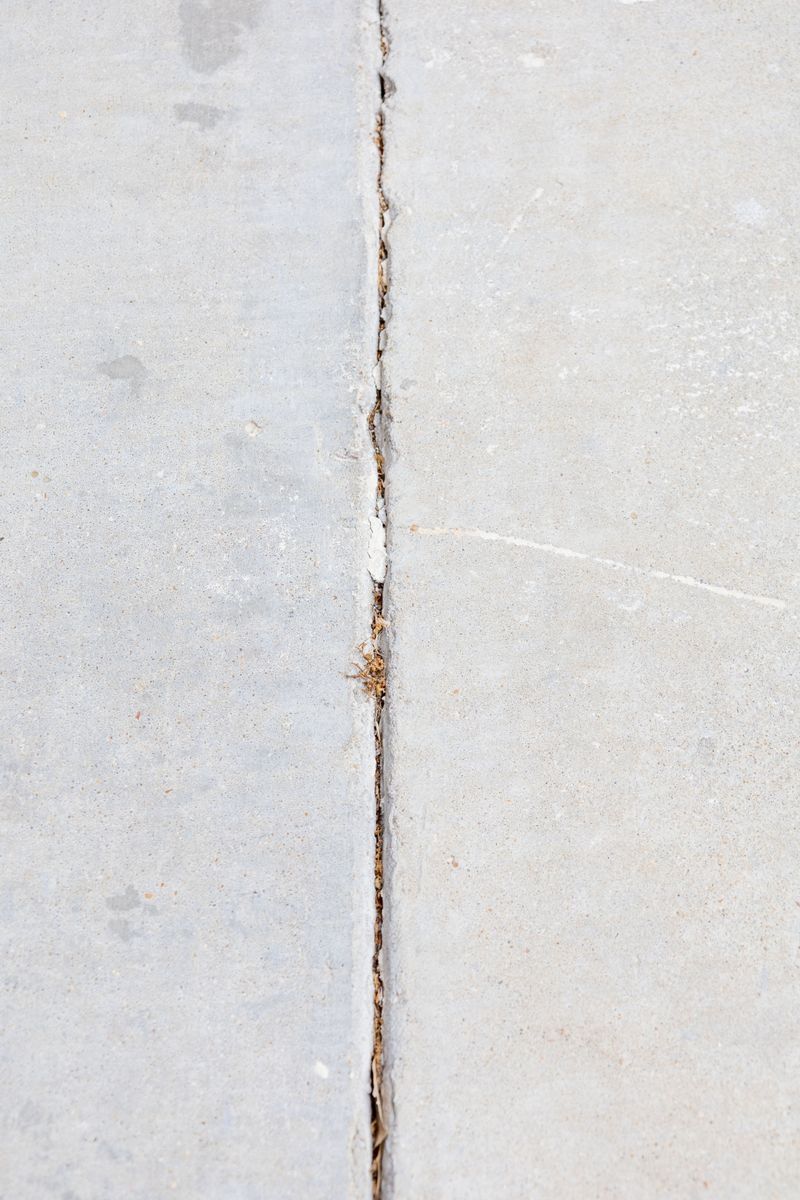
Picture a powder so fine it looks like flour but works like tiny glass shards against insects. Diatomaceous earth is an effective natural option against ants in your paver cracks.
This substance is made from fossilized algae, and it is generally safe around kids and pets when used correctly (though inhalation should still be avoided).
It works by cutting through the exoskeleton of insects, which causes them to dehydrate and perish over time.
Sprinkle it generously along every visible crack between your pavers. Focus on areas where you have spotted ant trails or small mounds of displaced dirt nearby.
You do not need a lot to get results. A thin, even layer is enough to create a barrier that ants will avoid crossing after a few encounters.
Your Oklahoma Garden Changes Every Week. Your Plan Should Too.
Gardening in Oklahoma changes quickly throughout the season. Every Friday you’ll receive a simple weekly plan showing exactly what to plant, prune, fertilize, harvest, and protect so you never miss the right timing.
One important thing to remember is that diatomaceous earth loses its power when it gets wet. After rain, you will need to reapply it once the surface dries out completely.
Always use food-grade diatomaceous earth, not the kind sold for swimming pool filters. The pool version has been chemically treated and is not safe for outdoor garden use.
Wear a dust mask when applying it, since the fine particles can irritate your nose and throat if inhaled. A simple squeeze bottle or a small garden duster makes application much easier and more precise.
This method is especially effective in dry Oklahoma summers when moisture is low and the powder stays active longer between applications.
3. Pour Boiling Water Directly Onto Nests
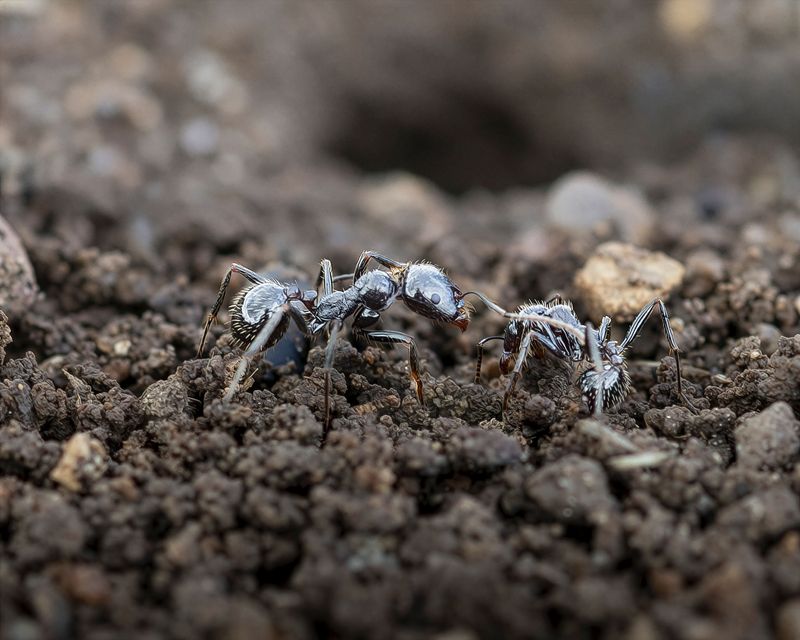
Sometimes the most satisfying solution is also the simplest one. Boiling water is a fast, chemical-free way to destroy ant nests hiding deep between your pavers.
When you spot a nest entrance, boil a full kettle of water and bring it outside right away. Speed matters here because the water needs to be as hot as possible when it hits the colony below.
Pour it slowly and steadily directly into the nest opening. The heat penetrates down through the soil, reaching chambers that sprays and powders often cannot touch.
You may need to repeat this process two or three times over several days. Ant colonies are resilient, and some deeper tunnels can survive a single treatment if the water cools too quickly on the way down.
Be careful around the pavers themselves, since extreme heat can cause some materials to crack or shift over time. Concrete and brick pavers generally hold up fine, but natural stone may be more sensitive to sudden temperature changes.
This approach works best in the early morning when ants are most active near the surface. Catching them close to the entrance means the boiling water reaches more of the colony at once.
This method has long been used by gardeners as a chemical-free option. No chemicals, no equipment, and no waiting around for a product to ship.
Pair this tactic with a longer-term fix like polymeric sand to stop new colonies from nesting in the same spot again soon.
4. Spray Vinegar Solution Around Paver Edges
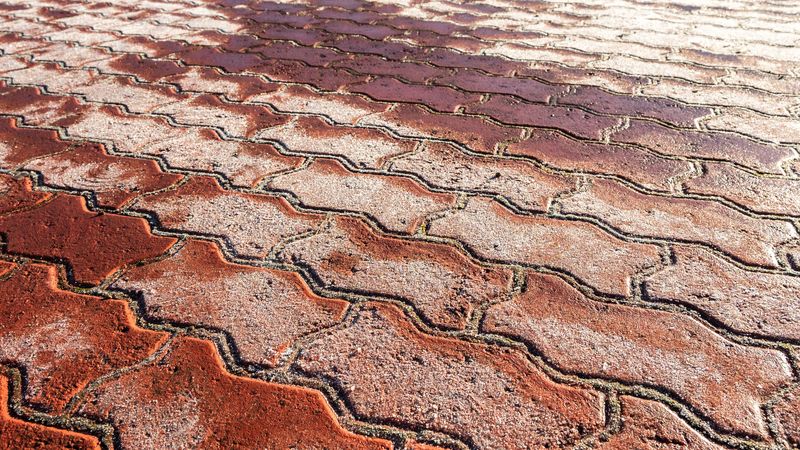
Ants navigate using scent trails, and vinegar is like a traffic jam for their communication system. Spraying a vinegar solution around your paver edges scrambles those trails and disrupts the colony’s ability to navigate.
Mix equal parts white vinegar and water in a spray bottle and shake it well. You do not need anything fancy here, just the plain white vinegar from your grocery store shelf.
Spray it generously along all paver edges, joints, and any spots where you have noticed ant activity. Pay special attention to corners and shaded areas where ants tend to gather in higher numbers.
The smell may be strong at first, but it fades quickly once it dries. Ants, however, can still detect the disrupted chemical signals long after the human nose stops noticing anything.
Reapply the solution every few days, especially after rain washes it away. Consistency is what makes this method effective, so do not skip applications during the first two weeks.
You can also add a few drops of dish soap to the mixture to help it cling to surfaces longer. The soap breaks the surface tension and lets the solution soak into cracks more deeply.
Some people add peppermint or tea tree oil to the mix for extra repelling power. These essential oils are natural ant deterrents that complement the vinegar beautifully without adding any harsh chemicals.
This approach is a great choice for households with small children or curious pets who spend time on the patio regularly.
5. Apply Ant Bait Near Visible Trails
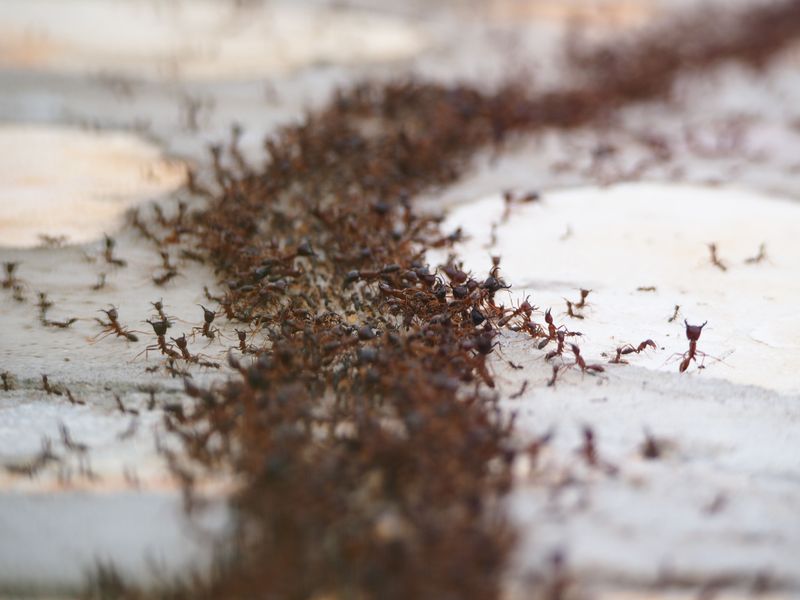
Ant bait is sneaky in the best possible way. Instead of just chasing ants away from the surface, it lets them carry the problem-solver straight back to the queen herself.
Worker ants pick up the bait and bring it deep into the colony as food. Once the queen and the other colony members consume it, the entire nest starts to collapse from the inside out.
Place bait stations directly next to active ant trails between your pavers. The closer you get to where they are already traveling, the faster they will find and start carrying the bait back home.
Do not disturb the trails after placing the bait. It is tempting to spray or sweep the area, but disrupting the trail will confuse the ants and slow down the whole process significantly.
Choose a bait product that lists the active ingredient clearly on the label. Slow-acting baits work best because fast-acting ones can remove workers before they have time to bring enough back to the nest.
Check the bait stations every couple of days and refill them if the product has been consumed. High ant activity means the bait is working exactly the way it should.
Keep bait away from areas where rain will wash it away quickly. Covered spots near paver edges or under stepping stones tend to work better in Oklahoma’s unpredictable spring weather.
Patience is the secret ingredient with this method, and the results are worth every bit of waiting time you put in.
6. Seal Gaps With Silicone Caulk For Long-Lasting Protection
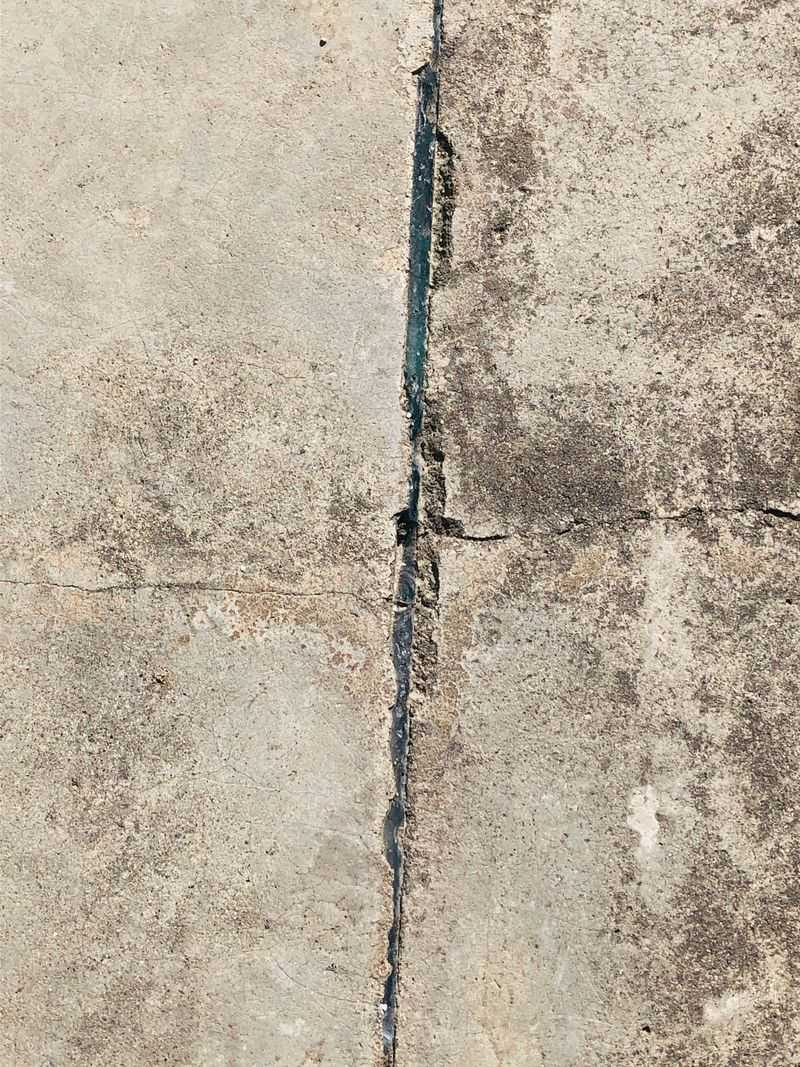
When you want a solution that sticks around for years, silicone caulk is your best friend. Sealing paver gaps with caulk creates a long-lasting barrier that resists ant tunneling.
This method works especially well in areas where you have already dealt with repeated ant colonies season after season. If a particular spot keeps getting colonized, caulk shuts that door for good.
Start by cleaning the gaps thoroughly before applying anything. Use a stiff wire brush or a screwdriver tip to remove old sand, debris, and any loose material hiding inside the joints.
Choose an exterior-grade silicone caulk that is rated for outdoor use and temperature changes. Oklahoma summers bring intense heat, and a low-quality product will crack and shrink within a single season.
Cut the caulk tube tip at a slight angle for better control during application. Load it into a caulk gun and apply a steady, even bead directly into each joint you want to seal.
Smooth the bead with a wet finger or a caulk tool right after application. This presses the material firmly into the gap and creates a cleaner, more professional-looking finish on your patio surface.
Let the caulk cure per the manufacturer’s instructions before exposing the area to water or heavy foot traffic. Read the product label, since cure times vary between brands and formulas.
Sealed pavers also look cleaner and hold up better against weeds, and this upgrade improves your patio’s durability.
7. Remove Food Debris That Attracts Them
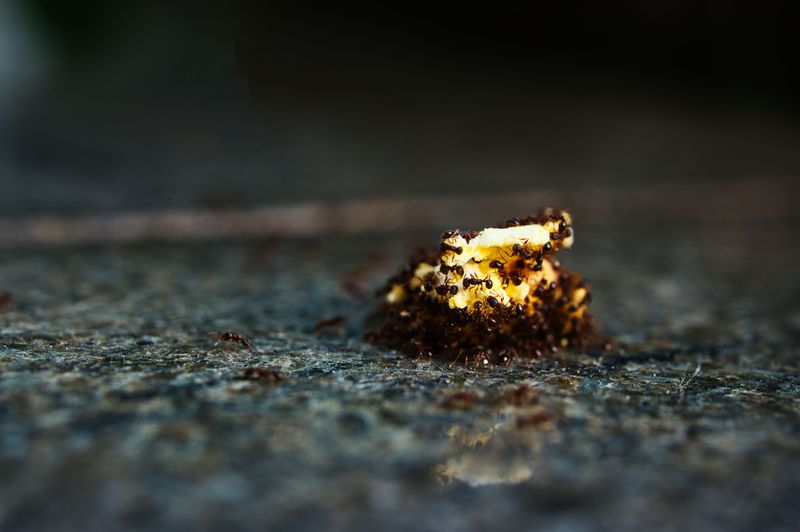
Ants do not show up randomly. They show up because something on your patio is inviting them to the party, and usually that something is food.
Crumbs from outdoor cookouts, sticky soda spills, and grease drips from the grill are all irresistible to foraging ants. Once a scout finds a food source, it lays a scent trail that brings the whole crew running within hours.
Make it a habit to sweep your paver patio after every outdoor meal or gathering. A quick sweep after outdoor meals can prevent a larger ant problem from developing.
Pay close attention to spots under patio furniture, near grills, and around fire pits. These areas collect crumbs and grease that are easy to miss but incredibly attractive to hungry scouts.
Rinse the patio surface with a garden hose after sweeping to wash away any sticky residue. Sugar and syrup residue in particular can linger on paver surfaces and keep attracting new waves of insects.
Store outdoor trash cans away from the paved area when possible. Even a tightly sealed bin can still emit enough food odor to draw ants toward your paver zone over time.
Pet food is another major culprit that many homeowners overlook completely. If you feed your dog or cat outside, pick up the bowl immediately after they finish eating every single time.
Keeping your patio clean is not just about looks, it is one of the most effective ant prevention habits you can maintain.
8. Trim Nearby Plants Touching The Pavers
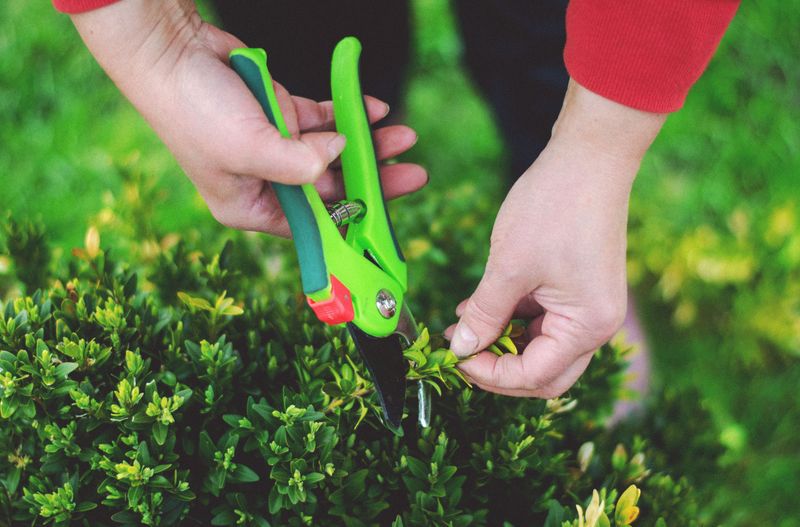
Plants that drape over your pavers are basically ant highways leading straight to their favorite nesting spots. Trimming them back is one of the most overlooked ways to stop ants from nesting between your pavers in Oklahoma.
Overgrown ground cover, low-hanging shrubs, and creeping vines create shaded, moist corridors that ants love to travel through. When those plants touch your pavers, the insects move seamlessly from garden to hardscape without any obstacles.
Grab a pair of pruning shears and cut back any plant that is making direct contact with your paver surface. Aim to maintain at least a two to three inch gap between plant edges and the paver border.
This also improves airflow around the pavers, helping the surface dry faster after rain. Drier conditions are far less appealing to ants that prefer cool, moist nesting environments underground.
Check your garden edges every few weeks during the growing season, since plant growth in Oklahoma tends to accelerate in warmer months. What looks neatly trimmed one week can be creeping back over the pavers the next.
Root systems from nearby plants can also push up under pavers and create new gaps over time. Keeping aggressive ground cover trimmed reduces the chance of roots disturbing the stability of your paver layout.
Add a thin border of gravel or mulch between your garden beds and the paver edge as an extra buffer. This creates a drier, less sheltered transition zone that ants find far less welcoming than soft, moist soil.
Consistent trimming, paired with the other methods in this guide, gives you a thorough, layered approach that keeps your Oklahoma patio ant-free all season long.