How To Transplant An Established Hydrangea In Oregon Without Losing Next Year’s Blooms
A twenty-year-old bigleaf hydrangea sits right where a new driveway apron is about to go in, its owner standing on wet Willamette Valley grass wondering if this move means saying goodbye to next summer’s flowers entirely.
That worry is fair. Some hydrangeas set their flower buds months before they ever open, tucked away quietly on stems that look completely ordinary until summer arrives.
One careless dig, one snapped stem in the wrong spot, and those buds are simply gone before anyone even notices the loss.
Most gardeners just aim for gentle and hope for the best. Gentle alone rarely saves a bloom season on a plant this particular about timing.
Oregon’s long, mild dormant season actually works in your favor here, offering a real window to move a mature shrub without losing most of its roots.
Seven steps stand between a hydrangea that sulks for a year and one that barely notices it moved at all.
1. Wait Until The Plant Is Dormant
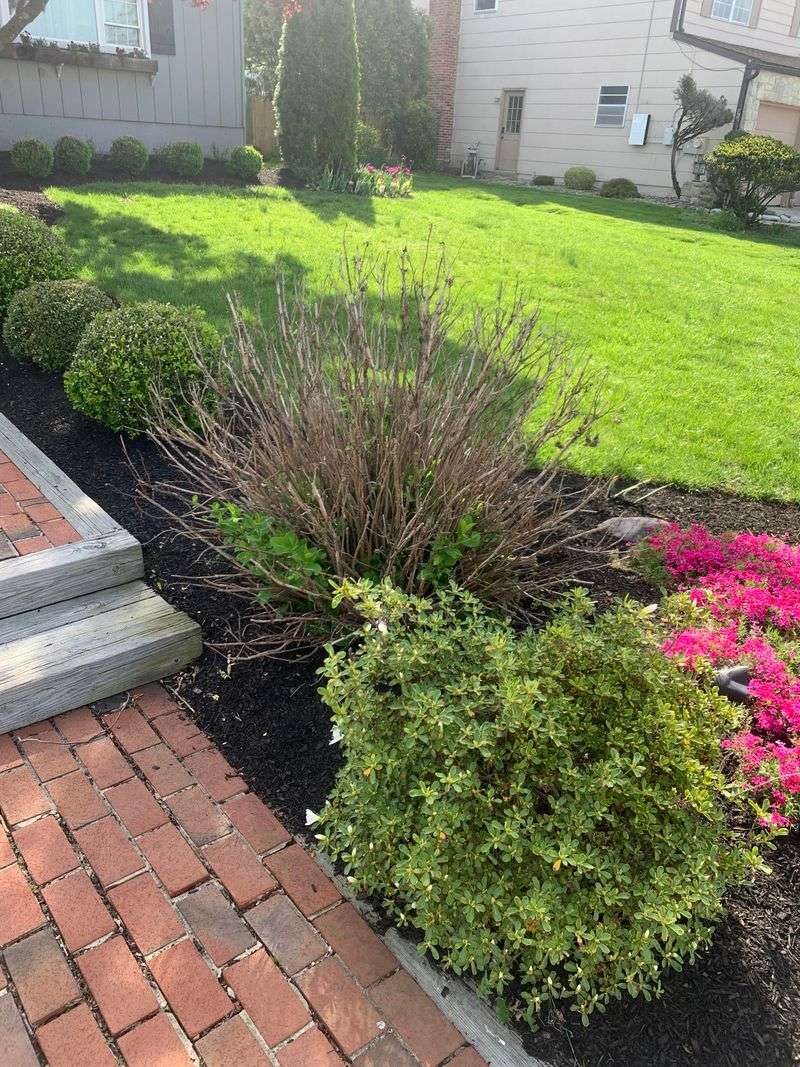
Dormancy is the quiet season when a hydrangea stops pushing new leaves and shifts its energy underground instead, storing up rather than spending it above ground.
Oregon State University Extension recommends moving established shrubs while they are dormant, generally late fall through late winter west of the Cascades, since the plant is not busy trying to support a full canopy of thirsty leaves at the same time.
Cutting roots on a shrub still in full leaf is basically a recipe for wilting, scorched foliage, and a long, ugly recovery stretching out for months. Do that same job in January instead, and the plant barely registers what happened.
Western Oregon usually offers a wide window here, roughly November into early March, thanks to those mild, rainy winters rolling through.
East of the Cascades, where winters run colder and drier, many gardeners prefer very early spring so roots are not sitting in frozen ground for weeks on end.
Watch the plant itself rather than the calendar on the wall. Leaves have dropped, stems feel firm to the touch, and buds sit tight and fully closed. That combination is your real signal.
Avoid days when soil is frozen solid, or so saturated it turns to soup under your boots the moment you step on it.
Working sopping clay destroys soil structure completely and leaves the new planting hole slick and airless once everything settles.
One more perk of the dormant move involves timing with rainfall itself.
Oregon’s winter rain waters the plant for you through those critical settling-in weeks, meaning less hauling of hoses and far less risk the root ball dries out before new feeder roots even get started.
2. Dig A Wide, Generous Root Ball
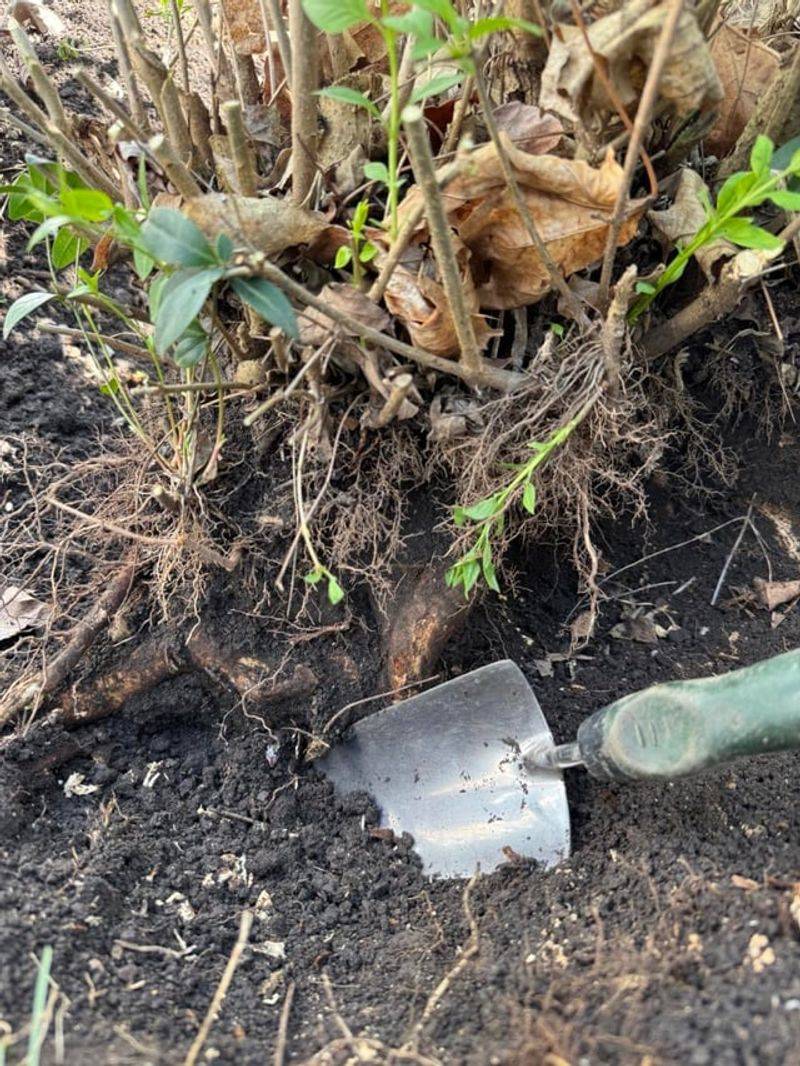
Here is the rule that saves more transplants than any other single tip out there: go wider than you think you actually need to.
Extension guidance for moving established shrubs generally suggests sizing the root ball by the diameter of the stems or the overall spread of the plant, commonly around 10 to 12 inches of root ball width for every inch of trunk or main stem caliper.
Your Oregon Garden Changes Every Week. Your Plan Should Too.
Gardening in Oregon changes quickly throughout the season. Every Friday you’ll receive a simple weekly plan showing exactly what to plant, prune, fertilize, harvest, and protect so you never miss the right timing.
For multi-stemmed shrubs like hydrangeas, roughly a third of the branch spread works as a practical starting point instead.
A three-foot-wide hydrangea deserves a root ball landing close to eighteen to twenty-four inches across, no smaller than that if you can manage it.
Mark your circle first with a stick or a line of flour, then cut straight down with a sharp spade rather than levering and tearing at the soil. Clean cuts heal properly. Ragged rips just invite rot in through the wound.
Depth matters less here than width does. Most hydrangea feeder roots live in the top twelve to fifteen inches of soil, so a shallow, wide pancake of soil actually holds more useful roots than a narrow, deep plug would.
Slide a tarp or an old sheet underneath the ball and drag it to the new hole instead of lifting by the stems directly. Snapped stems on an old-wood bloomer mean fewer flowers next summer, plain and simple math.
If the shrub feels too heavy for one person alone, get help before you start. Dropping a root ball shatters it completely, and a shattered ball loses exactly the fine roots that actually absorb water for the plant.
3. Time The Move Around Bud Type
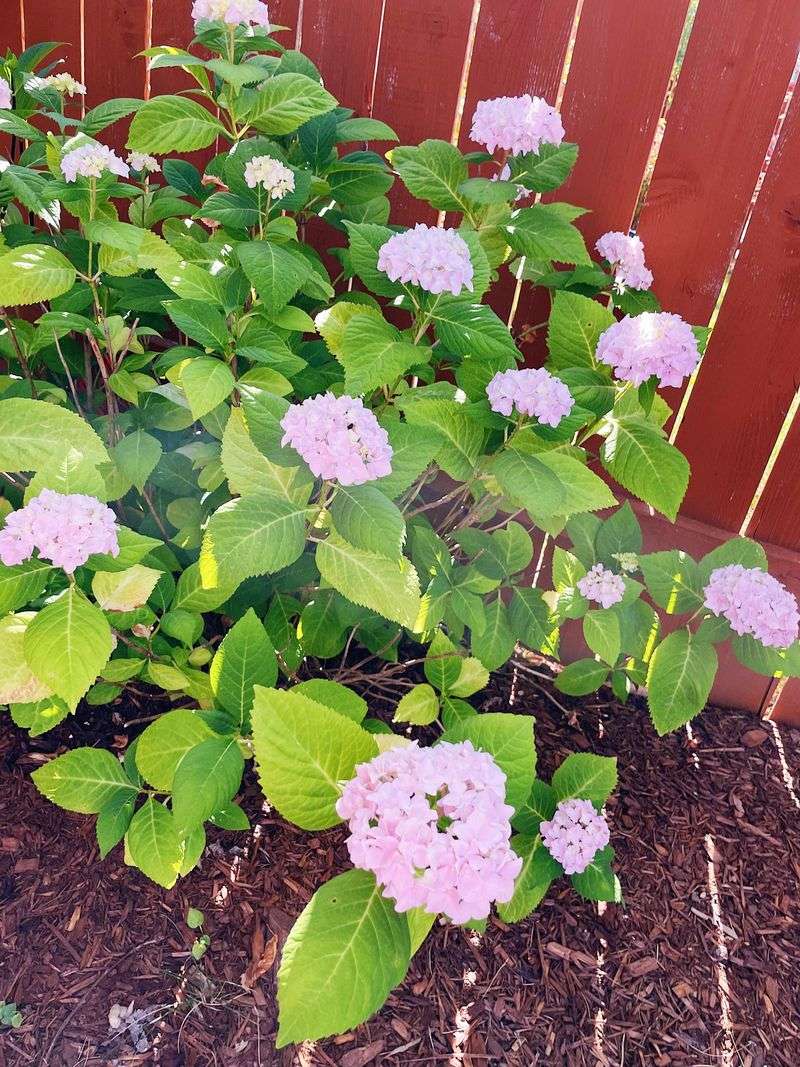
Not all hydrangeas play by the same rules here, and this is exactly where a lot of gardeners get burned without realizing it.
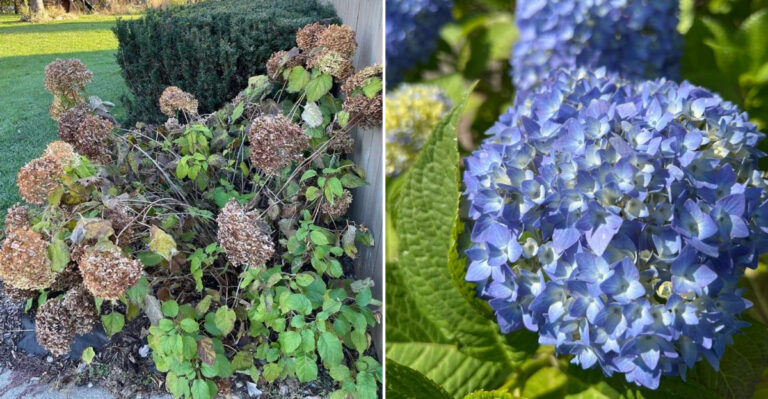
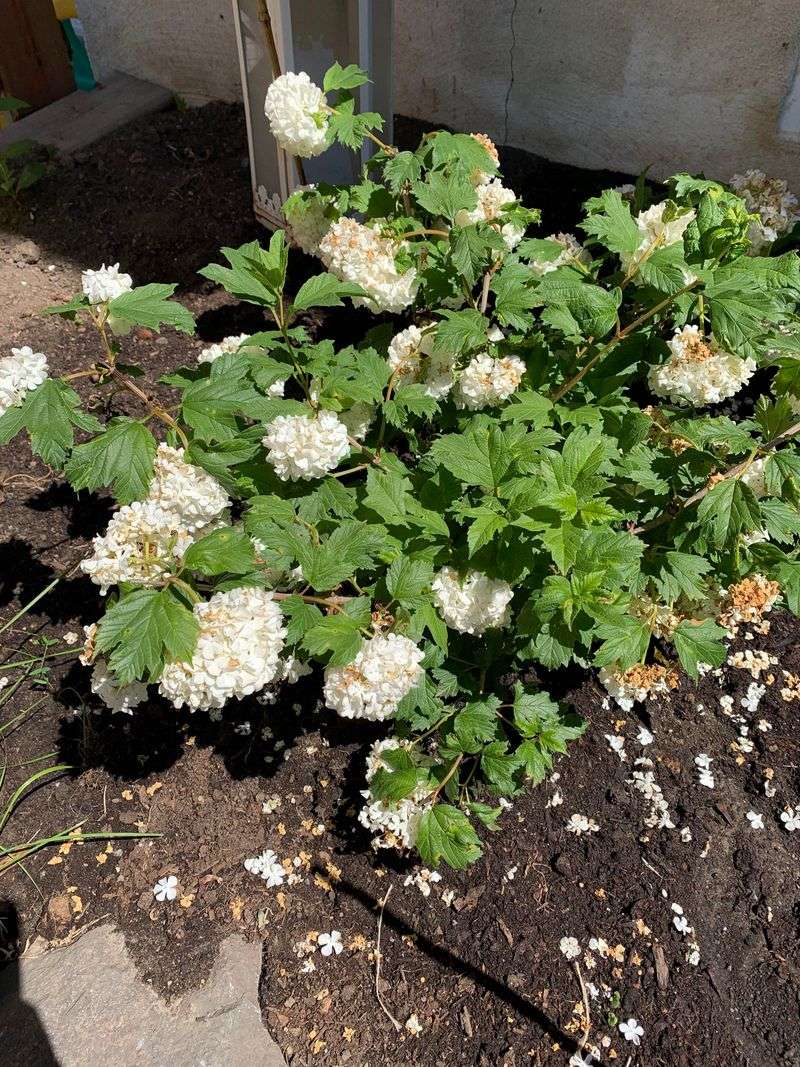
Bigleaf and oakleaf hydrangeas bloom mostly on old wood, meaning the flower buds for next summer already formed on this year’s stems back in late summer or early fall, long before winter even arrived.
Panicle and smooth hydrangeas work differently, blooming on new wood instead, building their flower buds fresh on growth they push out each spring.
What does that mean for your move specifically? If you are relocating an old-wood type, every stem you break and every bud you damage is a flower you simply will not see next year.
Handle those stems like glass, keep the root ball as complete as you possibly can, and move during deep dormancy rather than anywhere close to bud break.
Old-wood bloomers also tend to sulk longer after root disturbance, sometimes skipping or shortening an entire season of flowering as a result.
New-wood types are far more forgiving by comparison. Even if a panicle hydrangea loses some stem length during the move, it can regrow and still flower that same summer, which makes the whole timing window considerably more relaxed.
Reblooming bigleaf varieties sit somewhere in between these two extremes, since they flower on both old and new wood, giving you a partial safety net either way.
Not sure which kind you actually own? Check when it flowered last year and what the bloom shape looked like.
Rounded mopheads in early summer point toward old wood. Cone-shaped blooms in midsummer point toward new wood instead.
4. Water Deeply Before And After Moving
Soak the plant two or three days before you dig into the ground. Moist soil clings together far better, meaning the root ball holds its shape instead of crumbling into loose dirt the moment you lift it out.
A well-hydrated plant handles root loss considerably better than a thirsty one ever could, going into the stress of a move already better equipped.
In an Oregon winter, the ground is often wet enough already on its own, so feel free to skip this step if the soil already feels squishy underfoot before you even start.
After replanting, water slowly and thoroughly to settle soil around the roots and push out any trapped air pockets. Air pockets dry roots out fast and cause bare, thinning stems to show up later come spring.
A slow trickle from a hose running for fifteen or twenty minutes usually beats one quick blast every single time.
Hydrangeas are famously thirsty plants, and the botanical name Hydrangea actually comes from Greek roots referring to water directly. Might as well live up to the name here.
Through the following summer, that transplanted shrub cannot reach as far for moisture as it once could before the move, so plan on deep weekly watering during Oregon’s dry stretch running from July through September.
Mulch with two to three inches of bark or compost, keeping it pulled back a couple inches from the stems themselves. Mulch holds moisture in, moderates soil temperature, and cuts down on weed competition nearby.
Skip fertilizer entirely at planting time. Feeding a stressed root system just encourages leafy growth the roots cannot actually support yet, and next year’s flowers benefit far more from steady water than from any nitrogen push right now.
5. Cut Back Top Growth To Ease Stress
Think of it like balancing a checkbook. When you dig, the shrub loses roots, and those same roots were feeding a certain amount of stem and leaf up above.
Trimming some top growth brings both sides closer to even, so the remaining roots are not overwhelmed once spring arrives.
Moderation is really the key word throughout this whole step. A light reduction of roughly a quarter of the growth is usually plenty, and hacking the plant down to the ground is rarely necessary at all.
For old-wood bloomers specifically, be surgical about it. Every stem you remove takes flower buds along with it, so limit your cuts to dry, damaged, crossing, or spindly stems rather than shortening otherwise healthy ones.
Those fat, plump buds sitting near the stem tips are next summer’s mopheads, and they simply do not grow back once removed.
Panicle and smooth hydrangeas give you considerably more freedom here. Since they flower on new spring growth anyway, a harder cutback will not cost you the show at all, and many gardeners routinely shorten them regardless.
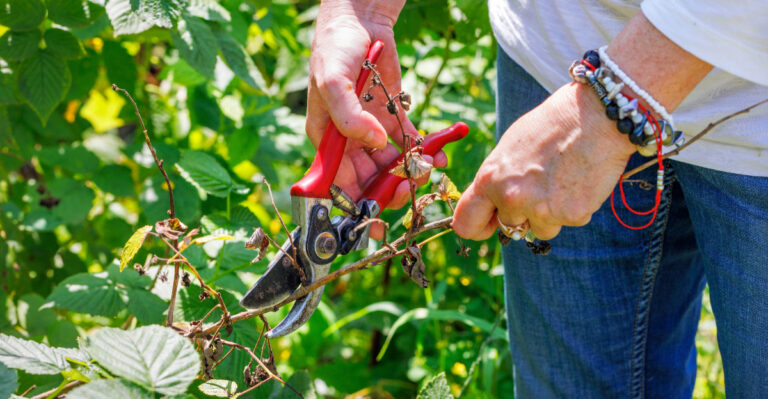
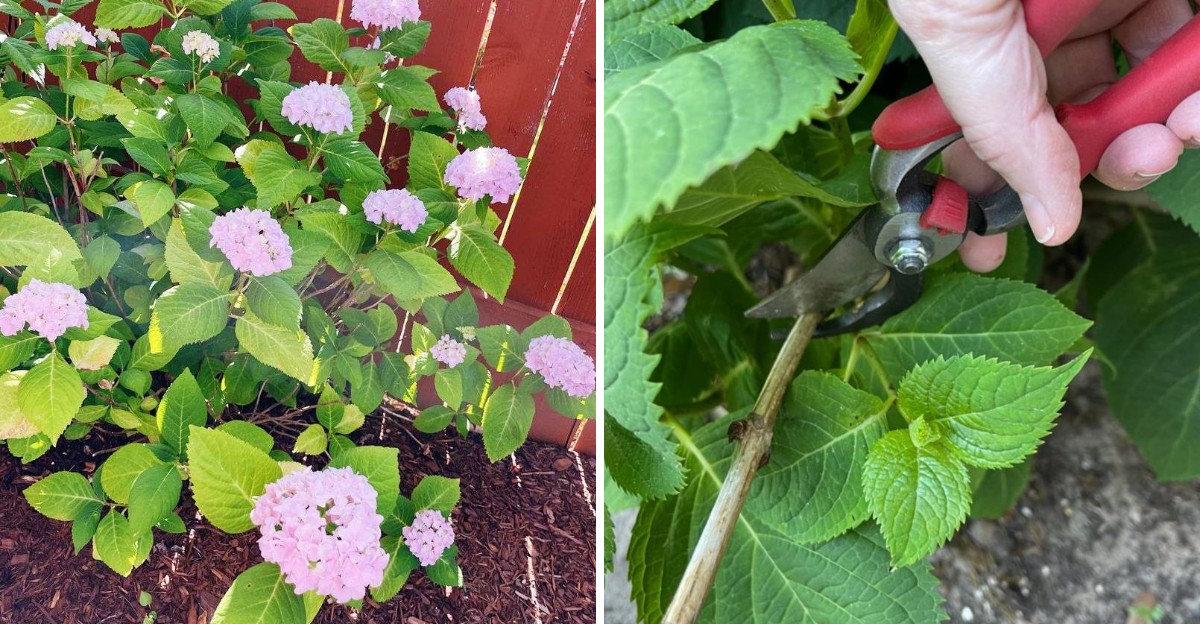
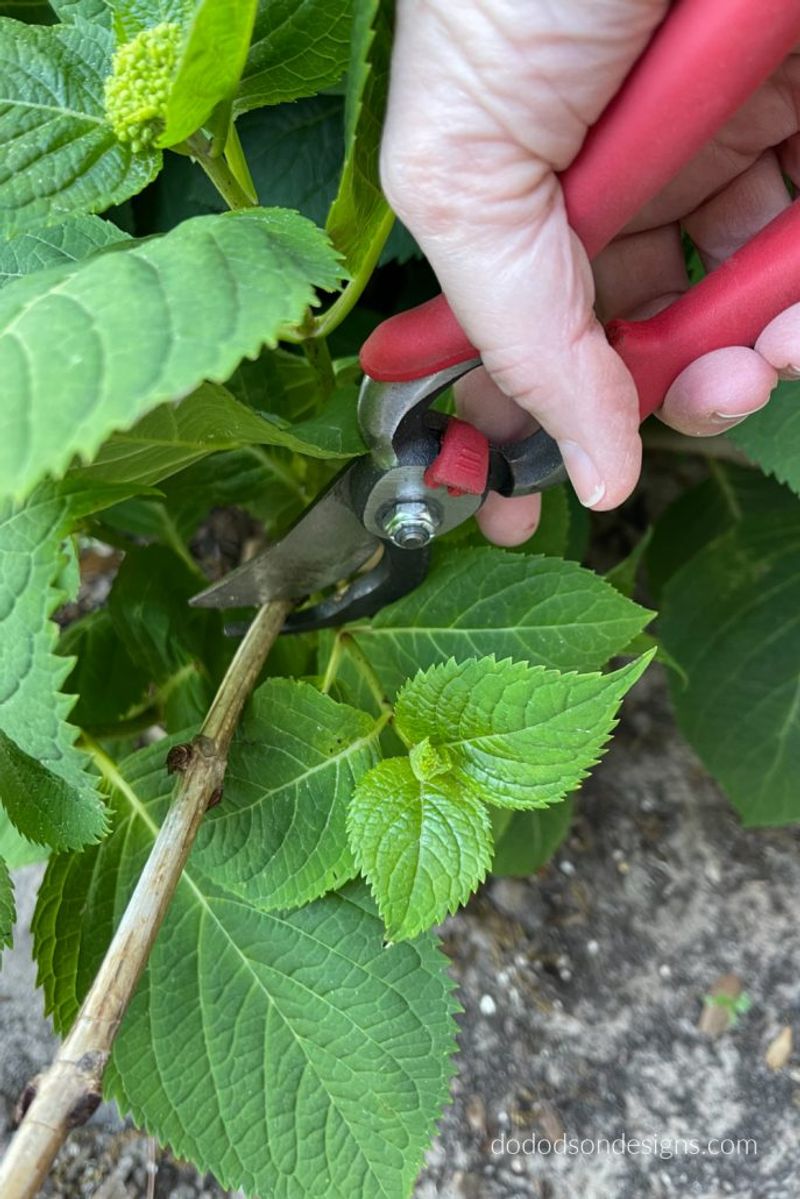
Use clean, sharp bypass pruners and cut just above a healthy pair of buds each time. Ragged cuts and dull blades crush stem tissue and open doors for disease in Oregon’s damp climate specifically.
Resist the urge to strip broken pieces off by hand. Snapping stems tears bark down the cane and creates wounds that take far longer to seal properly than a neat cut ever would.
6. Choose A Similar Light Exposure
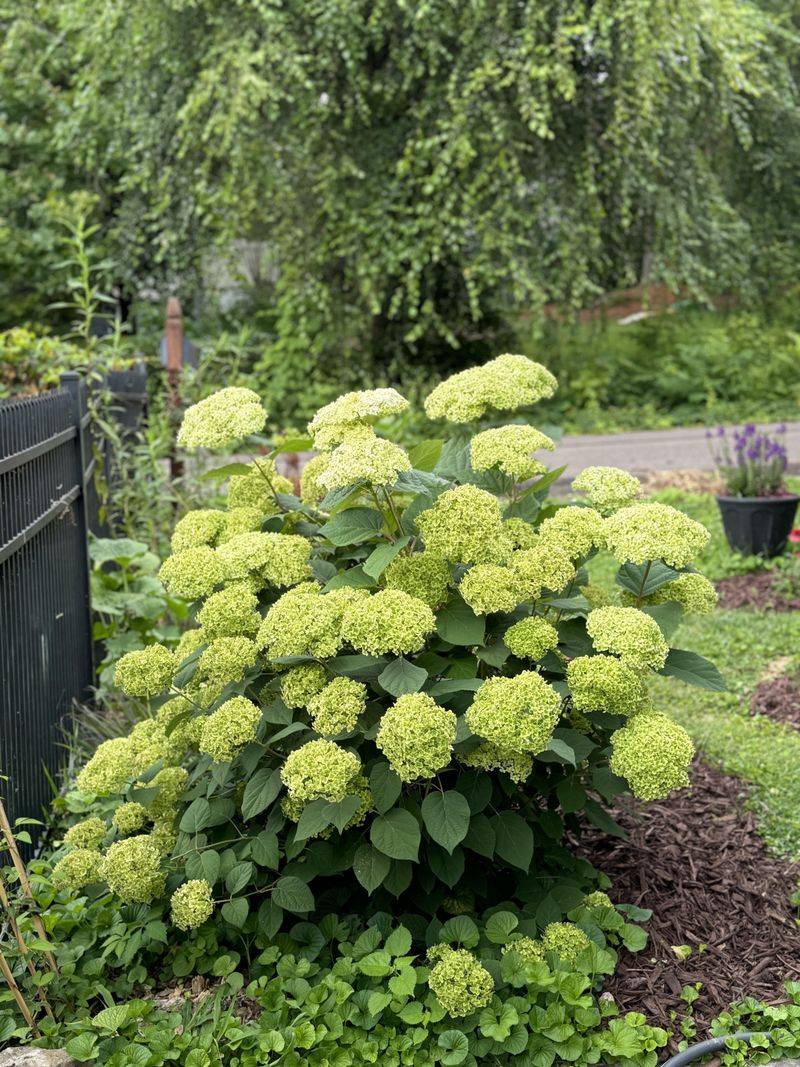
A shrub that spent fifteen years growing in filtered morning light has built itself around those exact conditions, right down to the thickness of its individual leaves. Drop it into blazing all-day sun instead, and it will spend the next two summers scorching, wilting, and generally arguing with you rather than flowering properly.
Matching light conditions is one of the easiest ways to shorten the whole recovery period after a move like this.
Before you dig, spend a full day watching the new spot carefully. Note exactly when sun hits it and when shade finally arrives to cool things down.
In most of western Oregon, bigleaf and oakleaf hydrangeas thrive with morning sun paired with afternoon shade, which protects them from the hot, dry late afternoons of July and August.
Panicle hydrangeas tolerate considerably more sun by comparison, and often flower even better with it.
Check the soil too, since site conditions tend to travel together as a package. Hydrangeas want soil that holds moisture but still drains properly, and a soggy low spot in clay can rot roots badly over a rainy Oregon winter.
Dig the new hole about as deep as the root ball and two to three times as wide around it, then set the plant so the top of the root ball sits level with or slightly above the surrounding grade. Planted too deep is a common and quietly damaging mistake.
Give it real room to grow into. Guess the mature width, then add a foot on top of that estimate, since crowding leads to poor airflow and powdery mildew during our damp Oregon springs.
7. Patience Rewards You Next Season
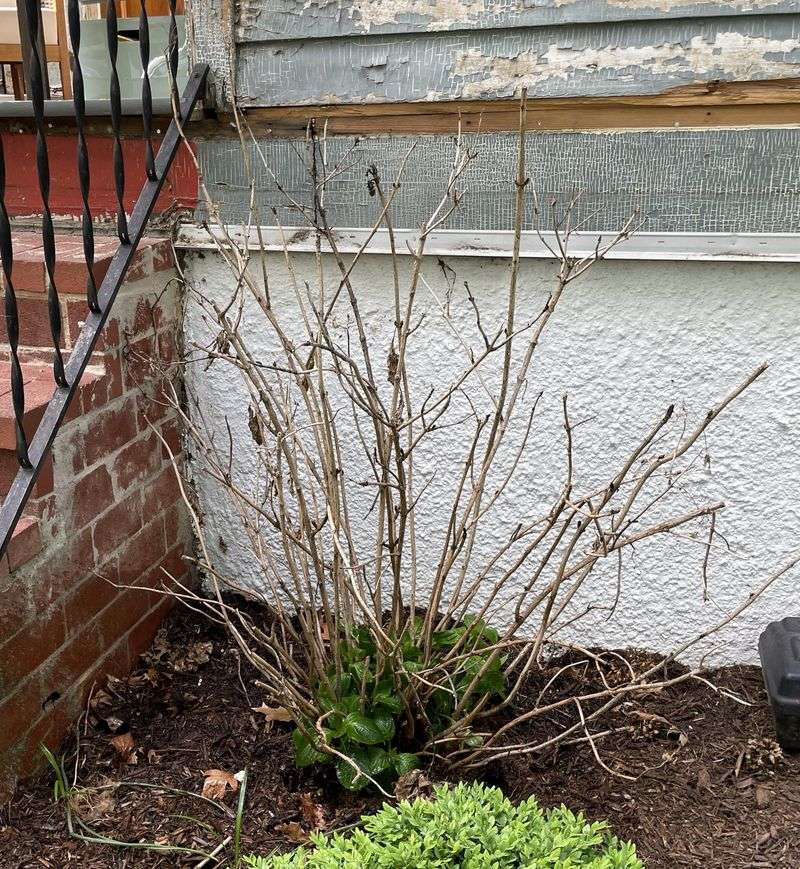
Gardeners have a saying about new plantings worth remembering here: first year sleep, second year creep, third year leap.
A transplanted hydrangea often follows that exact same script, even when you do everything else completely right.
Expect the first summer after the move to look fairly modest overall.
Smaller leaves, fewer flowers, maybe some midday droop on hot afternoons before the plant perks back up again once evening arrives.
None of that signals failure on your part. It simply means the shrub is spending its energy rebuilding the fine feeder roots you had to cut away, and that underground work never really shows above the mulch line where you can see it.
Old-wood bloomers are the most likely to take a flowering break, especially if stems got snapped during the move or the shrub was lifted a bit too close to bud break. Give a bigleaf or oakleaf a full season before judging the results one way or another.
New-wood types often flower right on schedule the very next summer instead, since they build their buds completely from scratch each spring regardless of what happened the year before.
Your job during this waiting period stays simple and admittedly a little boring. Water deeply during dry spells, keep mulch topped up as needed, pull weeds regularly, and skip heavy fertilizing altogether.
By the second summer, most well-moved hydrangeas are back to putting on a proper show for the neighborhood. A little patience costs nothing at all, and a mature shrub saved from the compost pile is genuinely worth the wait.