Missouri Gardeners Who Plant Garlic In Fall Harvest It In Summer
Garlic is one of the few crops that rewards patience more than effort. Missouri gardeners who plant garlic in fall harvest it in summer, and after that first homegrown bulb, store-bought garlic never quite cuts it.
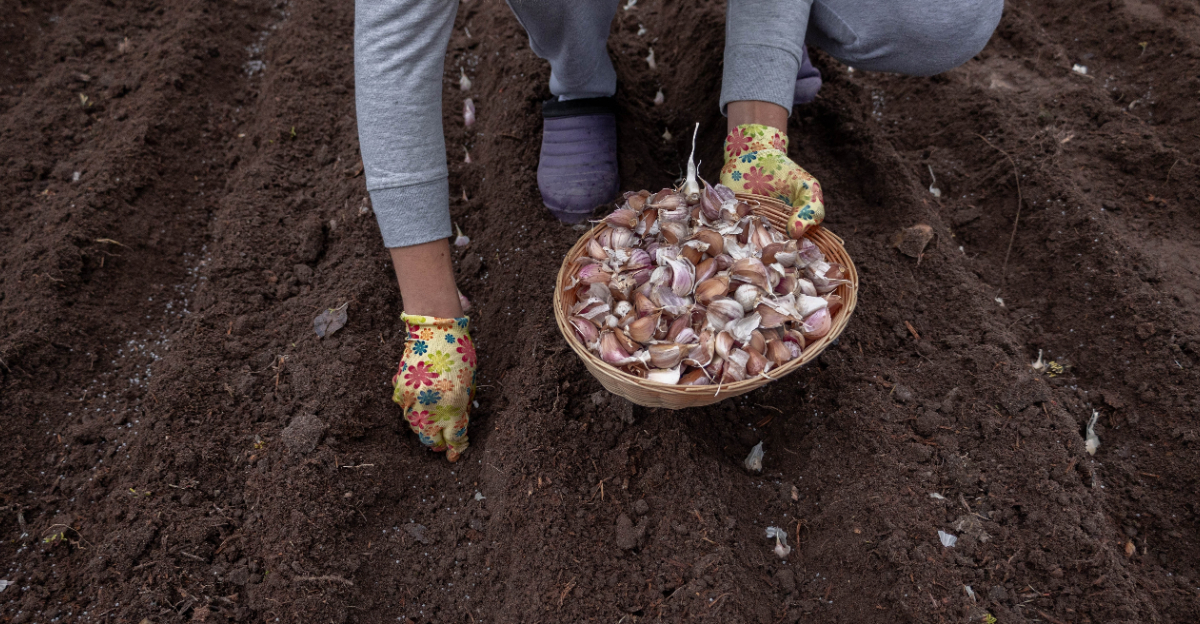
The process is almost counterintuitive: you push cloves into cooling soil in October and let winter do the work for you.
Come spring, green shoots appear without any help from you, and by late June or July, the plants start sending a signal that harvest is close.
Knowing how to read that signal is the difference between pulling garlic too early and getting bulbs worth bragging about. Here is what Missouri gardeners know that most beginners do not.
Why Fall Is the Right Time To Plant Garlic In Missouri

Garlic needs cold to grow right. That might sound strange, but the chilly Missouri winter is actually doing the heavy lifting for you.
When you plant cloves in October or early November, the soil is still warm enough for roots to establish. Those roots anchor the plant before the ground freezes solid.
Come spring, the clove has already done its underground work. It shoots up fast the moment temperatures climb, giving it a huge head start over spring-planted crops.
Missouri sits in a sweet spot for hardneck garlic varieties. Winters are cold enough to trigger proper bulb development, and most hardneck varieties handle the state’s temperature swings without trouble.
Timing your planting for two to four weeks before the first hard frost is the golden rule. Most central Missouri gardeners aim for late October, while northern growers often go a bit earlier.
Planting too late means shallow roots and weak bulbs come summer. Planting too early can push up green shoots that get nipped by frost.
Fall planting is not just tradition. It is the biological key that unlocks a strong, flavorful harvest months down the road.
The Best Garlic Varieties For Missouri Gardens

Not all garlic is created equal, and Missouri gardens have their favorites. Hardneck varieties rule here because they handle cold winters and reward growers with bold, complex flavor.
Music is one of the most popular choices among Midwestern growers. It produces large cloves, stores well, and has a rich, slightly spicy taste that holds up beautifully in cooking.
German Red is another hardneck standout. It thrives in cold climates, offers a deep garlicky punch, and tends to produce four to six fat cloves per bulb.
Chesnok Red is worth mentioning for anyone who loves roasting garlic. Its flavor mellows and sweetens under heat, making it one of the more versatile hardneck options in the kitchen.
Softneck varieties like Inchelium Red also perform well in southern parts of the state. Softnecks store longer and work great for braiding, which is a bonus if you want a kitchen display.
Buying seed garlic from a reputable supplier beats using grocery store bulbs every time. Store-bought garlic is often treated to slow sprouting, which hurts performance in the ground.
Your Missouri Garden Changes Every Week. Your Plan Should Too.
Gardening in Missouri changes quickly throughout the season. Every Friday you’ll receive a simple weekly plan showing exactly what to plant, prune, fertilize, harvest, and protect so you never miss the right timing.
Choosing the right variety sets the tone for everything that follows in your Missouri garlic garden.
Soil Preparation Before Planting

Garlic is picky about one thing above almost everything else: drainage. Sitting in waterlogged soil turns cloves soft and rotten before they ever get a chance to grow.
Start by loosening your bed to about twelve inches deep. Garlic roots go down, and compacted soil is their worst enemy.
Work in two to three inches of compost before planting. Compost feeds the soil slowly over winter, setting up a nutrient-rich environment for spring growth.
A soil pH between 6.0 and 7.0 is the sweet spot for garlic. If your Missouri soil tends to be acidic, a light dusting of garden lime a few weeks before planting can help balance things out.
Raised beds are a fantastic option if your yard has heavy clay soil, which is common across much of the state. They drain faster and warm up quicker in spring.
Avoid adding high-nitrogen fertilizers at planting time. Heavy nitrogen at planting time tends to push leafy top growth rather than supporting bulb development later in the season.
Good soil preparation is the foundation of a strong harvest, and it takes maybe an hour to do it right.
Planting Depth And Spacing For Garlic Cloves

Getting planting depth right is one of those small details that makes a surprisingly big difference. Too shallow and cloves heave out of the ground during freeze-thaw cycles.
Plant each clove two inches deep, measured from the tip of the clove to the soil surface. That depth keeps them insulated without burying them so far they struggle to emerge in spring.
Space cloves six inches apart within rows, and leave about twelve inches between rows. That spacing gives each bulb enough room to swell to its full size without crowding its neighbors.
Always plant cloves with the pointed end facing up. The flat, basal end is where the roots grow down, and the tip is where the green shoot will push toward the surface.
Bigger cloves produce bigger bulbs, so save your largest cloves for planting and use the smaller ones for cooking. It sounds simple, but this trick noticeably improves harvest size.
Break bulbs apart no more than a day or two before planting. Leaving cloves exposed to air too long dries them out and reduces their vigor in the ground.
Proper spacing and depth give your garlic the best possible start before winter even arrives.
Protecting Garlic Through Missouri Winters

Once your cloves are in the ground, mulch is your best friend. A thick layer of straw or shredded leaves acts like a blanket, keeping soil temperatures stable through the coldest months.
Apply three to four inches of mulch over your garlic bed after planting. Straw is the classic choice because it insulates well and does not compact into a soggy mat.
Mulch also prevents the freeze-thaw cycles that can push shallow-planted cloves right out of the ground. That heaving effect is one of the most common reasons garlic fails over winter.
Pull the mulch back slightly in early spring when green shoots start poking through. You want those shoots to find sunlight without fighting through a thick layer of material.
Missouri winters can swing wildly, from mild stretches to brutal cold snaps. A good mulch layer handles both scenarios without any extra effort from you.
Check your bed after any unusually hard freeze to make sure mulch has not blown away. A quick inspection takes two minutes and can save an entire crop.
Protecting your planting through winter is the bridge between a fall investment and a summer reward worth bragging about.
Signs Your Garlic Is Ready To Harvest In Summer

Knowing when to pull your garlic is as important as knowing how to grow it. Harvest too early and the bulbs are small. Wait too long and the wrappers split, which cuts storage life dramatically.
Watch the leaves, because they tell the whole story. Each green leaf above ground roughly corresponds to a layer of papery wrapper around the developing bulb below.
The rule of thumb is to harvest when half the leaves have turned brown and half are still green. That balance means the bulb is fully sized but the wrappers are still intact.
In Missouri, this typically happens between late June and mid-July. Exact timing shifts depending on the variety and how warm the spring was.
Do a test dig before pulling everything. Gently loosen one bulb with a garden fork and check its size and wrapper condition without yanking the whole crop at once.
Stop watering about two weeks before you expect to harvest. Dry soil helps the outer wrappers firm up, which improves both appearance and shelf life after curing.
Missouri gardeners who plant garlic in fall harvest it in summer with a satisfaction that never gets old, no matter how many seasons they have done it.
Curing And Storing Your Garlic After Harvest

Pulling garlic from the ground is thrilling, but curing it properly is what turns a fresh bulb into something that lasts for months. Skip this step and you will be disappointed by mold and soft spots within weeks.
Brush off loose dirt gently and leave the roots and stalks attached. Do not wash the bulbs with water, as moisture is the enemy during the curing process.
Hang bulbs in loose bundles or lay them in a single layer on a screen or rack. Good airflow is the key, so choose a shaded, dry spot with decent ventilation.
A garage, covered porch, or airy shed works perfectly for most Missouri growers. Avoid direct sunlight, which can bleach the wrappers and create hot spots that encourage mold.
Curing takes three to six weeks depending on humidity and airflow. You will know bulbs are ready when the outer wrappers are papery and the stems feel completely dry.
Once cured, trim the roots and cut the stalks down to about an inch. Store bulbs in a mesh bag, basket, or open container in a cool, dry place away from direct light.
Properly cured hardneck garlic can last four to six months in the right conditions, while softneck varieties may keep even longer.