Orchid Leaves Drooping: 9 Common Causes And Solutions
Orchids are the favorite houseplants of many growers, but they require a little bit of care in order to be at their best.
They are spiteful plants, and if they don’t get enough water, light, or nutrients, they will stop flowering, their stems will turn yellow, and you may even notice orchid leaves drooping!
Thankfully, these issues can be easily prevented – all you’ve got to do is take good care of your plant.
Although, this is sometimes easier said than done!
Therefore, we decided to look at the most common causes of an orchid with limp leaves and some ways to fix them.
Of course, preventing the issue from happening in the first place is the best idea and can save you a lot of work, so we’ll talk about how to do that as well.
Finally, we’ll propose some things you can do about drooping leaves to nurture your plant back to health.
Let’s get started!
Reasons For Orchid Leaves Drooping And How To Fix It
There are many reasons an orchid might have wilting leaves, including inadequate watering, feeding, and lighting, as well as temperature fluctuations, humidity issues, etc.
We can avoid watering problems by using proper containers. For instance, boat orchids are on the list of the best plants for self-watering planters and can be grown in these pots with some adjustments.
Inadequate lighting can be easily fixed by using grow lights or moving the plant to a more shaded spot.
We’ll now discuss the nine common causes of drooping leaves of your orchid, their common symptoms, and some ways of treating them.
1. Overwatering And Root Rot
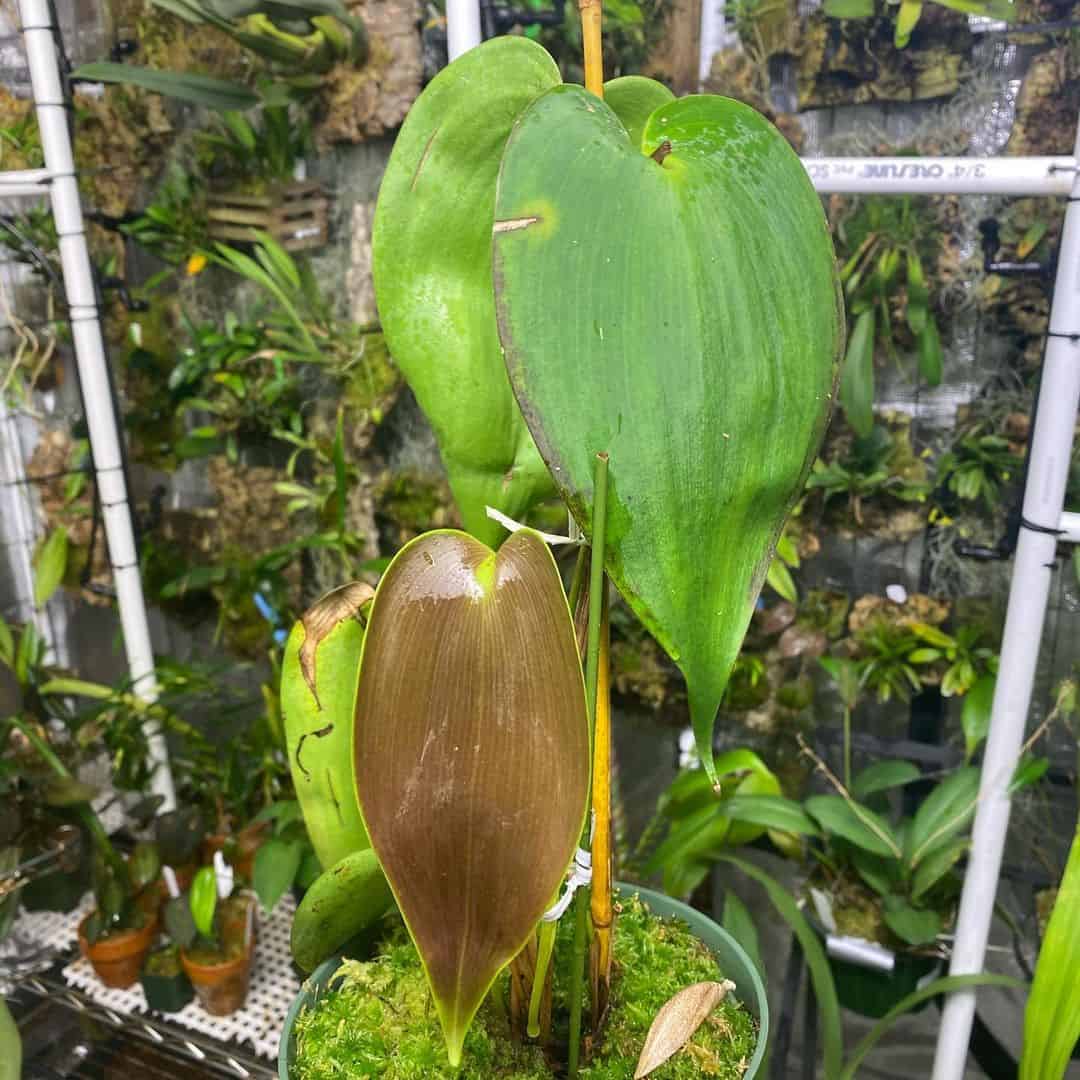
Photo from: @green_mage_orchids
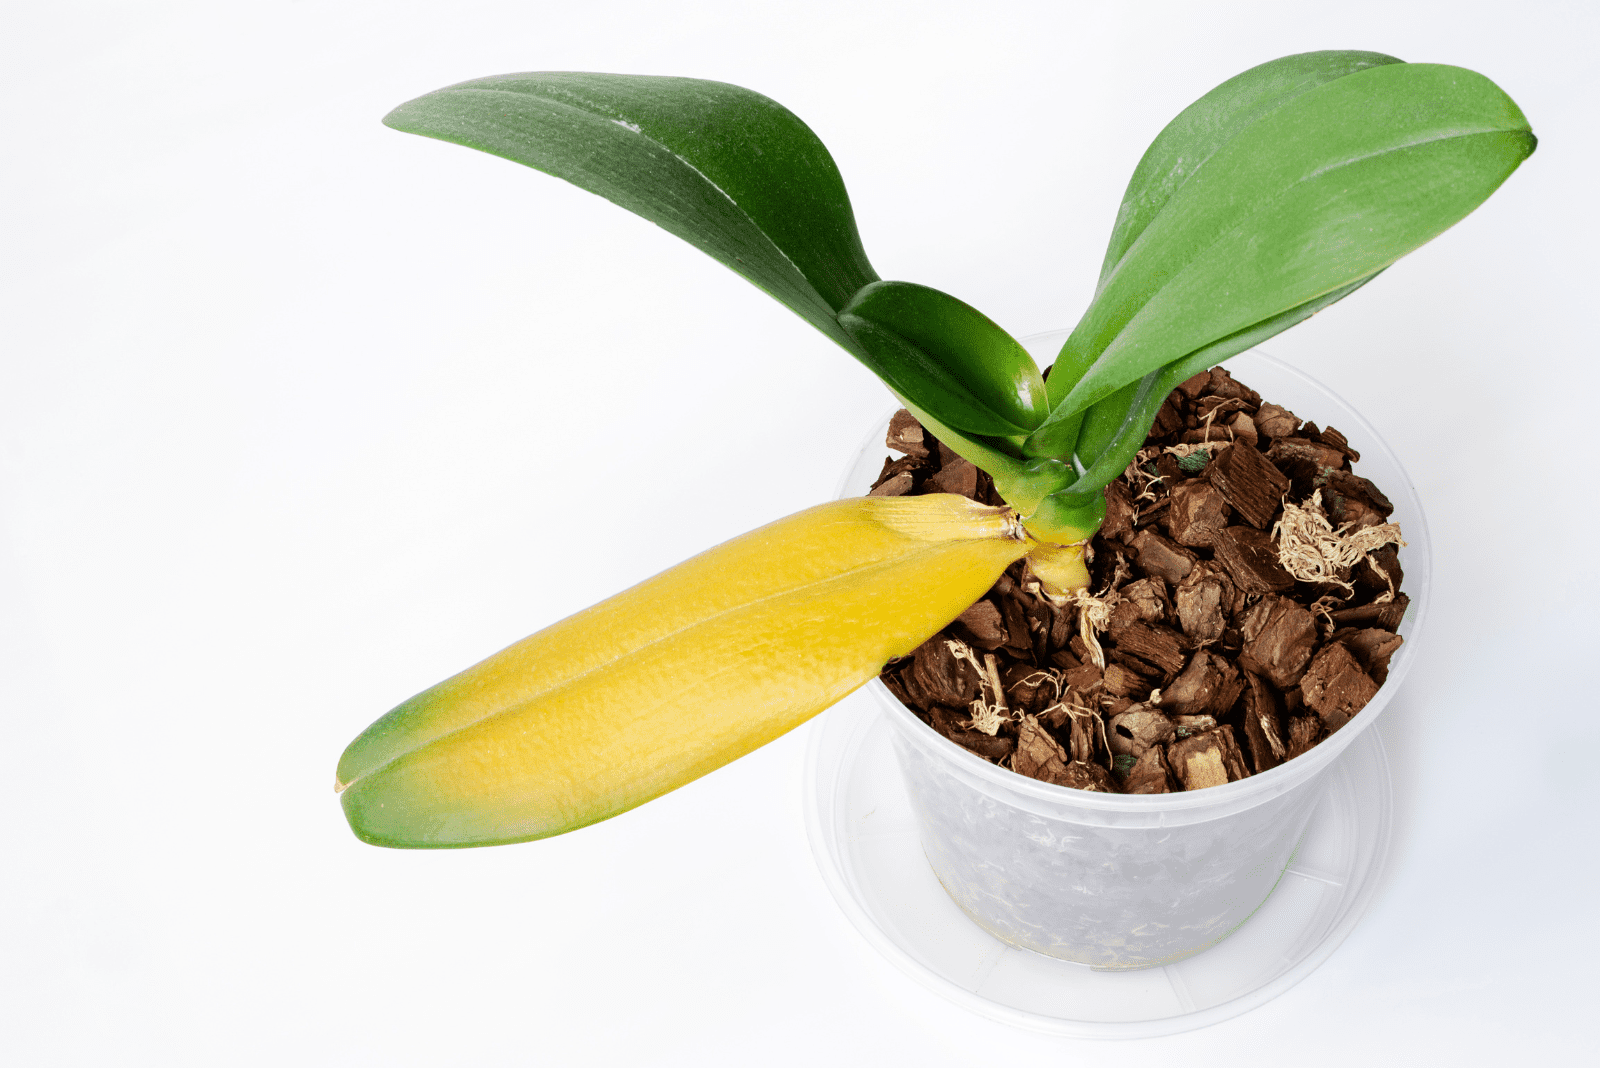
Most orchids are tropical plants, and whenever gardeners hear this adjective, they tend to give those species more water than they actually need. Overwatered orchids won’t die after getting too much water once, but if you leave them in wet potting mediums for an extended period, they will catch root or crown rot.
This disease can be spotted by examining the plant. If you notice yellow leaves, stunted growth, a droopy appearance of the plant, black or brown spots on leaves, and discoloration of the stem, your plant is probably infected with this fungal disease.
Root rot can even kill your orchid if you don’t treat it on time, so you should constantly monitor your plants.
Of course, these symptoms can indicate a lot of things, such as fertilization issues, underwatering, inadequate lighting, etc., so you should always check the potting mix before doing anything.
If the blend is dripping wet and you can smell an unpleasant, rotting smell spreading from the pot, you should take the orchid plant out of its container and start treating it for root rot.
You can read about dealing with overwatering and rotting roots in the following sections.
Solution To Overwatering And Root Rot
If you overwater your orchid once or twice, you can just leave it in the same mix and let it dry before irrigating it again.
However, if your plant has been left in water for quite some time and you have already noticed some root rot symptoms, repotting it is the only way you can get it back to health.
Of course, that’s not all!
A detailed guide for repotting orchids involves many things, but we’ll only touch on the essentials.
First, you’ll have to take the plant out of the pot and inspect its roots. If you notice any discolored, mushy, and dead roots, you should cut them with sterilized pruners.
After that, spray the remaining roots with a fungicide to destroy possible remnants of spores and fungi.
Once you have done all this, fill the new pot with some orchid potting medium (such as bark or moss), and plant your green friend in it.
Finally, overwatering of orchids usually occurs because we have a fixed watering schedule (perhaps we water it once a week or even more frequently).
In order to prevent this from happening, water your plant only when you notice its roots aren’t vibrant green. (Dry roots look more silver-green, and that’s the sign that your plant could use some water.)
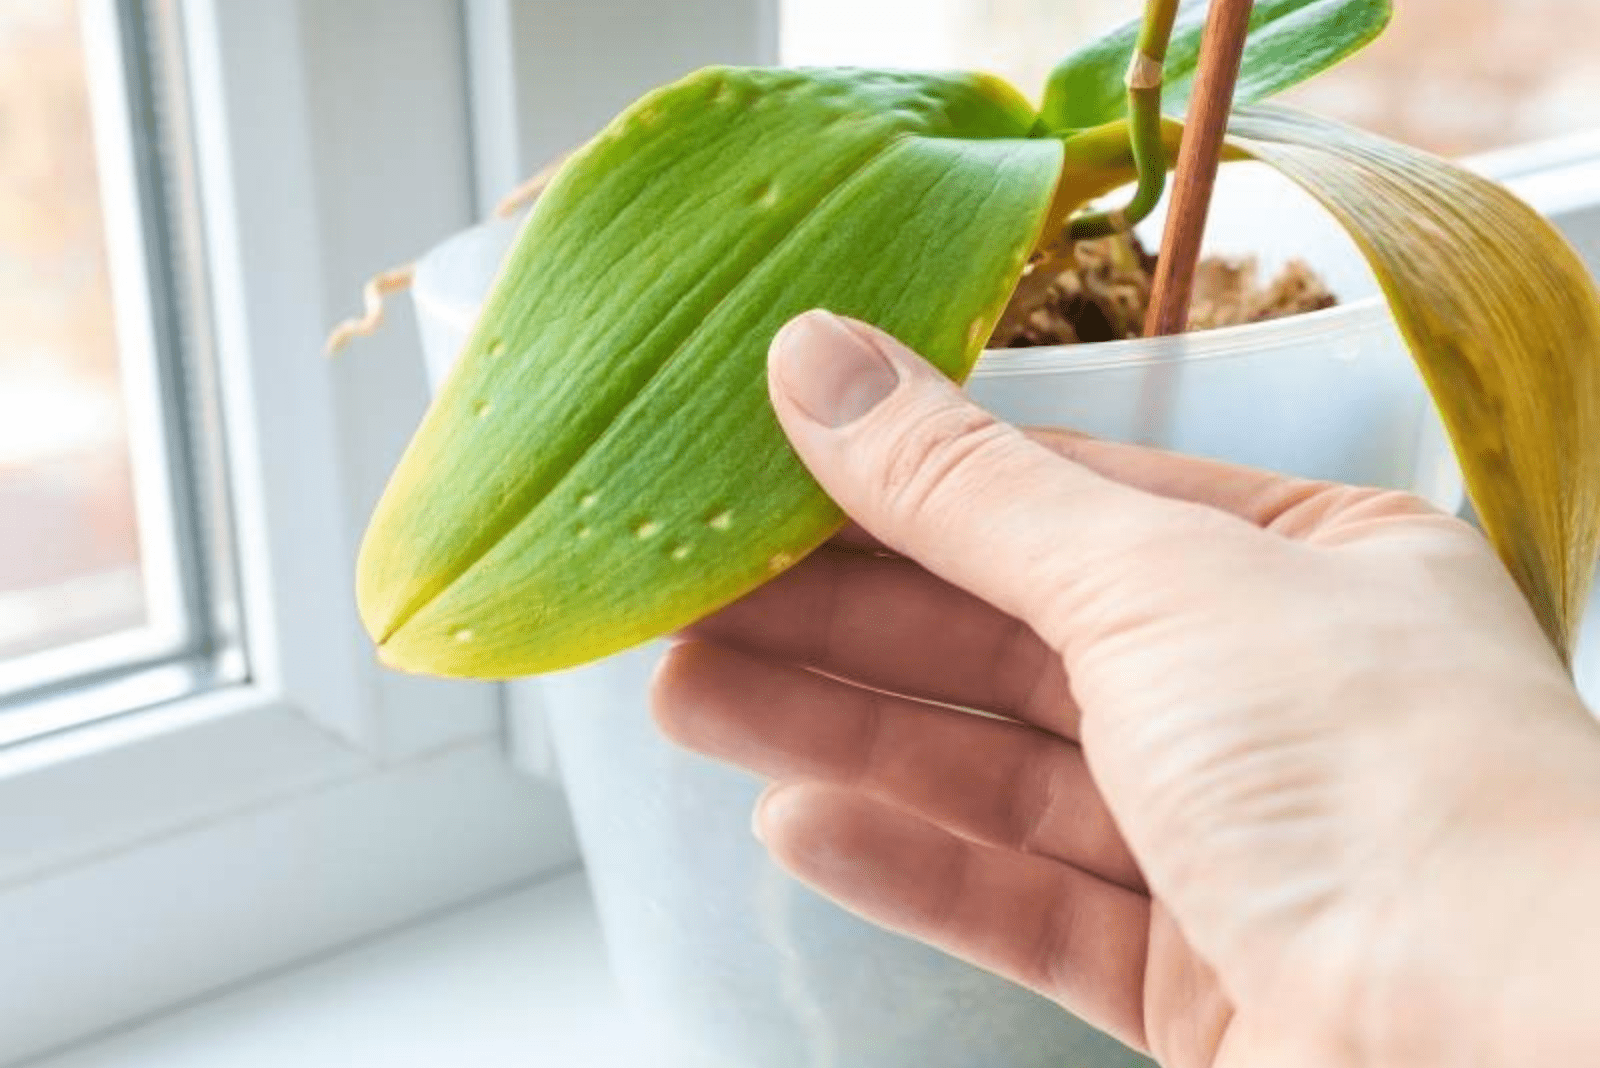
2. Underwatering
Too much fluid around your orchid’s roots can be fatal, but a lack of water is also detrimental.
Water allows your plant to uptake nutrients, is essential for photosynthesis, and keeps pressure on the cell walls, which allows your plant to stand upright, move towards the sun, and bend under strong winds.
Therefore, if you don’t give your plant enough water, it will droop as the pressure on the cell walls lessens, the plant won’t be able to photosynthesize properly, it won’t get enough nutrients from the medium, and its leaves could become wrinkly.
Inadequate photosynthesis is also why plants turn yellow or brown and have an overall weak appearance.
Furthermore, if you feed a dehydrated orchid, the fertilizer will probably burn its leaves and create more issues.
Thankfully, this issue can be easily solved, and it will take a while for your plant to exhibit signs of underwatering, so you’ll have plenty of time to save it.
Solution To Underwatering
The simplest solution is usually the correct one, and the same can be applied to plant care. If you notice that your orchid doesn’t have enough moisture in the pot, you can always add some more.
However, after a long period of dehydration, you cannot just splash water into the container and call it a day.
Monitor your orchid closely, and keep irrigating it whenever you notice that your plant’s root system has taken on a silvery hue.
You cannot use any type of water as it may cause more issues for your new orchid. For instance, tap water is usually filled with chlorine, which can build up and hinder the absorption of moisture and nutrients.
Instead, irrigate your orchids with lukewarm, soft, distilled water or rainwater.
3. Overfertilization
Using strong fertilizers too frequently can lead to many problems, such as wilting, the orchid stem turning yellow, burnt roots, brown leaf tips, salt build-up on the soil surface, and rotting flowers.
The roots are in the biggest danger as they will turn black, die, and won’t be able to perform their function, which is why the entire plant then suffers.
You’ll also have to be careful about which fertilizer you use because if your plant gets too much nitrogen, its leaves will look amazing, but it won’t flower.
We’ll discuss the correct way to fertilize your orchid in the following paragraphs.
Solution To Overfertilization
One way to deal with an overfertilized orchid is to repot it in a fresh potting mix.
The first thing you’ll have to do is take your orchid out of its pot to inspect the roots. Healthy roots are green and firm, and if you don’t see any discoloration and feel that they aren’t mushy when you squeeze them, you don’t have to trim them.
However, if the roots are damaged, you should prune them because they’ll only decay and contaminate the substrate.
You should then thoroughly rinse the roots to get rid of the salt build-up, and then plant the orchid in a fresh growing medium.
Finally, all you have to do is create a good fertilization schedule and stick to it. Many gardeners recommend feeding plants once a week, but you’ll have to dilute the fertilizer to at least quarter-strength to avoid fertilizer burn.
Always water the orchid before feeding it to minimize the possibility of burning its roots.
You can use a regular houseplant fertilizer or orchid plant, and we’ll discuss the choice of fertilizer more in the next section.
4. Nutrient Deficiency
A lack of nutrients can quickly lead to a wilting orchid. Orchid mixes aren’t very fertile, so you’ll have to frequently replenish the minerals these gorgeous plants need in order to keep them healthy.
The most common symptom of a nutrient deficiency (aside from wilting) is chlorosis (yellowing of the leaves), and it can be accompanied by black rot (blackening of the leaves, usually on their tips and margins), bud blast, and leaf drop.
However, it is important to recognize the exact nutrient deficiency before treating it, as you’ll only do more harm than good if you give your orchid a mineral it doesn’t require.
For instance, lack of nitrogen is usually manifested as chlorosis and curling of the older foliage. Magnesium deficiency, on the other hand, also exhibits yellowing of the old leaves, but it is usually accompanied by black rot.
Magnesium deficiency can also be recognized by purplish leaf discoloration if your orchid flowers are purple or red, and it leads to foliage drop and bud blast in extreme cases.
Furthermore, lack of potassium is characterized by blackening and dropping of the older foliage. There is also one deficiency that affects new leaves: lack of calcium. You can recognize it by the darkening of the leaf tips and margins, but in severe cases, leaves may fall off and buds blast may occur.
Finally, lack of phosphorus is not that common, and you can recognize it by the darker green or reddish foliage on your Phalaenopsis orchid.
Now that you know how to recognize the usual deficiencies, let’s learn how to treat them!
Solution To Nutrient Deficiency
Once you determine which nutrient your orchid is lacking, you can start treating it.
For instance, if your plant needs more nitrogen, you can feed it with a nitrogen-rich fertilizer for a while. Once the leaves become greener, you can start using regular orchid plant food again.
If your plant lacks magnesium, you can simply dilute a teaspoon of Epsom salt in a gallon of water and feed your plant with it once a week for the next three weeks. If this doesn’t help, it means that your problem is bacterial, so you should remove the infected foliage.
If you notice the symptoms of potassium deficiency, simply switch to a potassium-rich fertilizer and feed your plants with it once a week. Don’t forget to dilute it to quarter strength.
Furthermore, if your plant lacks calcium, you cannot just fix it by adding some eggshells to the potting medium.
You’ll have to get a Cal-Mag supplement for plants and dilute a teaspoon in a gallon of water. Feed your orchid with this solution once a week for three weeks, and you should see the benefits really quickly.
For lack of phosphorus, simply start using a fertilizer rich in nutrients, and then switch back to the regular houseplant or orchid fertilizer.
5. Too Much Light
Strong, direct sunlight can be a big issue for your orchids, and it won’t just make them droopy but also lead to sunburns, stem and flower spike discoloration, and stunted growth.
However, artificial lights can lead to these same issues, so you should be careful how you use them too.
If you place the plant too close to the light source, it could burn it, so be careful about that as well.
We’ll discuss the solutions to this issue in more detail in the following paragraphs.
Solution To Excess Light
If you notice that your plant has started to droop on a west-facing windowsill, you might want to draw a curtain so that the light isn’t so intense.
Another thing you can do is simply move it to an east or south-facing window where the early morning and late afternoon sunlight aren’t so harsh.
Finally, if you grow your orchid under grow lights, you should place it at least a foot away from them (or even more if you use incandescent lights, which emit more heat) so that your plant’s leaves don’t get burnt.
6. Not Enough Light
Lack of sunlight is another serious issue which can cause your orchid not to flower and also make it limp.
You can easily notice that your plant needs more sunlight by examining its leaves. If they are dark green, it means your orchid needs more light.
A healthy orchid that gets enough sunlight has bright or even yellowish-green foliage!
Solution To A Lack Of Light
In order to bring your orchid back to full health, you should give it more light. However, that doesn’t mean you can just take it to a well-lit window and be done with it! This would only cause sunburn.
Instead, harden your plant and get it used to prolonged exposure to light.
For instance, take your orchid to an east-facing window and keep it there for a couple of hours. Then take it back to its previous spot, and repeat the process the next day.
With each move, you’ll be keeping your plant longer in its new spot, and in about seven days it’ll have no issues staying there all the time.
If you don’t have access to any bright windows, you can always use some grow lights.
Just remember to keep your plant at least a foot away from the artificial lighting as it can also burn your plant.
Orchids require at least 6-8 hours of light per day, so ensure it any way you see fit!
7. Temperature Fluctuations
Orchid care isn’t only about watering and lighting; temperature plays a vital role in this plant’s health too.
Heat stress and sudden temperature swings can make your plant stop flowering and cause droopiness.
Orchids love mild temperatures (between 66-75°F) during the daytime, but the nighttime temperature should be cooler by 5-10 degrees Fahrenheit if you want to get the best out of this plant.
However, plunging or skyrocketing temperatures can create even more issues, so try and avoid them at all costs.
We have some tips on how you can do this in the following paragraphs.
Solution To Temperature Fluctuations
Steer clear from heaters, AC vents, drafty windows, and doorways when looking for the perfect location for your orchid.
These places experience sudden temperature swings and low humidity levels, which can hurt your plant.
Furthermore, try not to move your plant too much as that can be another stressor.
Another thing you can do is put some heat packs around it if you’re shipping it to your loved ones over winter so that it doesn’t freeze to death.
8. Poor Air Circulation
Lack of proper air circulation will suffocate your orchid’s roots, which will definitely make it droopy. Your plant might get infected with fungi if the humidity is high.
However, proper airflow doesn’t imply creating tornado-like conditions; a gentle breeze from a fan that doesn’t even move the plant’s leaves would be perfect.
Of course, your plant will need proper air circulation inside the pot to enrich the medium with oxygen, without which your orchid won’t survive.
There are a couple of ways to achieve this, and we’ll discuss them below!
Solution To Poor Air Circulation
We already mentioned that you can use a fan if you live in a high humidity region, but don’t point it towards your plant as it may be too much for it.
If your household’s humidity is not that high, you won’t need this gadget.
However, your plant’s roots also need proper airflow and oxygen levels in order to survive. That’s why we use aerated mediums and not potting soils, which are too compact for these plants.
Another thing you can do to make the growing substrate more aerated is use plastic pots with drainage holes in the bottom and notches on the sides, which are known as ventilation holes.
These containers ensure proper airflow and a constant inflow of oxygen that will give your plant everything it needs, prevent root rot, and more.
9. Low Humidity
Orchids are tropical plants, and if you get to the point when you have to ask yourself why your orchid is dying, the answer could be as simple as a lack of humidity.
However, there are many other things that can go wrong with this plant, so make sure to exhaust all the options before treating your plant for a specific issue.
For instance, your plant might be exhibiting slow and stunted growth, wilting, shriveling, etc.
Thankfully, raising the air moisture level is fairly easy, and we’ll discuss it in the following paragraphs.
Solution To Low Humidity
The best and easiest way to quickly raise the humidity level is by turning on a humidifier.
However, if you don’t own one or want to explore other means, you can always mist your plant.
The best time for misting orchids is in the morning, as it’ll have plenty of time to dry out due to higher temperatures.
If you spray your plant in the evening when the temperatures are cooler, the leaves will remain wet for a long period of time, which may put your plant in danger of getting infected with fungi, as they love humid environments.
Finally, don’t forget to water your orchid’s aerial roots, as they can also get dehydrated. Just remember that dry aerial roots don’t imply that the regular roots are underwatered as well.
Always check the subterranean roots (those that grow underground) to see whether your plant needs water. If they are silvery-green, your plant could benefit from more moisture.
How To Prevent Wilting And Droopy Orchid Leaves

Treating your droopy orchid is possible, but preventing the issue is much better and will require less work in the future.
Choose The Proper Growing Medium
One thing you can do is consider growing this plant in an inorganic medium. For instance, you can weigh out all the pros and cons of LECA for plants and see whether this substrate is suitable for you and your green buddy.
LECA clay pebbles can solve all your watering issues, so you won’t have to worry about rotting roots and dehydrated orchids any longer.
If you prefer organic mediums, opt for bark or sphagnum moss (or a combination of the two), as they provide proper drainage and aeration to your plant’s roots while retaining moisture at the same time.
Fertilize The Plant Adequately
Of course, in both organic and inorganic mediums, you’ll have to feed your plants regularly. If you grow orchids in LECA balls, you’ll have to fertilize them with a hydroponics fertilizer whenever you replenish the water, as this material doesn’t contain any nutrients.
If you have decided on bark or moss, you can feed these plants once a week with a houseplant fertilizer diluted to quarter-strength or use an orchid plant food and follow the instructions on the box.
Ensure Your Plant Gets Enough Water And Light
Watering orchids properly can make all the difference. For instance, if you grow this plant in an orchid mix or your own blend of bark and sphagnum moss, you can irrigate it whenever you notice its roots are no longer deep green.
Once they attain a silvery hue, your plant needs more water, so you can go ahead and pour some into the pot. If you cannot tell whether the roots have changed color, you can always stick your finger in the medium, and if it comes out moist, you don’t have to irrigate your plant.
Once you have decided that your plant needs more moisture, slowly pour some lukewarm, distilled water or rainwater into the planter, allow the excess water to drain out through the bottom holes, and then wait until your plant needs more water.
However, if you grow your orchid in LECA clay balls, you can just wait until the water level gets really low and then add more.
Lighting is also important, so place your orchid in a location where it can get bright indirect light for at least 6-8 hours a day.
If you don’t have such a spot in your home, you can always turn to grow lights.
Choose A Suitable Container
The container you choose is also essential. You can get a plastic orchid pot with drainage holes so the excess water can seep out through them.
Ventilation holes are also significant as they ensure proper airflow and enrich the growing medium with oxygen.
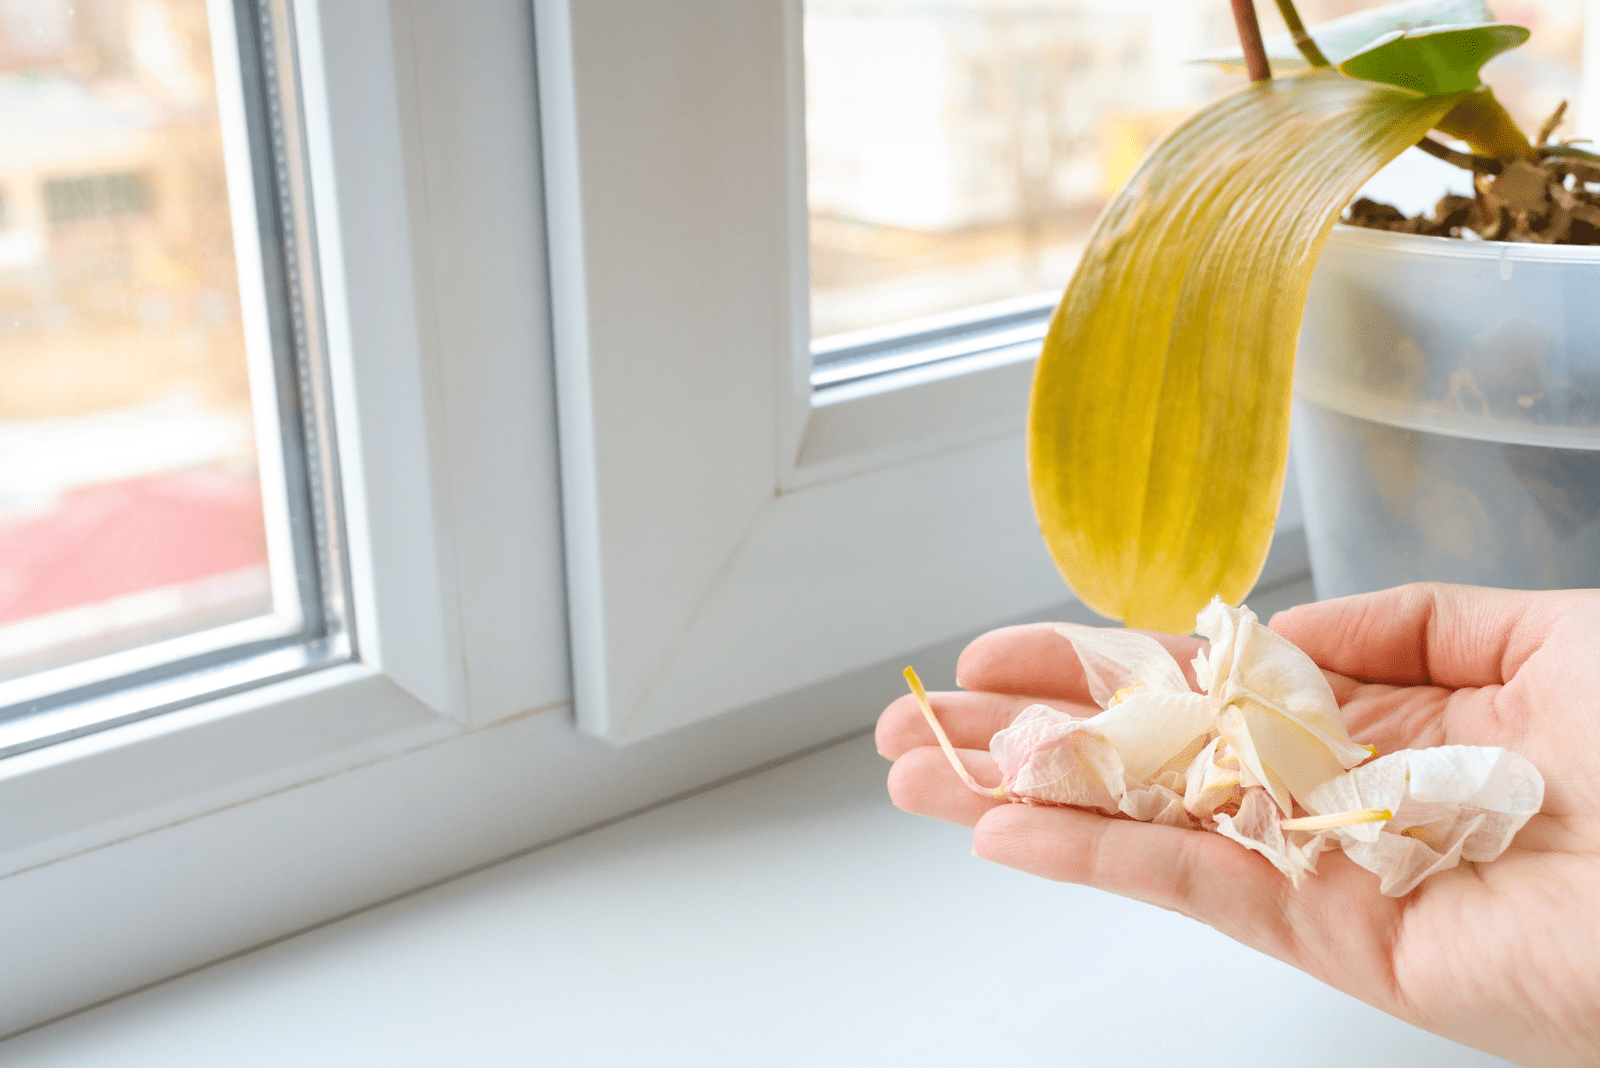
What To Do About Wrinkled Orchid Leaves
We’ve discussed some things we can do about droopy and wilting orchids, but we haven’t mentioned what to do about its foliage.
We frequently hear that it is best to cut them off as they are just wasting your plant’s energy, but that’s not always the case.
If your orchid’s foliage is still somewhat green, you don’t have to prune them. They can recover if you give them time and will resume their photosynthesis right where they left off.
However, if your plant’s leaves are yellow, brown, or otherwise discolored, you’ll have to prune them as they have nothing else to offer. They just take up space that could be filled with healthy new leaves.
To Sum Up
This article included everything you need to know about orchid leaves drooping, including the common causes and solutions.
Basically, it is up to us to care for our plants properly, and if we do that, we won’t have to deal with this unsightly issue.
That’s why we brought some helpful orchid care tips, such as the correct choice of pot and growing medium and the right amount of light, fertilizer, and water your plant will need.
But don’t give up on your orchids, even if they seem like a lot of work; they’re worth it!
Until next time!
Like this post? Share or pin it for later!