Pruning tomatoes now won’t save them – here’s what to do with the last green fruit before Oregon’s frost
Every Oregon gardener knows the feeling: the calendar says October, the forecast says frost, and the vines are still loaded with green tomatoes you were really counting on. Grabbing the pruners feels like doing something, but a last-minute trim is not the reliable rescue it seems.
The smarter move is to know which fruit is worth bringing indoors, how to store it so it actually ripens, and what to do with the rest before the cold wins.
Pruning has a calendar, not a last-minute fix
Reaching for the pruners when frost is days away is a completely understandable impulse. You want to do something, and cutting feels decisive.
The honest truth, though, is that topping your tomato plants right now is not a reliable way to coax those green fruits into ripening before cold weather arrives.
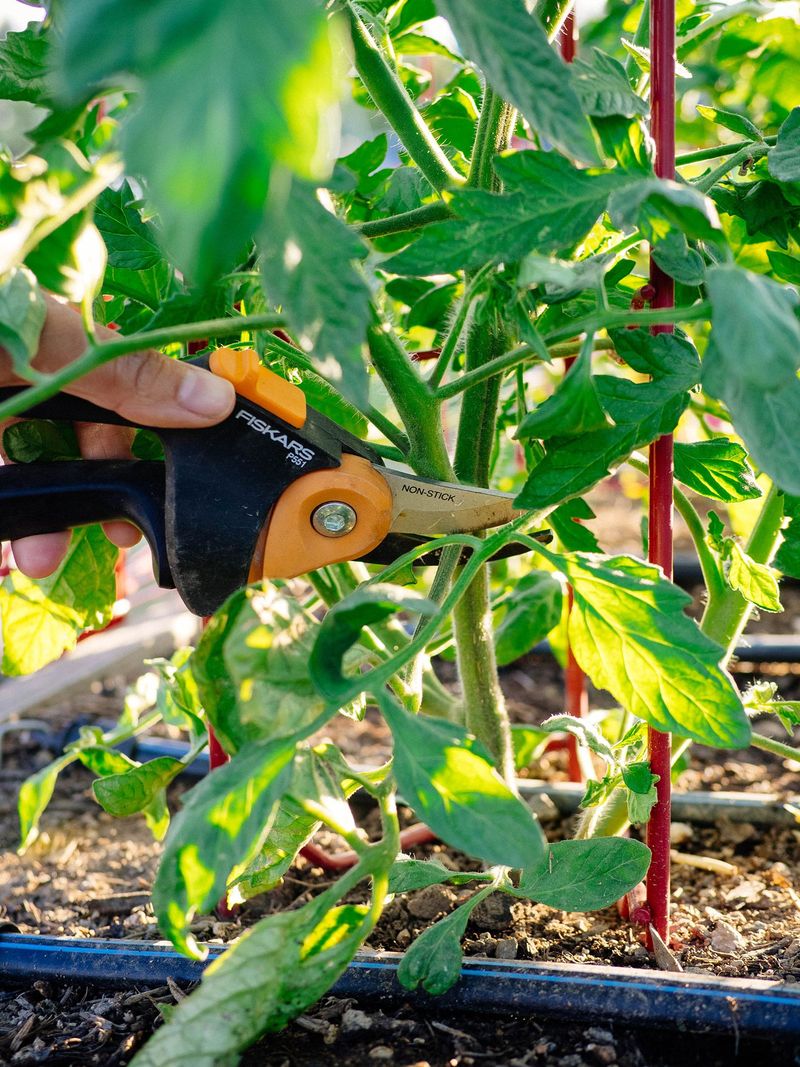
Topping – cutting off the growing tip of the main stem – can be a genuinely useful technique for indeterminate tomatoes, which keep growing and setting new fruit all season long. Guidance on pruning tomatoes in the home garden recommends doing this about four to six weeks before your average first frost date, giving the plant time to redirect energy into the fruit already on the vine.
Removing flowers is a related step, typically done about four weeks out, so the plant stops investing in blooms that will never become ripe tomatoes. Both practices work best when there is still enough warm growing time left to make a difference.
Determinate tomatoes – the compact bush types that set most of their fruit at once – are a different story entirely. Topping them as a general practice can actually reduce your harvest, so skip it unless you have a specific reason and know your variety well.
One common but risky workaround is stripping leaves to expose green fruit to more sun.
Oregon tomato disease guidance warns that exposed green tomatoes can suffer sunburn, which trades one problem for another.A few strategic leaves removed for airflow is reasonable; aggressive defoliation is not.
If your average frost is already breathing down your neck, the most dependable next step is not a pruning session. Check the forecast, watch your overnight lows, and start thinking about harvest timing instead.
Use local cold conditions, not one Oregon frost date
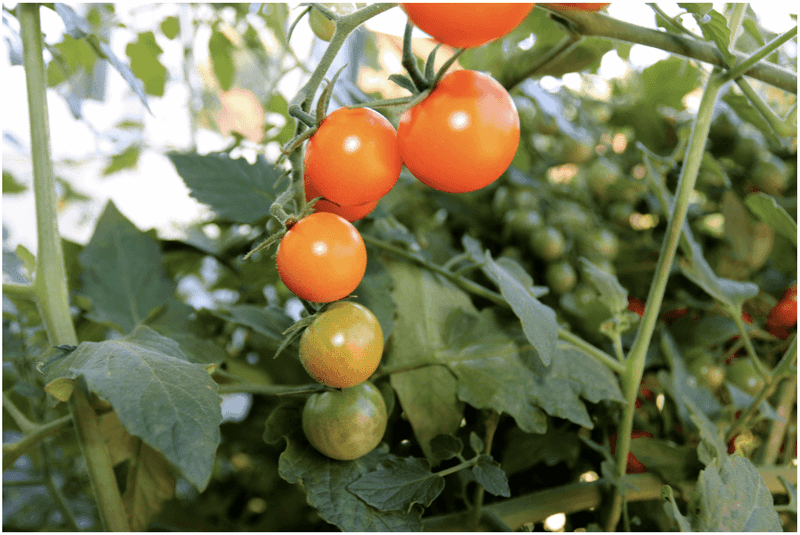
Oregon is not one climate, and anyone who has gardened both in Portland and in Bend knows that firsthand. A single statewide frost date is not a useful guide when coastal valleys, the Willamette floor, and the high desert east of the Cascades can have first frost dates weeks apart.
What matters most is watching your own microclimate. Frost is the obvious threat, but cold can damage tomatoes well before a hard freeze.
OSU’s tomato growing guide explains that tomatoes exposed to several days below 50 degrees Fahrenheit can develop chilling injury, which leads to internal breakdown and rot even without a frost. That same guidance recommends harvesting tomatoes that are starting to show color – any blush of pink, yellow, or orange – when outdoor temperatures are consistently falling below that 50-degree threshold.
Your Oregon Garden Changes Every Week. Your Plan Should Too.
Gardening in Oregon changes quickly throughout the season. Every Friday you’ll receive a simple weekly plan showing exactly what to plant, prune, fertilize, harvest, and protect so you never miss the right timing.
Waiting for a full blush on the vine is not worth the risk once nights are reliably cold.
West of the Cascades, maritime conditions often give Willamette Valley gardeners a gentler glide into fall than their east-side neighbors. Cloudy, mild October days are common, and a vine in a sheltered south-facing spot may keep going longer than one in an exposed corner.
Central Oregon vegetable gardening resources make clear that high-desert growers face earlier and sharper temperature swings, which means the harvest window closes faster there.
The practical habit is simple: check your local overnight lows each evening in late September and October. When the forecast shows several nights approaching or dipping below 50 degrees, treat that as your signal to start picking – especially any fruit showing the first signs of color.
Choose fruit that is mature green
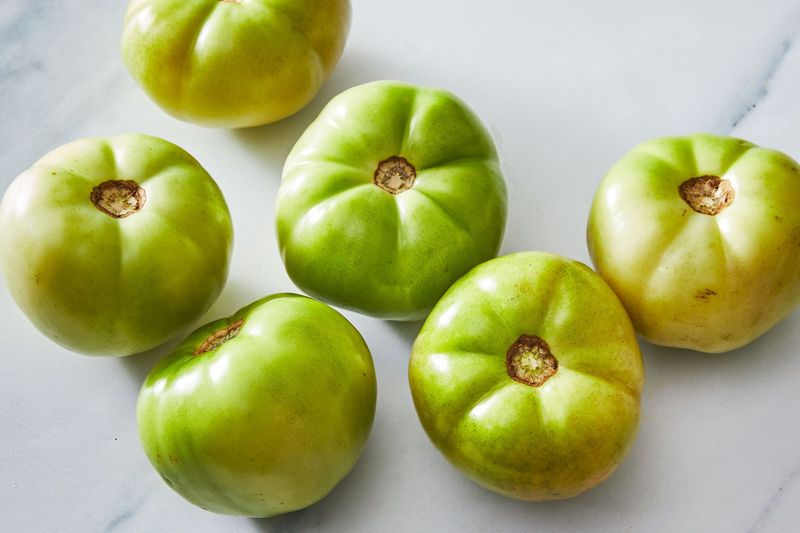
Not every green tomato is a good candidate for indoor ripening, and sorting them out before you haul them inside saves a lot of disappointment later. The key distinction is maturity, not just color.
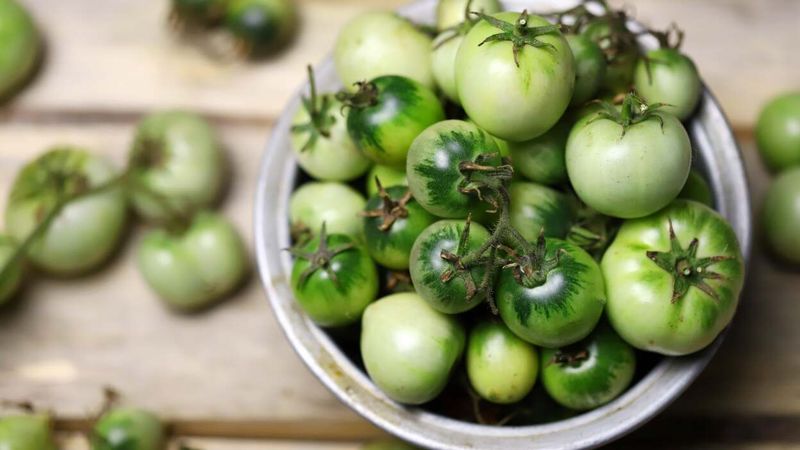
A tomato that is mature green has reached its full size and the seed cavity inside is completely filled out – the fruit is no longer hollow or watery when you cut it open. Visually, a guide on ripening tomatoes indoors describes mature-green tomatoes as shiny green, sometimes with a pale, lighter-colored star shape visible at the blossom end.
That star is a handy field clue. If you press gently on the fruit and it feels firm and substantial rather than soft and watery, that is another good sign it has enough maturity to finish ripening off the vine.
Small, dull-looking matte-green tomatoes are a different situation. Fruit that never reached full size and lacks that shiny skin may not ripen reliably indoors – the internal chemistry that drives the ripening process simply has not progressed far enough.
OSU’s tomato guide supports bringing in mature-green fruit with a filled cavity, but very immature fruit is better used fresh in green-tomato recipes than stored in hopes it will turn red.
Before anything goes into your indoor ripening spot, sort carefully. Set aside any tomatoes with cracks, soft spots, bruising, or signs of disease or decay.
Those will not improve indoors – they will just spread rot to the sound fruit around them. Start with the best of what you have, and you will get the best results.
Give sound fruit a cool indoor place to ripen
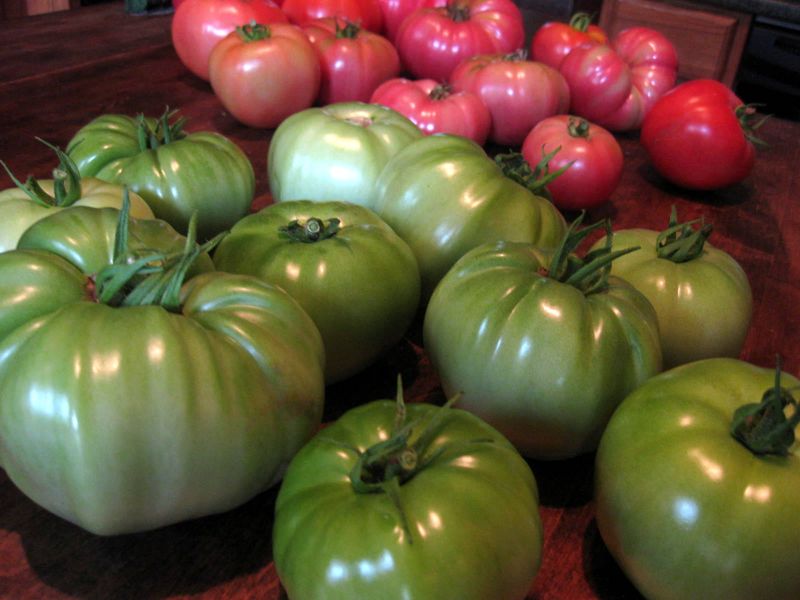
Once you have picked your best mature-green tomatoes, the setup indoors is straightforward but easy to get wrong. Most gardeners assume a sunny windowsill is the magic ingredient, but warmth and direct sunlight are not what drive indoor ripening – and a hot, bright window can actually make things worse by softening fruit too fast and unevenly.
The goal is a consistently cool indoor space. Guidance on ripening green tomatoes indoors recommends keeping fruit around 60 to 65 degrees Fahrenheit, out of direct light, in a single layer so air can circulate around each tomato.
OSU’s tomato guide puts the optimum a bit higher, around 65 to 70 degrees. Because these recommendations differ slightly, think of it as a cool room range rather than a single precise target – somewhere between 60 and 70 degrees works well for most situations.
A basement, a cool spare room, or a garage that stays above freezing are all reasonable options.
Lay the tomatoes out in a single layer on a tray, a sheet of newspaper, or a shallow box. Stems up or down does not matter much, but avoid stacking them.
Check on them every few days and pull out any that show softening, mold, or decay before it spreads to neighbors.
One thing to avoid is the refrigerator. Chilling unripe tomatoes can impair their flavor and texture in ways that do not recover when the fruit warms back up.
Keep them at room temperature in that cool indoor range and let time do the work. Patience is the main ingredient here – some tomatoes take two to four weeks to fully color up indoors.
Use healthy green tomatoes that are unlikely to ripen
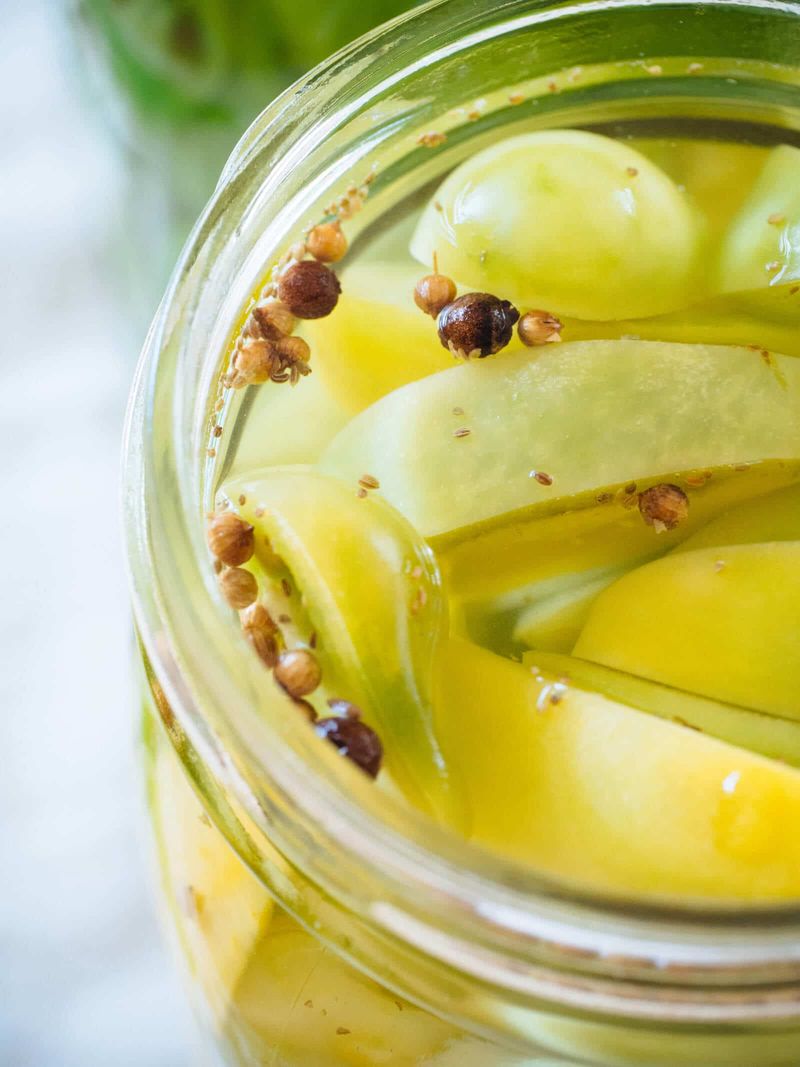
Some of your green tomatoes are simply not going to ripen, no matter how ideal your storage setup. Small, immature fruit, anything that got nipped by cold before you caught it, and the last clusters still clinging to the vine when you finally pull it – these are better enjoyed now than stored in hope.
Cooking is the most immediate option, and green tomatoes are genuinely good in the kitchen. Fried green tomatoes, green tomato salsa, relish, and chutneys are all classic uses.
Green tomatoes have a bright, tart flavor that works well with spices, vinegar, and aromatics, and the texture holds up to heat better than ripe fruit. If you have never made a green tomato dish, the end of the season is a fine time to start.
For preserving, canning is an option for sound, healthy green tomatoes – but it requires following a tested recipe carefully. OSU’s canning guide for tomatoes and tomato products and the National Center for Home Food Preservation’s guidance on preserving unripe tomatoes both provide tested instructions that include proper acidification and processing directions.
Do not improvise canning methods or skip the acidification step – green tomatoes are lower in acid than ripe ones, which matters for safe preservation.
Keep one rule firm: do not cook, can, or preserve fruit from vines that showed disease symptoms or from tomatoes that were frost-killed. OSU’s tomato guidance is clear that diseased or damaged fruit should not go into food preservation.
Use only clean, firm, healthy green tomatoes for any cooking or canning project.
Clean up vines without mistaking every spot for blight
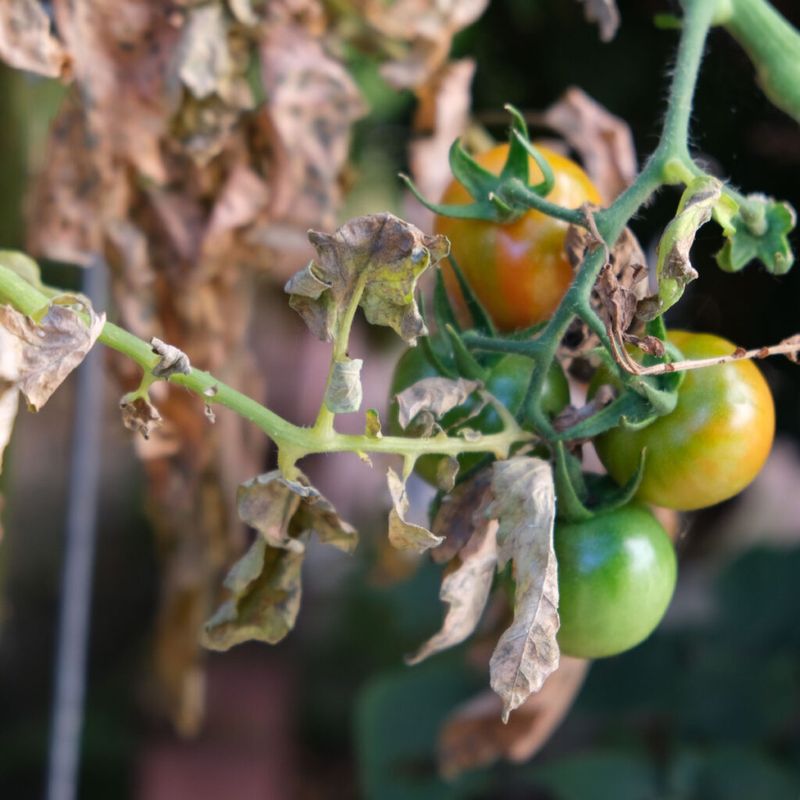
End-of-season cleanup is one of the most satisfying garden tasks, and it genuinely matters for next year’s bed health. Pulling spent vines, collecting fallen fruit, and clearing out plant debris removes a lot of the material that harbors disease and pests over winter.
Make it a habit rather than a reaction to something going wrong.
Before you decide how to dispose of the plants, take a realistic look at what you are dealing with. Yellowing leaves, a few brown spots, and general late-season tiredness are normal for tomato plants in October.
OSU’s guidance on tomato diseases makes clear that several different problems – including non-disease issues – can look similar on a plant, and appearance alone does not confirm a late-blight diagnosis. If you are not sure what you are seeing, do not assume the worst.
For plants that look generally tired but not severely diseased, adding them to a well-managed hot compost pile is reasonable. However, OSU’s composting guide notes that typical backyard add-as-you-go compost piles do not reliably get hot enough to kill plant diseases, so visibly diseased material should go in the garbage or yard-debris cart instead – not the backyard bin.
If you have real reason to suspect late blight – dark, water-soaked lesions on stems and fruit, a distinctive musty smell, rapid collapse of plant tissue – the rules get stricter. Late blight guidance is firm: do not eat or preserve fruit showing disease symptoms, and do not compost infected plant parts.
OSU’s late blight warnings have recommended bagging or burying affected plants rather than composting them. Follow your local yard-waste disposal rules for the specifics.
Cleanup is a smart, worthwhile step – but it is not a guarantee that disease will not show up again next season. Focus your energy on getting sound fruit safely indoors, and let the garden rest knowing you did what you could.