Pumpkins And Gourds Still On The Vine In Virginia? What To Do This Week
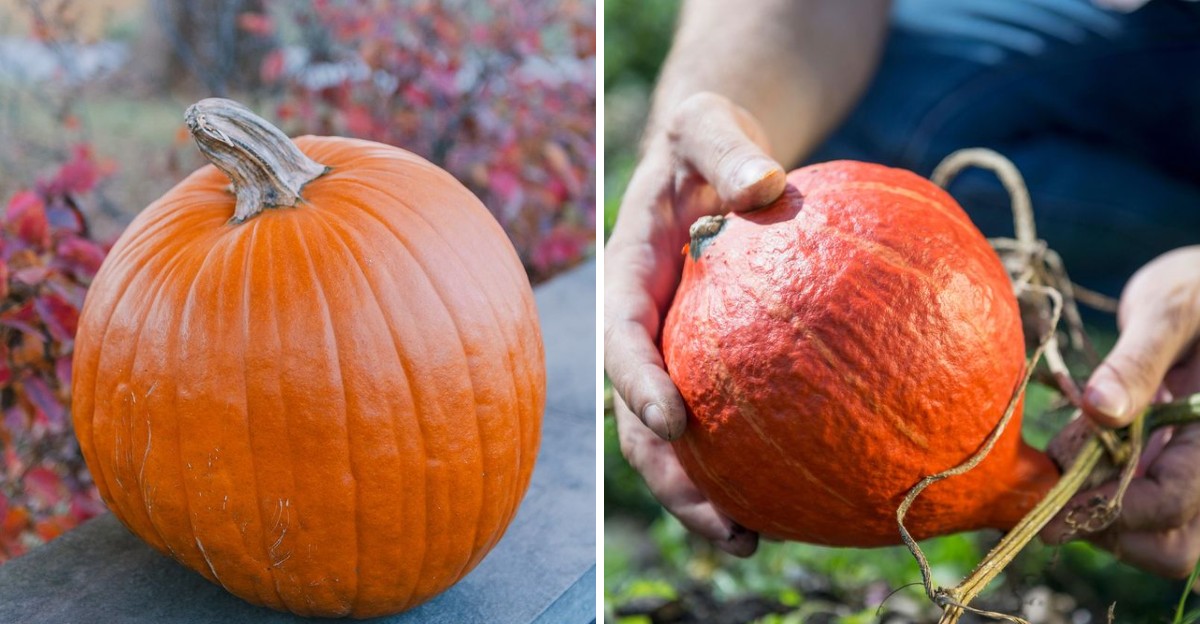
There’s a pumpkin still sitting in your garden, and honestly, it’s starting to look a little nervous. Halloween is days away, the nights keep getting colder, and Virginia’s weather has already thrown a few freezing curveballs this month.
Maybe you planned to pick it last weekend. Maybe you wanted it to grow just a tiny bit bigger. (We’ve all been there. Pumpkin optimism is real.)
Here’s the deal. Pumpkins can shrug off a light frost, but a hard freeze is a whole different story.
Gourds have their own rules too, and some of them are surprisingly tough.
A few quick moves this week can keep your harvest firm, colorful, and porch-ready instead of soft and sad. So pull on your gloves, pour some cider, and let’s rescue those pumpkins.
1. Check Whether Your Area Has Already Had A Hard Freeze
Your phone may hold the most useful garden tool you own. Before you touch a single vine, open a weather app and look at the overnight lows from the past week.
A hard freeze happens when temperatures drop to about 28 degrees or lower for several hours. That is the point where pumpkins start to take real damage.
Many Virginia gardens have already been tested this month. On October 17 and 18, the National Weather Service issued freeze warnings for upper 20s and low 30s across the Shenandoah Valley and Blue Ridge, including Augusta, Rockingham, Shenandoah, Page, Warren, and Clarke counties.
Culpeper, Fauquier, and western Loudoun followed with a freeze warning of their own, and rural areas around Richmond saw patchy frost too.
Coastal spots near Norfolk and Virginia Beach usually stay warmer longer, with the first frost typically arriving in early to mid November.
Look closely at the vines in the morning, too. Leaves that look dark, wilted, and water-soaked are a clear sign the cold already paid a visit.
Healthy leaves that still look green and stiff mean you likely have some time.
The Piedmont sits in the middle, with first freezes often arriving in late October or early November. Valleys and low spots in your yard can get colder than the forecast says.
Cold air settles low, just like water flowing downhill.
A cheap outdoor thermometer placed near your pumpkin patch gives you a true reading. Check it at sunrise, since that is often when temperatures hit bottom.
Write the numbers on a calendar so you can spot patterns.
Your local Virginia Cooperative Extension office can help with average frost dates for your area. Knowing your status today helps you decide how fast to act.
A garden that has already been hit needs attention right away.
2. Light Frost And Hard Freeze Affect Pumpkins Differently
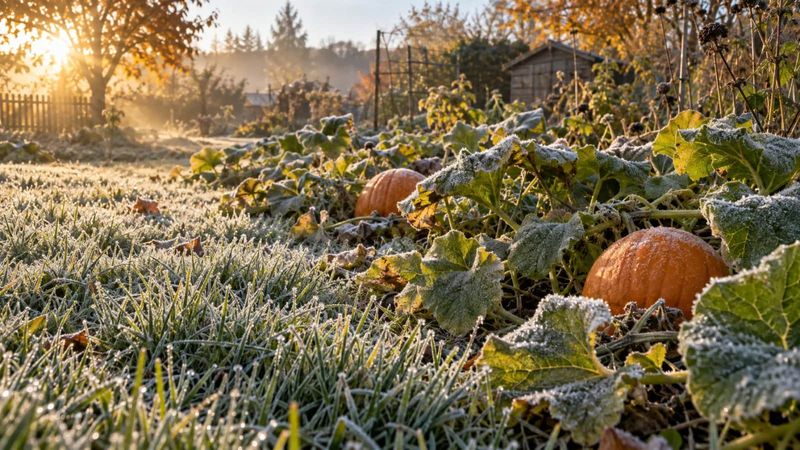
Think of light frost as a chilly warning and a hard freeze as the real deal. The two sound alike, but they treat your pumpkins very differently.
A light frost can form when temperatures dip into the low to mid 30s. It mostly harms the tender leaves and vines.
Your Virginia Garden Changes Every Week. Your Plan Should Too.
Gardening in Virginia changes quickly throughout the season. Every Friday you’ll receive a simple weekly plan showing exactly what to plant, prune, fertilize, harvest, and protect so you never miss the right timing.
You may wake up to sparkly white crystals and blackened foliage, yet the pumpkins underneath often stay firm and fine. Penn State Extension notes that pumpkins can survive a light frost that damages the vines.
A hard freeze is a bigger problem. Once temperatures drop below 28 degrees, the cold weakens the rind and opens a door for bacteria.
That damage can shorten storage time significantly, so a freeze-touched pumpkin may not last nearly as long on your porch or shelf.
Many Virginia gardeners get a few light frosts before the first hard freeze shows up. That gap gives you a handy window to finish harvesting.
If a light frost is coming, you can toss an old bedsheet over the fruit for extra protection. Skip plastic, since it can trap cold against the rind.
Pull the cover off once the sun warms things up. Knowing the difference keeps you from panicking too early or waiting too long.
3. Look For Full Color And A Hard Rind On Pumpkins
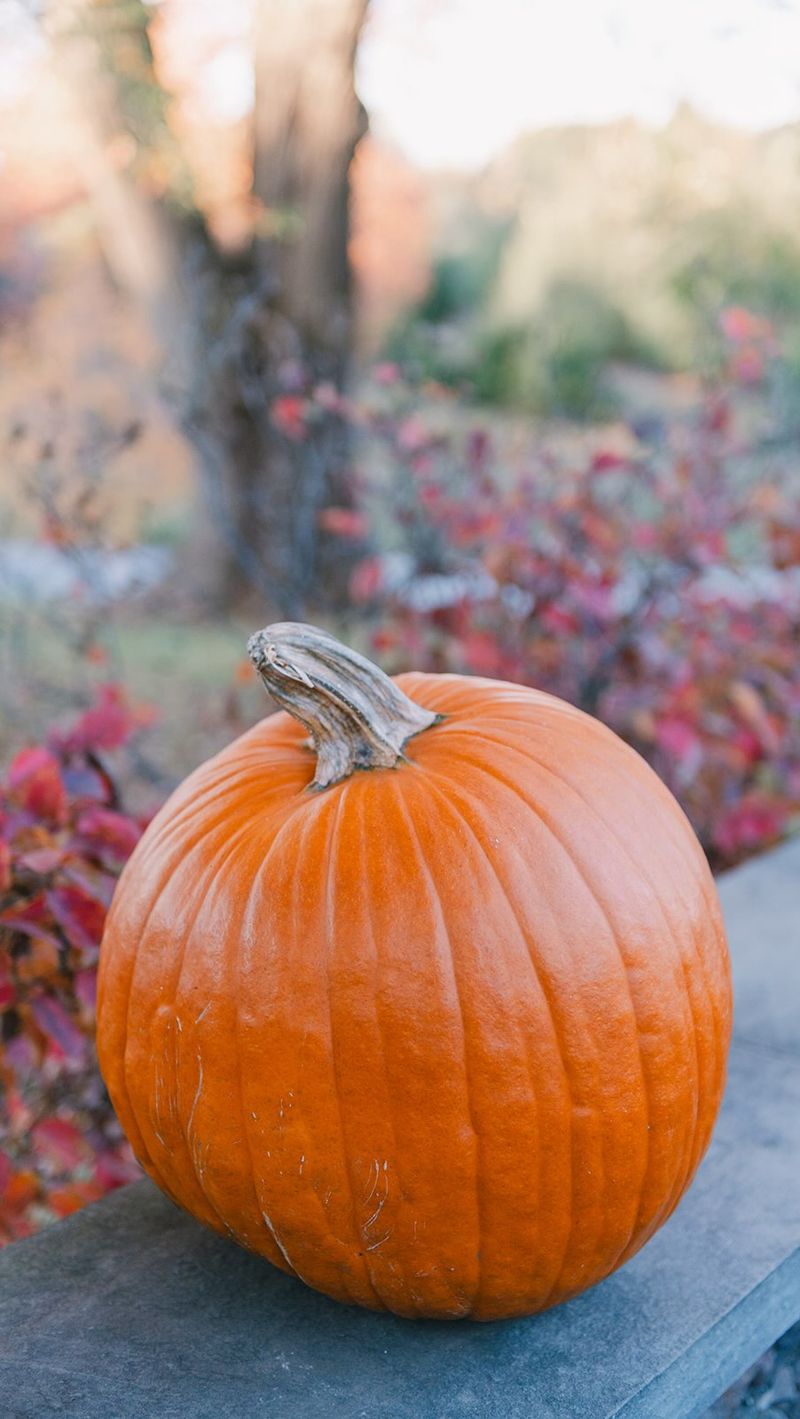
Grandmothers in farm country had a simple trick for checking pumpkins. They pressed a thumbnail into the skin, and if it left no dent, the fruit was ready.
That old test still works great today. A ripe pumpkin has a rind so tough your nail slides right off.
If the skin feels soft or scratches easily, the fruit needs more time.
Color tells the story too. Most orange varieties should look deep and even all over, with no big green patches.
White, blue, or striped kinds should show their full shade from top to bottom.
Give it a gentle knock with your knuckles. A ripe pumpkin often sounds a bit hollow, almost like tapping a wooden door.
The stem offers another clue. As the fruit matures, the stem turns hard, dry, and woody.
A green, bendy stem usually means the pumpkin is still growing.
Check the spot where the pumpkin touches the ground as well. A creamy yellow or orange patch there is normal and fine.
Across Virginia, most pumpkins planted in June reach this stage by late September or October. Run through these quick checks on each fruit.
You will soon know exactly which ones are ready to come inside.
4. Harvest Ripe Pumpkins Before The Next Hard Freeze
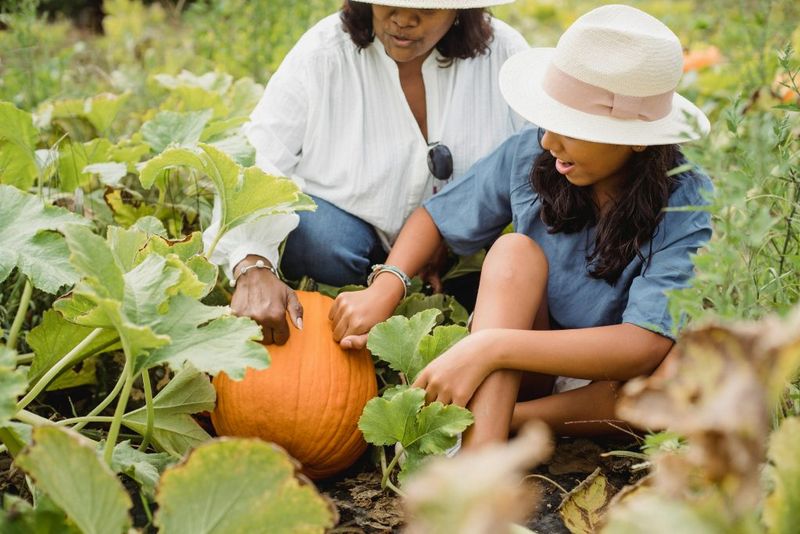
Nobody wants to rush outside in the dark with a flashlight, hauling pumpkins before a sudden cold snap. Planning ahead saves a lot of stress.
Once your pumpkins pass the ripeness checks, go ahead and bring them in. Ripe fruit gains nothing by sitting on a cold vine.
In fact, frequent rain and chilly nights can invite rot and pests.
Pick a dry day for harvesting if you can. Wet pumpkins are more likely to grow mold during storage.
Late morning works well, after the dew has burned off.
Keep an eye on the ten day forecast. If temperatures near 28 degrees show up, that is your cue to finish the job.
Gardeners in the Shenandoah Valley and southwest Virginia should watch extra closely, since cold arrives early there.
Lift each pumpkin from underneath, using both hands. Carrying it by the stem is tempting, but the stem can snap off.
A broken stem leaves an open wound where rot can sneak in.
A garden wagon or wheelbarrow lined with an old towel makes moving heavy fruit easier. Set them down softly instead of dropping them.
Get the kids involved for a fun family chore. Little helpers love picking out their favorite for carving later.
5. Cut The Stem With Pruners Instead Of Twisting
Twist, tug, snap. That is how many folks pull pumpkins off the vine, and it is one of the most common harvest mistakes around.
Twisting can rip the stem right out of the top of the fruit. It may also tear the stem in a jagged way that leaves cracks.
Those small openings let in bacteria and fungus, which shortens storage life a lot.
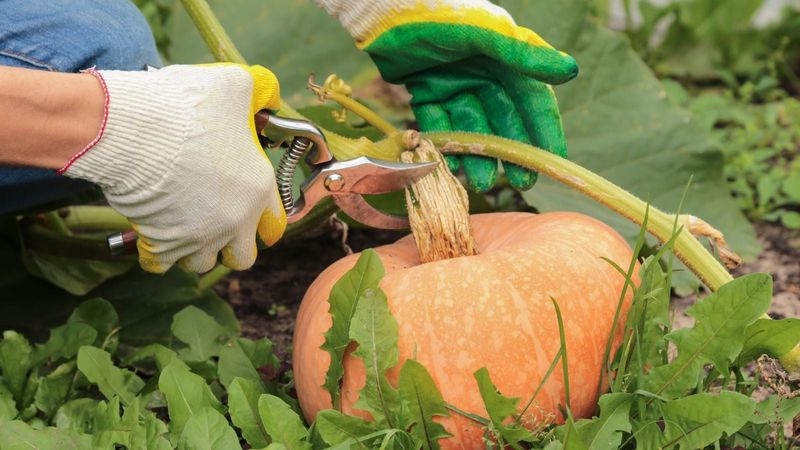
Grab a sharp pair of bypass pruners or a clean knife instead. Cut the vine a few inches away from the pumpkin, leaving about three to four inches of stem attached.
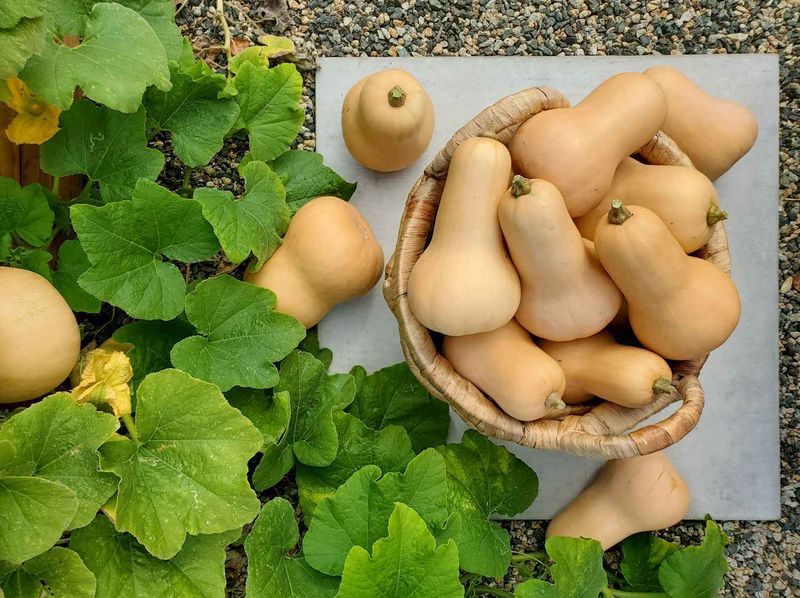
Gourds need a decent stem too. Leave a few inches on ornamental gourds and at least two inches on hard-shell types.
Thick, woody stems can be tough to slice. Heavy duty loppers handle the biggest ones without much effort.
Wipe your blades with rubbing alcohol between plants. That simple step helps stop the spread of any plant disease hiding in your Virginia garden.
Wear gloves too, since pumpkin vines have prickly hairs that can scratch your arms and hands.
Treat the stem like a handle you should not use. It looks sturdy, but it can break off under the weight of the fruit.
A pumpkin with a long, healthy stem looks better on the porch and often lasts weeks longer.
6. Pick Small Ornamental Gourds Before Frost
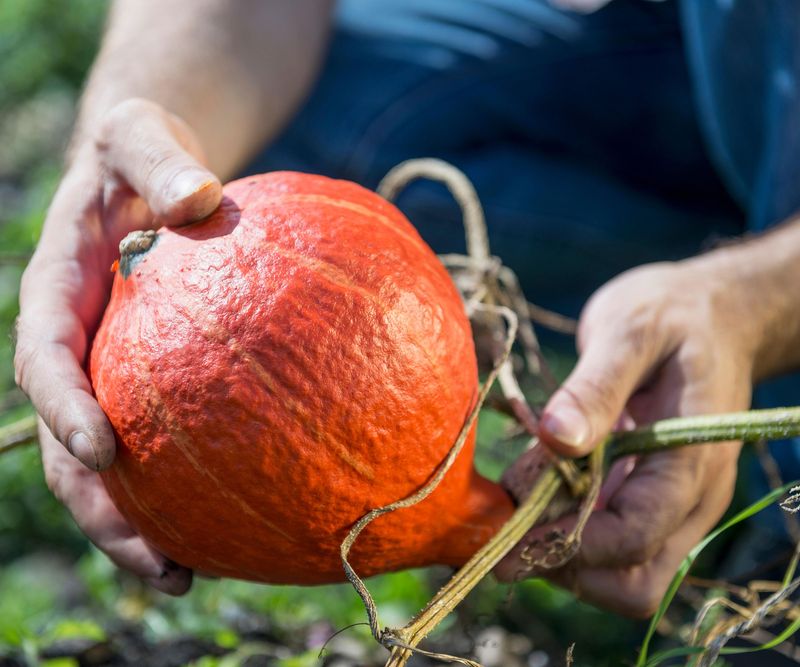
Bumpy, striped, and shaped like tiny crowns, ornamental gourds bring loads of personality to fall decor. They also happen to be some of the most cold-sensitive fruit in the garden.
These small gourds belong to the Cucurbita group, the same group as pumpkins. UConn Extension notes that their fruit is easily damaged by frost, even when fully mature.
Once frost damage sets in, they may soften and spoil much sooner than you would like.
Pick them when the stems start turning brown and the colors look deep and solid. A rind too hard to dent with your fingernail is another good sign.
Many people in Virginia grow gourds just for fun crafts. Kids enjoy painting them, and adults use them in table centerpieces and wreaths.
A batch picked at the right time and handled well can brighten your home for weeks or even months.
Cut each gourd with pruners, leaving a few inches of stem. Handle them like eggs, since cuts and bruises are major entry points for rot.
Wash them gently with mild, warm soapy water, then rinse and dry them with a soft towel.
Let them rest somewhere airy and out of direct sun to finish drying. A little care now gives you a basket of cheerful color all season long.
7. Mature Hard-Shell Gourds Can Stay On The Vine
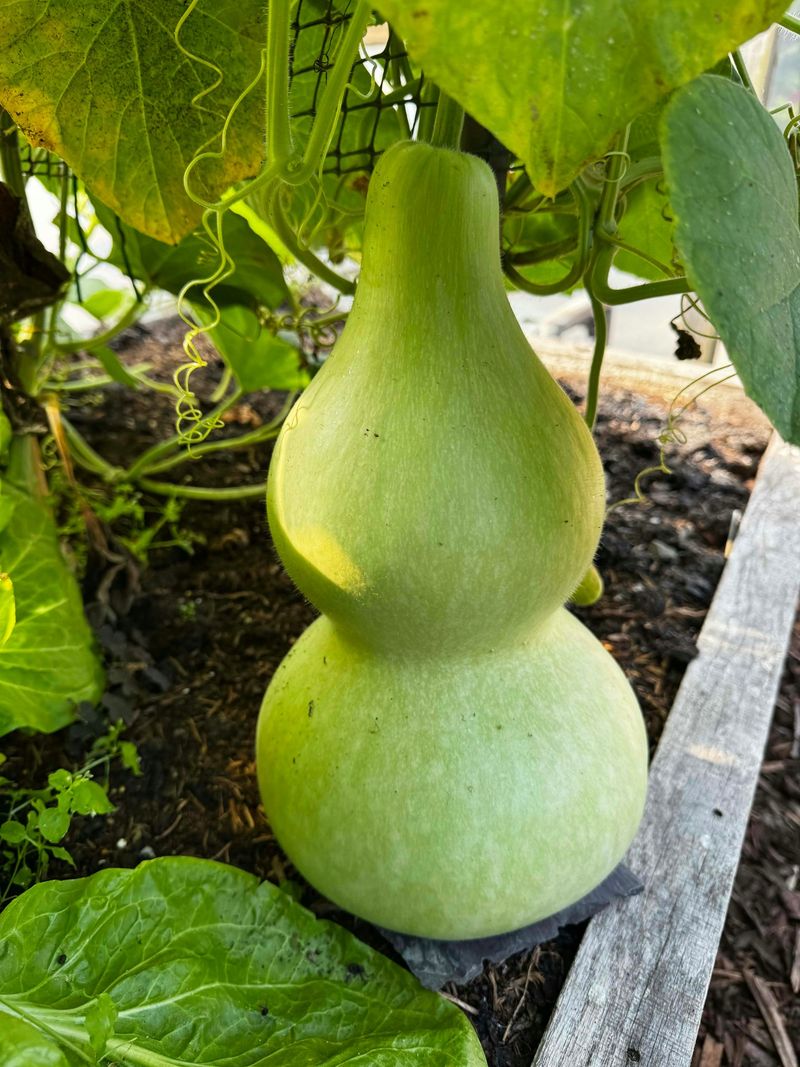
Here is a twist that surprises many new growers. Some gourds can handle staying outside through the cold.
Hard-shell gourds, like birdhouse, dipper, and bottle gourds, belong to a different genus than small decorative ones. They are Lagenaria, a white-flowered group, while ornamental gourds are Cucurbita.
People have grown hard-shell gourds for thousands of years to make bowls, cups, and even musical instruments.
Once these gourds are fully mature, frost does not harm them, so they can stay on the vine after a freeze. The stems should be brown and dry, and the shell should feel firm.
Over time, the inside dries out and the seeds rattle when you shake them.
Many growers leave them in the field well into cold weather. The gourds may turn gray, moldy, or splotchy on the outside.
Not to worry, since that outer layer scrubs off later, sometimes leaving interesting patterns behind.
Immature hard-shell gourds are another story. If they still feel soft or look bright green, frost can damage them, and they tend to rot instead of drying anyway.
Keep the gourds off wet ground if possible. Setting them on a board or pallet helps prevent rot underneath.
Large hard-shell gourds can take up to six months to dry fully. When they feel light and the seeds rattle, you can bring them in, scrub them, and turn them into birdhouses.
Purple martins especially love these homemade nesting spots.
8. Bring In Green Fruit, But Plan To Use It Soon
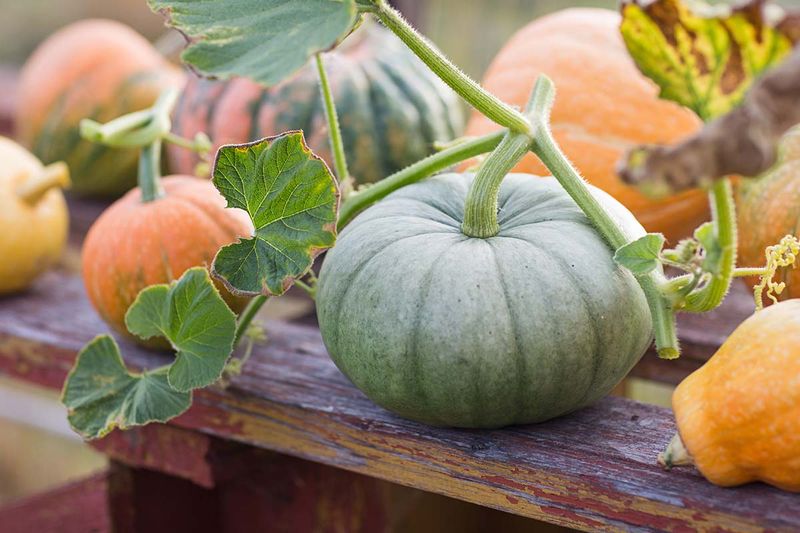
So the cold is coming, and a few pumpkins are still mostly green. Good news, they do not have to go to waste.
Bring them inside before the hard freeze hits. Pumpkins that have started to show some orange may keep ripening indoors.
Place them in a warm, sunny spot, like a windowsill or a sunroom, with the green side facing the light.
Fully green fruit is less likely to change color. It also tends to have a softer rind, which means it will not store as long.
Plan to use these early picks within a few weeks. They work fine for carving, painting, or making a fun table display.
Some small ones can even be roasted, though the flavor may be milder.
Many families in Virginia use green pumpkins for Halloween crafts. Kids can draw faces with markers, and nobody minds the color.
Check them every couple of days for soft spots. Move any that start to spoil out to the compost pile.
Give the fruit a quick wipe with a damp cloth first. Clean skin helps them hold up longer on the counter.
With a little creativity, those underdog pumpkins can still bring plenty of fall cheer.
9. Set Aside Bruised Or Soft Fruit
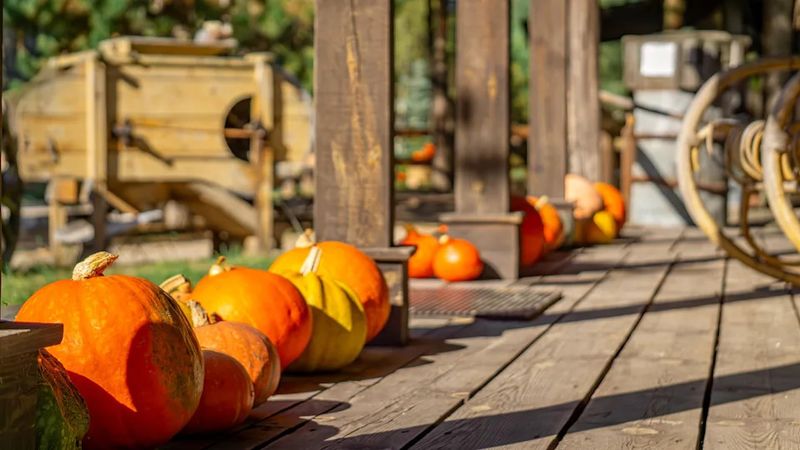
One bad apple spoils the bunch, and the same goes for pumpkins. A single rotting fruit can spread trouble to its neighbors fast.
Sort your harvest as soon as it comes in. Check each pumpkin and gourd for soft spots, cracks, bruises, or deep cuts.
Press gently around the bottom, since rot often starts where the fruit touched the soil.
Fruit with small blemishes can still be useful. Set those aside and use them first, either for cooking or short-term decorating.
Cut away the bad part before cooking, and toss the rest into the compost.
Badly damaged fruit should go straight to the compost pile. Pumpkins break down quickly and add great nutrients for next year’s garden.
Watch for white or gray fuzzy mold, too. Wet fall weather in Virginia often encourages these fungal problems.
Moldy pumpkins need to be separated right away.
Keep your healthy fruit spaced so they do not touch. Air flow between them helps prevent moisture from building up.
Squirrels and deer may also leave bite marks while fruit sits outside. Those openings can turn into rot within days.
Spending ten minutes sorting now saves you from cleaning up a gooey mess later. Your storage shelf will thank you.
10. Cure Pumpkins And Gourds Before Displaying Or Storing
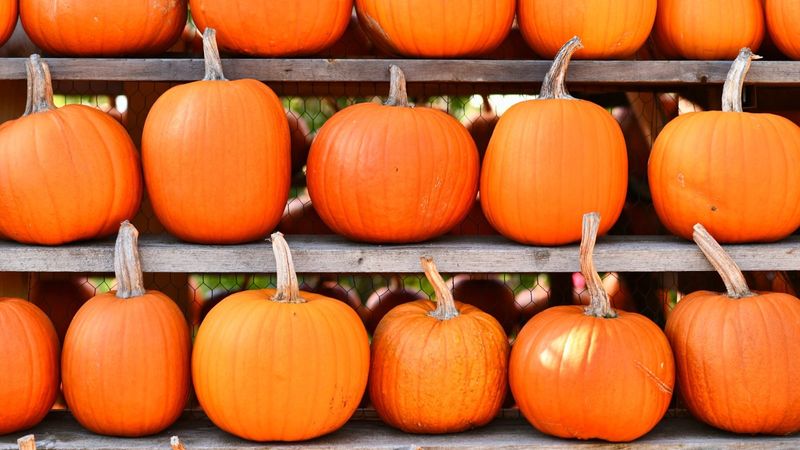
Curing sounds fancy, but it is really just giving your pumpkins a cozy rest. That short break helps them last much longer.
During curing, the skin hardens and small scratches heal over. Pumpkins can keep for two to three months when cured well, and sometimes longer.
Find a warm spot with good air flow. Penn State Extension recommends temperatures around 80 to 85 degrees with relative humidity between 80 and 85 percent.
With late October nights turning chilly across Virginia, an outdoor porch may not stay warm enough. A well-ventilated room indoors is often the better bet this time of year.
Leave pumpkins there for about ten days. Ornamental gourds need longer, usually two to four weeks in a warm, dry spot out of direct sun.
Large hard-shell gourds are the slowpokes of the group and can take several months to dry completely.
Turn them now and then so every side gets air.
After curing, move pumpkins to cooler storage. A basement or shed around 50 to 55 degrees works well for many gardeners.
Keep them off concrete floors by placing them on cardboard or wooden shelves.
Skip storing pumpkins near apples or pears. Those fruits release a gas that can speed up spoiling.
Check your stash every week or so. Pull any that start to soften.
With a little patience, your harvest can brighten your home well past Thanksgiving. Some folks still enjoy homemade pumpkin pie in January.