Signs California Plants Have Spider Mites Instead Of Heat Stress And What To Do About Each
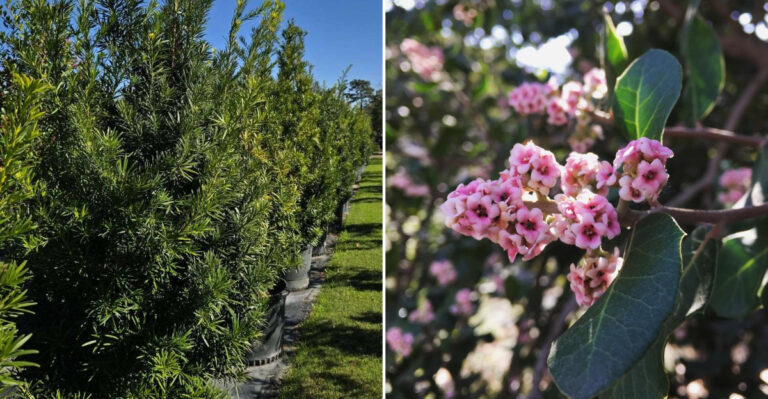
Spider mites are tiny, but they can make a California garden look like it is having a full summer meltdown.
Leaves may turn dull, speckled, or tired right when the weather is already hot enough to blame. That is why many gardeners mistake mite damage for simple heat stress at first.
The plant looks thirsty. The afternoon sun looks guilty. Case closed, right? Not so fast. Spider mites leave clues that heat alone does not.
The trouble is that those clues can be easy to miss until the plant looks seriously worn down.
California’s dry weather can help these pests spread quickly, especially on stressed plants. Heat stress needs one kind of help, while spider mites need a very different response. Guess wrong, and the problem may keep getting worse.
Before you water more or start blaming the forecast, take a closer look at what those leaves are really trying to tell you.
1. Tiny Speckles Point To Spider Mites

Look closely at the surface of your plant leaves. If you see tiny pale dots or speckles scattered across the top of the leaf, that is a strong sign of spider mites.
Each speck is actually a spot where a mite has punctured the leaf and sucked out the contents of a plant cell.
Heat stress does not usually create this kind of spotting pattern. When a plant is struggling from heat alone, the leaves tend to look faded, scorched at the edges, or limp all over. The speckled look is something different and more specific.
Spider mite feeding damage is called stippling. It starts out light and easy to miss. Over time, the dots multiply and the leaf can start to look bronze, silver, or bleached out. The damage spreads from the feeding area outward as more mites join in.
To deal with this, start by examining multiple plants in your garden. If you see stippling on more than one plant, mites are likely spreading. Spray the affected leaves with a strong stream of water to knock mites off.
Follow up with neem oil or insecticidal soap applied directly to the leaves, focusing on both sides.
Repeat every few days for two weeks to break the mite life cycle and stop new damage from forming on your plants.
2. Heat Stress Usually Wilts The Whole Plant

One of the clearest ways to tell heat stress apart from spider mites is to look at the whole plant instead of just one leaf. Heat stress tends to affect the entire plant at once. Leaves droop, stems go limp, and the whole thing looks like it just needs a big drink of water.
Spider mites, on the other hand, tend to start in one area and spread slowly. You might notice one branch or section of the plant looking worse than the rest.
The damage is more patchy and uneven compared to the uniform wilt you see with heat stress.
Another clue is timing. Heat stress often shows up during or right after the hottest part of the day.
Your California Garden Changes Every Week. Your Plan Should Too.
Gardening in California changes quickly throughout the season. Every Friday you’ll receive a simple weekly plan showing exactly what to plant, prune, fertilize, harvest, and protect so you never miss the right timing.
If your plant looks bad at noon but perks back up in the evening after temperatures drop, heat is probably the main issue. Spider mite damage does not go away when it cools down at night.
For heat stress, make sure your plants are getting deep watering in the early morning. Add mulch around the base to keep soil moisture locked in.
For spider mites causing patchy damage, use insecticidal soap or a diluted neem oil spray on affected areas.
Water your plants consistently and avoid overhead watering in the evening, which can cause other problems like fungal growth on stressed plants.
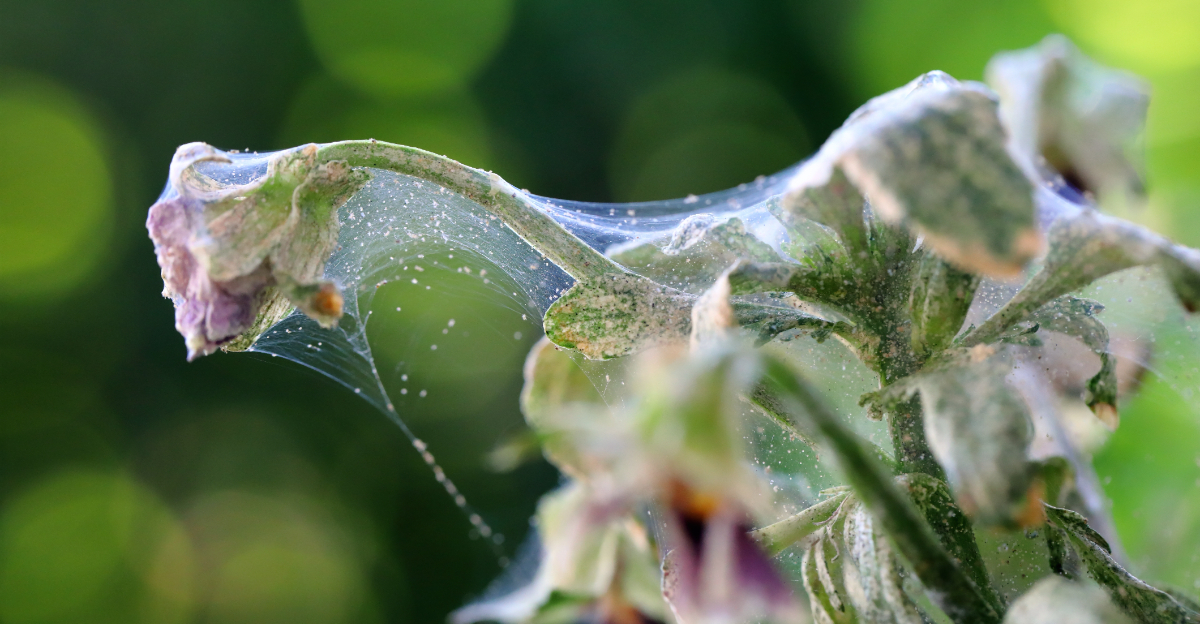
3. Webbing Means It Is Not Just Heat

Finding fine, silky webbing on your plants is one of the most obvious signs that spider mites are at work.
The sun cannot make webs. If you see thin threads connecting leaves or coating the undersides, you are looking at spider mite activity for sure.
The webbing starts out very thin and easy to miss. It often looks like dust or a fine film at first glance.
But if you look closely with good lighting, you will see the threads are actually woven together in a loose, messy pattern.
It is not as neat as a spider web. Webbing usually appears after a mite population has been growing for a while. It means there are likely a lot of mites present.
The webs actually help protect the mites from predators and from being washed away by rain or irrigation.
Once you see webbing, act quickly. Use a strong blast of water from your garden hose to physically remove as many mites and webs as possible. Do this in the morning so leaves can dry before evening.
Then apply neem oil mixed with water and a few drops of dish soap to all leaf surfaces, especially the undersides. Repeat this treatment every three to four days for at least two full weeks.
Remove any heavily webbed leaves and put them in a sealed bag before throwing them away to stop spreading mites.
4. Check The Undersides Of Leaves

Most people check the tops of leaves when something looks wrong with a plant. But spider mites live and feed on the undersides of leaves, which is why so many infestations go unnoticed for too long.
Flipping over a leaf is one of the simplest and most useful things you can do to diagnose a problem early.
On the underside, you might see tiny moving dots. Spider mites are about the size of a period at the end of a sentence. They can be red, green, yellow, or brown depending on the species.
You might also see shed skins, tiny eggs, or the beginning of webbing before it becomes visible from the top.
Heat stress leaves no creatures on the underside of a leaf. If you flip it over and see nothing, heat is more likely the issue.
Finding mites early means you can treat before the population explodes and spreads to other plants nearby.
Make it a habit to check leaf undersides every week during hot, dry weather. Early detection saves a lot of effort later. If you spot mites, spray the undersides directly with neem oil solution or insecticidal soap.
Make sure your spray reaches all the way under every affected leaf. A handheld sprayer with a curved nozzle works well for this.
Consistency matters more than the strength of your treatment when managing mites effectively.
5. Dusty Plants Attract More Mite Trouble

Dust is not just a cosmetic problem for your garden plants. A thick layer of dust on leaves actually helps spider mites thrive by blocking the natural predators that would normally keep mite numbers in check.
Dusty conditions are very common during our dry summer months. When leaves are coated in dust, beneficial insects like predatory mites and ladybugs have a harder time moving around and finding food.
This gives harmful spider mites a big advantage. Dust also makes it harder to spot early signs of mite activity, so problems go undetected longer.
Plants near dirt roads, dry pathways, or areas with frequent foot traffic tend to collect the most dust.
Vegetable gardens and ornamental shrubs along fences or driveways are especially vulnerable. Even a thin layer of dust can make a noticeable difference in mite populations over time.
Rinse your plants off regularly with a garden hose, even if you do not see signs of mites yet. Washing the leaves removes dust and physically knocks off any mites that have settled in. Do this in the morning so water has time to evaporate before nightfall.
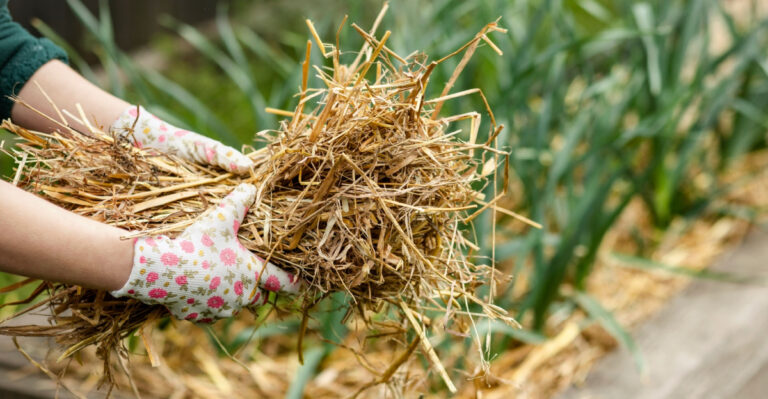
You can also lay down ground cover or mulch near plants to reduce dust kicked up from dry soil. Keeping plants clean is one of the easiest and most overlooked ways to prevent spider mite outbreaks all season long.
6. Dry Heat Helps Spider Mites Spread Fast

Spider mites absolutely love hot, dry weather. Our state is known for long stretches of dry heat during summer, and that is exactly the kind of environment where mite populations can double in just a few days.
Understanding this connection helps you stay one step ahead. When temperatures climb above 90 degrees and humidity drops, spider mites reproduce at a much faster rate.
A single female mite can lay dozens of eggs in her short lifetime. Within a week, a small group of mites can turn into a full-blown infestation covering multiple plants in your yard.
Mites also spread more easily in dry conditions because they travel on the wind. Tiny mites get carried from plant to plant on air currents, especially when plants are stressed and not producing as many natural defenses.
Dry, dusty air makes this kind of travel easier for them. During heat waves, increase your garden watering schedule and mist the area around your plants to raise local humidity slightly.
This alone will not stop mites, but it slows them down. Check plants more frequently during hot spells and be ready to act at the first sign of damage.
Keeping plants well-watered and healthy makes them more resistant to mite feeding. A stressed, thirsty plant is much more vulnerable to mite damage than a well-cared-for one getting consistent moisture and nutrients throughout the season.
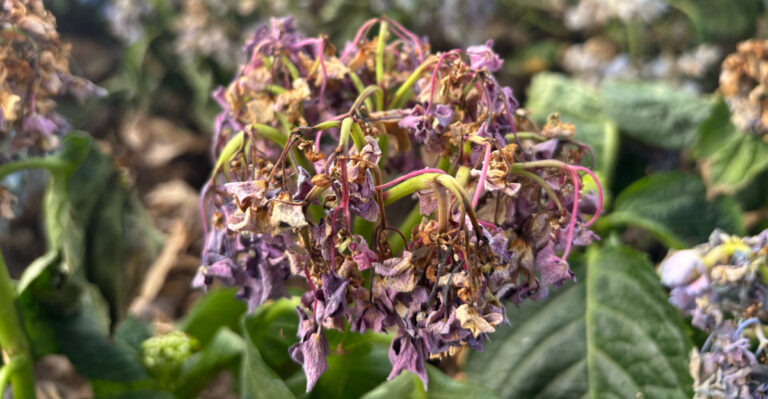
7. Yellow Leaves Can Mean Two Different Things

Yellow leaves are one of the most common signs that something is wrong with a plant. The tricky part is that both heat stress and spider mites can cause leaves to turn yellow. Knowing how to tell the difference saves you from treating the wrong problem.
Heat stress yellowing usually starts at the tips or edges of leaves and moves inward. The rest of the leaf might still look somewhat normal or just faded.
Whole leaves tend to yellow at once, and the pattern is fairly consistent across the plant from top to bottom.
Spider mite yellowing looks different. It tends to be more irregular and patchy. You might see yellow spots mixed in with green areas on the same leaf.
The stippling damage from feeding creates a mottled look that is uneven and scattered rather than spreading from one edge inward.
To figure out which one you are dealing with, combine your visual check with the white paper test described later in this article.
If mites are present, treat with insecticidal soap or neem oil right away. If heat is the main issue, focus on deep watering, shade cloth during the hottest hours, and mulching around the base of plants.
Sometimes both problems happen at the same time, so treat for mites and improve watering habits together for the best chance of helping your plants recover fully and quickly.
8. A White Paper Test Can Confirm Mites

Here is a quick and easy trick that every gardener should know. Hold a plain white sheet of paper under a suspicious-looking leaf and give the leaf a firm tap or shake.
Then look at the paper closely. If you see tiny specks moving around, you have spider mites.
This test works because mites fall off the leaf when disturbed. Against a white background, even the tiniest mites become visible to the naked eye.
You might need to look carefully for a few seconds since they move slowly at first. Using a magnifying glass makes it even easier to confirm what you are seeing.
Heat stress will not produce any moving specks on your paper. If the paper stays clean after several taps from multiple leaves, heat is more likely your main issue.
This simple test takes less than a minute and gives you a clear answer without needing any special equipment or products.
Once you confirm mites, start treatment the same day. Mix neem oil with water and a small amount of liquid dish soap in a spray bottle. Shake well and spray all leaf surfaces thoroughly, paying close attention to the undersides.
Do not spray during the hottest part of the day or in direct sunlight, as this can cause leaf burn.
Treat every three to four days and keep testing with the white paper method to track whether the mite population is going down after each treatment application.
9. Rinse Mites Off Before They Spread

Water is one of the most powerful and affordable tools you have against spider mites. A strong spray of water from a garden hose can physically knock mites off leaves and disrupt their colonies before they have a chance to rebuild.
This method works best when done early and consistently. Focus your water stream on the undersides of leaves where mites spend most of their time.
Use a nozzle setting that gives you a firm, steady spray without tearing the leaves. Work your way through the entire plant, section by section, so you do not miss any spots where mites might be hiding.
Do this in the morning so the leaves have time to dry out during the day. Wet leaves left overnight can invite fungal problems, which is the last thing you want on top of a mite issue. Morning rinsing also gives the plant a fresh start before temperatures rise.
Rinsing alone may not be enough if the infestation is already large. Combine water rinsing with neem oil or insecticidal soap treatments for better results. After rinsing, let the leaves dry for a few hours, then apply your chosen treatment.
Repeat the full rinse-and-treat routine every three to five days. Check the plants each time using the white paper test to see if the mite numbers are dropping. Staying consistent with this routine is the key to getting your garden back to full health.