8 Simple Methods To Keep Your Geraniums Blooming All Season Long
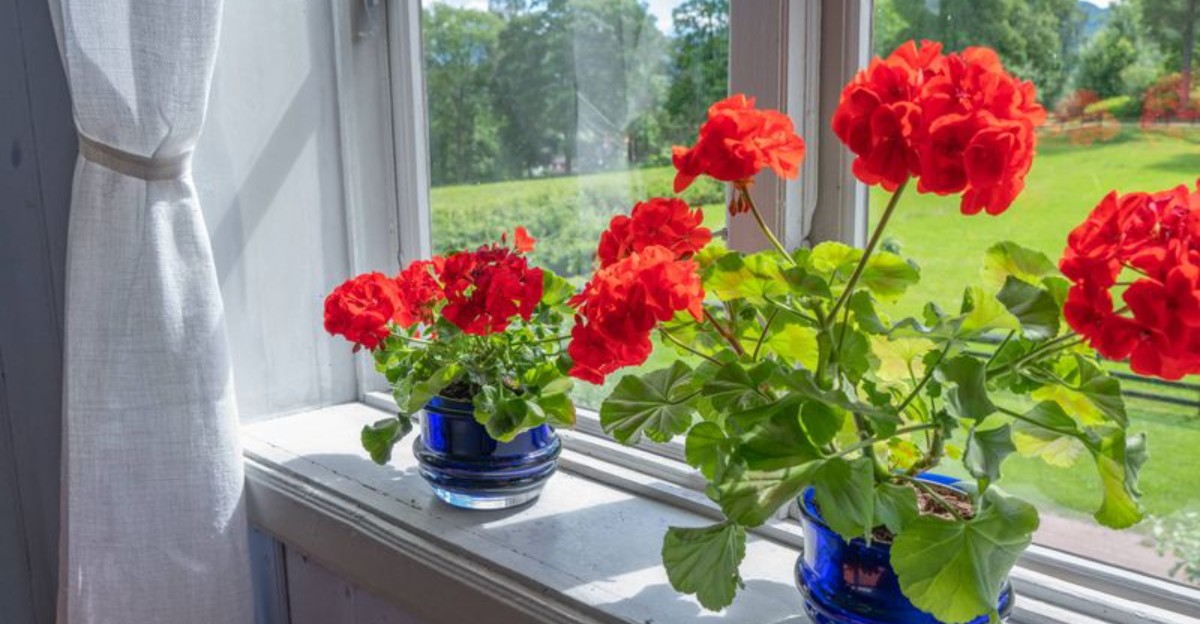
The flower on my porch is named after a stork, because its seed pods look like a long pointed beak. Those beaks matter more than you think, since every seed pod quietly steals energy from the next round of flowers.
Most of these sunny bloomers trace their roots to South Africa, where they handle dry spells and bright light. Gardeners in colder places usually treat them as annuals, yet they act like perennials in zones 10 and 11.
I’ll admit it, my first pots looked glorious in May and sadly skimpy by the middle of July. I blamed the weather for weeks, but the real trouble turned out to be my own lazy habits.
Small changes made a big difference, and most take less time than a morning cup of coffee. So what separates a tired summer pot from one that keeps flowering right up until the first frost arrives?
1. Give Your Geraniums Six Hours Of Bright Sun
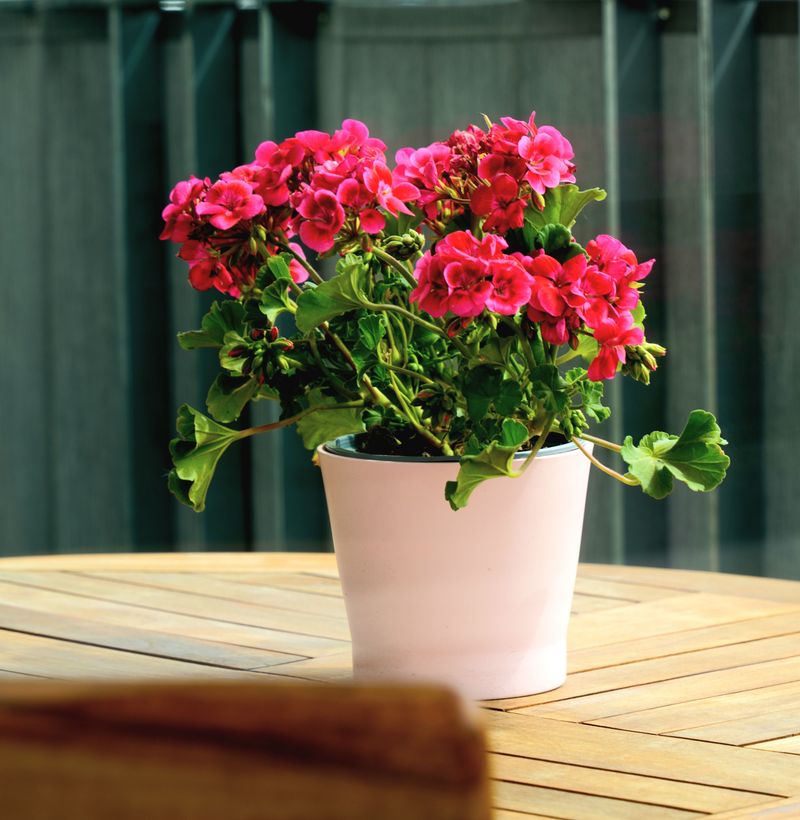
Geraniums grow like little solar panels, and every hour of direct sunshine turns into fuel for fresh flower buds. I once parked a pot on a shady porch corner, and it sulked with long stems and barely any color.
Most growers agree that six hours of direct sun each day is the sweet spot for steady blooming. More light usually means more flowers, especially for the classic zonal types with those dark rings on their leaves.
Too little sun causes stretched, floppy stems that lean toward the light like they are reaching for a snack. Those leggy plants also produce fewer flower clusters, so the whole pot looks thin and a bit tired.
Hot southern summers change the rules, though, because blazing afternoon heat can stress plants and fade the petals. In those regions, a spot with morning sun and light afternoon shade often keeps blooms looking fresh much longer.
Ivy geraniums in hanging baskets also appreciate a little relief from harsh late-day rays in warmer climates. Their trailing stems look lovely spilling over a railing, but scorched leaves will quickly spoil that pretty effect.
Pots give you a huge advantage, since you can simply move them when the light shifts during the season. I nudge mine around the patio every few weeks, chasing the brightest spots as the sun angle changes.
Before planting, spend one sunny day watching your yard and noting which areas get light for the longest stretch. That simple bit of homework costs nothing, yet it sets up every other tip on this list for success.
2. Pinch Off Faded Geranium Flower Clusters Every Week
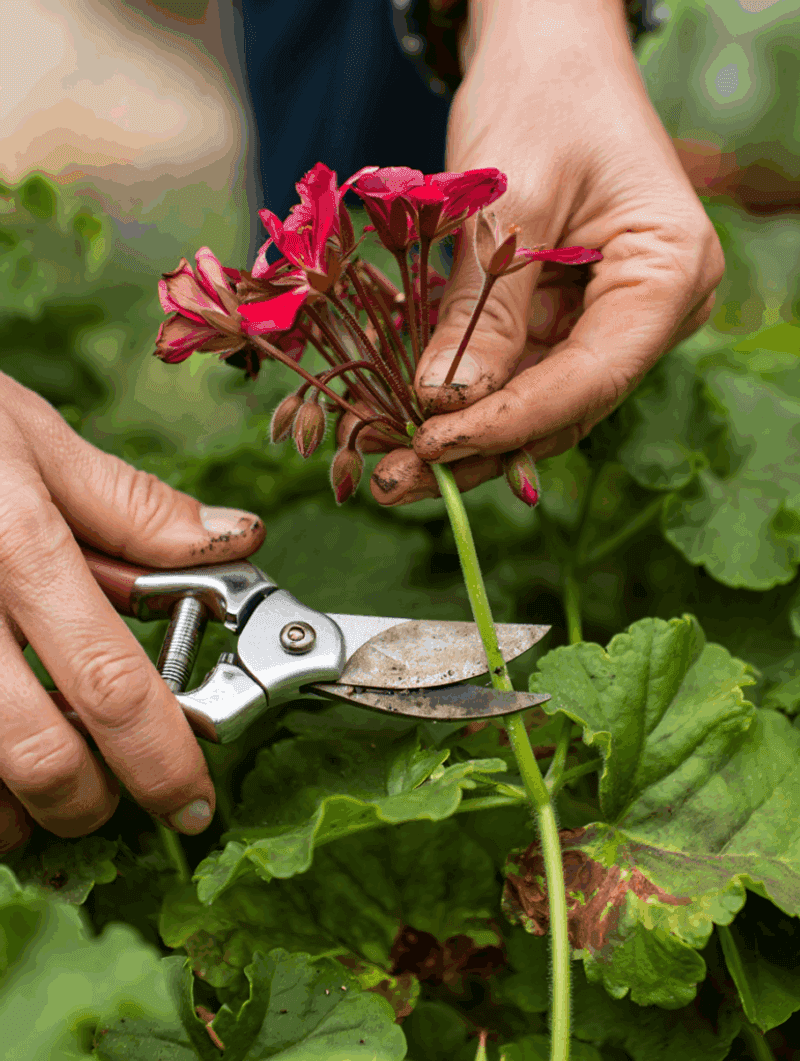
Snapping off a faded geranium bloom makes a satisfying little pop, and honestly it ranks among my favorite garden chores. Each spent cluster you remove tells the plant to stop making seeds and start building new flowers instead.
Left alone, old blooms turn brown and mushy, and they start forming those long, pointy seed pods. Seed making uses up a lot of energy, so the plant slows down on producing fresh buds.
The trick is removing the whole flower stalk, not just the papery petals sitting at the very top. Follow the stem down to where it meets the main stem or a leaf, then pinch or snip it cleanly.
Leaving bare stalks behind looks messy, and those leftover stems can turn mushy and invite gray mold later. Clean fingers work fine for thin stems, while a small pair of sharp snips handles the thicker ones.
I make it a weekly habit, usually on Saturday mornings while the garden is still cool and quiet. Checking regularly keeps the job quick, because you only deal with a handful of faded clusters at a time.
Drop the removed blooms into a bucket instead of letting them fall onto the soil around your plants. Rotting petals on damp soil can encourage fungal trouble, which is the last thing your flowers need.
Some newer varieties shed their petals more neatly, but they still benefit from having old stalks removed. Stay consistent with this one habit, and you will likely notice a bigger flush of color within weeks.
3. Water Geraniums Deeply Once The Top Inch Dries
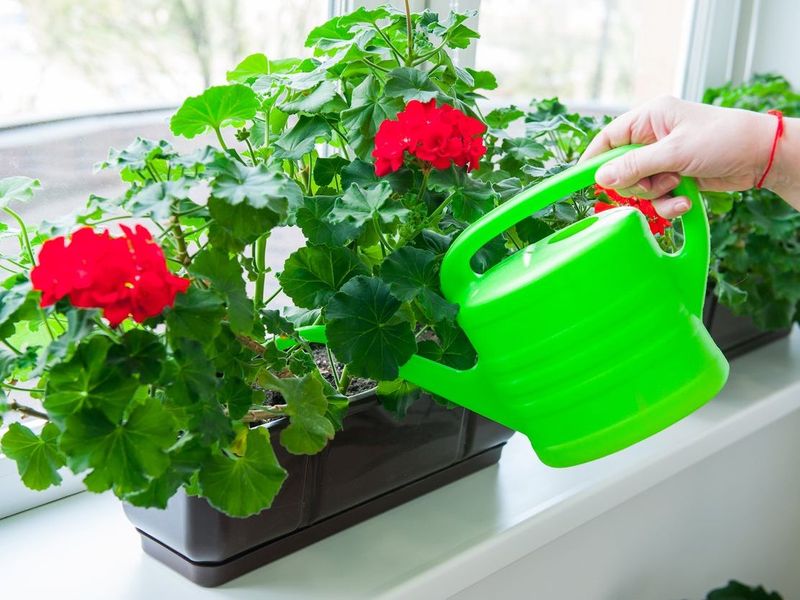
Geraniums are like guests who enjoy a drink but hate soggy shoes, and their roots feel the same. I learned the hard way that loving them with daily watering led straight to yellow leaves and mushy stems.
These plants handle short dry spells fairly well, thanks to their South African background and thick, fleshy stems. Constantly wet soil, on the other hand, can starve roots of air and lead to root rot problems.
Before watering, push a finger into the soil and check whether the top inch or two feels dry. When it does, water deeply until moisture runs out the drainage holes, then let the pot drain fully.
Morning is my favorite time to water, because cooler air means less moisture escapes before roots can drink. Early evening works too, as long as the leaves have a chance to dry before the night arrives.
Aim the hose or watering can at the soil instead of sprinkling the leaves from above. Wet foliage that stays damp for hours can encourage fungal diseases, especially during humid stretches of summer weather.
Container plants dry out much faster than garden beds, particularly small pots and hanging baskets in full sun. During heat waves, you may need to check them daily, while in-ground plants can often wait several days.
Wilting can confuse people, since thirsty plants and waterlogged plants sometimes droop in very similar ways. Feel the soil first every time, and you will avoid accidentally drowning a plant that only looked thirsty.
4. Feed Hungry Geraniums With A Balanced Fertilizer
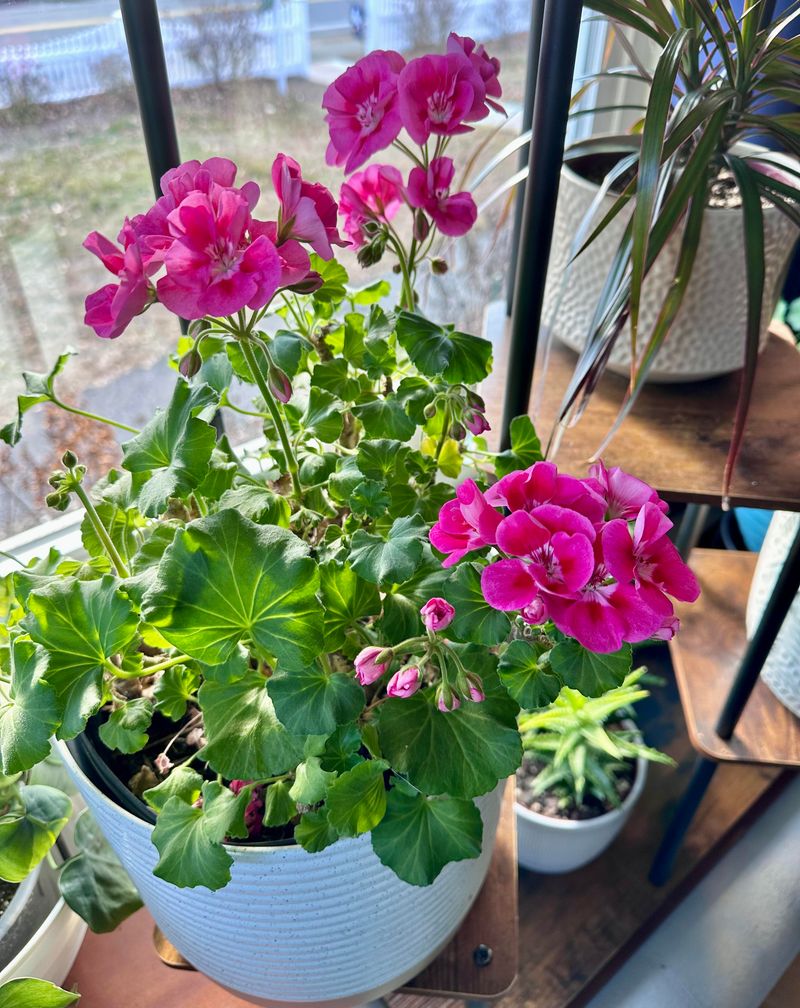
Nonstop flowering takes serious energy, and geraniums are known among gardeners as fairly heavy feeders all summer long. Not going to lie, I skipped fertilizer my first year and wondered why my blooms got smaller every month.
Container plants need extra help, because frequent watering slowly washes nutrients out through the drainage holes at the bottom. Plants in garden beds also benefit, though they usually have a bit more natural soil to draw from.
A balanced liquid fertilizer applied every two to four weeks keeps a steady supply of nutrients flowing. Follow the label directions carefully, since mixing it stronger than recommended can burn tender roots and leaves.
Slow-release granules mixed into the soil at planting time offer an easier option for busy gardeners like me. Those pellets break down gradually over several months, so you do not have to remember a strict schedule.
Watch out for fertilizers loaded with nitrogen, which push the plant toward lush leaves instead of flowers. A huge green plant with only a few blooms often signals that it has been overfed with nitrogen.
Water your geraniums before feeding them, because fertilizer on dry roots is more likely to cause damage. I like feeding on the same morning I water, which turns two chores into one easy routine.
Ease up on feeding as the weather cools in fall and the plants naturally slow their growth. Pale or yellowing leaves during peak season, however, can hint that your hungry plants need a snack soon.
5. Plant Geraniums In Loose Soil That Drains Fast
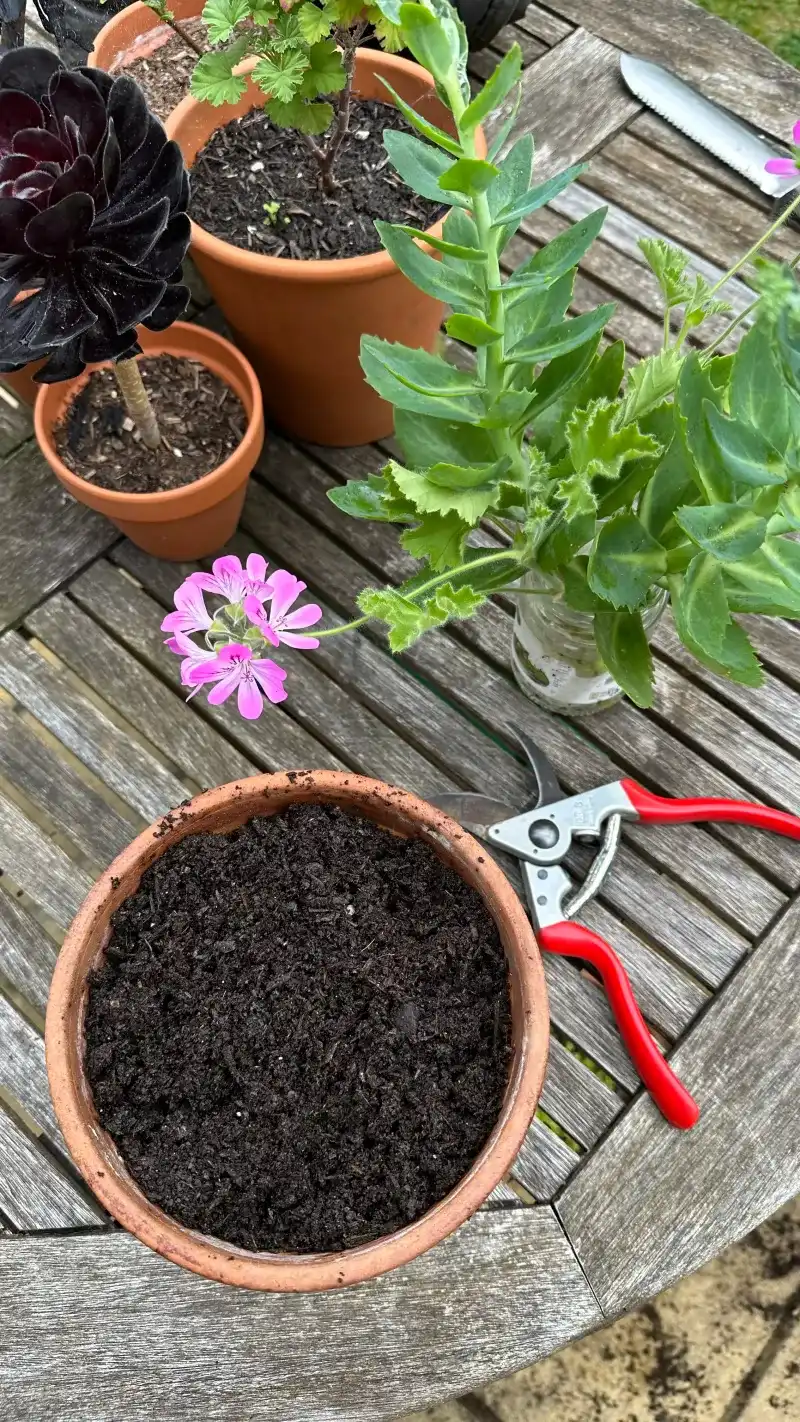
Good soil is like a comfy mattress for roots, and geraniums sleep best when water drains away quickly. Heavy clay holds moisture like a sponge, which can leave roots sitting in cold, soggy mud for days.
Fertile ground that drains well gives these plants the strong foundation they need for months of steady flowering. Without it, even perfect sunshine and careful feeding cannot fully make up for roots that are struggling underground.
If your garden bed has dense clay, mix in generous amounts of compost or other organic matter before planting. That added material loosens the soil, helping extra water move through instead of pooling around the roots.
Raised beds offer another smart fix, since they lift plants above soggy ground and warm up faster in spring. I switched to one along my sunny fence, and the geraniums there easily outperformed my old clay patch.
For containers, choose a quality potting mix rather than scooping regular garden soil into your pots. Garden soil packs down tightly in containers, while potting mix stays light and fluffy for healthy root growth.
Drainage holes matter just as much as the mix itself, so check every pot before you plant anything. Pretty decorative pots without holes can trap water at the bottom, quietly rotting roots where you cannot see.
Skip the old advice about adding gravel to the bottom, because it can actually raise the soggy zone. Simply use good mix and open holes, and your geraniums will reward you with stronger stems and brighter blooms.
6. Trim Leggy Geranium Stems For Bushier Plants
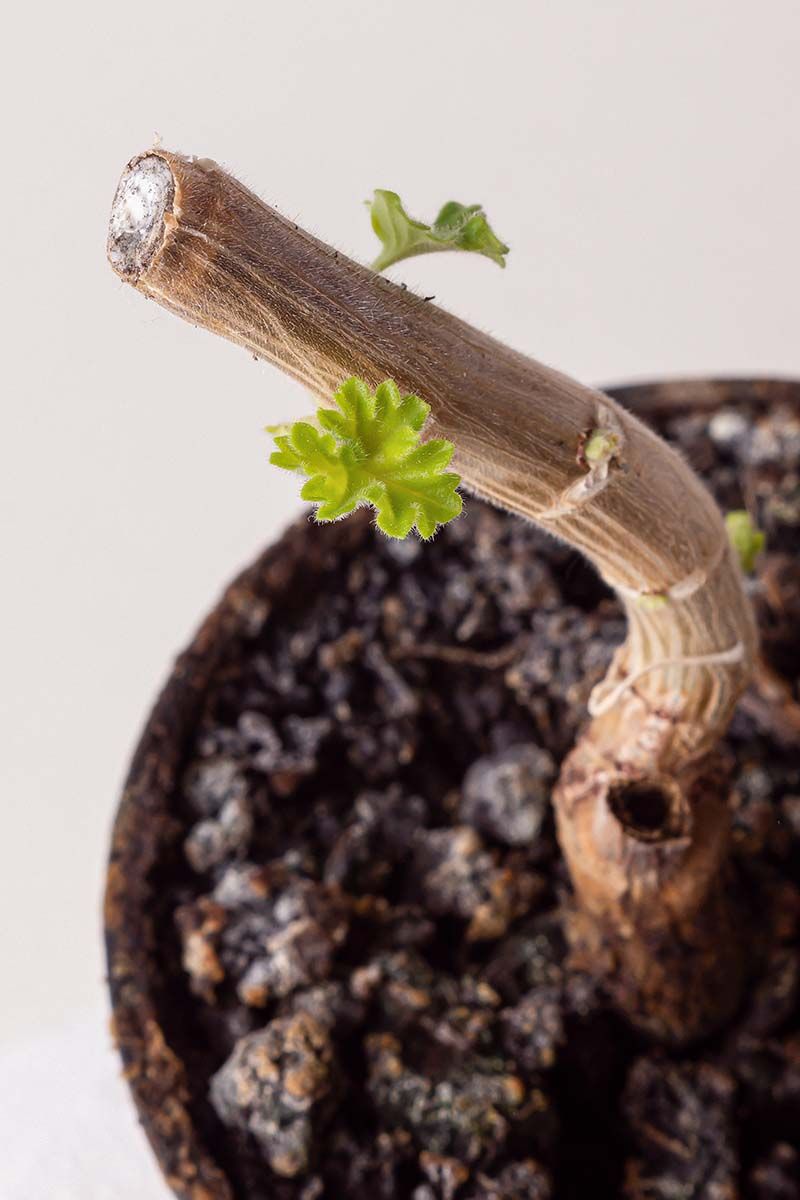
Cutting back a healthy geranium feels a bit like giving a toddler a haircut, nerve-racking but usually worth it. I used to think pruning would cost me flowers, but my plants bounced back fuller and bloomed even more.
Geraniums naturally stretch out over time, producing long bare stems with just a few leaves near the tips. Trimming encourages new shoots to sprout lower on the stems, creating a compact plant with more flowering points.
In late spring or early summer, you can cut back roughly one-third of the plant to refresh it. Make each cut just above a leaf node, where new growth is most likely to emerge in a few weeks.
Pinching the soft tips of young plants also helps, since each pinch encourages the stem to branch out. I do this a few times on new transplants, and it builds a fuller shape before summer heat arrives.
Hardy geraniums, the true cranesbills, follow a different routine than the popular pelargoniums found in most containers. Many can be cut back to a few inches above the ground after their first flush of flowers fades.
That bold trim often rewards you with fresh leaves and a second round of blooms later in the season. Plants you kept indoors over winter respond well to a firm pruning in early spring before regular growth resumes.
Clean, sharp pruners make smooth cuts that heal quickly and reduce the chance of spreading disease between plants. Wipe the blades with a disinfectant between plants, especially if any of them show spotted leaves or moldy patches.
7. Watch Geranium Leaves For Budworms And Gray Mold
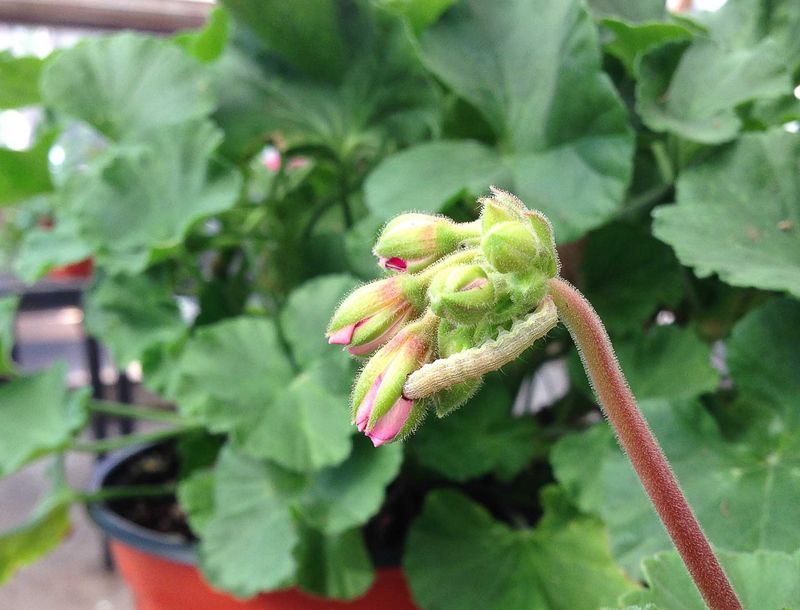
Tiny holes in geranium buds puzzled me for weeks, until I spotted a small green caterpillar hiding inside one. That sneaky culprit was a geranium budworm, a moth larva that tunnels into buds before they ever open.
Budworms can chew through flower buds quickly, leaving you with ragged blooms or no blooms at all. Checking buds closely and hand-picking any caterpillars you find is a simple first step for small gardens.
Aphids and whiteflies also visit geraniums, gathering on new growth and the undersides of leaves to feed. A strong spray of water knocks many aphids off, and insecticidal soap can help with bigger problems.
Gray mold, also called botrytis, shows up as fuzzy gray patches on old flowers and damp leaves. It spreads most during cool, humid weather, so faded blooms and crowded plants make easy targets for it.
Rust is another fungal issue, causing small rusty spots on the undersides of leaves with yellow patches above. Remove infected leaves promptly and toss them in the trash rather than your compost pile at home.
Good airflow is your best friend here, so leave a little breathing room between pots and garden plants. Watering at soil level also keeps leaves dry, which gives fungal spores fewer chances to settle in comfortably.
I take a quick stroll past my geraniums every few days, flipping a leaf or two as I go. Catching trouble early usually means a small fix, while waiting too long can turn into a much bigger headache.
8. Bring Potted Geraniums Indoors Before The First Frost
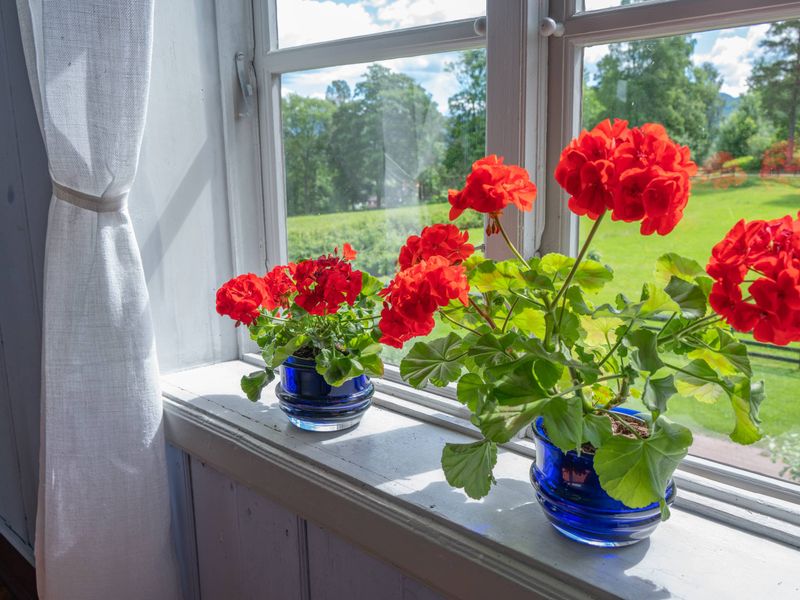
Some of my geraniums are older than my car, thanks to a simple habit of bringing them inside each fall. Pelargoniums are tender perennials, so they can keep growing for years if you protect them from freezing temperatures.
In zones 10 and 11, they often stay outdoors year-round, but colder regions need a winter plan. Move pots indoors before the first frost, since even one hard freeze can badly damage the soft stems.
The easiest method is keeping them as houseplants near your sunniest window, ideally one facing south or west. Water lightly, skip most fertilizer, and expect fewer flowers during the darker months while they rest a bit.
Another option is letting them go dormant, which works well if you lack bright windows or spare space. Trim back the foliage, then store the pots in a cool, dark spot like a basement or garage.
That storage area should stay cool but above freezing, so check temperatures before trusting an unheated space. Water sparingly through winter, just enough to keep the stems from shriveling while the plants sleep quietly.
As spring approaches, gradually move them back into brighter light and slowly resume regular watering and feeding. Give them a firm pruning too, which encourages strong new shoots instead of weak and spindly growth.
Once frost danger passes, harden them off outdoors over about a week before returning them to their summer homes. Saving favorites this way saves money, and I’m a sucker for seeing an old friend bloom again.