15 Spring Rose Care Tips Every Missouri Gardener Should Know At Bud Break
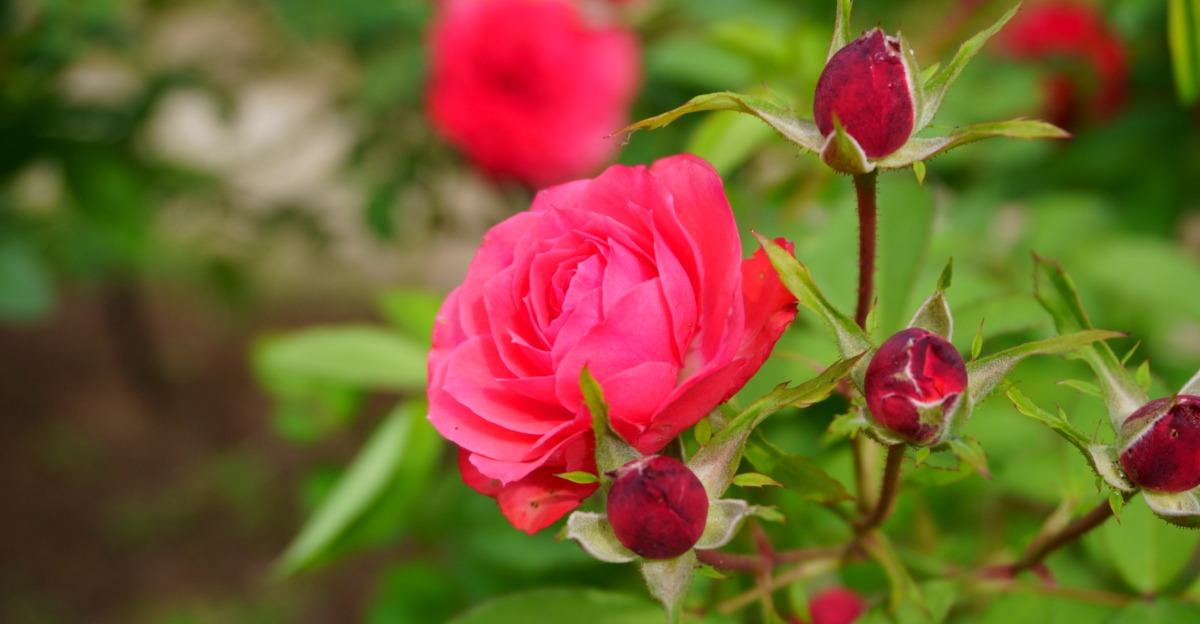
Right now, while you are reading this, your rose canes are waking up and they are not willing to wait. Those tiny buds are your plants asking for attention before the season runs away from you.
I learned this the hard way one April in Missouri, proudly doing nothing early on and then watching my best climber sulk through June while everyone else’s yards blazed with color. Missouri keeps you honest.
A warm week in March tricks you into thinking spring arrived. Then a sharp cold night rolls through and reminds you who is really in charge.
Timing your care around those swings is not optional. It is what separates full, fragrant blooms from patchy, underwhelming ones.
Roses reward the gardener who shows up at the right moment. Get that timing right, and come late spring, your front yard becomes the kind of place people slow down just to take in.
1. Apply Slow-Release Fertilizer
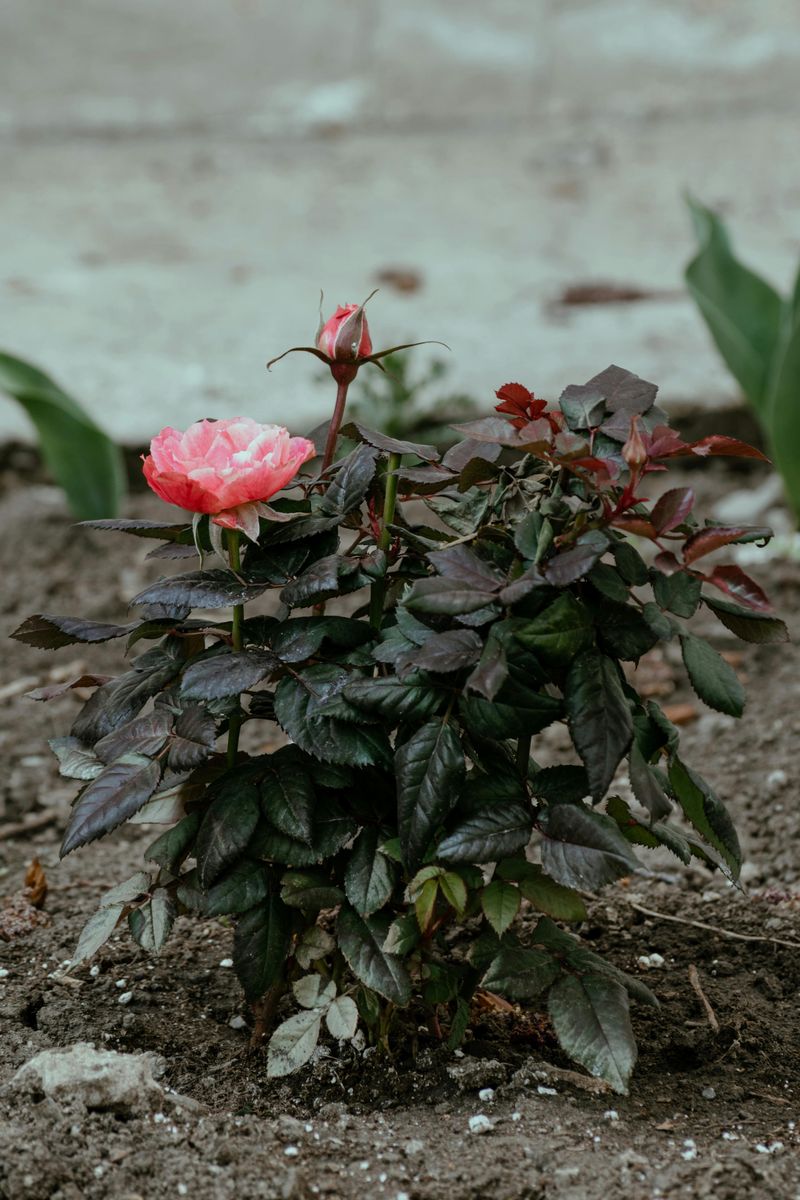
Hungry roses are weak roses, and spring is the moment they need fuel the most. Feed in early spring once new growth has begun and the danger of severe freeze has mostly passed.
Slow-release granular fertilizer is the MVP of rose nutrition because it delivers a steady, gentle supply of nutrients over several weeks instead of one overwhelming blast.
Sprinkle the granules evenly around the drip line of each plant, which is the outer edge of the canopy where roots actively absorb. Avoid piling the product directly against the stem.
Work it lightly into the top inch of soil and water it in well so the nutrients begin moving downward.
One application in early spring can support your roses through six to eight weeks of active growth. Look for a formula labeled specifically for roses or flowering shrubs.
Use a rose-labeled or balanced slow-release fertilizer based on soil test results and label directions. Your buds will reward you with thicker stems and richer color almost immediately.
2. Add Fresh Compost Around The Base
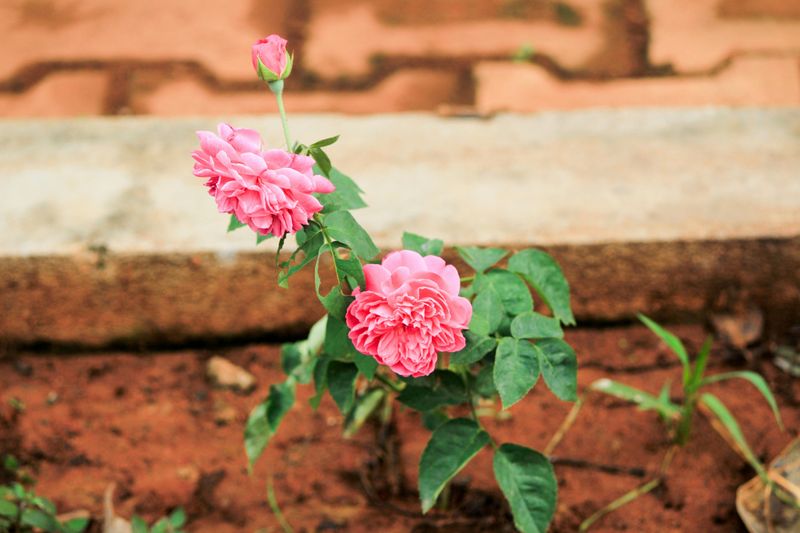
If roses could ask for one thing right now, it would be compost. It feeds the soil ecosystem rather than just the plant, encouraging the beneficial microbes that break down nutrients into forms your roses can actually absorb.
Think of it as upgrading the neighborhood, not just the house.
Spread two to three inches of finished compost in a wide ring around each bush. Start a few inches away from the main stem and work outward to just past the drip line.
You want the roots to have access to all that goodness without the crown sitting in moisture-trapping material.
Garden centers sell bagged compost if your own pile isn’t ready yet. Look for fully decomposed material that smells earthy and crumbly, not sour or chunky.
Mixing in a small amount of aged manure boosts the organic matter even further. Over time, regular compost applications improve drainage in clay-heavy Missouri soil and help sandy soil hold moisture longer.
This one step builds long-term rose resilience season after season.
Your Missouri Garden Changes Every Week. Your Plan Should Too.
Gardening in Missouri changes quickly throughout the season. Every Friday you’ll receive a simple weekly plan showing exactly what to plant, prune, fertilize, harvest, and protect so you never miss the right timing.
3. Check Soil pH Between 6.0 And 6.5
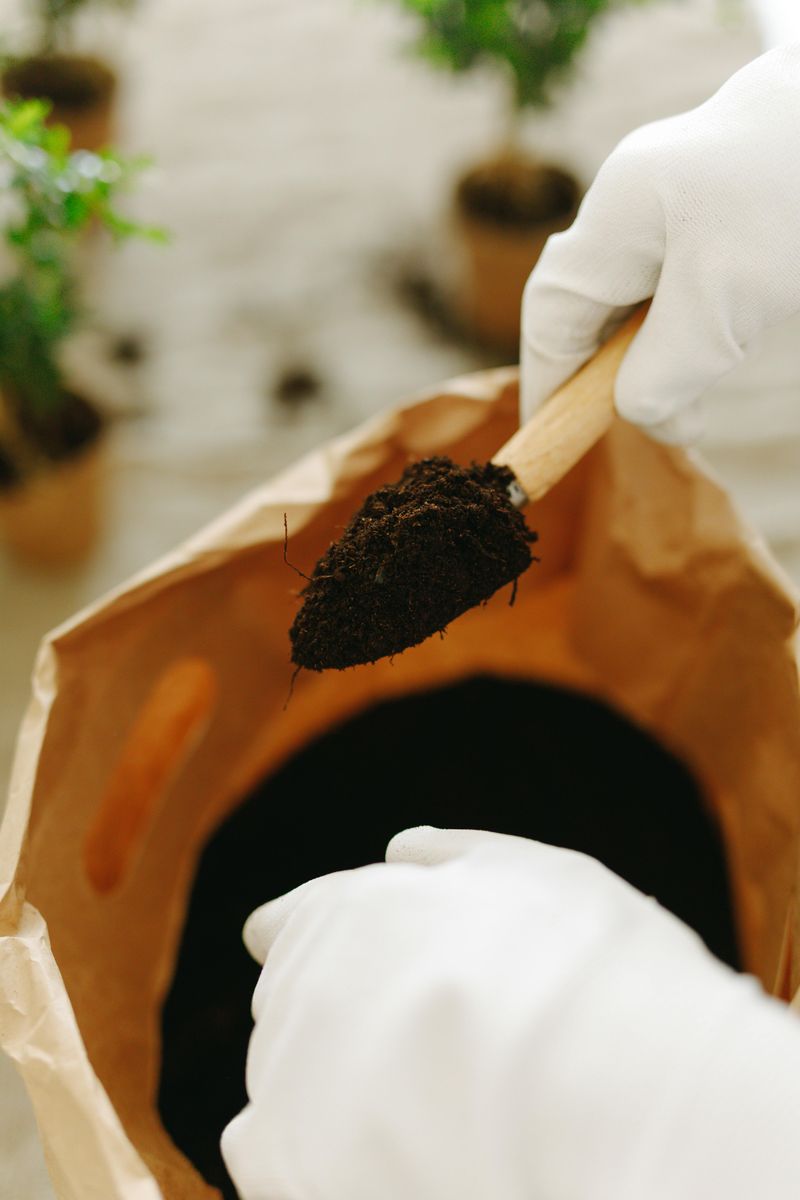
Roses are picky about their soil chemistry, and pH is the silent factor most gardeners overlook. When the pH drifts too high or too low, nutrients lock up in the soil and become unavailable to the plant, no matter how much you fertilize.
The sweet spot for roses sits between 6.0 and 6.5 on the pH scale.
Pick up an inexpensive soil test kit at any garden center or order one online. Testing takes about five minutes and gives you a clear number to work with.
Some Missouri soils, especially limestone-influenced areas, may test alkaline, so check pH before adding lime or sulfur.
If your pH reads below 6.0, adding garden lime will raise it gradually. Always make adjustments slowly over a season rather than dumping in large amounts at once.
Retest after four to six weeks to track your progress. Healthy pH means your roses can actually use the fertilizer and compost you’re applying.
Skipping this step is like paying for a gym membership and never walking through the door.
4. Avoid High Nitrogen Fertilizer

Lush green leaves sound great until you realize your roses produced almost no flowers. High nitrogen fertilizer is the sneaky culprit behind beautiful foliage and disappointing blooms.
Nitrogen pushes leafy, vegetative growth, which is fantastic for lawns but counterproductive for a rose in bud stage.
At bud break, your roses need phosphorus and potassium more than nitrogen. Phosphorus supports root development and flower production, while potassium strengthens stems and boosts disease resistance.
A fertilizer heavy in nitrogen at this stage sends all the plant’s energy into leaves instead of those gorgeous blooms you’re waiting for.
Read every fertilizer label before you buy. The three numbers represent nitrogen, phosphorus, and potassium in that order.
For spring rose feeding, choose something where the middle number is equal to or higher than the first. Formulas like 5-10-5, 4-8-4, or rose-specific blends hit that mark well.
Saving the high-nitrogen feed for your lawn will keep your yard balanced and your roses flowering the way they should. One small label-reading habit makes a surprisingly big difference by midsummer.
5. Water Deeply Once A Week
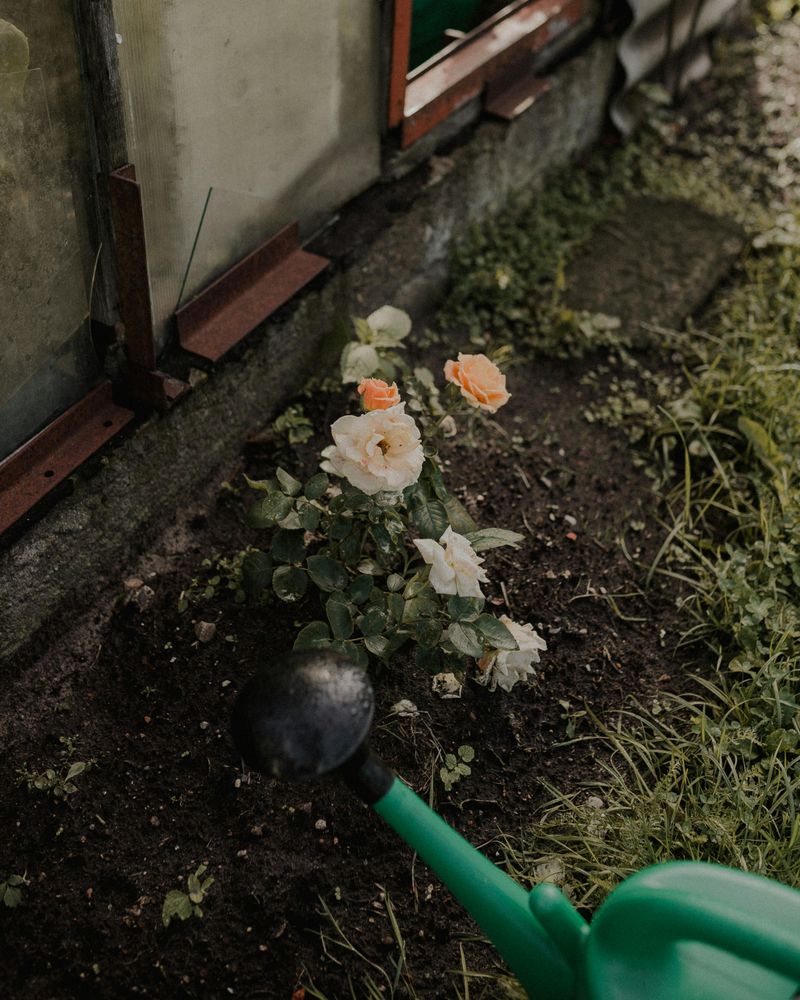
Shallow watering builds shallow roots, and shallow roots fold the moment summer pushes in.
Deep watering once a week trains your rose roots to grow downward in search of moisture, anchoring the plant and building serious drought tolerance over time.
It sounds simple, but most gardeners water too often and not deeply enough.
Each session should deliver at least one inch of water to the soil. That typically means running a slow hose or drip system for thirty to forty-five minutes, depending on your soil type.
Clay soil absorbs more slowly, so shorter, repeated passes work better than one long flood. Sandy soil drains fast, so check moisture depth with a finger or probe after watering.
Early morning is the best time to water because the soil absorbs moisture before midday heat pulls it away through evaporation. Deep water every seven days through spring and early summer.
Miss a week in dry weather and the buds will tell you immediately.
6. Water At The Base Only
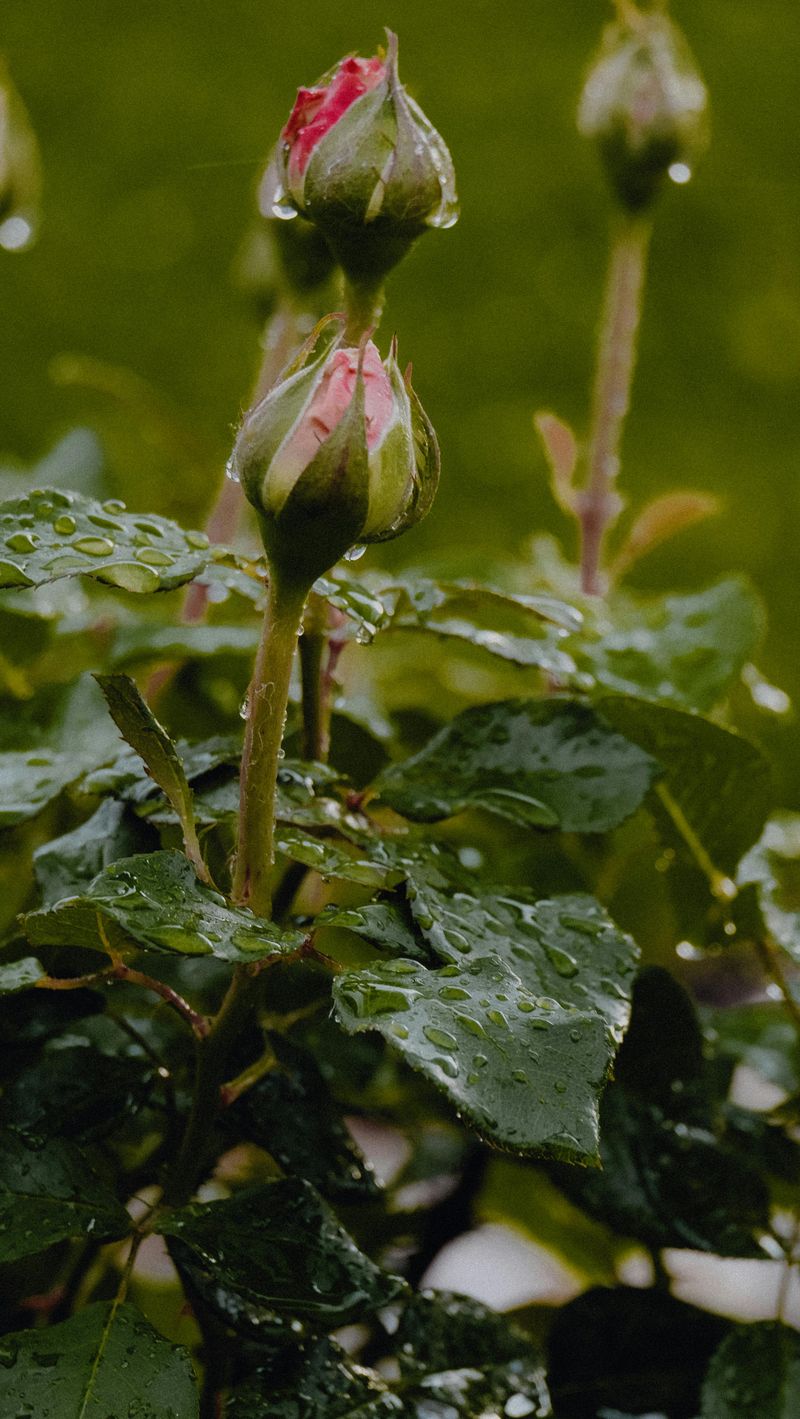
Wet leaves on a rose plant are practically an invitation for disease.
Overhead watering splashes soil-borne fungal spores directly onto foliage and keeps the leaf surface damp long enough for black spot and powdery mildew to take hold.
Switching to base-only watering is one of the easiest preventive moves you can make this spring.
Soaker hoses are a fantastic tool for this. They release water slowly along their entire length, delivering moisture directly to the root zone while keeping every leaf completely dry.
Drip irrigation systems work equally well and can be set on a timer for effortless consistency. Even hand-watering with a wand aimed at the soil rather than the plant makes a real difference.
Keeping foliage dry also reduces the need for fungicide sprays later in the season, which saves both time and money. Position your soaker hose in a loop around each rose bush, sitting a few inches away from the stem.
Mulch laid over the hose helps retain moisture and keeps the system running efficiently. One small change in how you water can protect your roses from an entire category of problems all season long.
7. Increase Watering During Heat Spikes
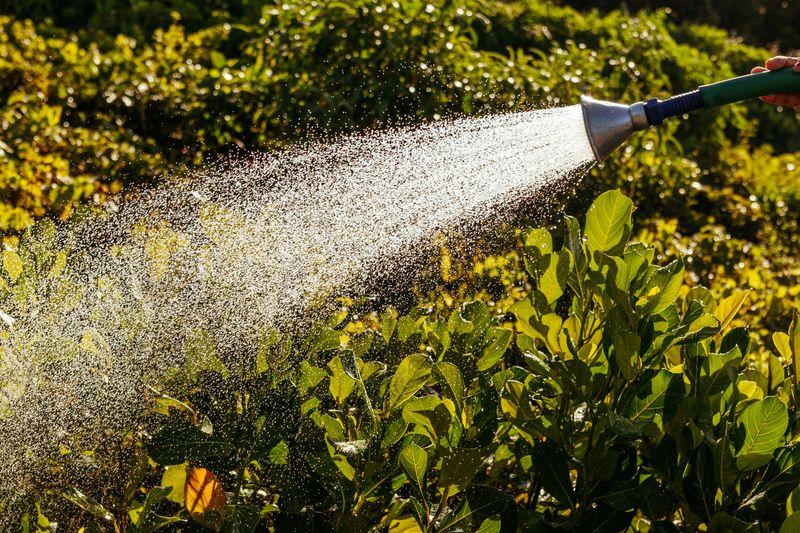
When Missouri heat shows up, it does not knock. It just walks right in.
When temperatures climb above ninety, soil moisture evaporates faster than a weekly watering schedule can replace it.
Buds that were perfectly plump on Monday can look stressed and droopy by Wednesday if you’re not paying attention.
During heat spikes, bump your watering frequency to every three or four days instead of once a week. The goal is to keep the root zone consistently moist without waterlogging the soil.
Stick your finger two inches into the ground near the base of the plant. If it feels dry at that depth, it is time to water regardless of the day on your schedule.
Morning watering during heat waves gives the soil time to absorb moisture before peak afternoon temperatures arrive. Container roses and younger plants may need daily water when temps stay above ninety-five.
Watch closely during hot stretches, because stress builds fast and shows up quickly in the buds. Stay flexible with your routine and the plants will reward that attention with continued blooms straight through the heat.
8. Top Up Mulch

Good mulch does a lot of quiet work in a rose garden, and right now it needs refreshing.
A good two to three inch layer of organic mulch regulates soil temperature, holds moisture through dry spells, and slowly improves soil structure. It does all of this simply by sitting there and breaking down over time.
Skipping the mulch refresh means your roses head into summer without a critical layer of protection.
Shredded hardwood bark, pine bark nuggets, and wood chips all work well around roses.
Avoid dyed mulches that may contain chemicals, and skip pea gravel or rubber mulch, which can heat up significantly in direct sun and stress the roots below.
Fresh organic mulch also suppresses weeds that would otherwise compete for water and nutrients.
Pull back any old mulch that has compacted into a dense mat before adding the new layer. Compacted mulch blocks water penetration and can create a barrier that keeps rain from reaching the roots at all.
A fresh, loose layer applied in mid-spring sets your roses up for a more stable growing environment through the hottest months ahead. Think of mulch as a slow, steady gift that keeps on giving all season long.
9. Keep Mulch Away From The Stem
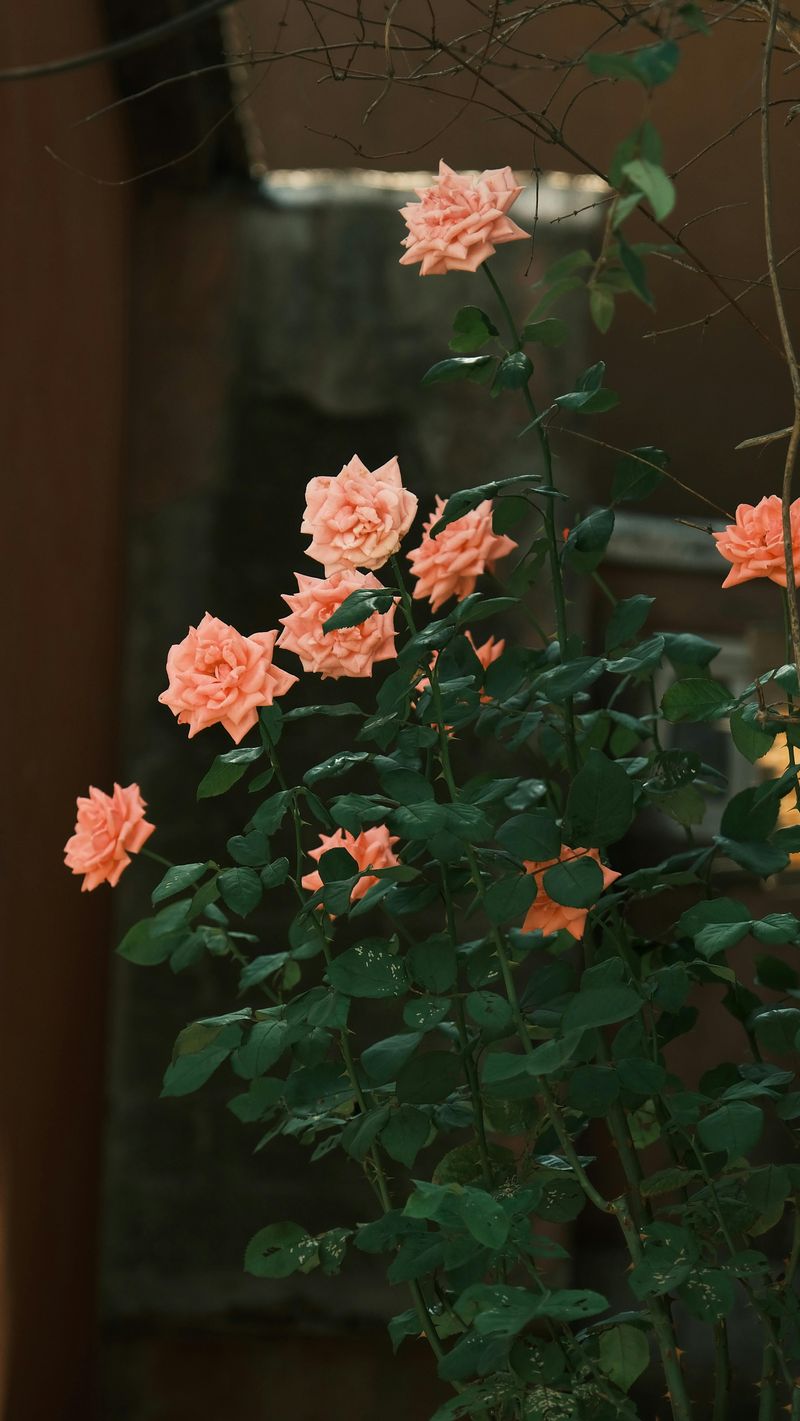
Mulch piled against your rose stem looks helpful but quietly does a lot of harm. Moisture trapped against the crown and lower canes creates the perfect environment for rot, fungal infections, and even rodent nesting during cooler months.
The stem needs air circulation to stay healthy.
Leave a clear gap of at least two to three inches between the mulch ring and the base of the plant. This small open space allows the crown to breathe and dries out quickly after rain.
Some gardeners call this creating a donut shape with the mulch, which is a helpful visual to keep in mind while spreading.
While you’re at it, check the crown and lower canes for any soft or discolored tissue that might indicate rot.
Catching crown rot early gives you a fighting chance to treat it before it spreads deeper into the root system.
The good news is that this is a five-second adjustment that takes almost no extra effort. Simply pull the mulch back from the stem as you lay it down, and your roses will breathe easier for the entire growing season.
10. Cover Buds If Frost Is Expected

One cold overnight in Missouri can undo weeks of bud growth before you even notice. Once your roses have pushed new growth and visible buds, a hard freeze can damage or destroy that tender tissue in just a few hours.
Watching the forecast is no longer optional once bud break begins.
Frost cloth, also called row cover fabric, is the most effective and reusable protection available. Drape it loosely over the entire plant before sunset on nights when temperatures are expected to drop below thirty-two degrees.
Secure the edges with rocks or stakes so wind doesn’t pull it off while you sleep. Remove the cover the following morning once temps rise above freezing.
Avoid using plastic sheeting as a cover because it traps heat during the day and can cook tender growth if left on too long. Old bedsheets or lightweight burlap are decent backups in a pinch.
Having frost cloth folded and ready near the garden during April and early May means you can act fast when a surprise cold night rolls in.
A little preparation now protects all the growth your roses have worked so hard to produce.
11. Check For Aphids And Japanese Beetles
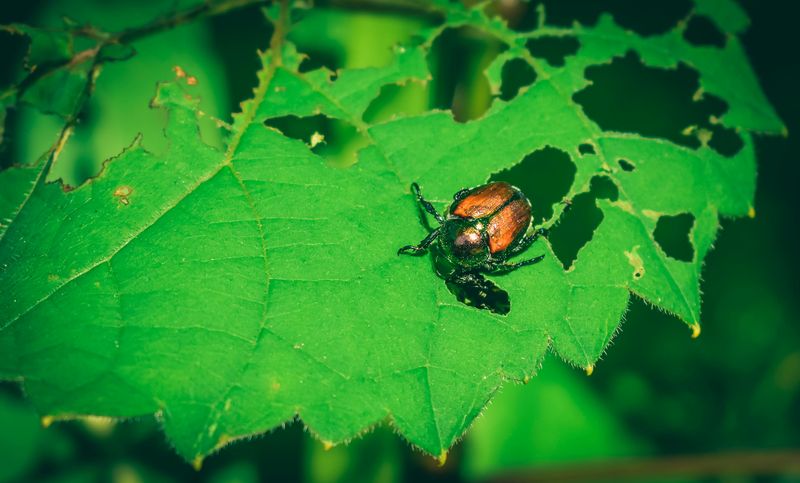
Aphids show up early in spring right when your roses are most tender. Japanese beetles arrive later, usually from mid-June onward, but both are worth knowing before they appear.
Aphids arrive first, clustering on new growth and buds in dense green or black colonies that literally suck the life out of tender tissue.
Japanese beetles follow in mid-summer, stripping leaves and damaging petals if populations are left unchecked.
Scout your roses every few days starting at bud break. Turn leaves over and inspect buds closely because aphids hide in tight spots and multiply fast.
A strong blast of water from a hose knocks aphids off without chemicals and works surprisingly well for small infestations. For Japanese beetles, hand-picking in the early morning when they are sluggish is genuinely effective.
Drop them into a bucket of soapy water rather than knocking them to the ground where they will just climb back up.
Insecticidal soap spray handles moderate aphid pressure without harming beneficial insects like ladybugs, which are natural aphid predators.
Catching both pests early keeps populations manageable and prevents the leaf damage that stresses plants and reduces flowering.
Regular scouting is the single most important pest management habit you can build this season.
12. Watch For Black Spot Disease

Black spot thrives in exactly the kind of spring weather Missouri serves up every year. The fungus spreads through water splash, which is exactly why overhead watering is so problematic.
Circular black spots ringed with yellow appear on leaves, which then drop prematurely, weakening the plant over time.
Start checking leaves weekly as soon as foliage opens. Look for dark spots ranging from the size of a pencil eraser to a dime.
Infected leaves will yellow and drop, and a heavy infection can strip a plant bare by midsummer. Remove and bag them rather than composting, as the spores survive and can reinfect next season.
Choosing disease-resistant rose varieties makes a significant difference in how much black spot pressure you face each year. Knock Out roses and many modern shrub rose varieties carry strong resistance.
For hybrid teas and older varieties, preventive fungicide in spring makes a real difference. Pair it with base-only watering, good airflow, and prompt leaf removal for the best protection.
13. Apply Neem Oil In Early Morning Or Evening

Neem oil may help with some soft-bodied insects and limited disease prevention, but it should be used according to the label and not treated as a cure-all. Ever wish one bottle could do the work of five?
It works by disrupting the feeding and reproductive cycles of soft-bodied insects while also creating a protective coating that inhibits fungal spore germination.
The catch is timing, because applying neem oil during midday heat causes leaf burn that can set your plants back significantly.
Early morning and evening applications avoid the intense UV exposure and heat that make neem oil phytotoxic.
Spray every leaf surface thoroughly, including the undersides where pests and fungal spores tend to concentrate.
Mix according to label directions, typically one to two tablespoons of neem oil per gallon of water with a few drops of dish soap as an emulsifier to help the oil blend into the water.
Apply on a calm day to prevent spray drift onto neighboring plants or pollinators. Reapply every seven to fourteen days during active pest or disease pressure, and always after heavy rain washes the coating away.
Neem oil breaks down quickly in the environment, leaving no harmful residue. Build a regular neem oil routine into your Missouri rose care schedule this spring.
It is one of the smartest moves you can make before problems even get a foothold.
14. Remove Old Or Crossing Stems
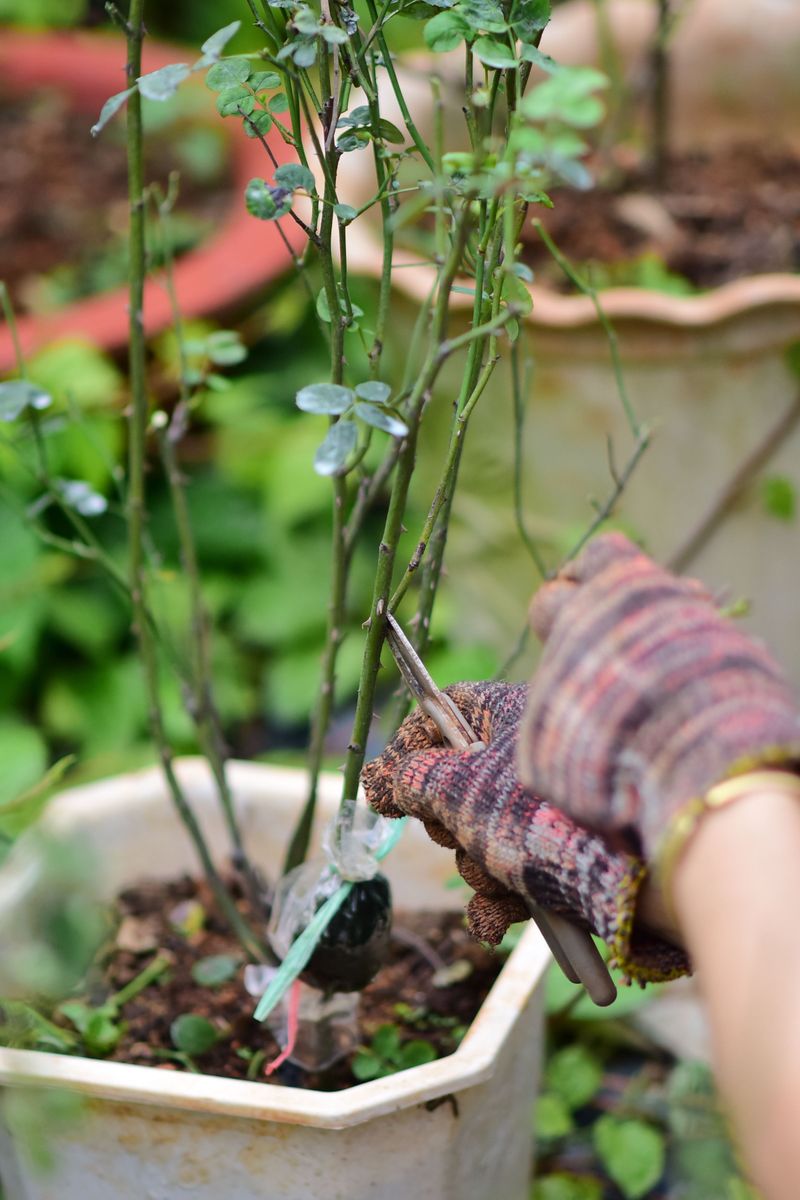
Your rose only has so much energy, and crossing stems are quietly stealing it. Spent canes can harbor pests or disease and should be removed to improve airflow and plant health.
Crossing stems rub against each other, creating wounds that become entry points for pathogens every time the wind moves the plant.
Use sharp, clean bypass pruners rather than anvil-style pruners, which crush tissue instead of cutting cleanly. Make cuts at a forty-five-degree angle just above an outward-facing bud eye, about a quarter inch above the bud.
Wipe your pruner blades with rubbing alcohol between plants to avoid carrying disease from one bush to another. This one habit alone can prevent the spread of several common rose infections.
Step back periodically while pruning to assess the overall shape of the plant. Aim for an open, vase-like structure that allows light and air to reach the center of the bush.
Good air circulation is one of the most effective natural defenses against the fungal diseases that plague roses in humid climates. Remove problem canes now, while the plant is still in early growth.
That way, the bush puts all its spring energy into strong, healthy stems that carry blooms all season.
15. Remove Spent Blooms Regularly

Spent blooms left on the plant send one clear signal to your rose: the job is done, time to make seeds. Trimming spent blooms interrupts that signal and tricks the plant into pushing out another round of flowers instead.
For repeat-blooming varieties, it is the difference between one flush of color and blooms all the way through fall.
Snip each spent flower back to the first set of five-leaflet leaves below the bloom. This is the point where the stem has enough energy to push a new flowering shoot.
Cutting too high leaves a stub that dies back and looks messy. Cutting too deep removes growth the plant could have used.
The five-leaflet junction is your target every single time.
Check your Missouri roses for spent blooms every three to five days during peak flowering season. Carry a small bucket or garden bag to collect the clippings rather than leaving them on the ground, where they can harbor fungal spores.
The more consistently you trim spent blooms, the more aggressively your roses will respond with new buds.
This simple, satisfying habit keeps your garden looking polished and your rose plants performing at full capacity straight through the growing season.