Stop Making These Mistakes With Your Climbing Oregon Clematis
Clematis can turn a plain fence or trellis into one of the prettiest spots in an Oregon yard. When the vines take off and the flowers open, the whole display looks almost effortless.
Of course, the plant may have a very different opinion.
A few common care mistakes can leave clematis weak, sparse, or stubbornly short on blooms. The frustrating part is that many of those habits seem perfectly helpful at first.
Garden betrayal at its finest. Cool springs and warm summers stretches can also affect how the plant responds throughout the season in Oregon.
A choice that works well for another vine may cause trouble here, especially once roots and stems face very different conditions.
Clematis does not need constant attention, but it does need the right kind. Once the most common errors disappear, this dramatic climber has a much better chance to cover its support and deliver the floral show everyone expected.
1. Planting The Crown Too Shallow
One of the sneakiest problems with clematis is a planting depth mistake that most people do not even realize they are making.
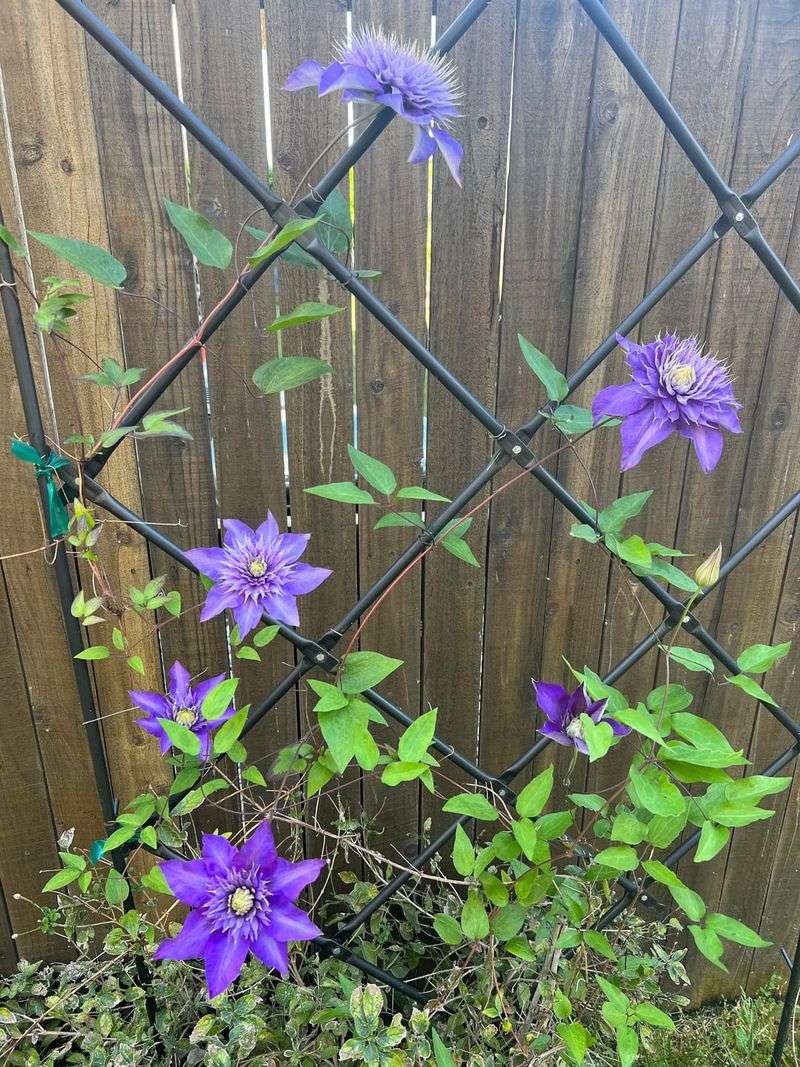
When you plant the crown too shallow, the vine becomes vulnerable to a condition called clematis wilt. The crown is the spot where the stems meet the roots.
Planting it at least two inches below the soil surface gives the plant a safety net. If the top growth gets damaged by frost, pests, or wilt, the buried crown can still send up new shoots.
That small detail makes a huge difference in long-term survival.
Many gardeners plant clematis the same way they plant other perennials, right at soil level. That works fine for many plants, but not for this one.
Clematis has unique needs, and the crown depth is one of the most important ones to get right from day one.
Before you put your vine in the ground, dig a hole that is deeper than the nursery pot suggests. Mix in some compost to loosen the soil.
Set the plant so the crown sits a couple of inches below grade, then backfill gently. Water it in well and resist the urge to pull it back up to check on it.
Getting the depth right at planting saves you a lot of trouble later on.
2. Letting The Roots Bake In Sun
Here is something that surprises a lot of new clematis growers: the vine loves full sun on its leaves and flowers, but it absolutely does not want the sun beating down on its roots. Hot, dry roots stress the plant fast.
Oregon summer temperatures can get intense, and that heat radiates off the soil like a griddle.
Clematis roots need to stay cool and moist. When they bake in direct sun, the plant struggles to pull up enough water.
Growth slows, leaves may turn yellow, and flowering drops off noticeably. It is a frustrating problem because the vine looks fine at first glance.
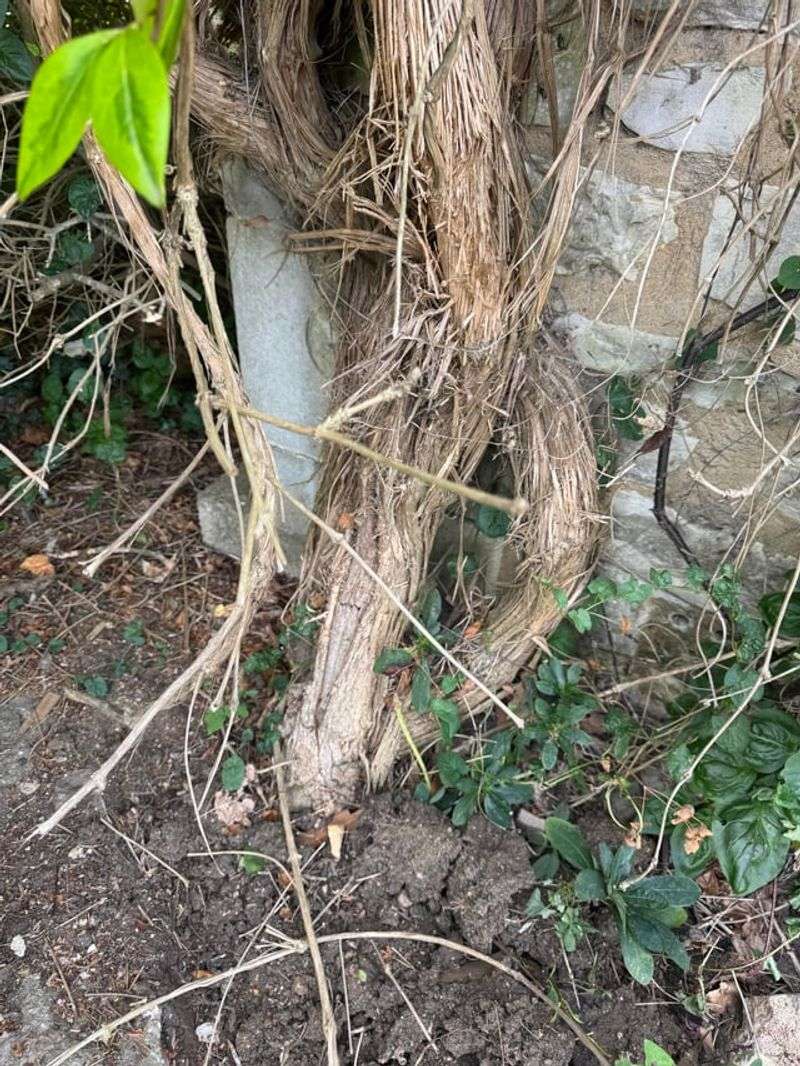
One simple fix is to plant low-growing perennials or ground covers around the base of the vine. Hostas, creeping phlox, or even a cluster of annuals work well.
Your Oregon Garden Changes Every Week. Your Plan Should Too.
Gardening in Oregon changes quickly throughout the season. Every Friday you’ll receive a simple weekly plan showing exactly what to plant, prune, fertilize, harvest, and protect so you never miss the right timing.
They shade the soil without competing too aggressively for nutrients. Rocks placed around the base can also help hold moisture and block heat from penetrating the root zone.
Another option is to use a thick layer of organic mulch, which does double duty by cooling the soil and retaining moisture. Just keep the mulch a few inches away from the actual stems to prevent rot.
Protecting the roots from harsh sun is one of the easiest ways to keep your clematis thriving through the hottest months of the year.
3. Forgetting Clematis Needs Support Early
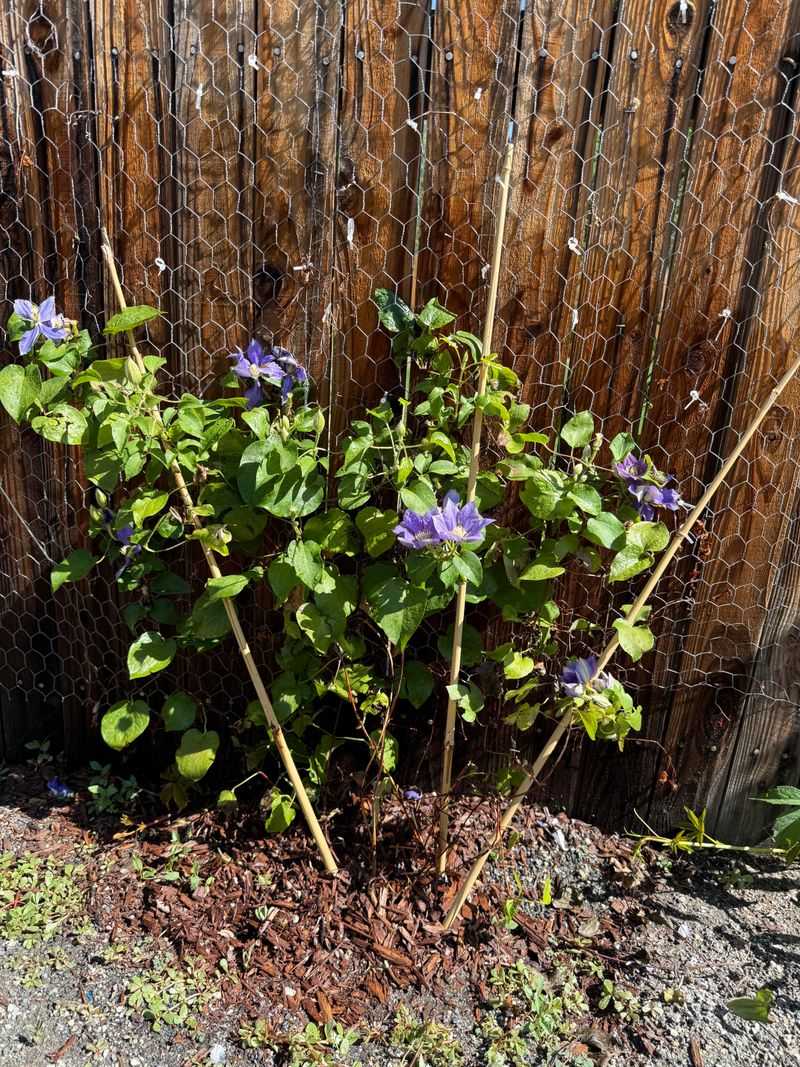
Young clematis vines are surprisingly fragile in their first season. The stems are thin, flexible, and easily snapped by wind or a careless brush of the hand.
A lot of gardeners assume the vine will find its own way up a fence or wall, but that is not really how it works. Without early guidance, those stems flop around and tangle.
Clematis climbs by wrapping its leaf stems, called petioles, around thin structures. It cannot grip thick posts or flat walls on its own.
You need to give it something narrow to grab, like wire, twine, or a trellis with small openings. Setting up that support before you plant, or right after, makes the whole process easier.
Once the vine starts growing, check on it every few days during the active season. Gently weave new growth toward the support and loosely tie stems with soft garden ties if needed.
Do not wrap ties too tightly. The stems are delicate and can be damaged easily.
Training early also helps the plant develop a better shape. Vines that are left to tangle themselves early on become a messy, knotted clump that is hard to manage later.
Taking five minutes a week to guide new growth pays off in a much more attractive and productive plant by the end of the season. Starting this habit early is one of the best things you can do.
4. Pruning Before You Know The Group
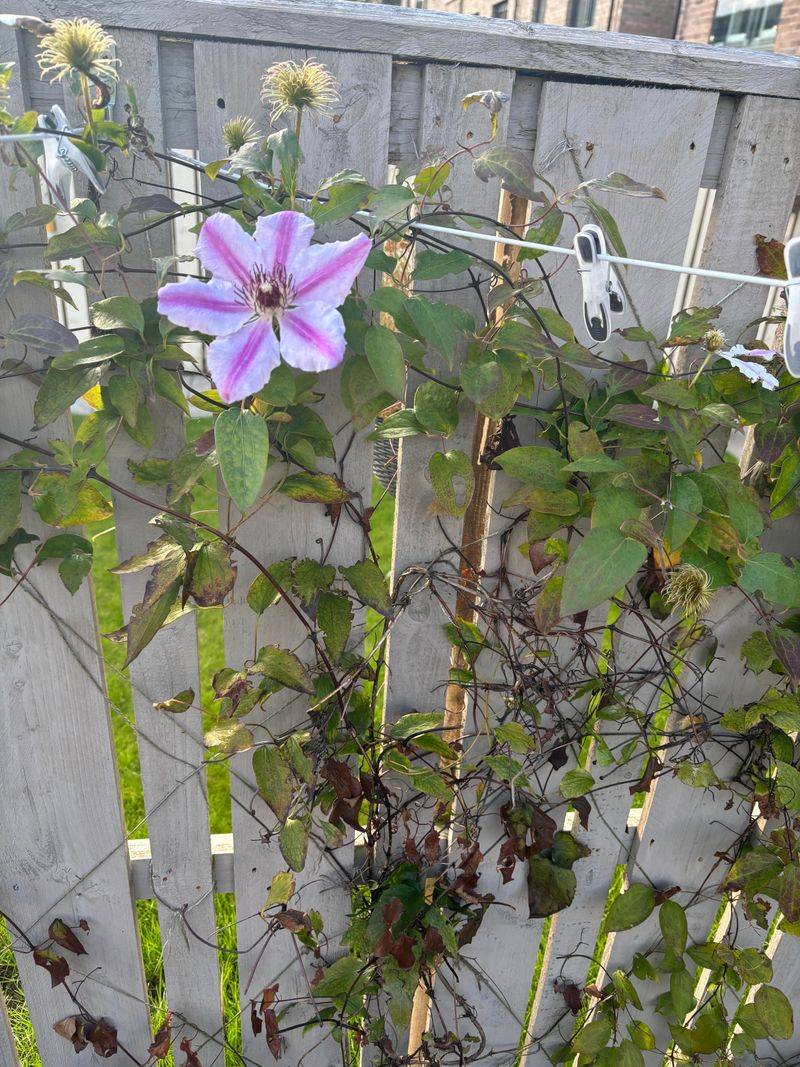
Pruning clematis without knowing which group it belongs to is one of the most common and costly mistakes a gardener can make. There are three main pruning groups, and each one has completely different needs.
Cut the wrong group at the wrong time, and you will remove all the buds and end up with zero flowers for an entire season.
Group one blooms on old wood from the previous year. Group two blooms on both old and new wood.
Group three blooms only on new wood grown in the current season. Each group needs a different pruning approach, and mixing them up leads to real disappointment.
When you buy a clematis, check the tag for its pruning group. If the tag is missing, do a little research using the variety name.
Most reputable nurseries and gardening websites list this information clearly. Knowing the group before you ever pick up a pair of shears protects your blooms.
If you are not sure what group your plant belongs to, the safest bet is to wait and watch. See when it blooms and whether it flowers on old wood or fresh new stems.
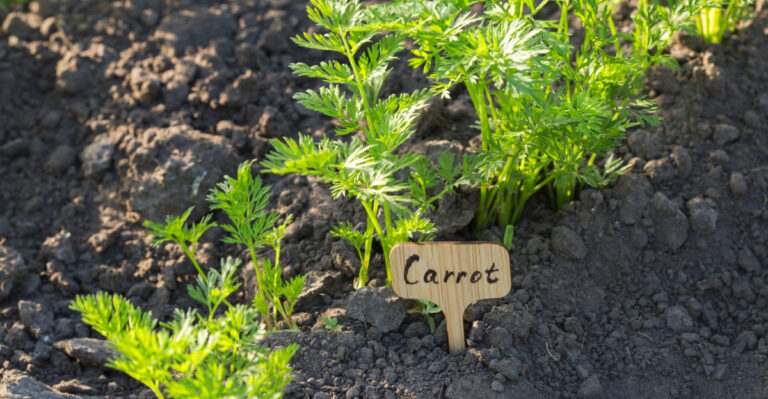
That observation alone will tell you a lot. Once you know the group, write it on a plant marker and stick it in the ground nearby.
That simple step prevents the same mistake from happening again next season.
5. Cutting Spring Bloomers At The Wrong Time
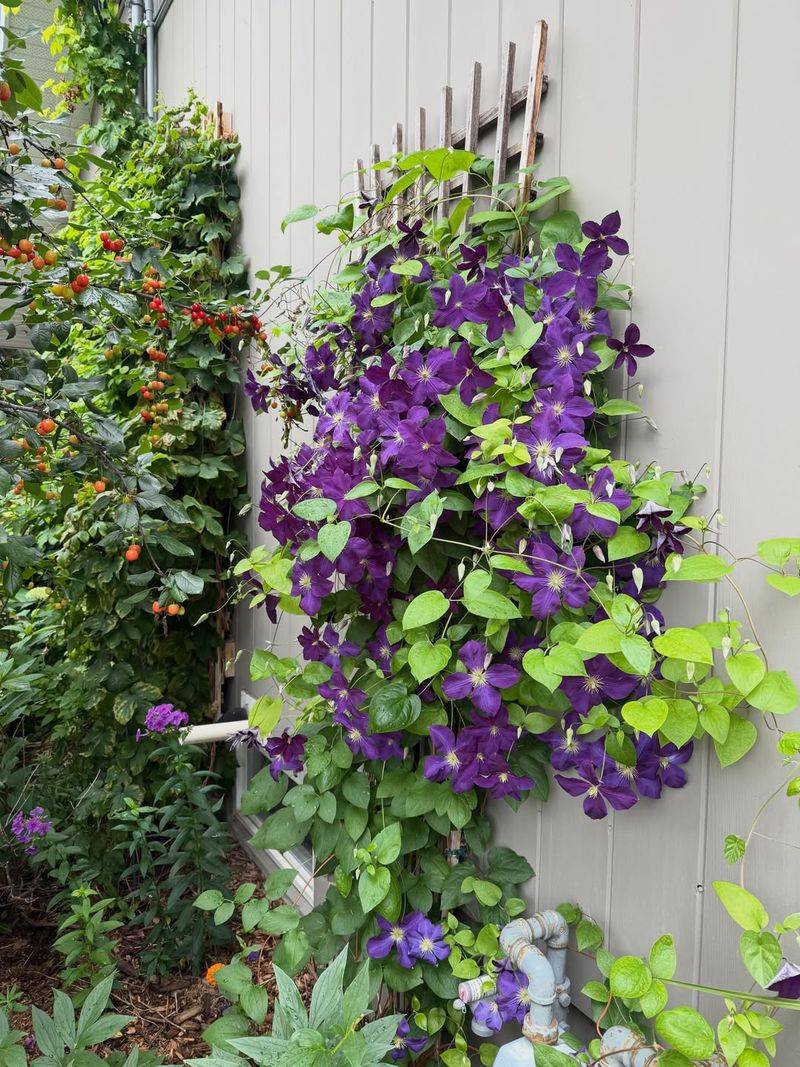
Spring-blooming clematis varieties are some of the most breathtaking plants you can grow. They burst into flower early in the season, often before most other vines even wake up.
But there is a catch: they bloom on wood that grew the previous year. Cut them back in late winter or early spring, and you are removing every single flower bud before it ever opens.
This mistake is incredibly easy to make, especially if you are used to pruning other plants in early spring. It feels like the right time to tidy things up.
But for Group 1 clematis, that timing is completely wrong. The buds are already set and waiting on those old stems.
The correct time to prune spring bloomers is right after they finish flowering. That gives the plant the entire summer and fall to grow new wood.
That new wood then carries next year’s buds through the winter. Pruning right after bloom also gives you a chance to shape the plant and remove any damaged or weak stems without sacrificing flowers.
In northern regions, late spring frosts can sometimes damage early buds on these varieties. If that happens, do not panic and cut everything back.
Wait to see which stems recover on their own. Many will bounce back with just a little patience.
Understanding this timing takes the guesswork out of spring pruning and protects your beautiful early blooms year after year.
6. Leaving New Vines To Tangle Themselves
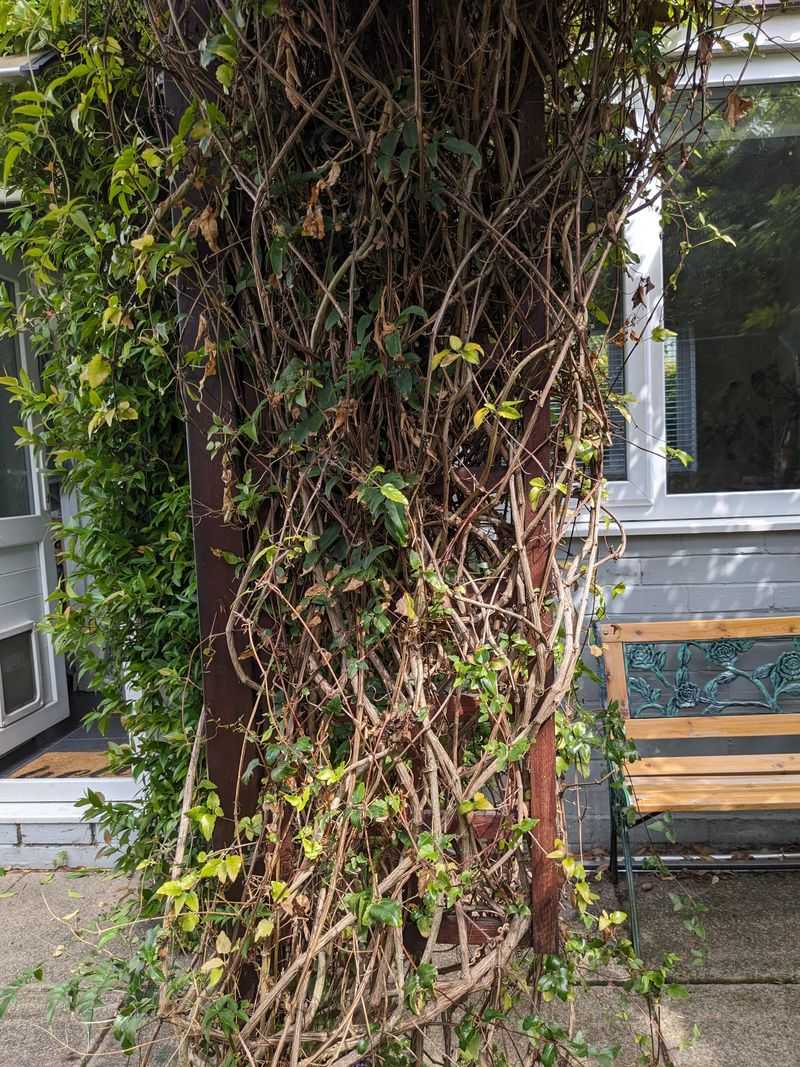
There is a certain appeal to the idea of a vine that just takes care of itself. But clematis does not work that way, especially when it is young.
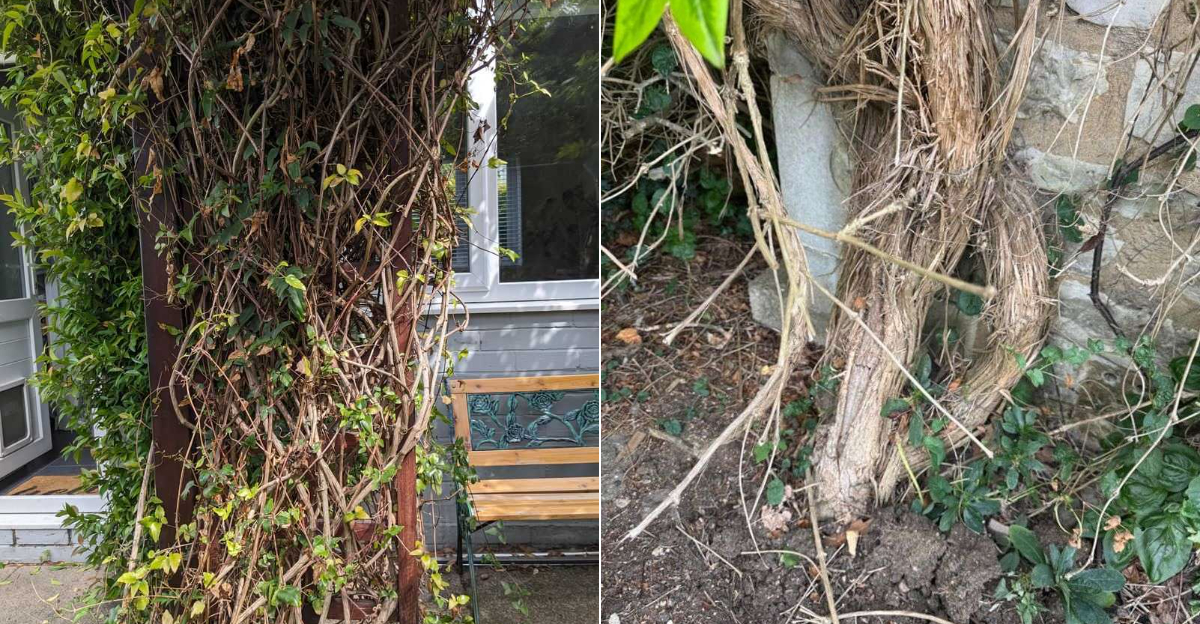
Left completely on its own, new growth twists around itself and creates a dense, tangled knot. Once that happens, separating the stems without breaking them is nearly impossible.
Tangled growth also blocks airflow through the plant. Poor air circulation is one of the top reasons clematis develops fungal problems.
When stems are packed tightly together, moisture gets trapped, and that creates the perfect environment for disease to take hold.
Training new vines takes only a few minutes each week. As fresh shoots appear, gently spread them out along the support structure.
Space them so they are not crossing over each other. Use soft ties or twist ties to hold them loosely in place until they grip the support on their own.
Think of it like braiding hair. If you keep up with it regularly, it stays neat and manageable.
But if you ignore it for weeks, you end up with a hopeless tangle that takes much more effort to fix. The same logic applies here.
A little consistent attention in spring and early summer sets the plant up for a full season of healthy, well-spaced growth. Gardeners who train their vines early almost always end up with a more productive and better-looking plant by midsummer.
7. Watering Shallow During Dry Spells
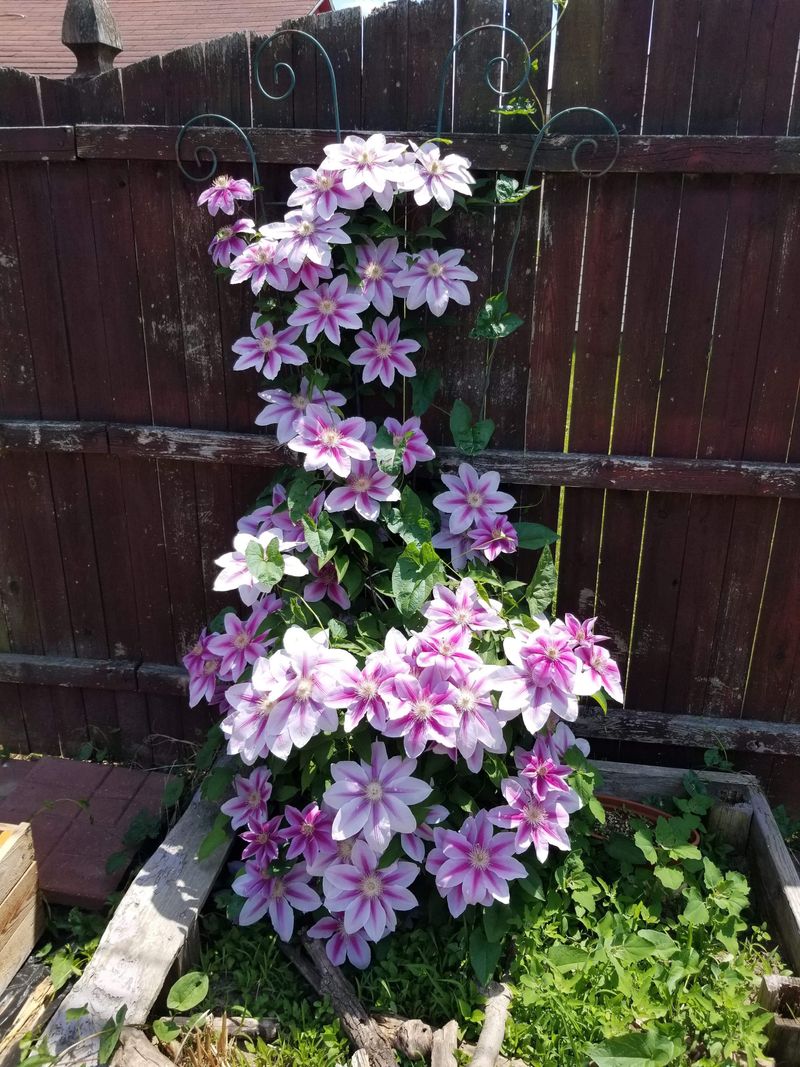
Dry Oregon summers put a lot of stress on garden plants, and clematis is no exception. Many gardeners water their vines during dry spells, which is great.
But the way they water can actually make things worse instead of better. A quick, light watering that only wets the top inch or two of soil does almost nothing for deep roots.
Clematis roots go down pretty far into the ground. They need water to reach them at depth, not just tickle the surface.
Shallow watering encourages the roots to stay near the top of the soil, where they are even more vulnerable to heat and drought. That is the opposite of what you want.
Deep, slow watering is the way to go. Let the hose run at low pressure near the base of the plant for several minutes.
Or use a soaker hose to deliver water slowly and directly to the root zone. Aim to water deeply once or twice a week during hot, dry periods rather than giving a little water every day.
You can check if you are watering deeply enough by pushing a finger or a wooden dowel into the soil after watering. If the moisture only goes down an inch or two, keep watering longer.
The goal is to get moisture down six to eight inches into the soil. That kind of deep watering builds a stronger, more drought-tolerant root system over time and keeps your vine looking lush even in the driest weeks of summer.
8. Skipping Mulch Around The Root Zone
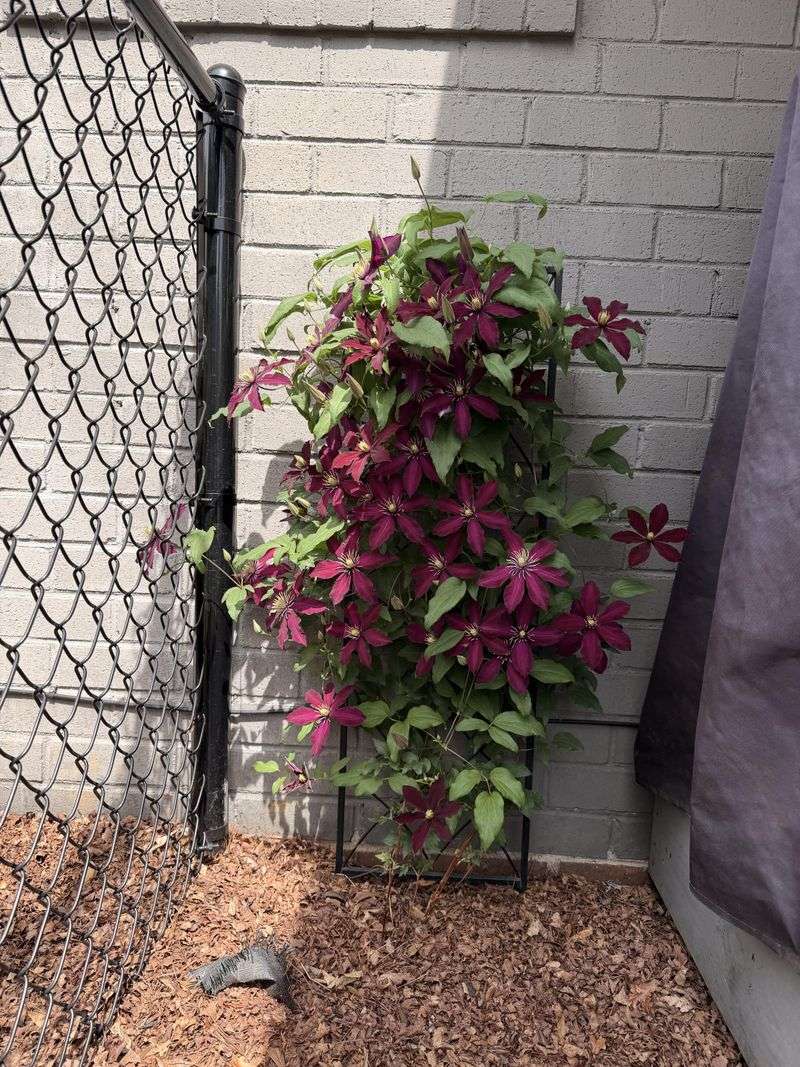
Skipping mulch might seem like a minor oversight, but around clematis, it is a mistake that ripples out in several directions. Bare soil around the root zone heats up fast in summer.
It also dries out quickly between waterings and allows weeds to move in and compete for moisture and nutrients. All of that adds stress to a plant that needs stable, cool, moist conditions at the roots.
A two to three inch layer of organic mulch changes everything. Wood chips, shredded bark, or leaf mold all work well.
Mulch acts like a blanket that holds moisture in the soil, regulates soil temperature, and slowly breaks down to add nutrients over time. It also makes your garden beds look tidy and well cared for.
Apply mulch in a ring around the base of the plant, but leave a gap of a few inches between the mulch and the actual stems. Piling mulch directly against the stems traps moisture and can lead to rot, which is the last thing you want near the crown of your vine.
Refresh the mulch layer each spring before temperatures start climbing. Over the winter, the old mulch breaks down and thins out. Adding a fresh layer each year keeps the benefits going strong.
Gardeners in Oregon who deal with hot summers and dry stretches in July and August will notice a real difference in how their clematis performs when the root zone stays protected and consistently mulched all season long.