The Best Time To Prune Oregon Grape Without Losing Next Year’s Flowers
Oregon grape can look wonderfully unruly after a full season of growth. Stems stretch beyond their usual boundaries, older foliage starts stealing the spotlight, and suddenly those pruning shears look extremely tempting.
A quick trim seems harmless enough, especially when the shrub is beginning to lose its tidy shape.
The catch is that flowering shrubs follow their own calendar, and Oregon grape is no exception.
What gets cut at one point in the year can influence what appears when spring rolls around, which makes timing more important than simply waiting until the plant looks overgrown.
That does not mean every stray branch needs to stay forever. Pruning can still help shape the shrub, control its size, and keep the planting looking intentional.
The challenge is choosing a moment that works with the plant rather than against it.
Getting that timing right can mean the difference between a cleaner-looking shrub and wondering where all those cheerful spring flowers went. Sometimes the calendar matters just as much as the clippers.
1. Prune Oregon Grape Soon After Flowering Ends
Timing is everything when it comes to this shrub. The golden rule is simple: prune right after the flowers fade.
That window is the best time to shape your plant without cutting off next season’s blooms.
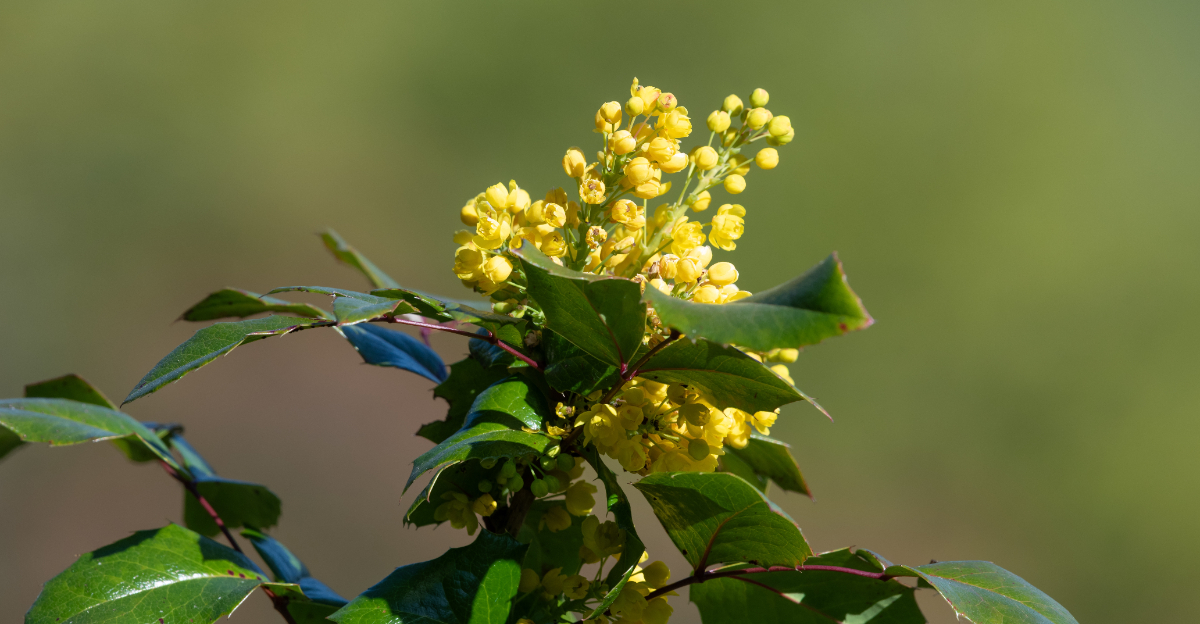
Once the bright yellow flower clusters have finished and the petals have dropped, the shrub begins shifting its energy. It moves from flowering into new growth mode.
This is your green light to pick up the pruning shears and get to work. Pruning at this point lets the plant spend the rest of the growing season building strong new stems. Those new stems will carry next year’s buds.
If you wait too long, the plant may already be setting those buds, and any cuts you make could remove them.
A good rule of thumb is to finish your pruning by early summer at the latest. The sooner after bloom, the better your results. You give the shrub more time to recover and grow before fall arrives.
Don’t rush to prune while flowers are still open. Enjoy the blooms first, then act quickly once they fade.
Even a week or two of delay after full bloom drop is perfectly fine. Just don’t let the whole summer slip by before you grab those shears and make your move.
2. Waiting Too Long Can Mean Cutting Off Future Blooms
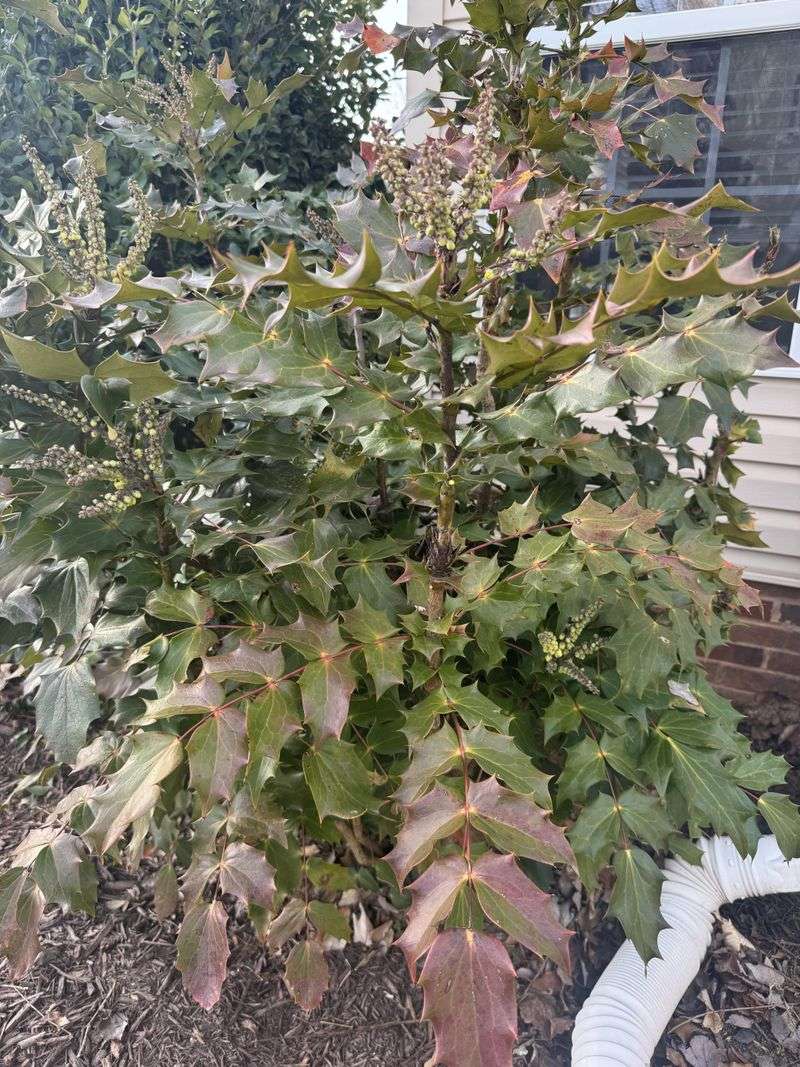
Many gardeners put off pruning because life gets busy. A few weeks pass, then a few more, and suddenly it’s late summer.
By that point, cutting the shrub can seriously hurt next year’s flower show. Here’s why that matters. After the spring bloom ends, the plant wastes no time.
It starts forming new buds on the stems that just flowered. Those buds sit quietly through summer and fall, waiting for the right conditions to open the following spring.
If you prune in late summer or early fall, you are likely cutting off those developing buds. The shrub won’t have enough time to grow new ones before winter sets in.
Your Oregon Garden Changes Every Week. Your Plan Should Too.
Gardening in Oregon changes quickly throughout the season. Every Friday you’ll receive a simple weekly plan showing exactly what to plant, prune, fertilize, harvest, and protect so you never miss the right timing.
The result is a spring season with little to no flowers. Think of it like missing a due date. Once the bud-setting window closes, there’s no getting it back until the next cycle.
Waiting too long doesn’t just delay beauty, it skips a whole year of blooms. Mark your calendar as soon as you see those yellow flowers opening. Set a reminder for four to six weeks later.
That reminder is your cue to grab your tools and prune before the plant locks in its buds. A little planning now saves a lot of disappointment next spring. Don’t let the season sneak past you before you act.
3. Next Year’s Flowers Form On Older Growth
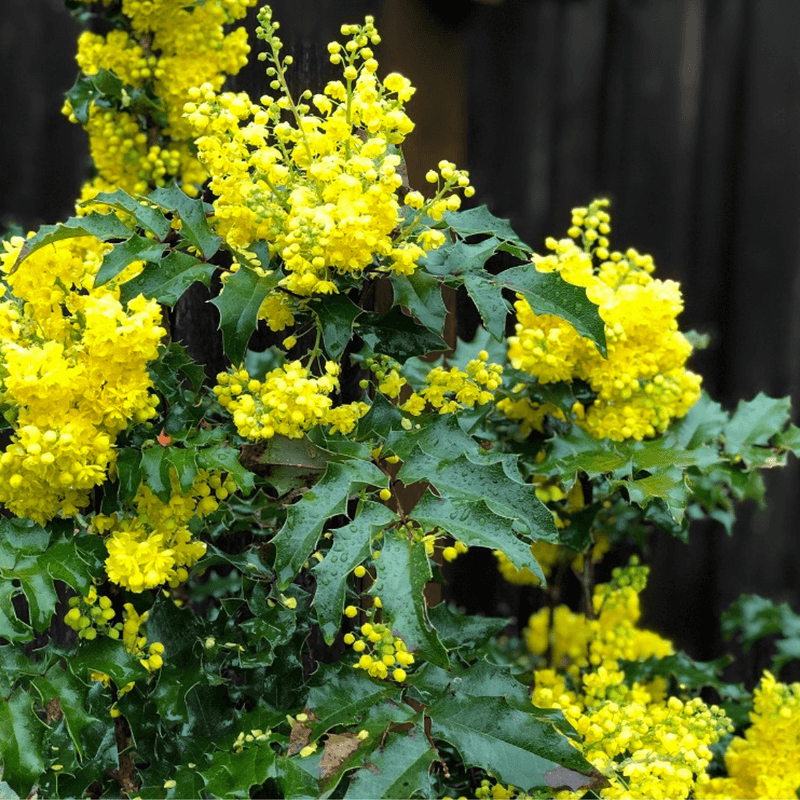
One of the most surprising things about this shrub is where its flowers actually come from. Most people assume new growth produces the blooms.
The truth is the opposite. Flowers form on older, established stems, not on the fresh green shoots.
This growth habit is called blooming on old wood. Many popular shrubs work this way, including lilacs and forsythia.
Understanding this pattern completely changes how you approach pruning.
When you cut back older canes too hard or too late, you remove the very wood that carries the flower buds. The shrub then has to start over, growing new canes that won’t be mature enough to bloom until the following year at the earliest.
Protecting older canes is key to keeping the bloom cycle going. When you prune, focus on removing withered or damaged wood first.
Leave the healthy older stems intact as much as possible. Only remove them if they are crowding the plant or blocking light.
New shoots that sprout from the base after pruning are a great sign. They show the plant is healthy and actively growing.
But remember, those shoots won’t bloom right away. They need at least one full growing season to mature before they can carry flowers.
Patience pays off big when you understand this simple but important part of how the plant grows.
4. Remove Damaged Stems First
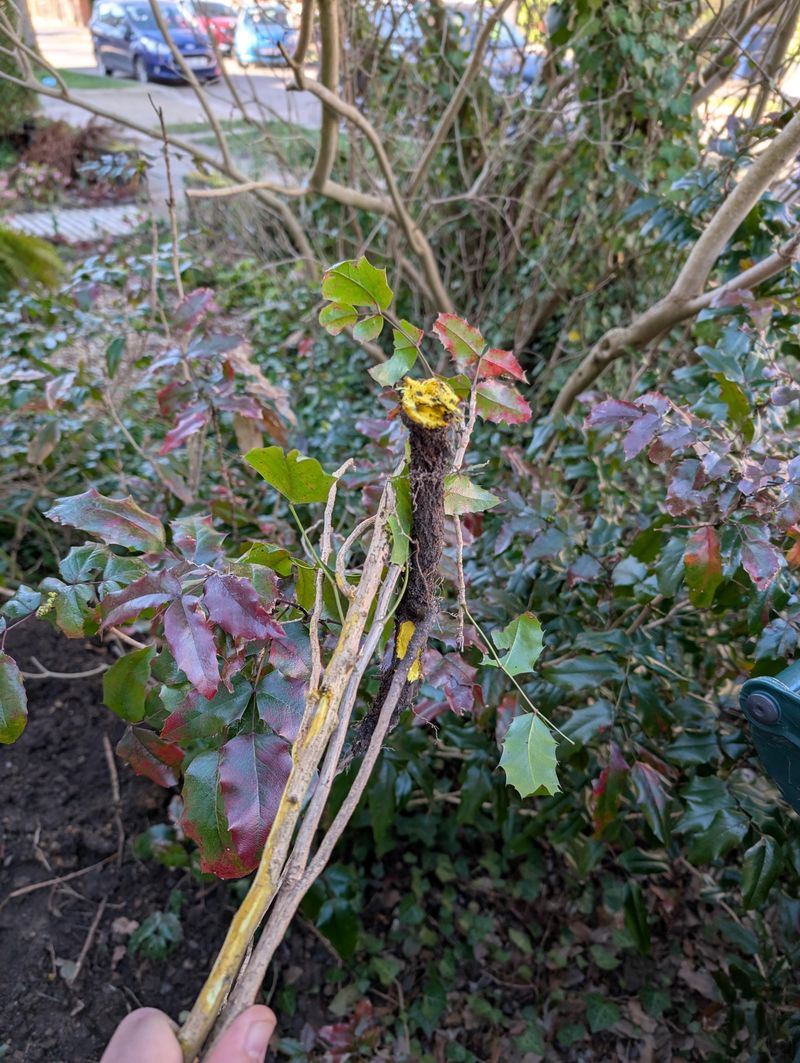
Before you touch a single healthy cane, take a slow walk around the shrub and look for problems. Damaged, broken, or withered stems are always the first things to remove.
This step improves the plant’s health right away and makes the rest of the pruning much easier.
Damaged stems can’t produce flowers or support healthy new growth. They also invite pests and fungal problems if left in place.
Removing them quickly is one of the best things you can do for the plant’s long-term strength.
Look for stems that are discolored, hollow, or snapping easily when bent. Canes that were broken by wind, heavy snow, or foot traffic should come out cleanly at the base.
Use sharp, clean pruning shears to make smooth cuts that heal faster. Always cut just above a healthy leaf node or back to the main trunk if the whole cane is affected. Leaving stubs behind can lead to rot or disease.
A clean cut at the right spot makes a big difference in how quickly the plant bounces back. Starting with damaged wood also helps you see the overall structure of the shrub more clearly.
Once the clutter is gone, you can make smarter decisions about what else needs to come out.
Think of this step as clearing the table before you start the real work. It sets everything else up for success.
5. Thin Older Canes Instead Of Shearing The Whole Shrub
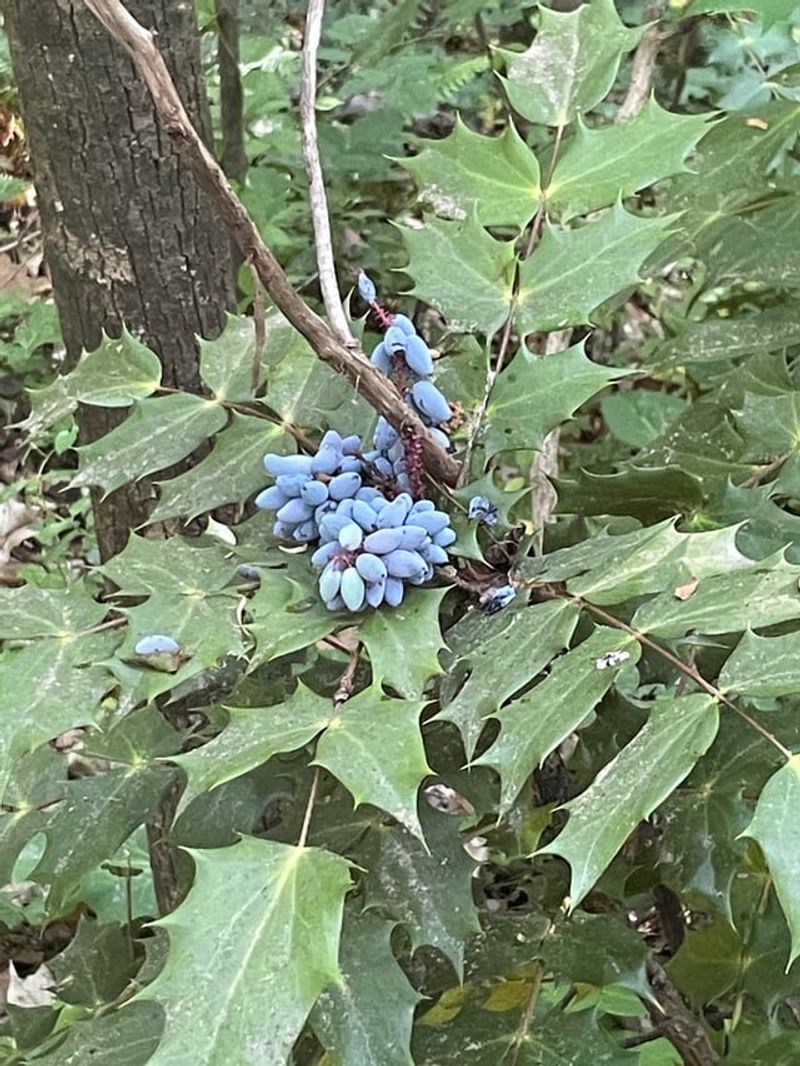
Grabbing hedge clippers and shearing the whole shrub into a neat shape might feel satisfying, but it’s one of the worst things you can do to this plant. Shearing cuts off the tips of every stem, including the older ones that carry next year’s flower buds.
Selective thinning is a much smarter approach. Instead of trimming everything evenly, you choose specific older canes to remove from the base.
This opens up the plant, improves airflow, and encourages fresh growth from the bottom without wiping out the flowering wood.
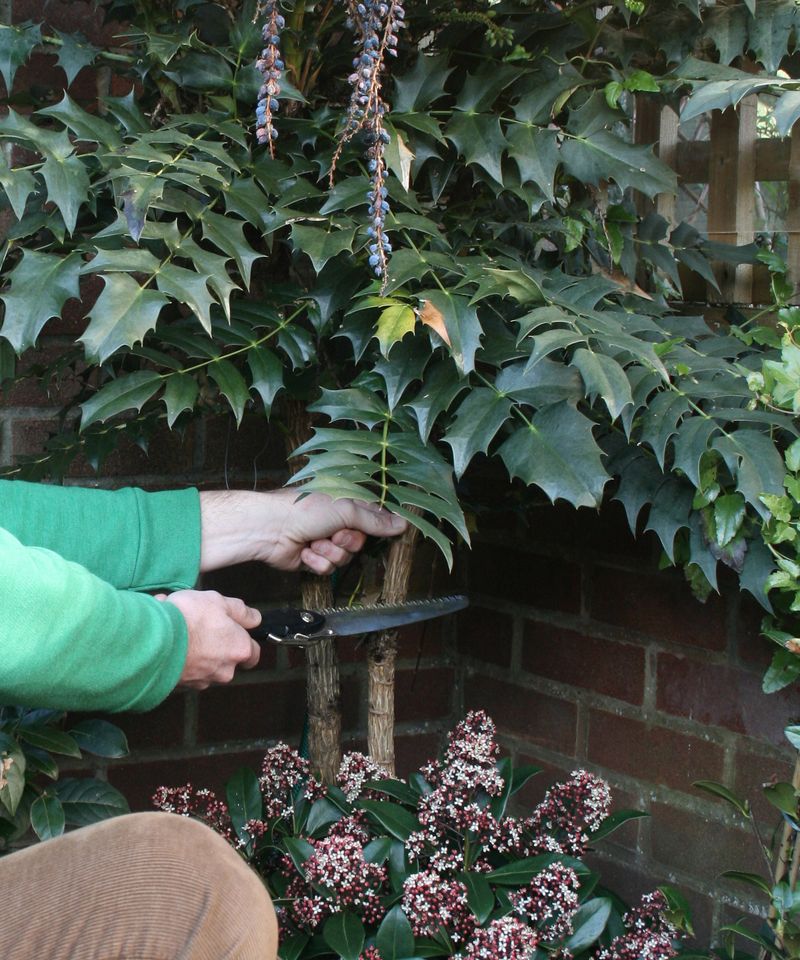
A good target is removing one to three of the oldest canes each year. Older canes tend to be thicker, woodier, and often leaning or crossing other stems. Cutting them back to the ground lets younger canes take their place over time.
This method keeps the shrub looking natural and layered rather than boxy or flat-topped. It also keeps the plant at a manageable height without shocking it with a heavy cutback. The goal is gradual renewal, not a dramatic transformation all at once.
Think of thinning as a slow conversation with the plant. You’re not forcing it into a shape. You’re guiding it gently toward better health and more blooms.
Over several seasons, this approach creates a fuller, more attractive shrub with a steady supply of flowers every spring. It takes a little patience but delivers much better results in the long run.
6. Cut Crowded Stems Back Near The Base
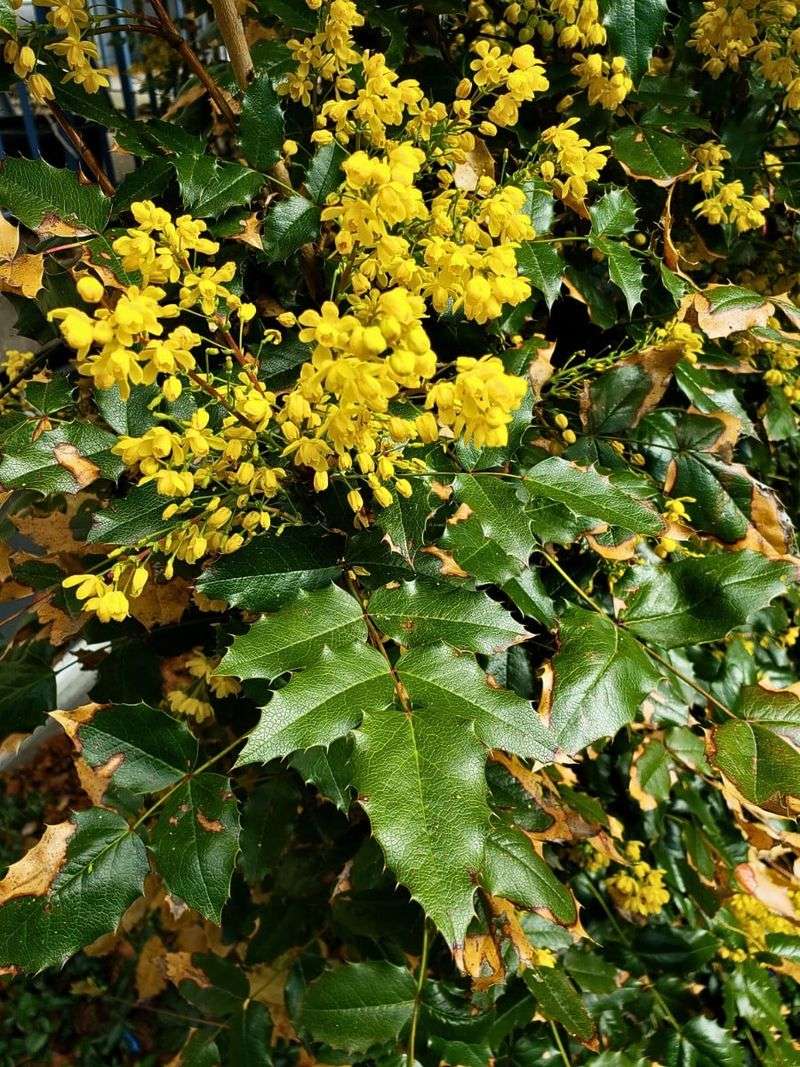
When stems are packed too tightly together, the whole shrub suffers. Air can’t move freely through the plant.
Sunlight can’t reach the inner branches. Pests and moisture-related problems become much more likely in these crowded conditions.
Cutting crowded stems back near the base is a practical fix. It opens up the center of the shrub and gives remaining canes more room to grow. This simple step can dramatically improve the plant’s overall appearance and health.
When choosing which stems to remove, look for canes that are rubbing against each other. Crossing stems cause damage over time as they grind together in the wind.
Also look for stems growing inward toward the center of the plant instead of outward.
Use loppers for thicker canes and hand pruners for smaller ones. Cut as close to the base as possible without digging into the crown of the plant. Leaving a very short stub is fine, but try to keep it minimal.
After removing crowded stems, step back and look at the overall shape. The shrub should feel more open and balanced.
You might be surprised how much light suddenly reaches the inner parts of the plant. That extra light encourages new shoots to sprout from the base, which is exactly what you want.
New basal growth becomes the next generation of flowering canes, keeping the bloom cycle strong for years to come.
7. Avoid Heavy Pruning Late In The Season
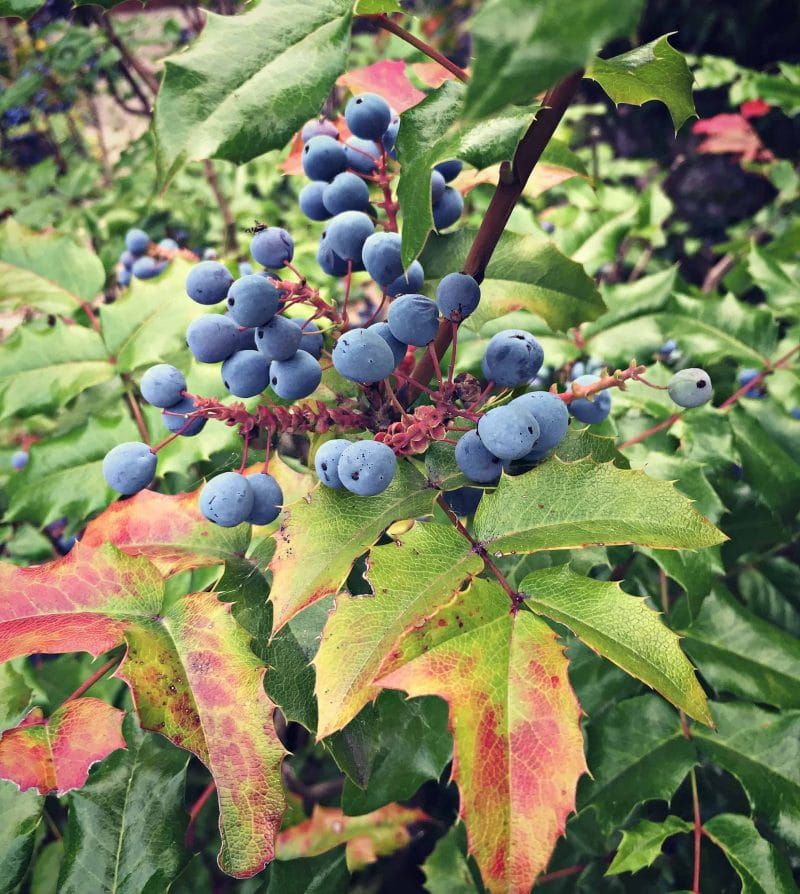
Late-season pruning is one of the most common mistakes gardeners make with flowering shrubs. It feels logical to tidy things up in late summer or fall before winter arrives.
But for plants that bloom on old wood, this timing can wipe out a full year of flowers.
By late summer, the shrub has already started forming next year’s flower buds. Those buds are tiny and easy to miss, but they are there.
Any heavy cutting at this point removes them before they ever get a chance to open in spring.
Heavy pruning late in the season also pushes the plant to produce new growth at the wrong time. That fresh, tender growth is vulnerable to frost damage.
When cold temperatures arrive, those new shoots may not survive, leaving the plant looking ragged and stressed going into winter.
A good general rule is to avoid any major pruning after midsummer. If you missed the ideal post-bloom window, it’s better to wait until after the following spring’s flowers fade rather than cutting during fall.
Skipping one pruning season is far less damaging than removing an entire year’s worth of buds.
Light cleanup, like removing obviously broken or clearly withered stems, is still fine in fall. But save the real shaping and thinning work for the correct window.
Protecting those developing buds through summer and fall is the most important thing you can do to guarantee a gorgeous spring display.
8. Light Shaping Is Better Than A Hard Cutback
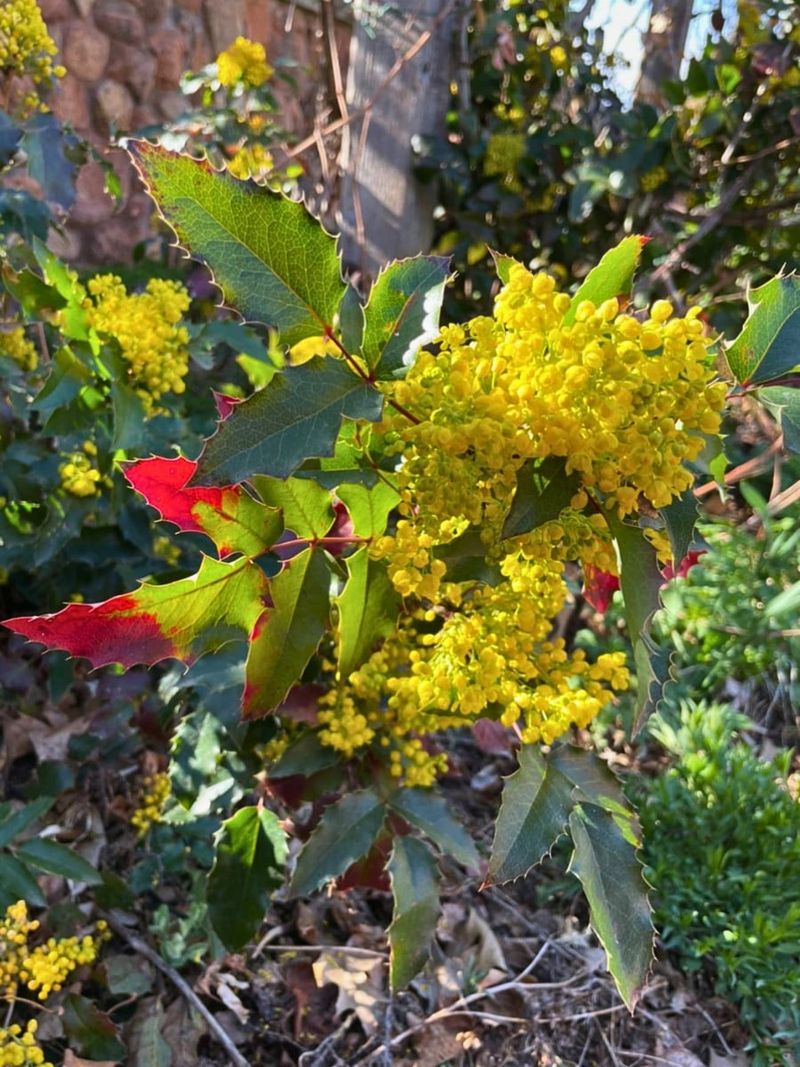
Sometimes a shrub just needs a little tidying, not a full renovation. Light shaping is almost always the safer choice, especially if you’re not sure exactly where the plant is in its growth cycle.
Small, careful cuts cause far less stress than a dramatic cutback. Light shaping means removing just the tips of stems that are sticking out too far or making the shrub look uneven. You’re not changing the overall structure.
You’re just cleaning up the edges and keeping things looking neat and intentional. This approach is especially useful for shrubs growing in tight spots near walkways, walls, or other plants.
A few well-placed snips can keep the plant from crowding its neighbors without putting the flower buds at risk. It’s a low-stakes way to maintain a tidy appearance year-round.
Hard cutbacks, where you remove most of the plant’s height and bulk, should only happen when the shrub has become seriously overgrown or structurally weak.
Even then, it’s better to spread that work over two or three seasons rather than doing it all at once.
Gradual renewal is kinder to the plant and keeps some blooms coming each year. Think of light shaping as regular maintenance, like a trim rather than a dramatic makeover.
Doing a little each year after bloom keeps the shrub looking great without ever needing a drastic rescue pruning session. Small, consistent efforts add up to a healthy, beautiful plant season after season.