The November Daylily Task That Sets Up More Flowers Next Summer In California
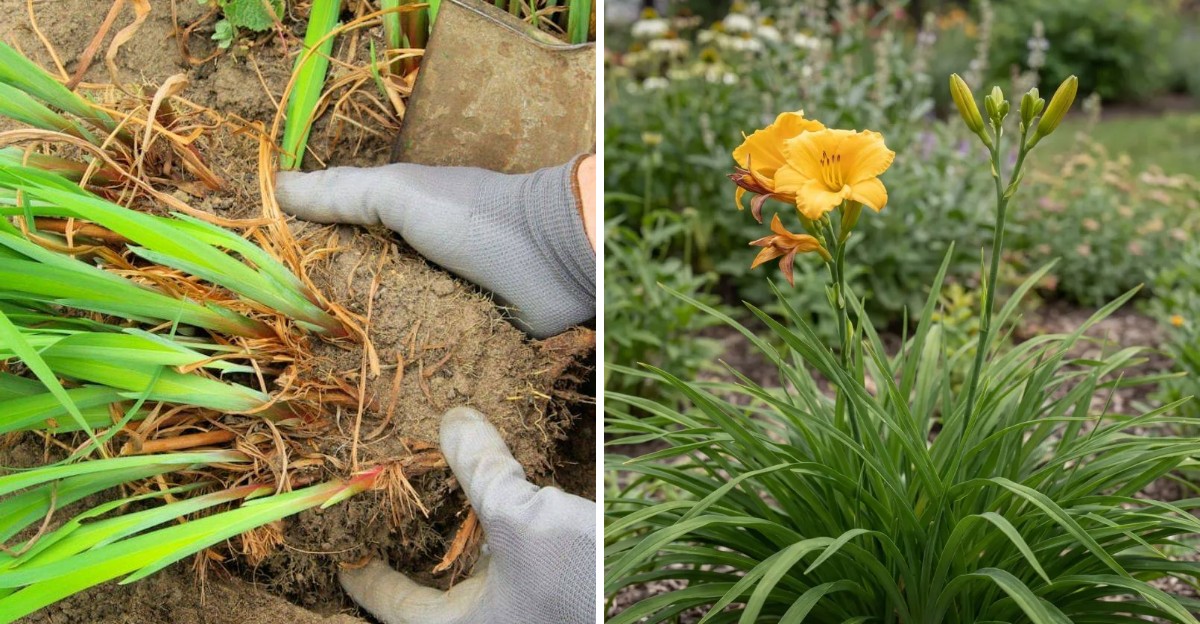
Split pieces of one tough summer bloomer with just a single leaf fan often take an extra year to flower well. Chunks with two or three fans, backed by thick roots shaped like small sweet potatoes, usually bounce back faster.
California’s November soil often stays warm while the air cools, which keeps roots spreading without summer heat stress. Clumps split in spring, by contrast, often spend their first summer recovering instead of flowering.
I picked my first ripe lemon of the season and spent the rest of that afternoon digging up crowded clumps. You might notice the old center of a big clump looks hollow or woody once it’s out of the ground.
Plenty of gardeners blame the weather when blooms thin out year after year. A muddy hour with a sharp spade could give each crowded clump the fresh space it needs for a bigger show next summer.
Crowded Daylily Clumps Quietly Trade Flowers For Leaves
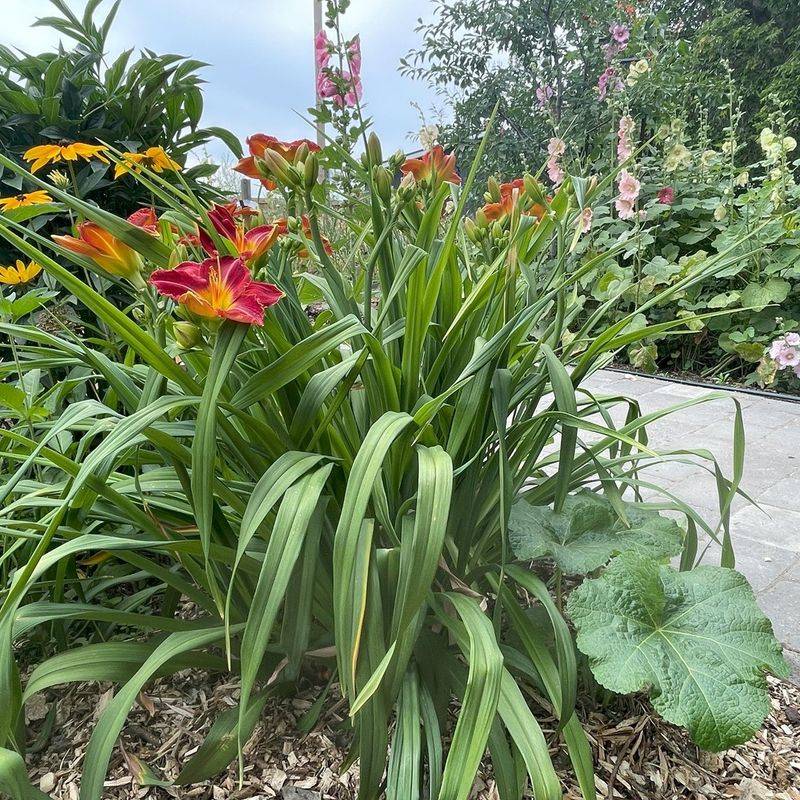
Plenty of gardeners blame the weather when their daylilies bloom less each year. More often, the real story is happening underground, in a tangle of roots fighting for space.
Daylilies spread by growing new fans around the outside of the clump. After several seasons, the center gets packed with old crowns and woody roots. Those older sections compete for water and nutrients, so the whole plant puts out fewer scapes and smaller flowers.
You can spot the problem with a quick look. Watch for a hollow or thin middle, leaves crowding over the edges, and flower stalks that are shorter or fewer than they used to be.
Another clue is the bloom count compared with past summers. If a clump that once covered itself in color now gives you a scattered few, crowding is a likely suspect. Keep in mind that too much shade or very poor soil can cause similar results, so check those too.
I find it oddly satisfying to read a plant this way. The leaves still look happy, but the flowers tell the truth. Once you notice that pattern, the November fix starts to make a lot of sense.
Splitting Your Daylily Clumps Is The Real November Job
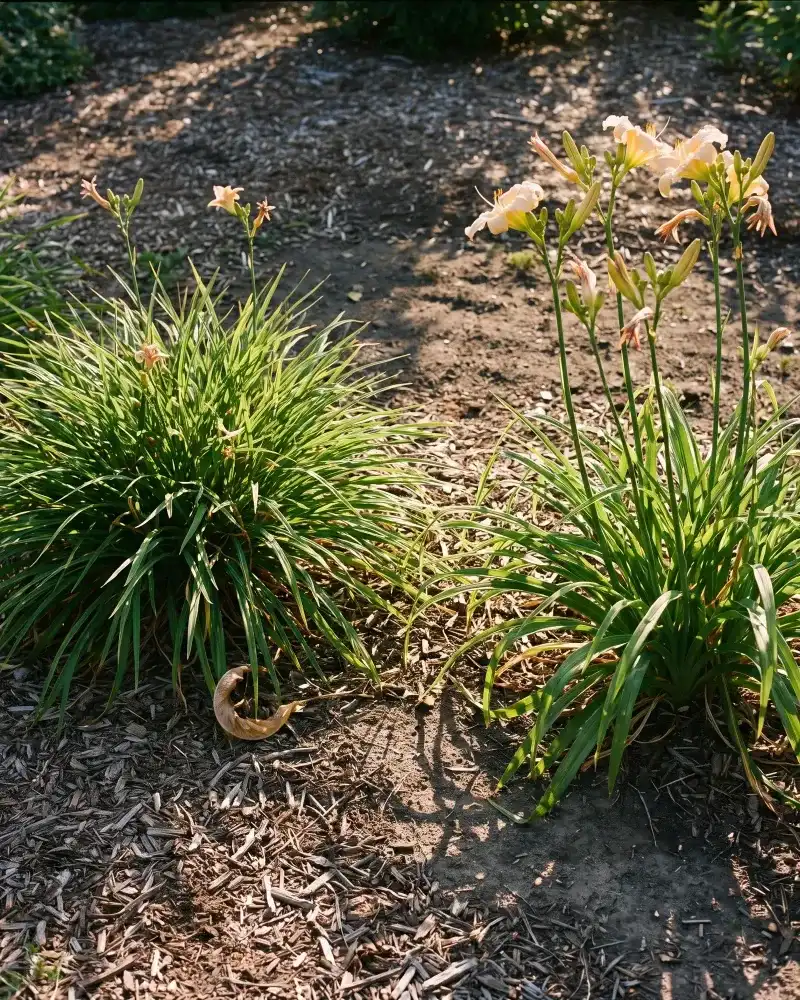
Division is the task that pays off next summer. Splitting an older clump into smaller pieces gives each section fresh soil, more room, and a better shot at heavy blooming.
Most growers suggest dividing daylilies every three to five years, or whenever flowering clearly slows down. Vigorous older types may need it sooner, while some newer hybrids grow more slowly and can wait longer.
Why does it work so well? Each new division has young, active crowns instead of a worn-out center. Those crowns put energy into fresh roots, then into flower scapes once warm weather returns.
You also gain extra plants for free. One mature clump can easily become five or six starts. That means you can fill a bare slope, edge a path, or share with friends down the street.
Personally, I love that the job feels like a reset button. Daylilies are famously tough, so they forgive slightly clumsy cuts and imperfect timing.
Do not stress about making every piece the same size. Healthy roots and a few leaf fans matter far more than neat symmetry, and the plants usually settle in quickly.
California’s Mild Fall Gives Daylily Roots A Head Start
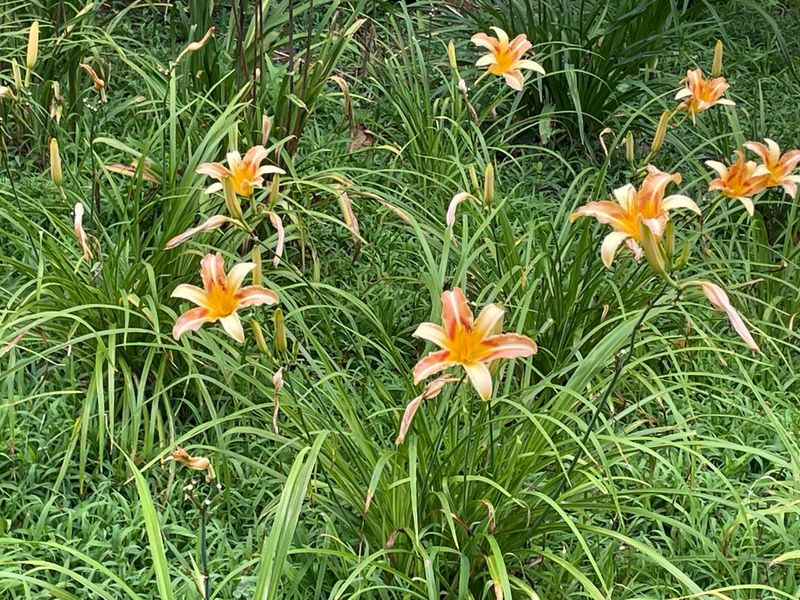
Timing is where California gardeners get a real advantage. In much of the state, especially USDA zones 8 through 10, November brings cooler air while the soil stays warm.
That combination is perfect for root growth. The tops are not under heat stress, yet the roots can keep spreading into new ground before winter slows things down.
Winter rain often helps too. Coastal and valley gardens usually get their first meaningful storms around now, which cuts down on hand watering for fresh divisions.
Compare that with spring division. Plants split in spring often spend their first summer recovering, so they may skip or reduce blooms that year. Fall divisions have months to settle in, which usually means a better show by next summer.
There are some regional differences worth knowing. In high mountain areas or the colder parts of Northern California, early frost can arrive fast, so September or October is safer there.
Desert gardeners can often divide comfortably in November, since summer heat is finally over. If your ground is already freezing, wait until early spring instead.
Lift The Whole Daylily Root Ball Before You Start Cutting
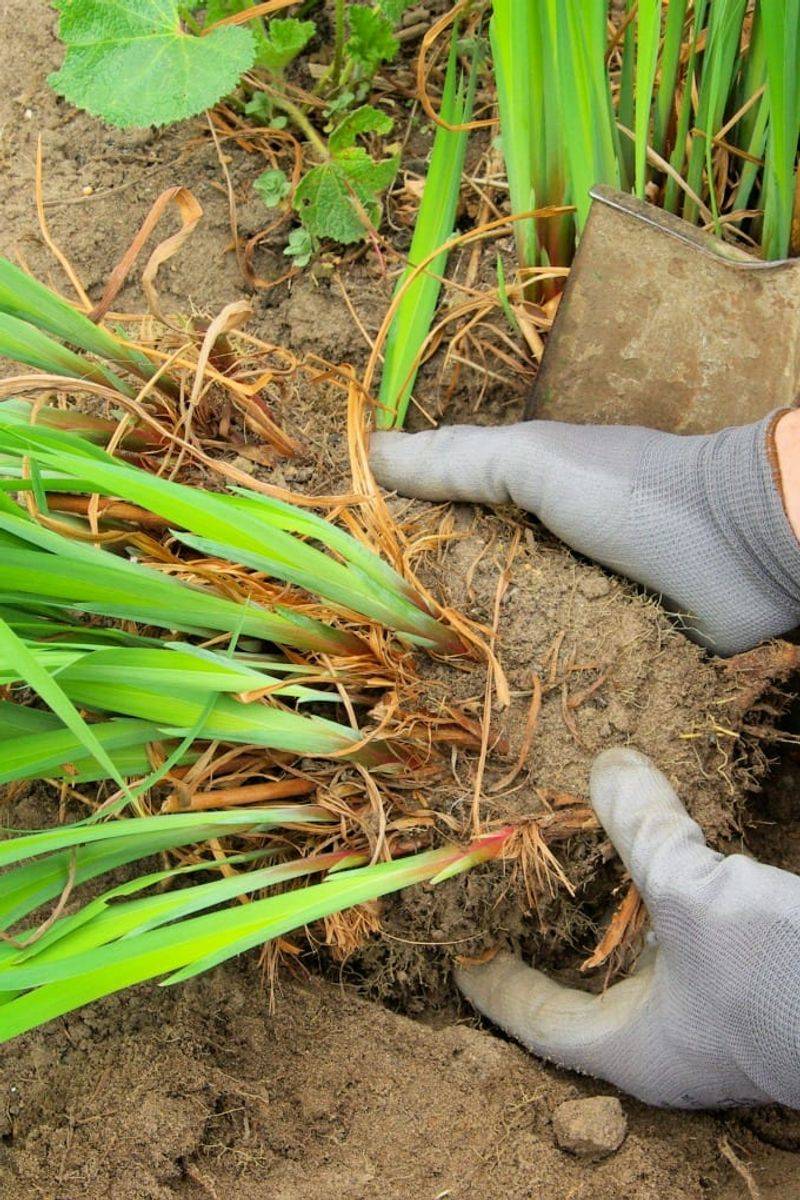
A day or two before digging, give the clump a deep soak. Moist soil holds together around the roots and lets the plant come out of the ground with less tearing.
Start digging about six to twelve inches out from the edge of the leaves. Work all the way around in a circle with a sharp spade or garden fork, then pry gently from several sides.
Older clumps can be heavy and stubborn. You may need to rock the root ball back and forth or slice through a few deep roots to free it.
Once it is out, shake or hose off the loose soil. Seeing the crowns clearly makes it much easier to decide where to split.
You will notice thick, fleshy roots that look a little like small sweet potatoes. Those store water and food, which is one reason daylilies bounce back so reliably.
Set the clump on a tarp in the shade while you work. Roots should not sit baking in the sun for long, so try to keep the whole job moving at a steady pace.
Each New Daylily Division Needs A Few Healthy Fans
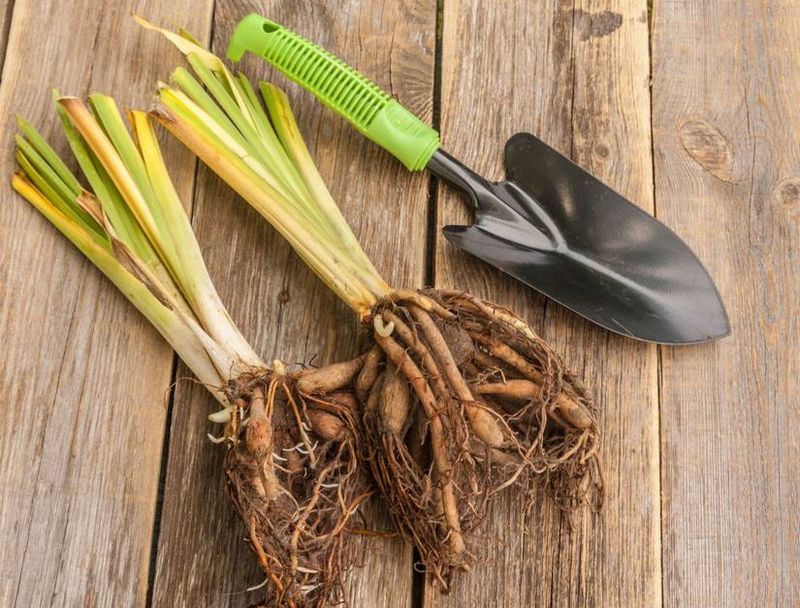
Here comes the fun part. Look for natural gaps where the clump wants to separate, and pull those sections apart with your hands or two garden forks back to back.
Aim for divisions with two or three leaf fans each and a good set of roots. Single fans can grow, but they often take an extra year before blooming well.
Tight, woody clumps may refuse to budge. A sharp knife or clean spade can slice through the crown, and that is perfectly fine for these tough plants.
Toss out the old, weak center if it looks spent or mushy. The strongest bloomers usually come from the younger outer edges of the clump.
Check the roots as you go. Trim off any broken, shriveled, or soft pieces so the plant can focus on healthy growth.
Fun fact: the botanical name Hemerocallis comes from Greek words meaning beauty and day. It is a fitting name for a flower that opens for only one day.
Wipe your tools clean between plants if you notice any rot, since that simple habit helps limit the spread of problems.
Plant Daylily Crowns At Just The Right Depth
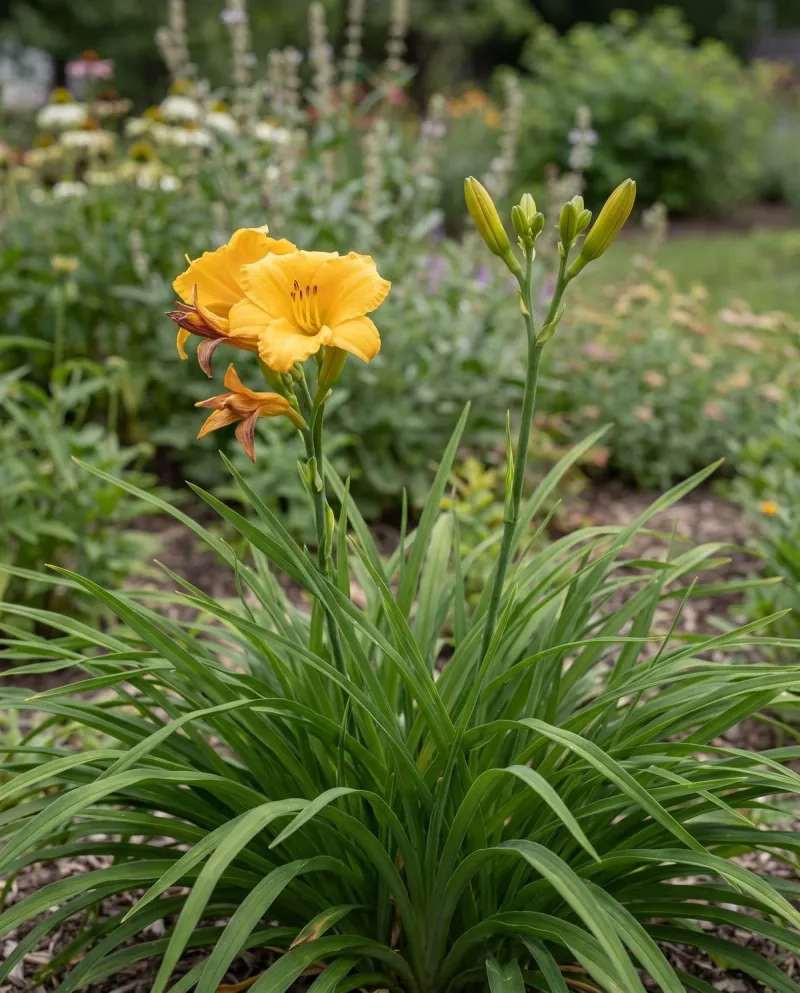
Depth matters more than most people expect. Set the crown, where leaves meet roots, about one inch below the soil surface for the best start.
Planting too deep can delay or reduce blooms. Planting too shallow leaves roots exposed and thirsty.
Dig a hole a few inches wider and deeper than the roots. Build a small mound of soil in the middle, then drape the roots down over it like a skirt.
Backfill gently and firm the soil with your hands. Water thoroughly to settle everything and remove air pockets around the roots.
Many gardeners trim the leaves down to about six inches before replanting. That reduces water loss while the roots recover and makes the divisions easier to handle.
Spacing helps too. Set divisions roughly 18 to 24 inches apart so they have room to fill in without crowding again too soon.
Daylilies bloom best in full sun, with at least six hours a day. In hot inland valleys, a little afternoon shade can keep darker flower colors from fading, so pick each new spot carefully.
Old Daylily Leaves Make Cozy Hideouts For Slugs
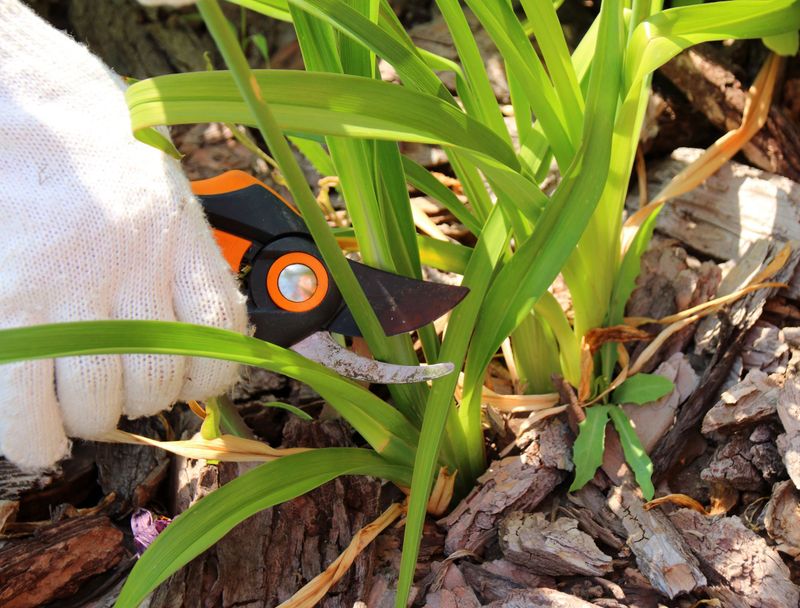
Brown, floppy daylily foliage might look harmless in the fall bed. To slugs and snails, though, it is basically a free apartment with a fancy view.
Cleaning up spent leaves in November removes those hiding spots. It also cuts down on fungal problems like leaf streak, which can carry over on old plant debris.
Deciduous daylilies naturally go dormant, so you can cut their yellowing foliage back to a few inches above the ground. Bag or compost the healthy material, but toss anything that looks diseased.
Evergreen and semi-evergreen types act a bit differently. In mild California gardens they may stay green all winter. Just pull or snip off the brown and tattered leaves, and leave the green ones to keep feeding the plant.
Snap off old flower scapes too. They rarely add anything useful and can look messy all winter.
I enjoy this job on a cool, sunny afternoon. The bed instantly looks tidier, and you get a close look at each clump before spring. A quick slug check after rain can also save young leaves later.