The Pumpkin Harvest Signs Every New York Gardener Should Know
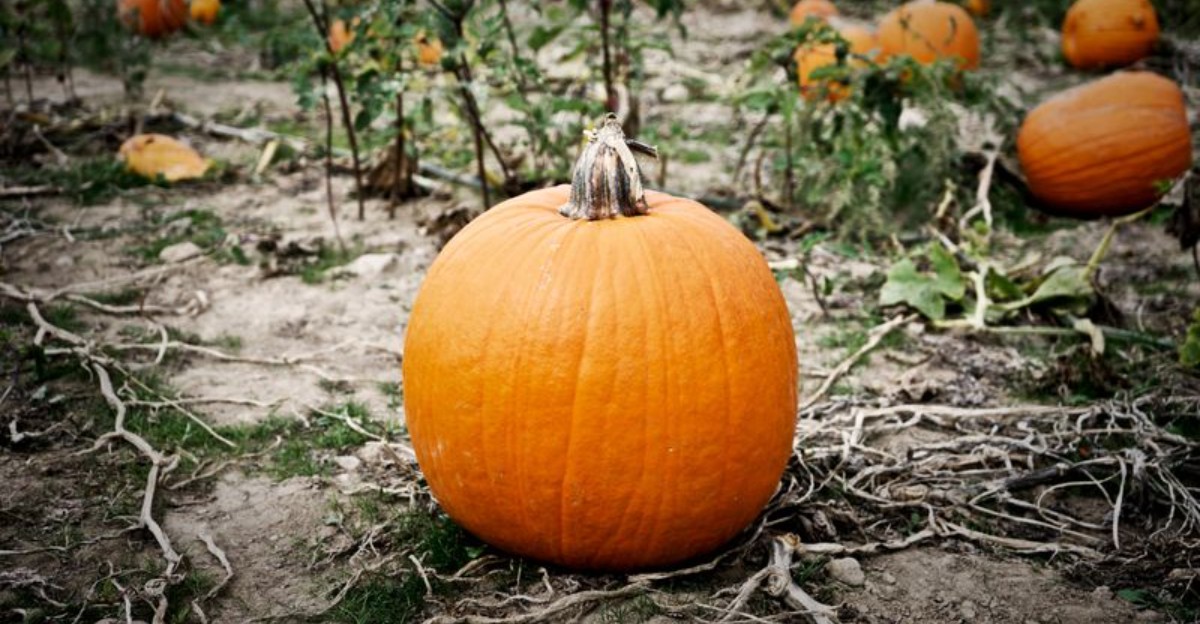
There is a morning in October when the pumpkin patch suddenly feels ready. The air smells like cold leaves and woodsmoke, and those sprawling vines no longer look quite so carefree.
All summer, the pumpkins quietly swelled beneath the leaves. Now comes the big question for every New York gardener: are they ready to pick?
Harvest too early, and the fruit may not store well. Wait too long, and a hard freeze can undo weeks of work.
Luckily, pumpkins give you useful clues. Color, rind, stems, and vines can all tell you when the timing is right.
Learn those signals, and harvesting becomes much easier. You will also give your pumpkins a better chance of staying firm and flavorful well into the colder months.
1. The Rind Turns Deep And Solid In Color
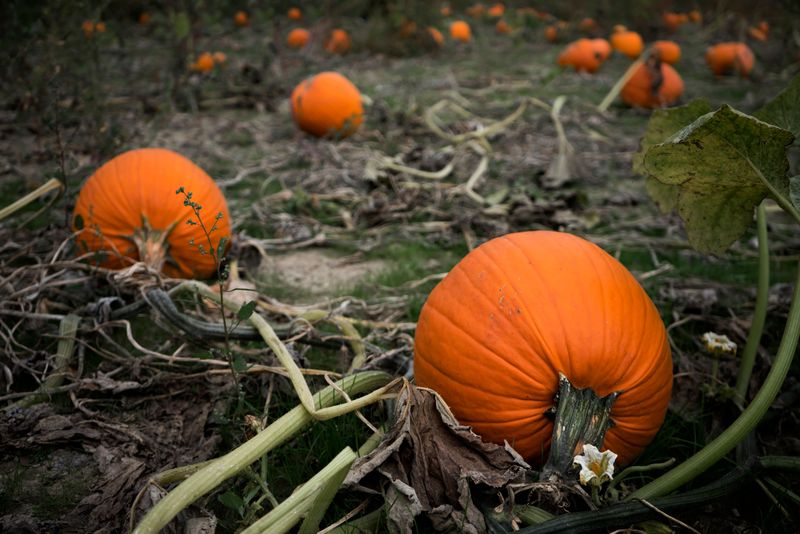
Color is the first thing your eyes notice from across the yard. A pumpkin that shifts from pale green to a rich, even shade is telling you something important.
Most orange varieties grown across New York deepen into a warm, saturated tone as they finish. The change usually creeps in slowly, starting near the blossom end and spreading upward.
Streaks of green mixed with orange mean the fruit is still working. Give it another week or two of sunshine before you reach for the pruners.
Not every pumpkin ends up orange, though. Some heirlooms mature into blue-gray, creamy white, or a soft buff shade closer to caramel.
Check your seed packet or plant tag so you know the finished color to expect. Judging a white Lumina by orange standards will only confuse you.
Cloudy stretches in upstate New York can slow the color shift a bit. Patience usually pays off more than panic does.
Gardeners sometimes try to rush things by pulling leaves away for extra sun. Light helps, but the real ripening happens inside the fruit itself.
A quick trick is comparing two pumpkins side by side each morning. Differences you miss day to day show up clearly when you line them up.
Once the rind holds one deep, steady color across the whole surface, you are close. Pair that observation with the other signs before cutting.
Fun bit of history: pumpkins have been grown in the Northeast for centuries, long before pie recipes existed.
2. The Pumpkin Skin Becomes Hard To Scratch
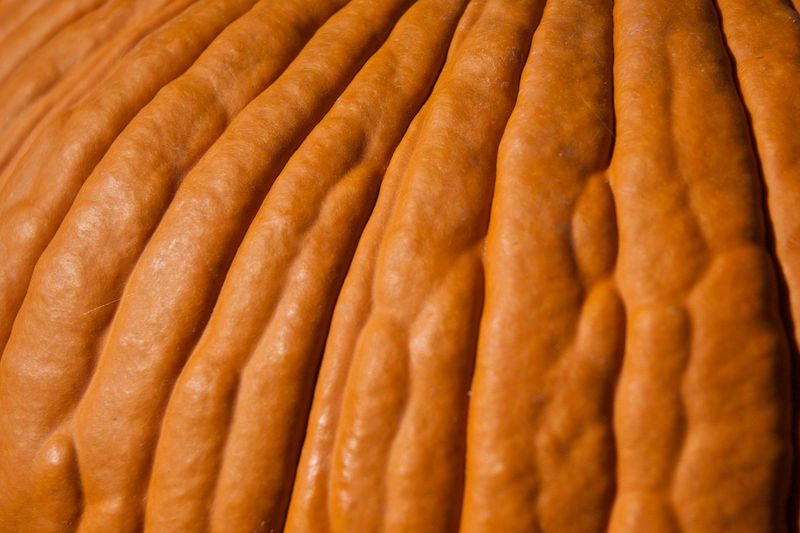
Here is the easiest test in the whole patch, and it costs nothing. Press your thumbnail gently against the rind and see what happens.
An unripe pumpkin dents or punctures with barely any pressure. The skin still feels soft, almost like a summer squash you would slice for dinner.
A mature pumpkin fights back. Your nail slides across without leaving a mark, and the surface feels tough as a shell.
That hardened rind is the fruit’s armor. It locks moisture inside and keeps rot and insects out during storage.
Try the test somewhere discreet, like low on the side near the ground. No sense leaving a scar on the face of your jack-o-lantern.
Your New York Garden Changes Every Week. Your Plan Should Too.
Gardening in New York changes quickly throughout the season. Every Friday you’ll receive a simple weekly plan showing exactly what to plant, prune, fertilize, harvest, and protect so you never miss the right timing.
Many gardeners run this check weekly starting in early September. Tracking the change helps you predict harvest day within a few days.
Skin hardness also tells you how the pumpkin will store. Soft-skinned fruit rarely lasts past Thanksgiving, while a tough rind can hold for months.
Should you find one pumpkin still soft while others pass, leave it be. Fruits on the same vine often ripen at different speeds.
Handle every pumpkin carefully during the test, since bruises invite trouble later. Even a small nick can turn into a soft spot in storage.
Combine the scratch test with a solid color check for the best reading. Two matching signals give you real confidence.
Simple, quick, and surprisingly reliable, this trick has guided growers for generations.
3. The Stem Starts Looking Dry And Tough
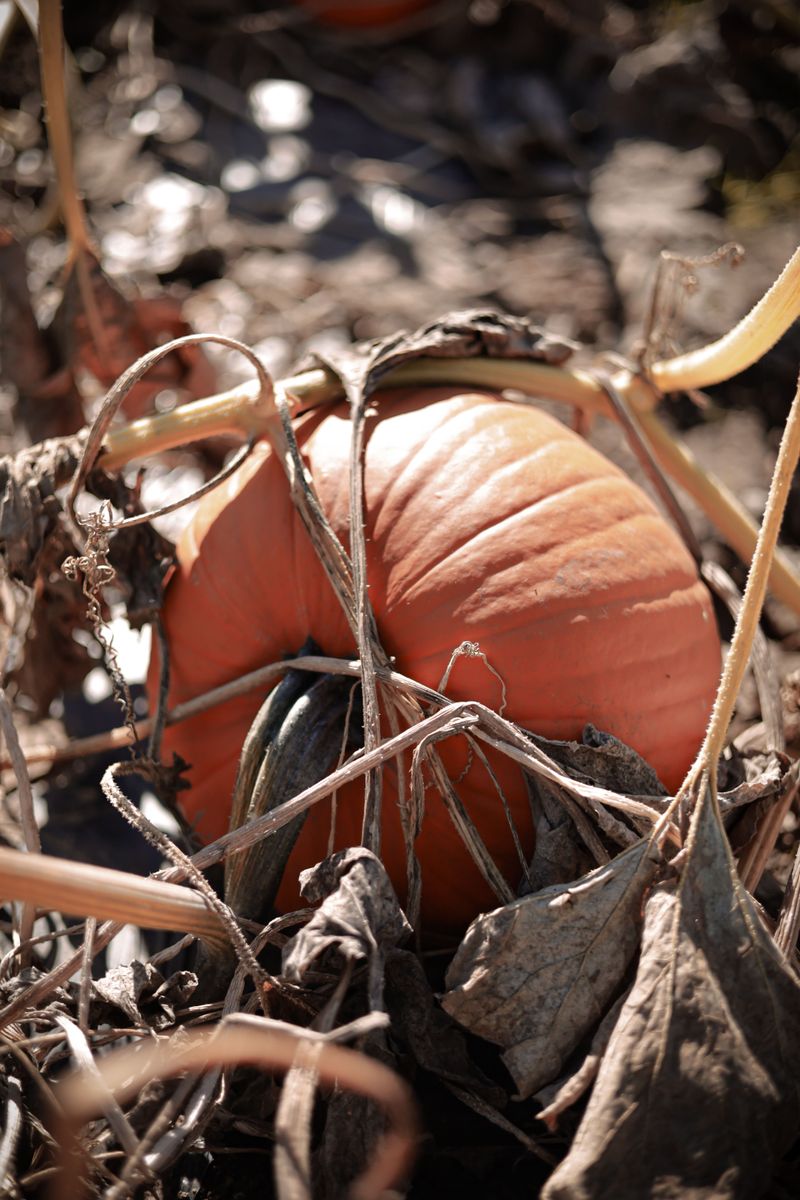
Gardeners call the stem the pumpkin’s handle, though you should never carry a pumpkin by it. What that stem looks like matters enormously.
Early in the season, the stem is bright green, soft, and slightly fuzzy. Bend it gently and it flexes without complaint.
As harvest nears, the color drains away and the texture stiffens. The stem turns tan or brown and feels woody, almost like a twig.
That drying means the plant has stopped pumping sugars and water into the fruit. Nothing more is coming, so the pumpkin has finished its job.
Cut the stem with sharp pruners or a knife, leaving three to four inches attached. A generous stub seals better and slows moisture loss.
Snapping a pumpkin off the vine by hand often tears the stem away. A stemless pumpkin usually softens near the top within weeks.
Many growers cut in dry afternoon weather rather than dewy mornings. Drier conditions mean cleaner cuts and fewer problems later.
Watch for stems that look mushy or darkened instead of woody. That texture points to rot rather than ripeness.
Curing helps too. Setting harvested pumpkins in a warm, sheltered spot for a week lets the cut end callus over.
One habit worth keeping is wiping your blade between plants. Clean tools reduce the chance of spreading disease across the patch.
Read the stem carefully and it will rarely mislead you.
4. The Vine Begins To Lose Its Healthy Green Color
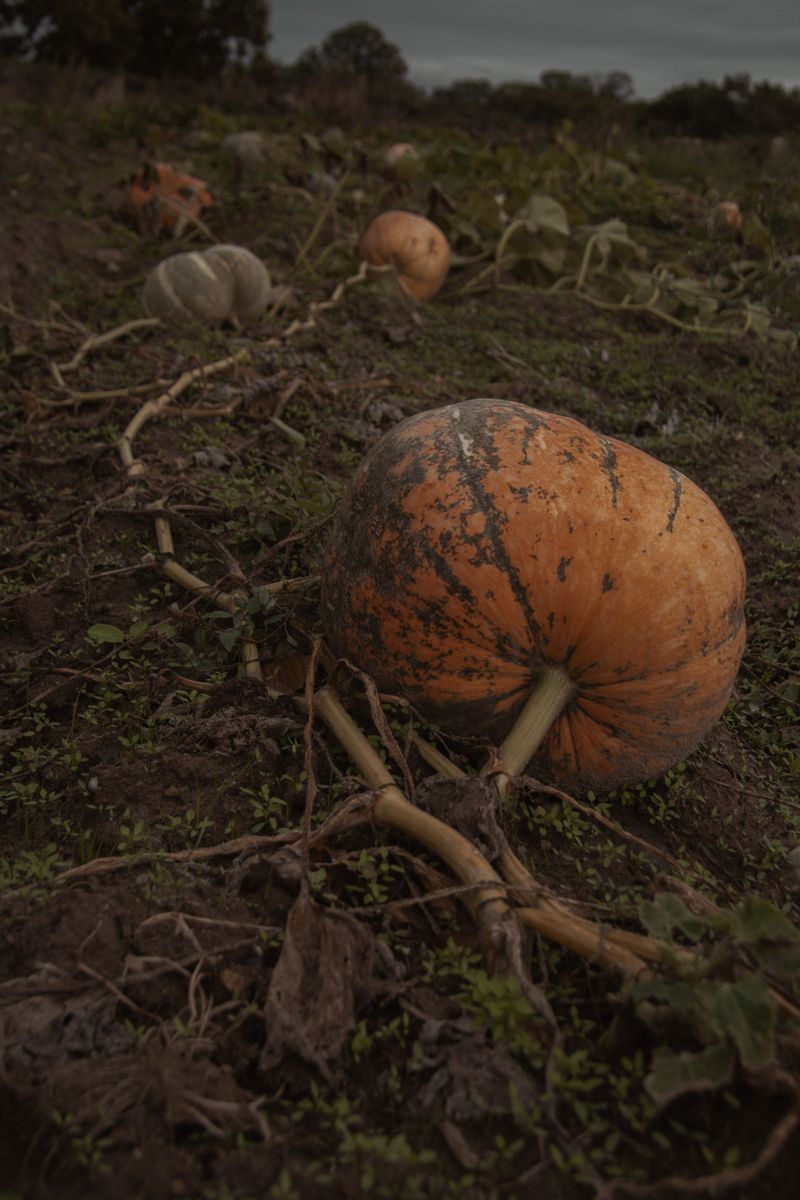
Something bittersweet happens when the vines start fading. All that lush green you tended since June begins turning yellow and crisp.
Leaves shrink, edges brown, and the whole plant looks tired. Rather than worry, take it as good news about your fruit.
The vine has poured its energy into the pumpkins and is winding down naturally. Its work is essentially finished for the season.
Look for the small curly tendril growing nearest the pumpkin’s stem. When that tendril browns and dries, the fruit beside it is usually ready.
Old-timers across the state swear by the tendril check more than any other clue. It is quick, visual, and easy to spot.
Be careful, though, because vines can fade for other reasons. Powdery mildew, squash vine borers, and drought all cause early yellowing.
If the vine collapsed suddenly in August while fruits stayed green, suspect a pest or disease. Harvest those pumpkins anyway and let them cure indoors.
Healthy seasonal fading happens gradually and spreads across the whole plant. Trouble tends to strike fast and in patches.
Once vines have mostly withered, avoid leaving fruit out for weeks. Exposed pumpkins face more moisture, rodents, and temperature swings.
Clear spent vines after picking to reduce overwintering pests. Composting or removing them gives next year’s patch a cleaner start.
Fading foliage may look sad, but it signals a finish line worth celebrating.
5. The Fruit Stops Growing Noticeably Larger
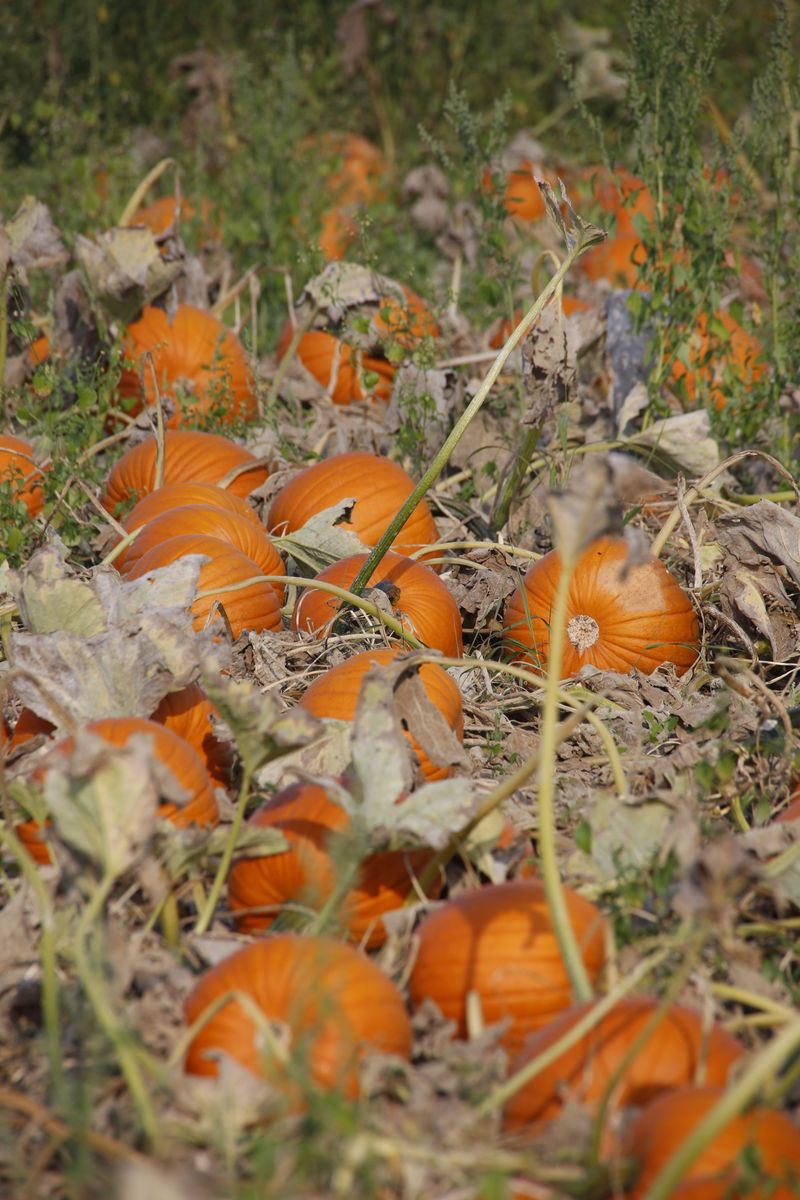
Ever notice how a pumpkin balloons for weeks, then just sits there? That pause is part of the plan.
Pumpkins reach their full size well before they finish ripening. The last stretch of the season goes toward hardening skin and deepening color.
Measure a fruit’s circumference with string or a tape and jot the number down. Check again five days later and compare.
Little to no change means growth has stopped. The plant has shifted into finishing mode rather than building mode.
Size alone can fool you, especially in gardens where summer heat varies from year to year. A big pumpkin can still be green and immature inside.
Small varieties like Jack Be Little stay tiny by design. Waiting for them to swell larger only wastes good weeks.
Some gardeners keep a simple notebook with weekly measurements. Patterns show up fast and make future seasons easier to plan.
Once growth halts, start watching color and skin hardness more closely. Those signs carry the real answer.
Feeding with extra fertilizer at this stage does little good. Energy goes into the vine rather than the fruit you want.
Cutting back on water slightly during the final weeks can concentrate flavor. Soggy soil late in the season often leads to bland, watery flesh.
Here is a fun thought: giant pumpkin growers in New York sometimes gain thirty pounds a day at peak, then stop cold.
6. The Pumpkin Develops Its Full Variety Color
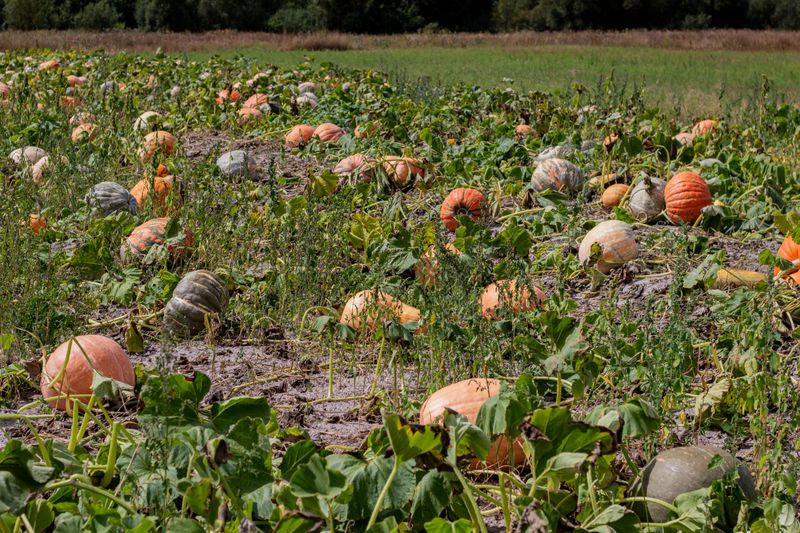
Pumpkins come in far more shades than the grocery store suggests. Blue-gray Jarrahdale, ghostly white Lumina, and peachy Long Island Cheese all belong in the family.
Each variety finishes at its own signature color. Knowing that target shade keeps you from picking too early or waiting too long.
The transformation comes from inside the fruit as chlorophyll fades. Sunlight helps a little, but the plant drives most of the change.
Patchy coloring with green streaks lingering usually means more time is needed. Even tone across the whole surface points to maturity.
Pale spots where the pumpkin rested on soil are perfectly normal. Those ground patches often stay lighter and cause no harm.
Many gardeners grow a mix of varieties for fall displays. Sorting harvest dates by type prevents confusion in a crowded patch.
Labels help more than memory does. A little marker stake by each hill saves a lot of guessing in October.
Should a pumpkin get picked slightly early, it can still color up indoors. Keep it in a warm, bright room and check it every few days.
Fruits picked very green rarely improve much. Flavor and storage life both suffer noticeably.
Pie varieties like Small Sugar deepen to a dense, dull orange rather than a glossy one. Shine is not the goal here.
Trust the variety’s own color language and your harvest timing improves immediately.
7. The Ground Beneath The Pumpkin Stays Dry
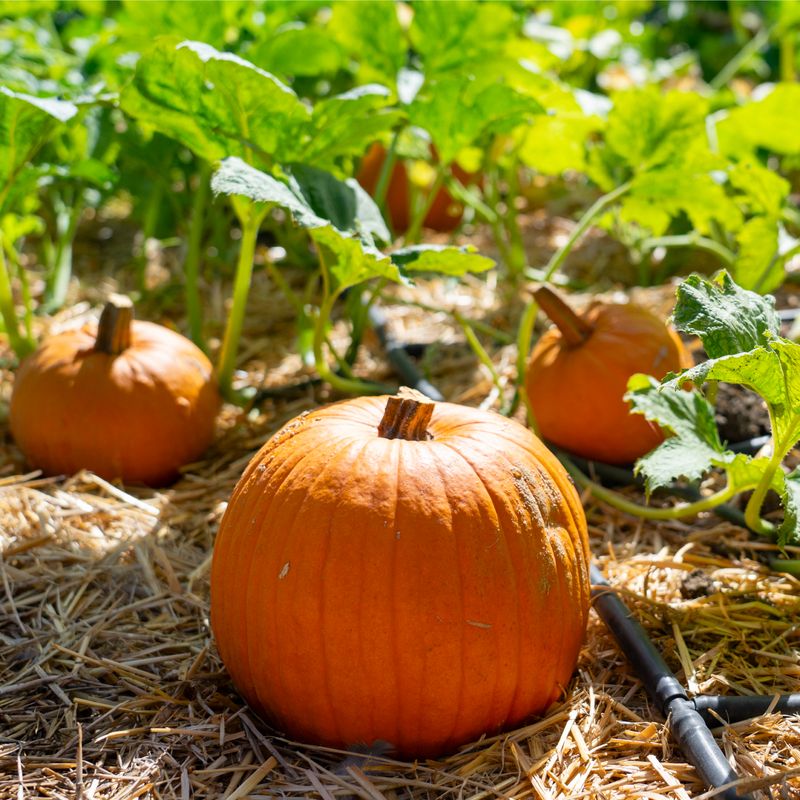
Wet soil under a ripening pumpkin causes more heartbreak than frost ever does. The bottom softens, then the whole fruit follows.
Slide a flat board, a scrap of plywood, or a thick pad of straw underneath each pumpkin. Air moves freely and the rind stays dry.
Do it while the fruit is still small and light. Lifting a forty pound pumpkin later is no fun for anyone.
Rain visits New York gardens generously in September and October. A barrier between fruit and mud makes a real difference.
Check underneath every week or so by tipping the pumpkin slightly. Look for discoloration, dampness, or insect damage on the resting spot.
Dry ground is not a ripeness clue by itself. Think of it as insurance that protects everything else you have grown.
Slugs love damp hiding places under fruit. Straw bedding with good airflow discourages them from setting up camp.
Mulch helps early in the season but can hold moisture late. Pulling it back a few inches around each pumpkin improves drying.
Should a soft patch appear, harvest that pumpkin right away and use it soon. Cooking beats losing it entirely.
Curing after harvest matters just as much. Ten days in a warm, dry spot toughens the skin for long storage.
Gardeners who master dry footing consistently keep pumpkins in good shape well past the holidays.
8. The Fruit Feels Firm When Gently Pressed
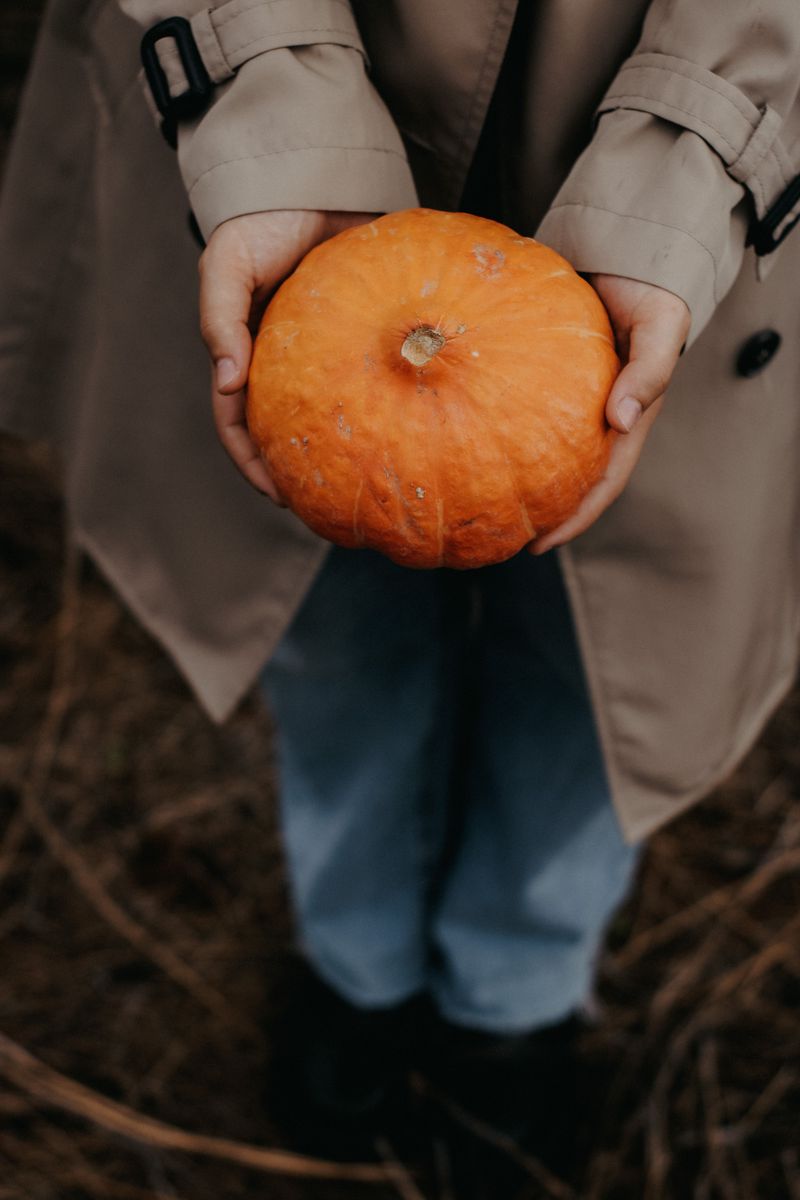
Touch tells you things your eyes miss. Run both hands over a pumpkin and press gently in several spots.
A ready pumpkin feels solid and unyielding everywhere. There should be no give, no squish, and no hollow-feeling patches.
Rap the side with your knuckles and listen. A deep, hollow thump usually suggests the flesh has matured properly.
Soft areas, especially near the bottom, deserve attention. Those spots often mean moisture damage or the start of decay.
Weight matters too. A mature pumpkin feels heavy for its size because the walls have thickened.
Lightweight fruit that feels almost airy may not have developed fully. Leave it a bit longer if the vine still looks alive.
Cool nights in late September firm up fruit nicely. Warm days paired with chilly evenings tend to produce excellent texture.
Always lift from the bottom with both hands rather than the stem. Pumpkins are heavier than they look and stems snap easily.
Bruises from rough handling turn into soft spots within days. Treat each fruit like an egg with a suntan.
Once picked, wipe the surface with a dry cloth to remove soil. Some gardeners add a light vinegar rinse to discourage mold.
Store firm, unblemished pumpkins in a cool, dry room around 50 to 60 degrees. Under good conditions, many can stay in good shape for weeks or longer.
9. Heavy Frost Is Approaching And The Fruit Is Mature
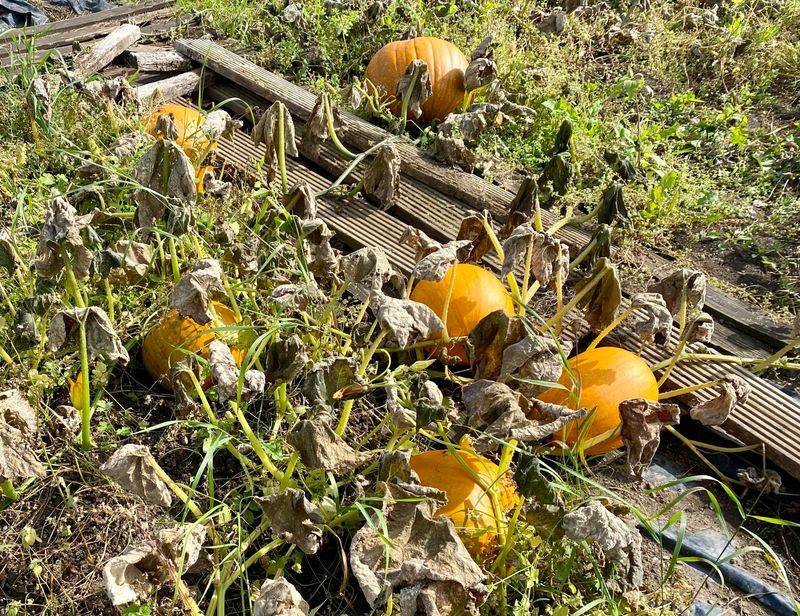
Weather reports become required reading once October settles over New York. A hard freeze forecast changes your harvest plans immediately.
Light frost mostly affects the vines and leaves, turning them limp overnight. The fruit itself usually shrugs it off without damage.
A deep freeze is a different story. Temperatures below freezing can damage the flesh and shorten storage life.
Frozen tissue softens after thawing and spoils quickly. What looked perfect on Monday can collapse by Friday.
Watch the ten day forecast starting in early October. Upstate gardens often see freezing nights weeks before areas closer to the coast.
When a hard freeze looms and pumpkins show mature color and tough skin, pick everything. Bring the harvest into a garage, shed, or covered porch.
Fruit that has started changing color can be harvested before a hard freeze and allowed to finish ripening under suitable conditions.
Harvest during the driest part of the day for the best results. Wet pumpkins stored damp tend to mold.
Cure the picked crop in a warm, dry place for about a week to ten days if you can. The skin hardens and minor scratches can heal over.
Never stack pumpkins directly on a cold concrete floor. A wooden pallet or cardboard layer keeps chill and moisture away.
Beat the freeze, and your pumpkins reward you with flavor and color long after the garden sleeps.