What Crusted Soil Around North Carolina Transplants Is Trying To Tell You
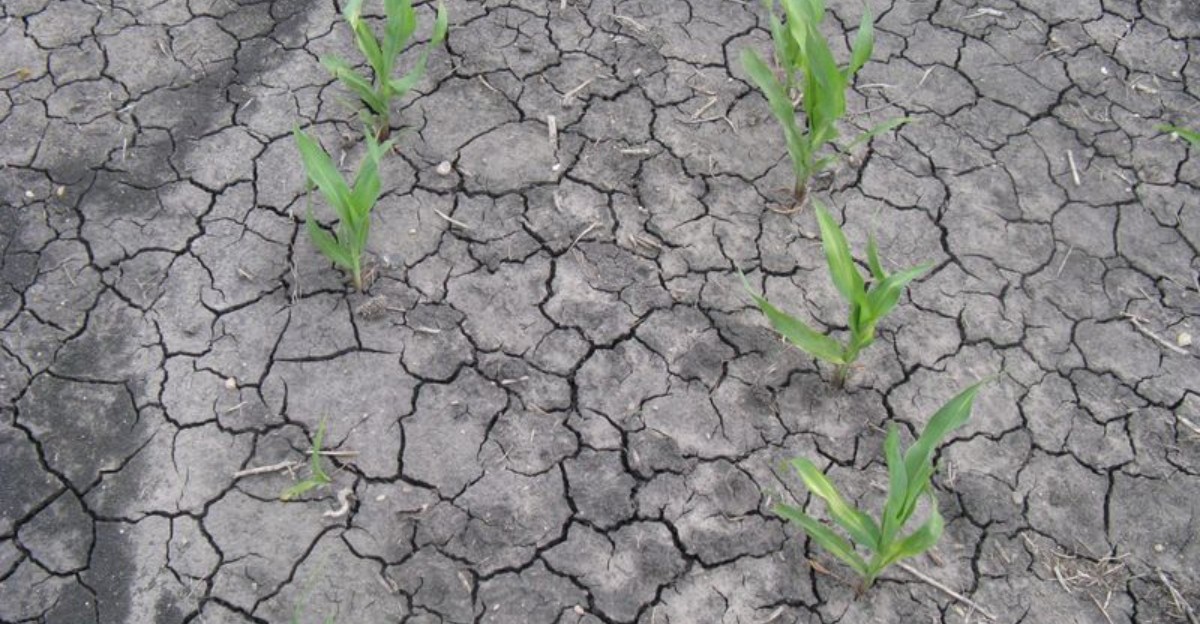
A hard, crusted layer forming on the soil surface around newly planted transplants is more than just an unattractive texture, it’s often a direct sign of how water and air are moving through the ground beneath it.
This kind of crusting typically develops when soil high in clay content gets compacted by heavy watering or rainfall, then bakes into a dense layer as it dries.
Once that crust forms, water can struggle to penetrate down to where transplant roots actually need it, instead running off the surface or pooling on top.
Newly transplanted roots are especially vulnerable to this issue, since they haven’t yet spread wide enough to access moisture beyond the immediate crusted zone.
Recognizing this warning sign early lets North Carolina gardeners break up the soil surface and adjust watering before transplants suffer lasting stress.
1. The Soil Surface Has Become Compacted
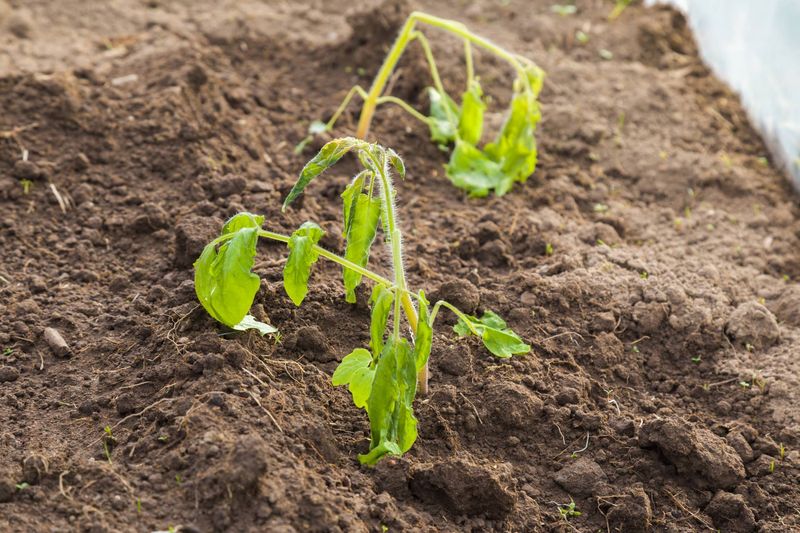
You plant a brand-new tomato in a Raleigh garden bed, and by Monday, it looks perfectly content. By Friday, after two storms and a few trips across the bed to check on it, the ground around its stem feels like a sidewalk.
That hard shell is your garden sending a message. Compaction happens when soil particles get squeezed closer together. Healthy soil is full of tiny open spaces, almost like a sponge, and those spaces hold air and water for roots.
When feet, rain, and tools press down again and again, the spaces collapse and the top layer turns firm and flat.
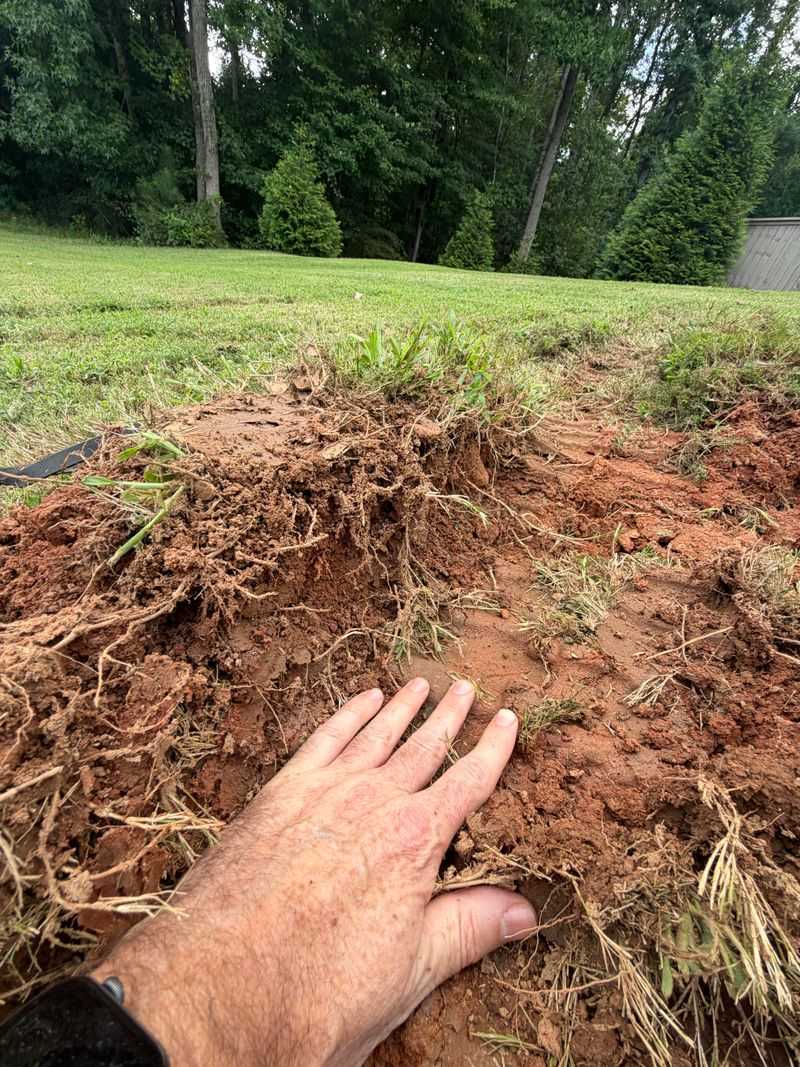
North Carolina gardeners face an extra challenge here. Much of the Piedmont sits on red clay, which has very small particles that pack together tightly. Even sandy loams in the Coastal Plain can crust when fine silt settles on top after a hard rain.
Working the soil while it is soggy makes things worse. Wet clay acts a lot like modeling dough, so any pressure smears it into a dense layer that bakes hard once the sun comes out. Each footstep near your transplants adds to the problem.
The good news is that you can spot the signs early. Look for a smooth, shiny surface, cracks that form as the ground dries, or water that puddles instead of soaking in.
Press a finger into the soil near your plant, and if it refuses to give, compaction is likely the culprit.
A simple fix starts with where you walk. Lay down stepping stones or boards so your weight spreads out, and keep your paths separate from planting areas.
2. Heavy Rain Can Seal The Surface
Few things look as harmless as a summer shower. Yet each raindrop hits bare ground like a tiny hammer, and a single North Carolina thunderstorm can drop more than an inch of water in under an hour.
Soil is not just loose dust. Good garden soil forms small crumbs called aggregates, which are clumps of sand, silt, clay, and organic matter glued together by roots, fungi, and microbes.
Those crumbs create the gaps that let water and air slip down to your transplants. When heavy drops slam into unprotected soil, they knock those crumbs apart.
Your North Carolina Garden Changes Every Week. Your Plan Should Too.
Gardening in North Carolina changes quickly throughout the season. Every Friday you’ll receive a simple weekly plan showing exactly what to plant, prune, fertilize, harvest, and protect so you never miss the right timing.
The smallest pieces, mostly silt and clay, float in the puddled water and then settle into the tiny openings at the surface. Soil scientists call this sealing, because the fine particles plug the holes like grout between tiles.
Once the sun returns, the sealed layer dries into a thin, hard crust. It may be no thicker than a nickel, but it can be tough enough to block seedlings and keep water from soaking in during the next storm.
Freshly planted beds are especially at risk. You have just loosened the soil, pulled out weeds, and left the ground bare, which gives raindrops a perfect target.
Spring and early summer storms in the Triangle and Triad arrive fast and hard, so crusting can show up within days.
Protecting the surface is the best defense. A light layer of shredded leaves, straw, or pine needles softens every drop before it lands.
Keep an eye on the bed after each big rain, and you will learn exactly how your soil responds.
3. Water May Have Trouble Infiltrating
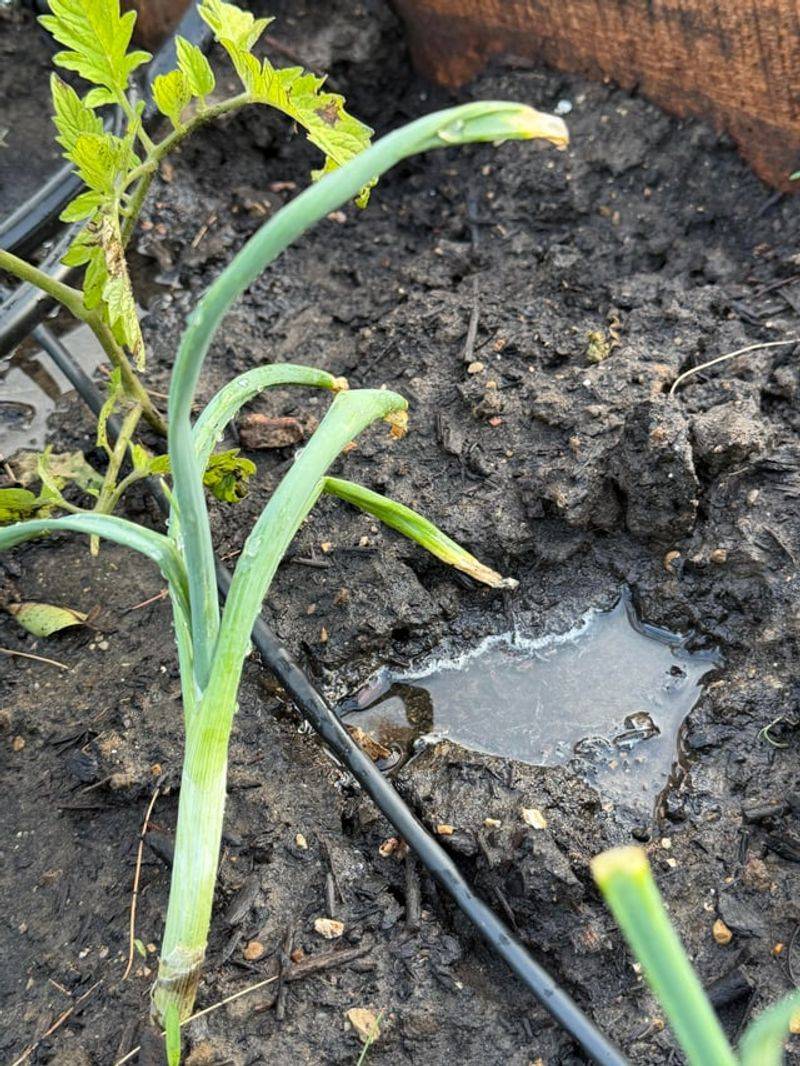
Ever watered a new pepper plant, only to watch the water race off toward the path? That runaway stream is a clue that the crust is acting like a raincoat for your garden bed.
Infiltration is the word for water moving from the surface down into the soil. Loose, crumbly ground drinks water quickly, while a hard crust slows that process to a trickle.
When water arrives faster than the soil can take it in, the extra simply flows away. For a young transplant, that runoff is a real problem.
Its roots are still small and sit close to the original root ball, so they rely on steady moisture right around the stem. If water skims across the top, the roots underneath may stay dry even after a long soaking.
Runoff also carries soil with it. Each time water rushes downhill, it can wash away topsoil, fertilizer, and even compost you worked so hard to add. Clay slopes in the North Carolina foothills are known for this kind of loss.
You can test your bed with a quick check. After watering, wait about an hour and dig a small hole a few inches from the plant with a trowel. If the soil is dry just below a damp top layer, water is not getting where it needs to go.
Slow, gentle watering helps a great deal. Soaker hoses and drip lines let moisture seep in at a pace the soil can handle. Another trick is to form a shallow basin around each transplant so water pools and sinks rather than drifting away.
4. Young Roots Need Air As Well As Water
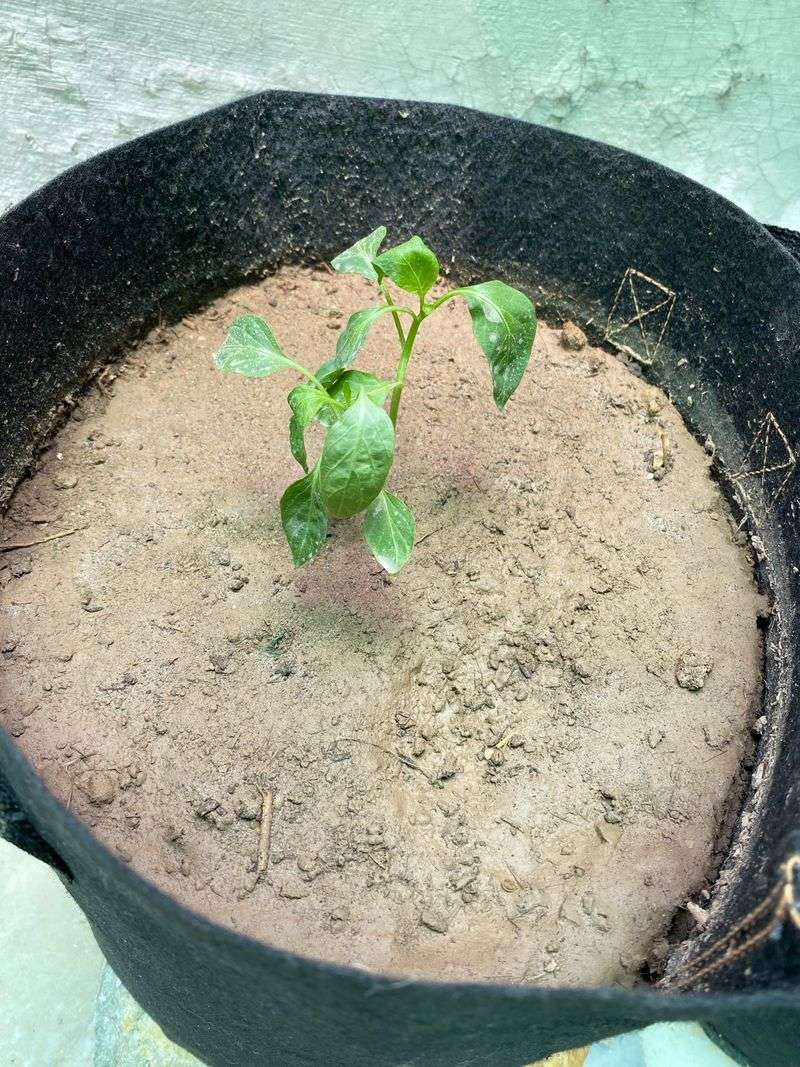
Roots breathe. It sounds strange, since we usually think of plants taking in air through their leaves, but root cells need oxygen to grow, take up nutrients, and stay healthy.
Healthy soil is roughly half solid material and half open space. In a well-built garden bed, those open spaces hold a mix of water and air, with larger pores draining quickly to let oxygen in and smaller pores holding moisture for later.
That balance keeps roots comfortable. Compaction squeezes the large pores first. Once those air channels shrink, water lingers in the soil longer and oxygen has a hard time reaching the roots.
A transplant sitting in dense, soggy ground can start to struggle even though it seems to have plenty to drink.
Watch the leaves for hints. Yellowing lower foliage, wilting during the heat of the day even when the soil is moist, and slow new growth can all point to roots short on air.
Gardeners often mistake these signs for thirst and add more water, which only makes things worse. Sweet potatoes, a North Carolina favorite, show this clearly.
The state grows more of them than any other in the country, and farmers know the roots form best in loose, well-drained soil. Your home garden plants have the same basic needs, whether you grow squash, zinnias, or young shrubs.
Balance is the goal. Check moisture by feeling the soil two inches down before you water, and skip a day if it still feels damp. Loosening the crust and adding organic matter over time will open up more pore space for air and water.
5. Do Not Work Wet Soil
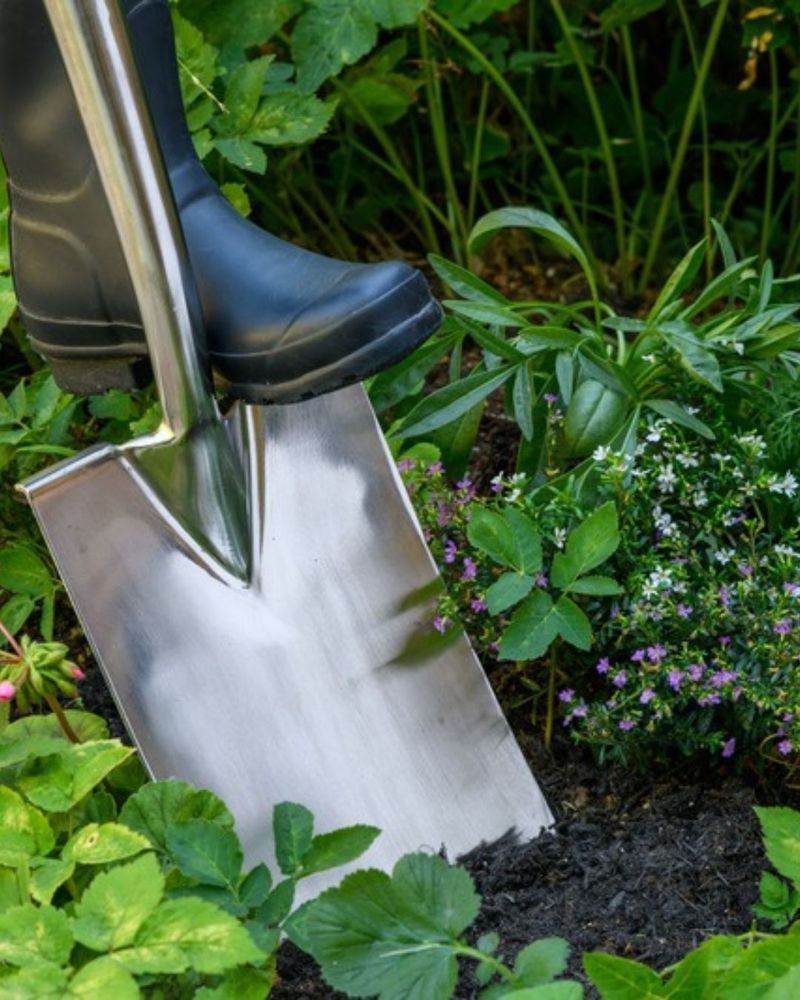
Patience might be the most underrated garden tool. After a rainy week, it is tempting to grab the hoe and tidy up around your transplants, but wet soil punishes eager hands.
Water acts like a lubricant between soil particles. When the ground is soaked, any pressure from a boot, shovel, or tiller slides those particles together and presses out the air spaces.
Clay soils, common across the Piedmont, are the most sensitive, and they can stay damaged for a season or longer.
Digging in wet clay often creates large, slick clods. Once they dry, they turn hard as bricks and are tough to break apart. Hoeing can also smear the surface into a smooth layer that crusts even faster the next time it dries.
So how do you know when the soil is ready? Try the squeeze test, a trick recommended by many Extension agents. Grab a handful of soil from a few inches down and squeeze it into a ball, then poke it with your thumb.
If the ball crumbles apart easily, you are good to go. If it holds its shape or feels sticky, give it another day or two. Sandy soils in eastern North Carolina usually dry out much faster than clay, so timing can vary a lot across the state.
Planning helps you avoid the temptation. Keep permanent paths so you never need to step in beds, and use a board to spread your weight if you must reach across. On soggy days, sharpen tools, sort seeds, or plan your next planting instead.
6. Gently Break The Crust
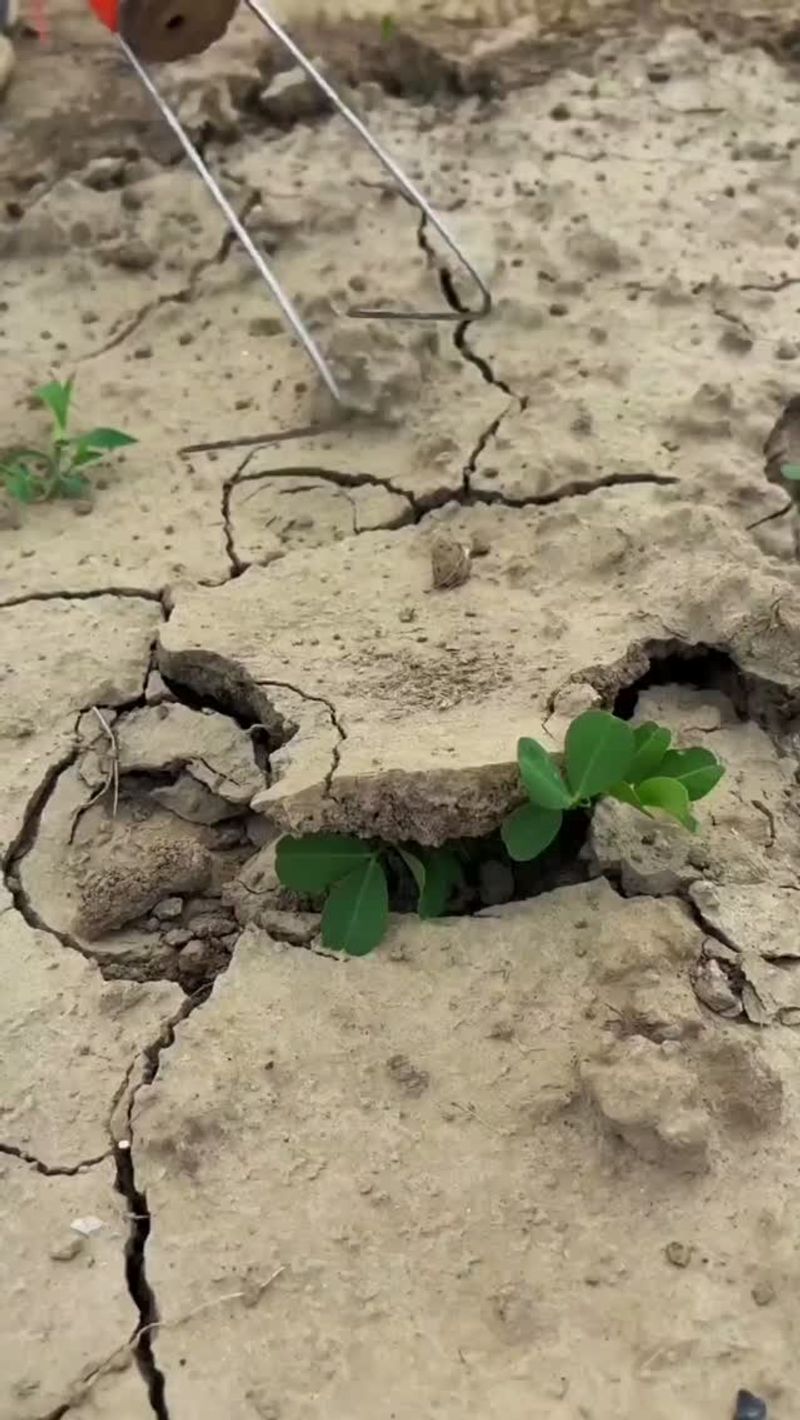
Think of this job as brushing a crust off bread rather than digging a trench. Your goal is to crack the hard surface so water and air can pass through, all without bothering the tender roots spreading out below.
Timing matters. Wait until your transplants have settled in for a week or two and the soil is just slightly moist, not wet or bone dry. Damp soil breaks more easily and falls into crumbs instead of chunks.
Choose a small hand tool. A three-prong cultivator, a hand fork, or even an old kitchen fork works well for tight spots. Many gardeners also like a narrow hand hoe for rows of vegetables.
Work only the top half inch or so. Cultivate only shallowly around transplants because young roots can spread close to the soil surface. Keep the tool well away from the stem and stop if you encounter roots.
Scratch lightly in short strokes, starting a few inches away from the stem and moving outward, never jabbing right against the plant.
Take your time around each transplant. If you feel resistance or see white root threads, back off and move to another spot. Breaking the crust into small pieces is enough, since you are not trying to turn the soil over.
Finish with a slow drink of water to help the loosened surface settle. Then add a layer of mulch so the crust does not form again after the next storm.
Repeat the process only when you notice a new crust, which will happen less often once your beds are covered and your soil improves.
7. Mulch Can Reduce Future Crusting
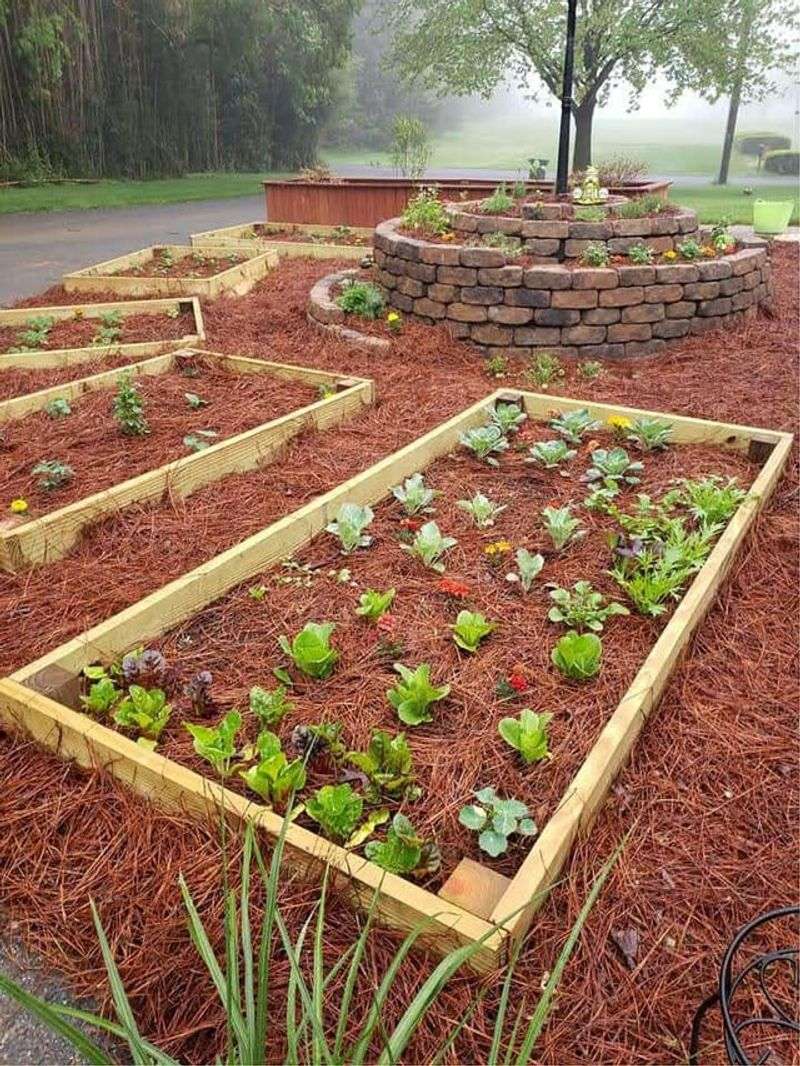
Nature rarely leaves soil bare. Walk through any North Carolina forest and you will find a soft blanket of leaves and pine needles on the ground, and that covering is exactly what your garden beds are craving.
Mulch works like an umbrella. Raindrops hit the mulch first, lose their force, and then trickle gently onto the soil below. Without that hard impact, soil crumbs stay whole and the surface is far less likely to seal and crust.
Moisture stays put, too. A mulch layer shades the ground and slows evaporation, which means you water less often during hot Carolina summers.
It also keeps soil temperatures steadier, protecting young roots from the baking afternoon sun and from sudden chilly nights in early spring.
Good choices are easy to find. Pine straw is a local classic, and shredded leaves, wheat straw, and fine shredded hardwood bark all work nicely around vegetables and flowers.
Aim for about two to three inches for coarse materials, and a bit less for finer ones like shredded leaves.
Placement is where many gardeners slip up. Keep mulch pulled back an inch or two from plant stems so moisture does not sit against the bark or stalk, which can invite rot, disease, and pests. Piling mulch up around stems like a volcano is a habit worth breaking.
Wait until the soil has warmed a bit before mulching warm-season crops like tomatoes and peppers in spring. Refresh the layer as it breaks down, and your soil will thank you with fewer crusts and happier transplants all season long.
8. Improve The Soil Over Time
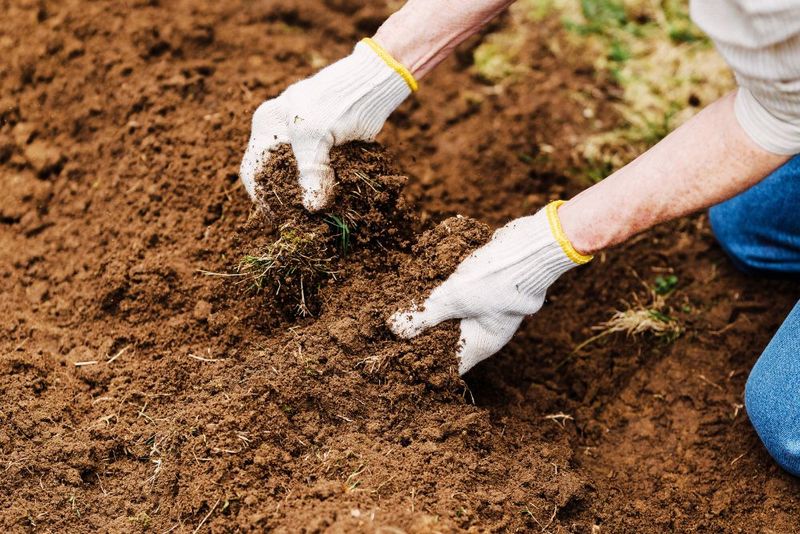
Great garden soil is built, not bought. A single season of care will help, but the real magic shows up after a few years of feeding the ground and treating it kindly.
Organic matter is the star ingredient. Compost, aged manure, and shredded leaves feed earthworms and soil microbes, and those tiny helpers produce sticky substances that bind particles into stable crumbs.
Stable crumbs resist breaking apart when rain hits, so crusts form less often. A common approach is working two to three inches of compost into new beds, then adding a thin layer on top each year.
Too much at once can cause nutrient imbalances, so steady additions are better than one giant load. A soil test through the North Carolina Department of Agriculture is a smart way to see what your beds actually need.
Digging less is another quiet win. Every time you till, you break apart the crumbs and burn through organic matter faster. Many gardeners now use no-till or low-till methods, simply adding compost and mulch on top and letting worms do the mixing.
Cover crops can help too. Planting crimson clover, cereal rye, or winter wheat in fall keeps roots in the ground and shields the surface through winter rains. In spring, cut them down and let the residue protect the soil.
Stick with these habits, and your red clay or sandy loam will slowly change. Water will soak in faster, roots will reach deeper, and that crusty surface will become a rare sight in your North Carolina garden.