The Right Way To Store Winter Squash So It Lasts For Months
A butternut picked in September can still taste sweet in March. Some varieties actually get sweeter in storage as their starches slowly turn into sugars.
I love that a vegetable can sit quietly in a closet and improve with age. It feels like a reward for all that summer weeding.
Still, many gardeners lose part of their harvest to soft spots and mold before winter is over. The difference often comes down to a few small choices made right after picking. Temperature, humidity, and even how you hold the fruit all play a part.
You worked hard for those hefty fruits sprawling across the garden. Honestly, I can’t stand the thought of tossing one that went mushy too soon. So what separates a squash that lasts until spring from one that slumps on the counter in a few weeks?
Your Squash Harvest Starts Its Storage Life In The Garden
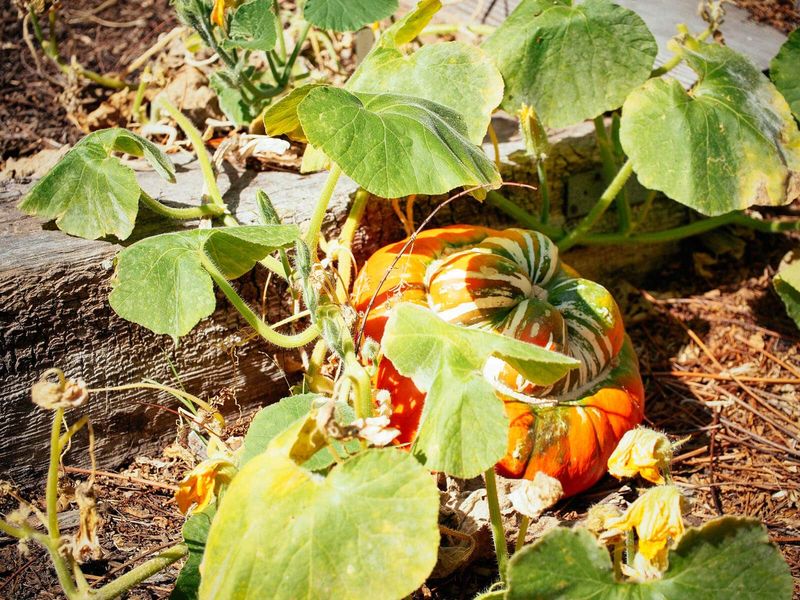
Long storage begins before a single squash leaves the vine. A fruit picked too early has soft skin and low sugar, and it rarely keeps well.
Look for a few clear signs of ripeness. The rind should resist a fingernail press without denting. Color should be deep and even, like the tan of a butternut or the dark green of an acorn.
The spot where the squash rests on the ground often turns from white to cream or orange when it is ready. The stem nearby usually starts to dry and turn corky too.
Timing with the weather matters just as much. Most university extension services suggest harvesting before a hard frost, since frost can damage the rind and shorten storage life. A light frost may brown the leaves, but bring the fruit in soon after.
Pick on a dry day if you can. Wet fruit invites mold, and dry fruit heads into storage with a cleaner start.
I like to walk the patch a week before frost is forecast and make a list. That way nothing gets rushed in the dark with a flashlight and cold hands.
Curing Winter Squash Toughens The Rind For The Long Haul
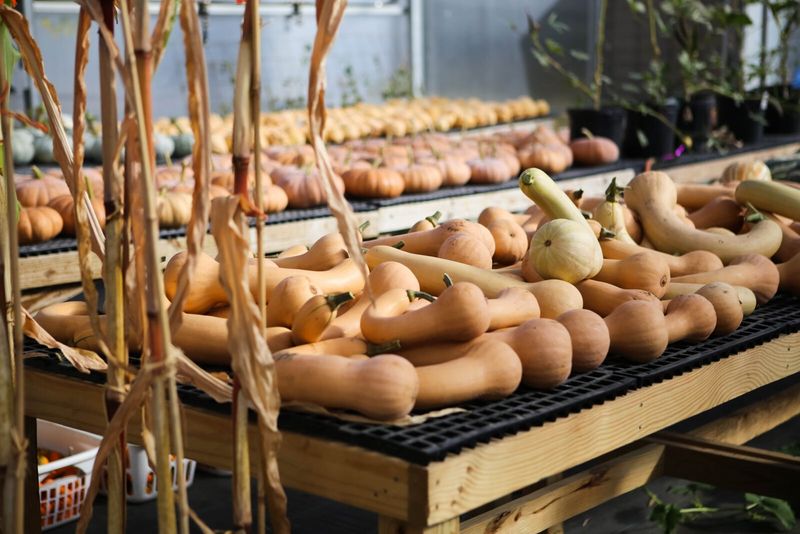
Curing sounds fancy, but it is mostly a warm rest. Freshly picked squash spends a week or two in heat so the skin hardens and small scratches heal over.
Extension experts often recommend about 80 to 85 degrees with good air flow for 10 to 14 days. A sunny porch, a greenhouse, or a spot near a furnace can work well. Keep the fruit off bare soil and out of rain.
During this time, the rind thickens and seals out rot organisms. Many varieties also develop better flavor as starches start converting to sugar.
There is one big exception you need to know. Acorn squash does not benefit from curing. High heat can actually make it stringy and shorten its shelf life, so move acorns straight to storage.
Delicata and spaghetti squash need only a short cure, if any. Butternut, hubbard, and pumpkins love the full treatment.
I set mine in a single layer so air moves around each one. Crowded fruit can trap moisture, and moisture is the enemy you are trying to beat. A small fan nearby helps on humid days.
A Cool Dry Closet Keeps Stored Squash Happy
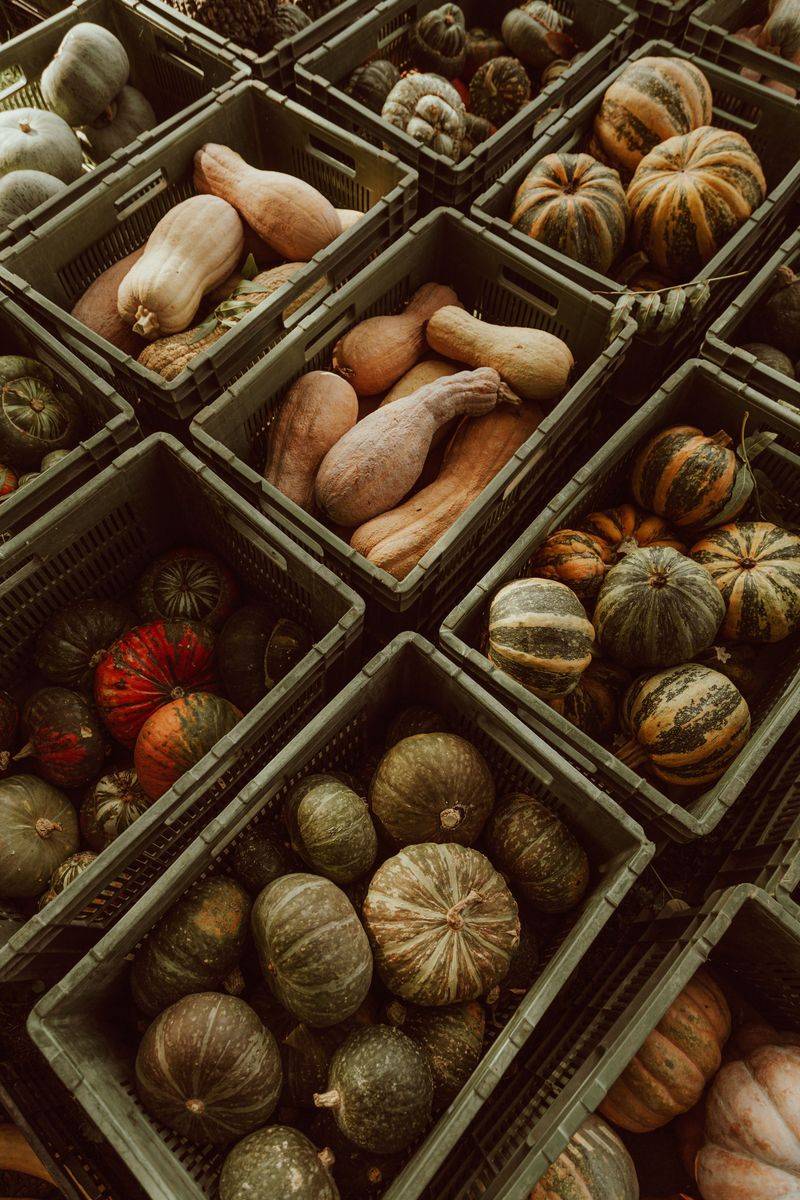
Once cured, squash wants a calm, steady home. The sweet spot is about 50 to 55 degrees with fairly low humidity, around 50 to 70 percent.
That sounds specific, yet many homes already have a spot like this. An unheated spare bedroom, a cool closet, or a dry basement corner often fits. Garages can work too, as long as temperatures stay above 50.
Root cellars are usually too damp for squash. Potatoes and carrots love that moisture, but squash rinds can mold quickly in it.
The refrigerator is another trap. Whole squash kept below 50 degrees can suffer chilling injury, which shows up as pitting and soft spots after a few weeks.
Set the fruits on shelves, cardboard, or wooden racks in one layer. Leave a little space between them so air can circulate and a bad one cannot spread trouble to its neighbors.
Darkness is helpful but not required. I just keep mine away from windows so the sun does not warm them up.
A cheap thermometer and humidity gauge on the shelf takes the guesswork out. You will know right away if your storage spot drifts too warm or damp.
Keep That Squash Stem Attached And Handle Fruit Gently
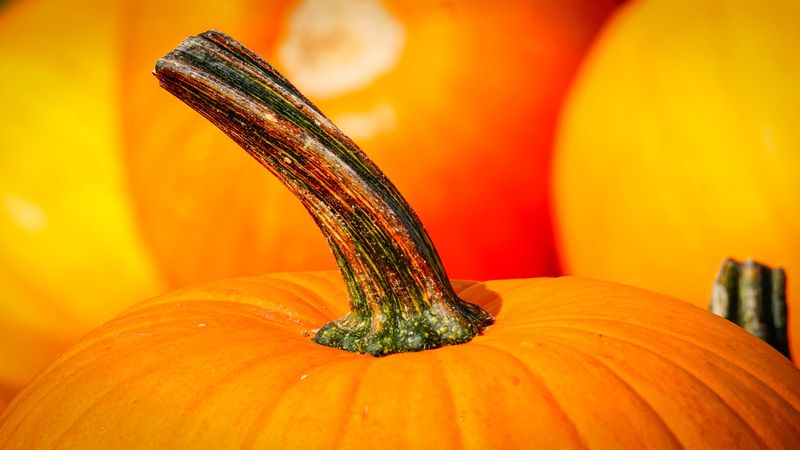
Grabbing a pumpkin by its stem feels natural. Sadly, it is one of the fastest ways to cut storage life short.
The stem acts like a cork. When it snaps off, it leaves an open wound where bacteria and fungi slip right in. A squash without a stem often rots first.
Use pruners or a sharp knife to cut each fruit from the vine. Leave about one to two inches of stem for smaller squash and a bit more for big pumpkins.
Carry squash from the bottom with both hands, like a baby. Avoid tossing them into a wheelbarrow or stacking them in piles where they bump and bruise.
Bruises are sneaky. You may not see them at harvest, but they soften and spoil weeks later in storage.
Any fruit that does lose its stem, gets cut, or shows a deep scratch should go to the kitchen first. Eat it within a week or two instead of hoping it lasts.
I keep a separate basket for damaged squash. It becomes my weekly soup supply, and the perfect ones get the long rest.
Some Squash Varieties Simply Outlast Others In Storage
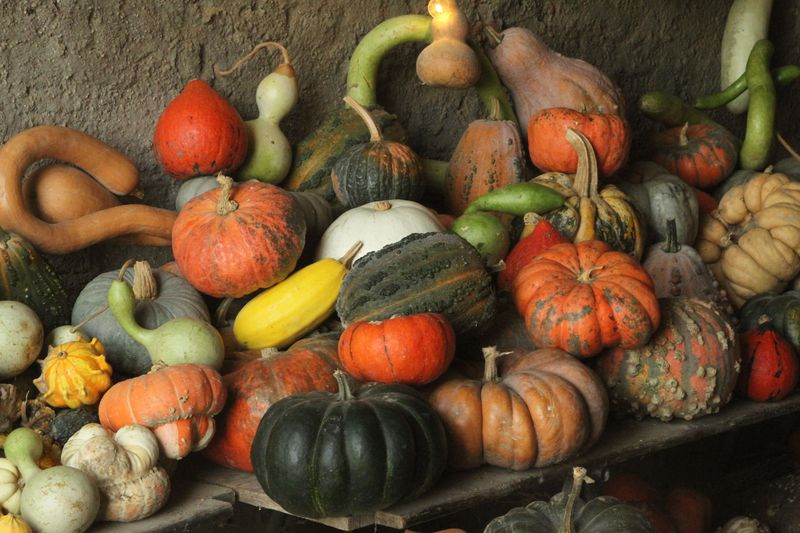
Not every squash is built for a winter marathon. Some sprint, and some go the distance.
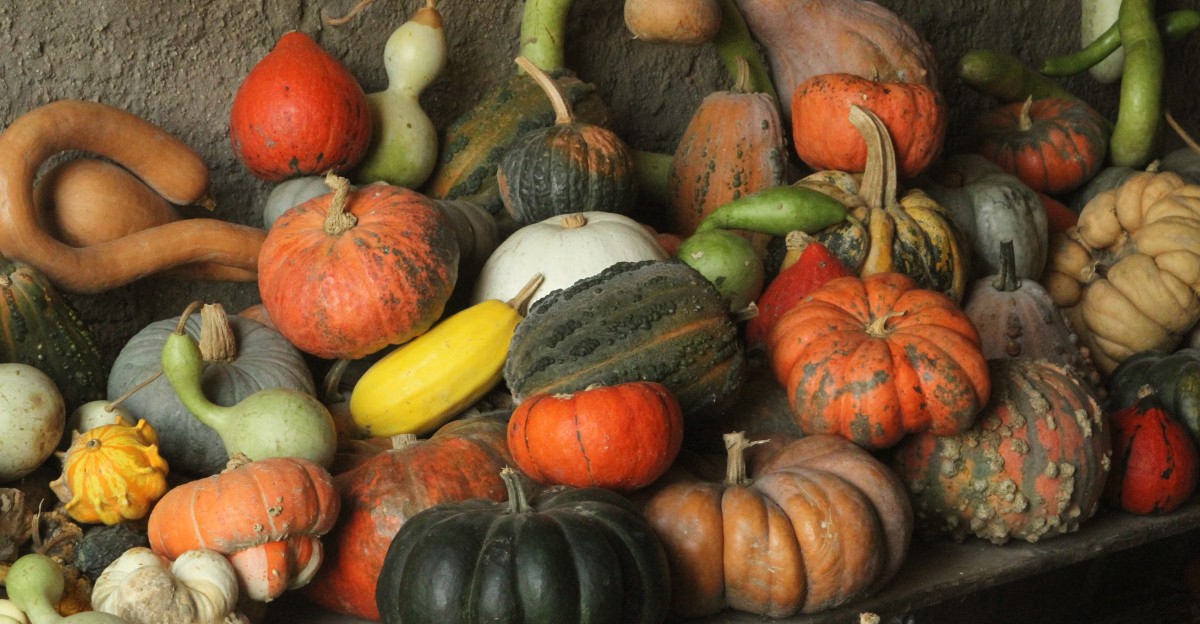
Hubbard squash is the champion, often lasting five to six months in good conditions. Butternut follows closely, keeping two to three months or longer. Many gardeners pull sweet butternuts out of storage in late winter.
Pumpkins grown for cooking, like pie types, usually hold two to three months. Spaghetti squash tends to keep for about one to three months.
Acorn and delicata have thinner skins and shorter lives. Plan on using them within one to two months for the best texture.
Knowing this helps you eat in a smart order. Start with delicata and acorn in fall, move to spaghetti and pumpkins around the holidays, and save butternut and hubbard for the deep cold months.
Fun fact for history fans. Native American farmers grew and stored squash for centuries as one of the Three Sisters, alongside corn and beans.
If storage is your main goal, choose long-keeping varieties at seed time. Your future self in February will be grateful for that planning.
Skip The Big Squash Scrub But Try A Mild Wipe
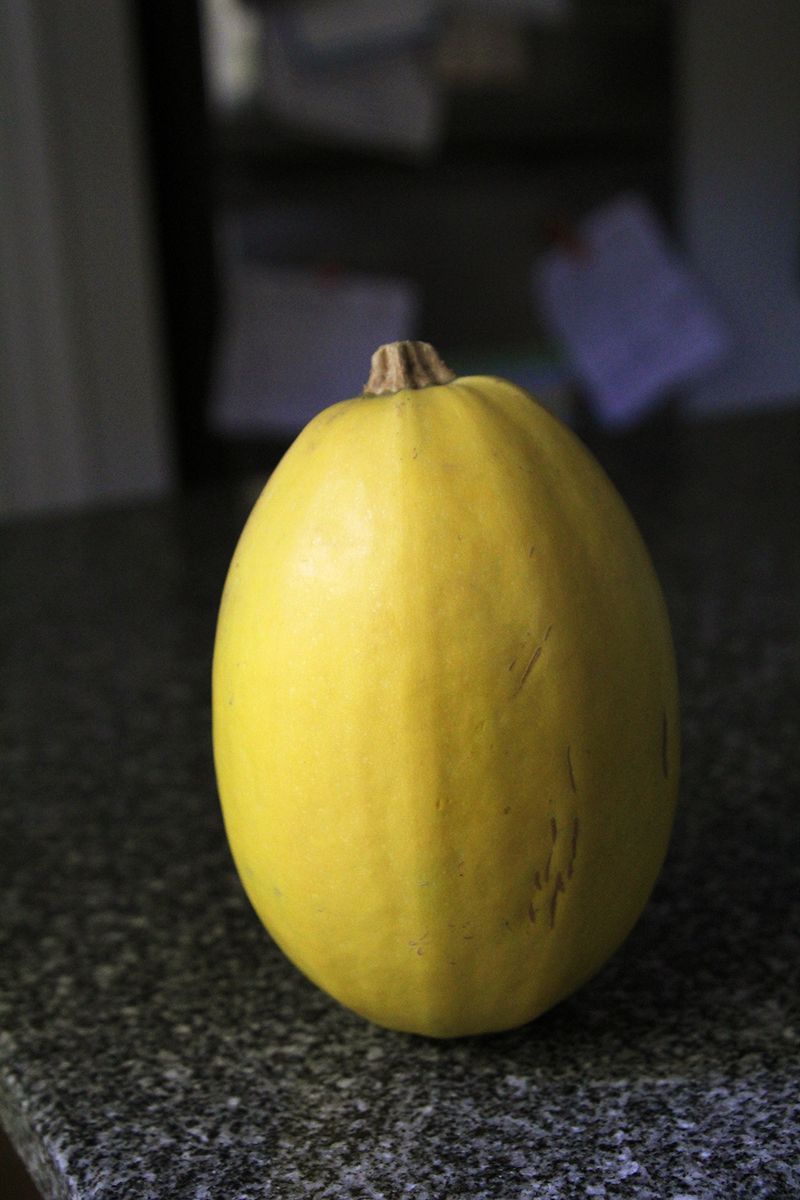
Washing squash before storage seems tidy. It often backfires because leftover moisture encourages mold on the rind.
Instead, brush off dirt with a dry cloth or soft brush. Let the fruit stay dry and let the natural rind do its job.
Some extension sources mention wiping squash with a mild bleach solution, about one part bleach to ten parts water, to reduce surface fungi. If you try it, dry each fruit thoroughly afterward before storing.
Many gardeners skip this step and still get great results. Careful curing and dry storage handle most of the work.
Wax coatings and oils are another idea floating around online. They are not recommended by most experts, since they can trap moisture and actually speed up rot.
Keep stored squash away from apples, pears, and other fruits that release ethylene gas. That gas can shorten storage life and cause yellowing in green types.
Personally, I go with a dry brush and call it done. Simple routines are easier to stick with when you are juggling a big harvest and a dozen other fall chores.
Check Your Stored Squash Pile Every Week Or Two
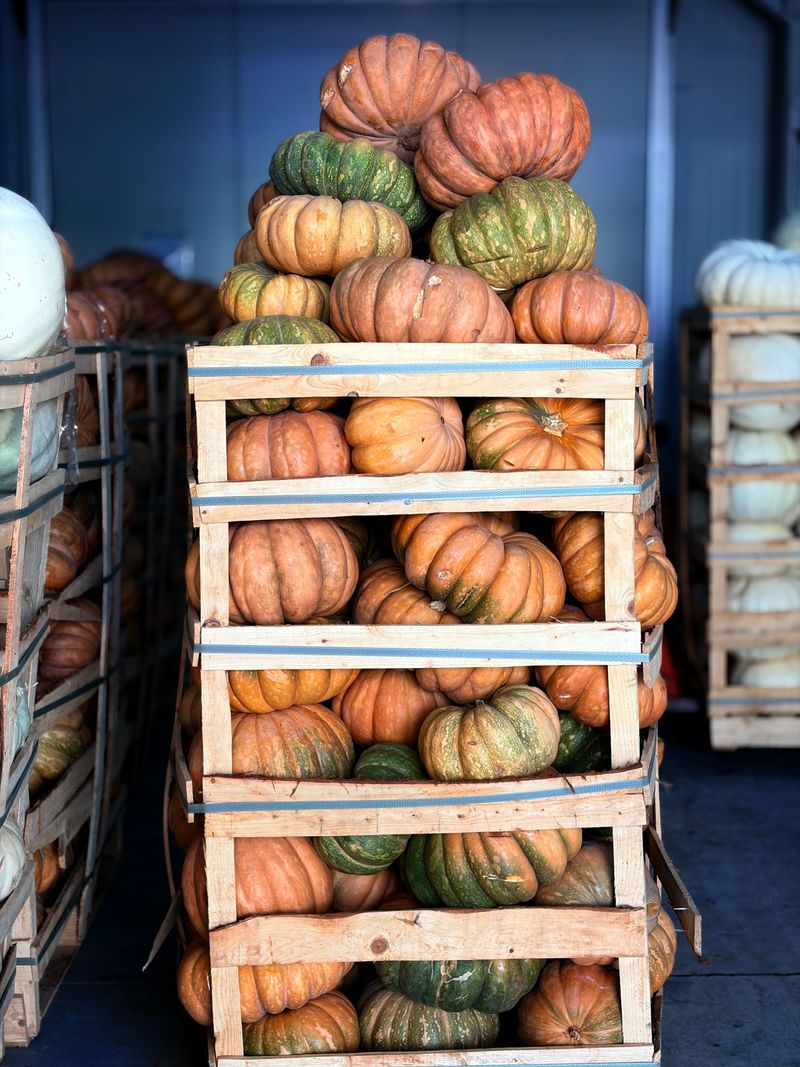
A quick squash patrol saves a lot of heartache. One soft fruit can leak and spread rot to the others around it.
Every week or two, look over each squash and give it a gentle press. Watch for soft spots, wet patches, white or gray fuzz, and dark sunken areas.
A small blemish does not mean the whole fruit is lost. Cut the squash open, trim away the bad section generously, and cook the rest right away.
Toss any fruit that smells sour or feels mushy all over. It is not worth the risk.
Check stems too. A stem turning soft or moldy often signals trouble starting inside.
This routine also helps you plan meals. If a butternut looks a little tired, it becomes tomorrow’s roasted squash instead of a surprise mess next month.
I keep a small notebook by the shelf to jot down what I used and when. Over a few seasons, it shows which varieties and storage spots perform best in my house. Those notes become more useful than any chart you will find online.
Frozen Squash Puree Rescues Fruit That Will Not Keep
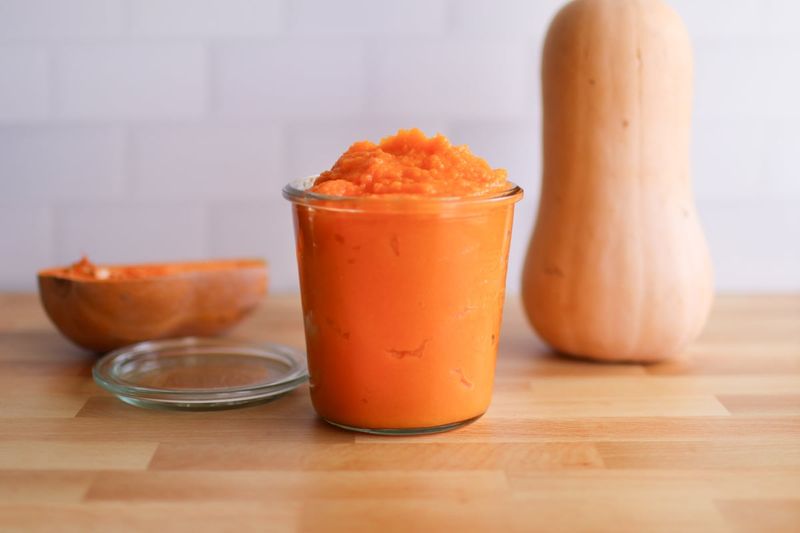
Sometimes a squash tells you it is ready to retire from storage. That is when the freezer becomes your best kitchen helper.
Cooked squash freezes beautifully. Roast halves cut side down at about 400 degrees until tender, scoop out the flesh, and mash or puree it.
Let it cool, then pack it into freezer bags or containers. Flatten bags so they stack neatly and thaw fast. Frozen puree typically stays good quality for up to a year.
You can also freeze cooked cubes on a tray first, then bag them. They work great in soups, chili, and pasta dishes.
Raw squash can be frozen, but the texture turns soft and watery. Cooking first gives better results for most recipes.
Canning squash puree at home is not recommended by the USDA because the thick texture prevents safe heating. Pressure canning cubes is the only tested home method.
My favorite takeaway is this. Good storage gives you months of squash, and a freezer backup means none of your harvest goes to waste. That combination keeps homegrown flavor on the table until the next planting season begins.