These Are The Last Vegetables New York Gardeners Can Plant This Fall
Cold fingers, crunchy leaves, and a garden bed that looks finished for the year. Most people hang up their trowels by now, but smart gardeners know the season still has a few tricks left.
In New York, late fall is a sneaky window for planting crops that sleep through winter and wake up hungry in spring. Some go in as cloves or bulbs, while others are tiny seeds tucked into chilly soil.
A few even skip the outdoors and grow right on your kitchen counter. The state stretches from the frosty Adirondacks to milder Long Island, so timing shifts a bit depending on where you live.
Still, the ideas below work in most backyards across the Empire State. The best part is that a little effort now pays off with early flavor next year.
1. Garlic Is The Top Crop To Plant Now
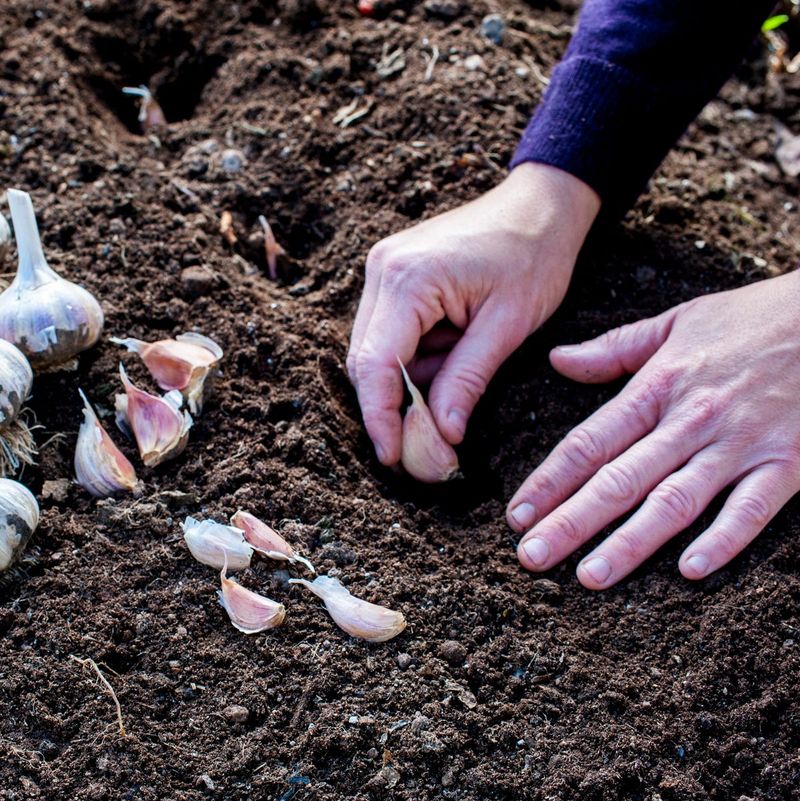
Ask any veteran grower in New York which crop matters most right now, and garlic wins easily. Planting cloves in fall lets them build strong roots before the ground freezes.
Garlic needs a long cold spell to form big bulbs. Gardeners call this chilling process vernalization, and winter handles it for free.
Timing is the secret sauce here. Aim to plant after the first hard frost, when soil cools to about 50 to 65 degrees.
Try to finish about three to six weeks before the ground freezes solid. Adirondack gardeners often plant in early October, while Long Island folks can wait until mid-November.
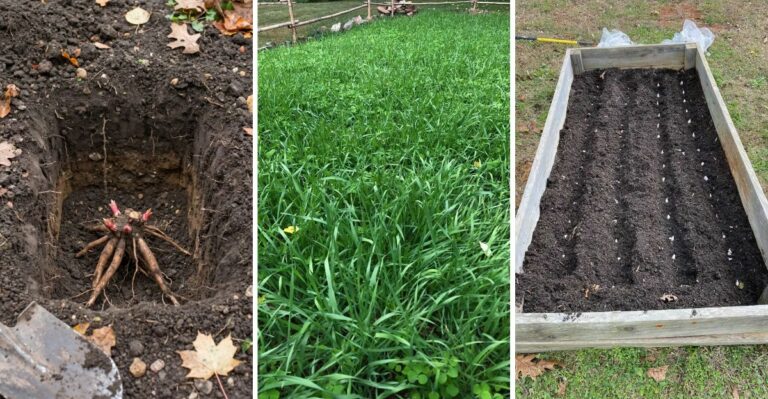
Break apart the bulb just before planting, keeping the papery skins on each clove. Set them pointed end up, about 2 inches deep and 4 to 6 inches apart.
Choose the biggest cloves for planting, since large cloves grow large bulbs. Save the small ones for your next pasta dinner instead.
Variety choice matters across the state. Hardneck types handle cold upstate winters well, and they also send up tasty curly scapes in June.
Softneck garlic tends to perform better in the milder, salty air near the coast. It also stores longer after harvest, which is handy for winter cooking.
Here is a bonus perk of waiting a bit. Later planting can help dodge the allium leafminer, a pest now active in New York.
Once the cloves are tucked in, spread a thick blanket of straw over the bed. Then let winter do the hard work for you.
2. Shallots Overwinter Just Like Garlic
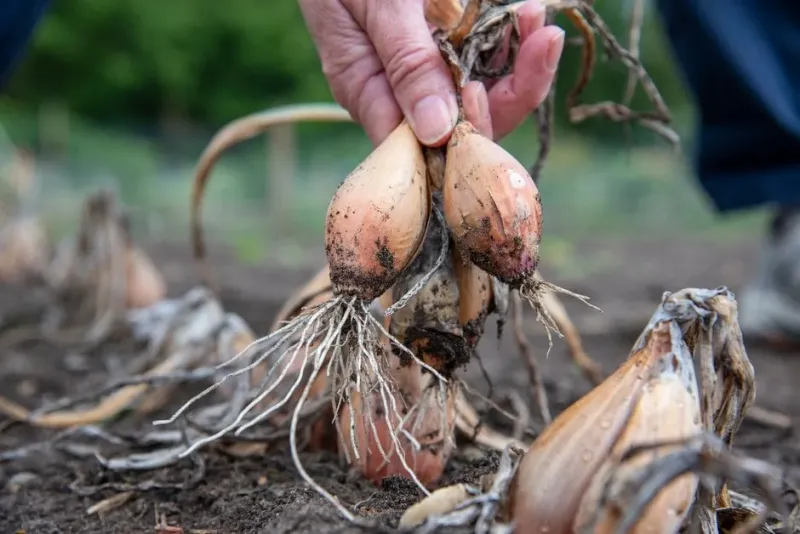
Picture garlic’s fancy French cousin, and you have the shallot. Chefs love its sweet, mild bite, and gardeners love how easy it is.
Shallots behave a lot like garlic in the ground. They want a cold period to grow well, so fall planting suits them nicely.
Getting started takes only a few minutes. Set each bulb root side down, with the pointy tip aiming at the sky.
Plant them about 3 to 4 inches deep in loose, well-drained soil. Give each one at least 6 inches of space so clusters can spread.
One planted shallot usually multiplies into a cluster of several bulbs. That means a small bag from the garden center can feed your kitchen for months.
Look for shallots sold for planting rather than grocery store bulbs. Store-bought ones are sometimes treated to stop sprouting, which ruins your chances.
A sunny spot works best for strong growth. Shallots dislike soggy feet, so skip low corners where puddles form after rain.
Raised beds are a smart choice in heavy clay soil. They drain faster and warm up sooner when spring finally arrives.
After planting, cover the row with a layer of mulch. Straw or shredded leaves help keep the bulbs snug through freezing nights.
Come early summer, the tops will yellow and flop over. That droop is your signal to dig, dry, and enjoy your homegrown harvest.
Cured shallots can last for months in a cool, dry place. Hang them in a mesh bag, and grab a few whenever a recipe calls.
3. Perennial Onions Can Still Go In
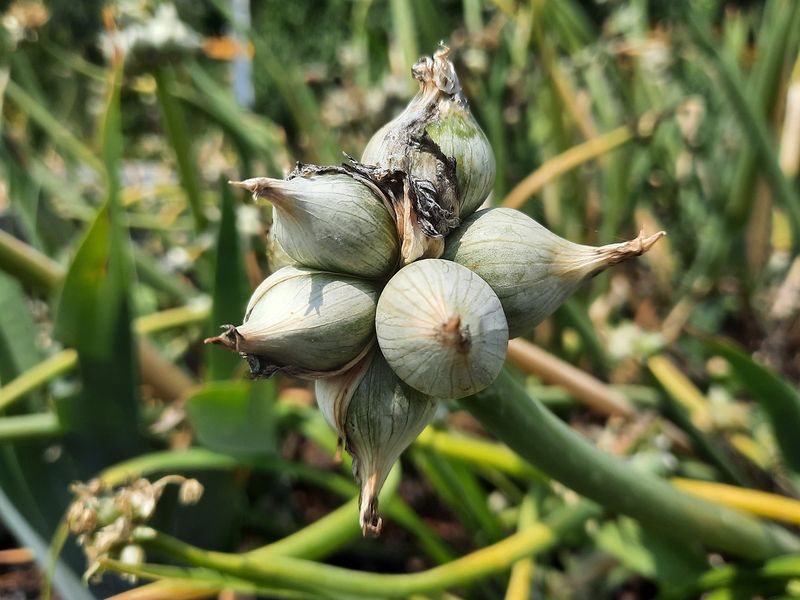
Some onions get up and walk, or at least it looks that way. Egyptian walking onions grow little bulb clusters on top of their stalks.
Those heavy tops bend over, touch the soil, and root into new plants. Over time, the patch slowly strolls across your garden bed.
Fall is the sweet spot for planting these quirky alliums in New York. September and October work best, though a late planting can still settle in.
Early planting gives roots time to grip the soil before winter. Spring planting works too, but fall usually brings better long-term results.
Plant the small bulbils about 1 to 2 inches deep. Space them 6 to 8 inches apart, since they spread with enthusiasm.
Pick a permanent spot where they can stay for years. A sunny edge of the garden keeps them from crowding your yearly crops.
After the soil cools down, add a layer of mulch. It shields young stems through their very first winter in the ground.
Once established, these onions are tough as old boots. They shrug off cold snaps that send other plants into hiding.
Harvest is a year-round treat with this plant. Snip green shoots for soups and eggs, much like scallions.
Underground bulbs are ready in late summer and fall. Share extra topsets with neighbors, because you will have plenty to spare.
4. Rhubarb Crowns Can Be Planted In Fall
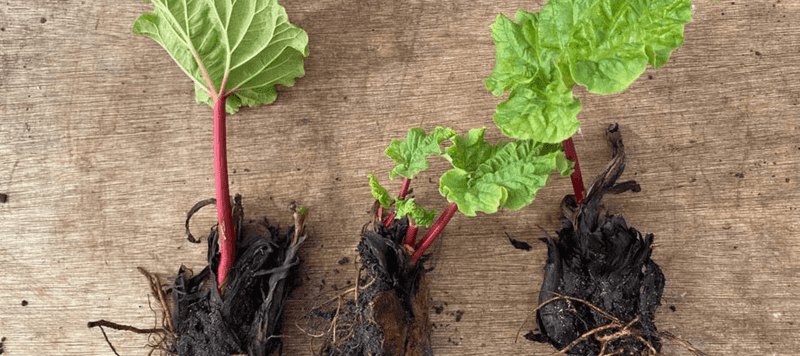
Grandma’s strawberry rhubarb pie started somewhere, and often it started with a crown planted in fall. Rhubarb is a long-living perennial that can produce for many years.
Once the plants go dormant in late fall, crowns are ready to move. Early spring is the other good window for planting.
A crown is the chunky root section with pinkish buds called eyes. Set it so those eyes sit about 1 to 2 inches below the soil surface.
Planting too deep can slow growth in spring. Planting too shallow leaves the buds open to harsh cold.
Drainage matters more than anything else with rhubarb. Soggy soil can cause crowns to rot over a wet winter.
Choose a spot with full sun or light shade. Mix in plenty of compost, since rhubarb is a hungry feeder.
Give each plant room to spread out its giant leaves. Space crowns about 2 to 4 feet apart in every direction.
After planting, spread compost or other organic mulch around the crowns. It adds nutrients and keeps the soil from heaving.
Patience pays off with this crop. Skip harvesting the first year so the roots can build strength.
Only the stalks are edible, so toss the leaves in the trash rather than the kitchen. By year three, you may have more pie filling than you can handle.
5. Dormant Seeding Gives Greens A Head Start On Spring
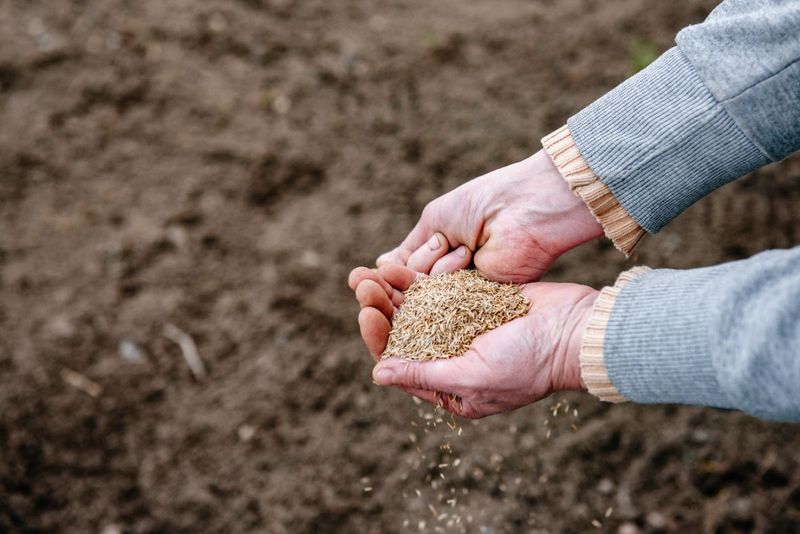
Imagine planting salad seeds when your breath fogs in the air. Dormant seeding sounds odd, but nature has done it for ages.
Wild plants drop seeds in fall, and those seeds wait until spring to sprout. Gardeners can copy that same clever trick.
Here is how it works. You sow seeds late enough that the soil is too cold for sprouting.
Seeds sit quietly through winter, then wake when the ground warms. Often they pop up weeks before you could safely plant in spring.
Plenty of greens handle this method well. Try lettuce, kale, arugula, bok choy, Swiss chard, or mustard greens.
Spinach is one of the best choices of all. Its seeds handle cold soil better than most other leafy crops.
Timing is the trickiest part. Wait until daytime temperatures stay cold, often late November in much of the state.
If you plant during a warm spell, seeds may sprout early. Tiny seedlings could then struggle when the hard freeze arrives.
Scatter seeds a little thicker than usual, since some will not make it. Rake them in lightly and press the soil down with your hand.
A thin layer of mulch adds extra protection. Label the bed clearly so you remember the hidden crop come spring.
Think of it as a gift to your future self. In April, those early greens will feel like a small miracle.
6. Spinach Seeds Can Wait In The Soil Until Spring
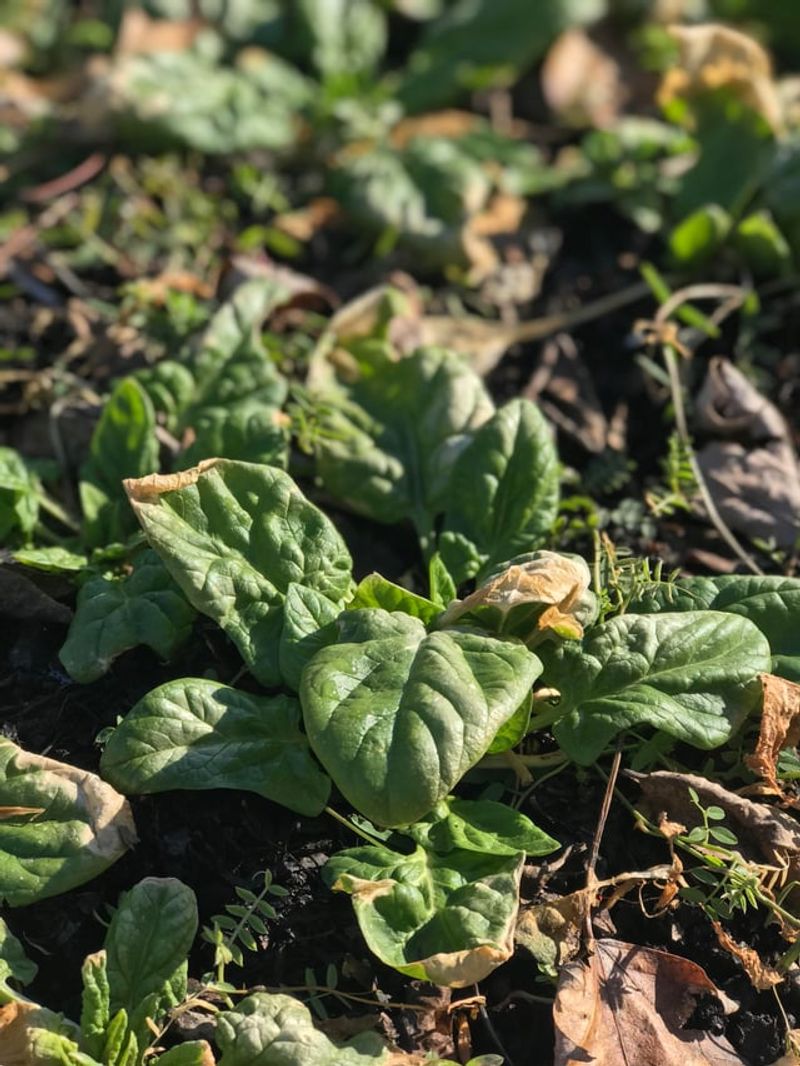
Spinach that survives winter tastes like candy compared to the spring kind. Cold weather makes the leaves store extra sugar, giving them a sweet flavor.
Spinach is one of the toughest leafy crops around. It can handle frosty nights that make lettuce sulk.
For an overwintered crop, sow seeds about four to six weeks before your first expected frost. Young plants should reach roughly 2 inches tall before deep cold arrives.
Those small plants pause during winter’s darkest weeks. Then they bounce back fast once spring sunshine returns.
Missed that window? Seeds sown later can simply rest in the soil and sprout in early spring.
Spinach likes cool soil, ideally below 68 degrees. Warm soil actually makes germination slower and spottier.
Variety choice can make or break your success. Bloomsdale and Tyee are known for their strong cold hardiness.
Bloomsdale has crinkly, savoyed leaves that hold up well in chilly weather. Tyee resists bolting, so it keeps producing longer in spring.
Protection is the final step. Cover young plants with straw, shredded leaves, or a floating row cover.
Many New York gardeners use simple hoops to hold row covers above the plants. It acts like a cozy blanket on frosty nights.
Harvest outer leaves first and let the center keep growing. One planting can feed you from fall right into spring.
7. Mulch Protects Fall Plantings From Heaving
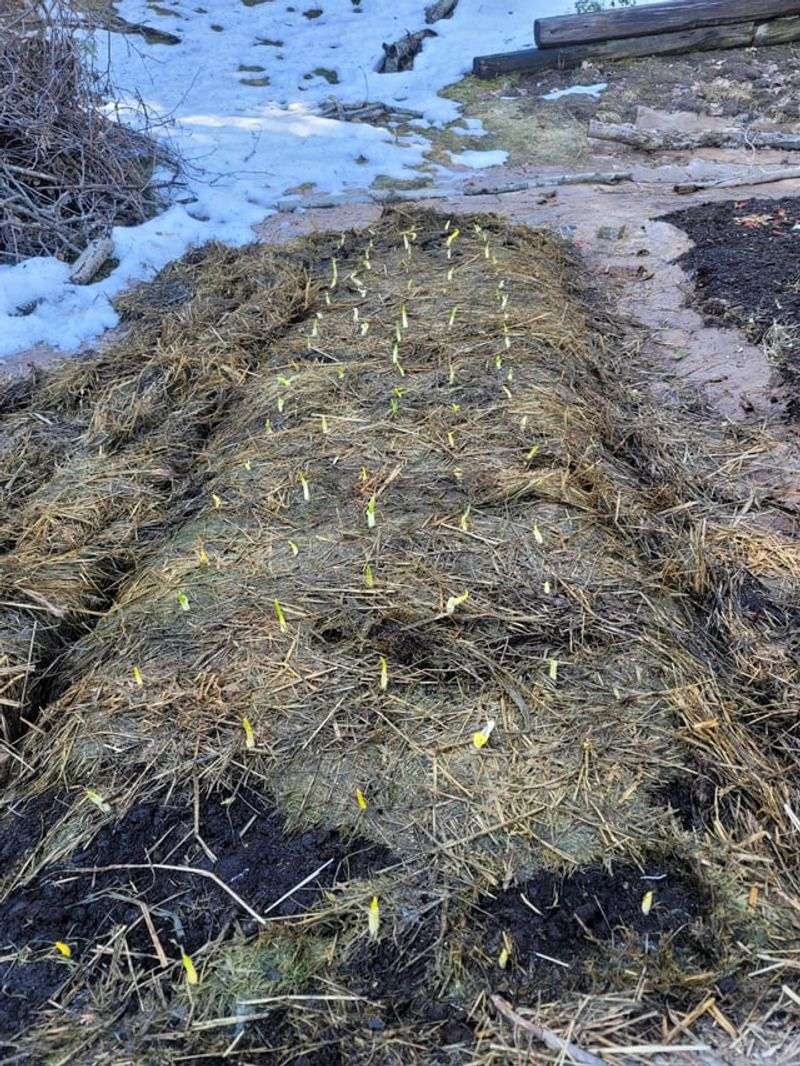
Winter in New York can be sneaky, even when snow is not falling. Soil freezes, thaws, and freezes again, sometimes in the same week.
All that freezing and thawing causes something called frost heaving. Expanding soil can push bulbs and roots right out of the ground.
Once exposed, those roots face bitter cold and drying winds. A whole bed of garlic can suffer from a single bad thaw.
Mulch is the simple fix for this problem. It keeps soil temperatures steady, so the ground stays frozen instead of bouncing around.
Straw is the classic choice for fall gardens. Make sure you buy straw, not hay, because hay often carries weed seeds.
Shredded fall leaves work wonderfully too, and they cost nothing. Run them over with a mower first, so they do not mat into a soggy layer.
Spread a generous layer about 2 to 6 inches deep. Thicker coverage helps in colder areas like the Adirondacks.
You can mulch right after planting or wait until the ground freezes. Waiting can discourage mice from nesting in the cozy cover.
Spring brings the next step. As temperatures warm, pull mulch back slowly to let the soil heat up.
Leave a little near the plants to block weeds and hold moisture. Your garden will thank you with healthier, happier crops.
8. Microgreens Keep Growing Indoors All Winter
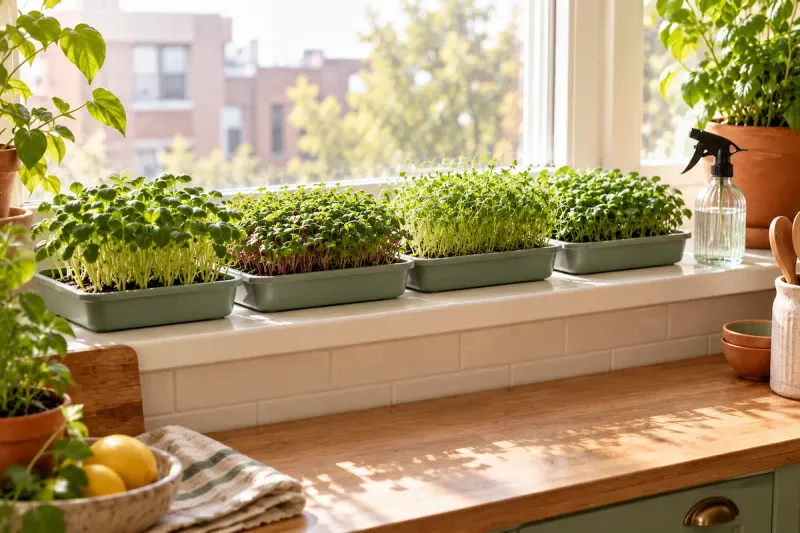
When snow piles up outside, your windowsill can turn into a tiny farm. Microgreens let you harvest fresh greens even in January.
No outdoor soil or warm weather is needed for these little plants. A sunny window or a simple grow light does the job.
Speed is their biggest selling point. Most microgreens are ready to snip in just 5 to 14 days.
Radish greens are the sprinters of the group, often ready in 5 to 8 days. Their peppery kick livens up sandwiches and tacos.
Pea shoots are sweet and great for beginners. They usually reach harvest size in about 8 to 10 days.
Broccoli microgreens take around 8 to 12 days and taste mild and fresh. Clover is even milder and ready in roughly a week.
Other fun options include sunflower, kale, arugula, beets, and cilantro. Mix a few trays for a rainbow of flavors.
Growing them is surprisingly simple. Use seed-starting mix, coconut coir, or hemp mats in shallow trays.
Some types prefer cooler rooms, while basil likes steady warmth. Group trays by temperature needs for the best results.
Winter days are short, so natural light fades quickly. A basic LED grow light can boost growth and color.
Snip with clean scissors just above the soil line. Kids especially love watching their salad grow in under two weeks.