These 12 Common Mulching Mistakes May Be Why Nebraska Plants Struggle Every Summer
Last July, I grabbed my third bag of mulch, completely convinced I was giving my rose bushes exactly what they needed. By August, every single one had rotted at the base.
Heartbreaking, honestly. Mulching looks simple.
Buy a bag, spread it around, done. But Nebraska gardens have a way of exposing every little shortcut you take, especially once summer heat arrives and the soil gets stressed.
The sneaky part? Most mulching mistakes feel completely reasonable in the moment.
Too much mulch seems generous. The wrong type seems like no big deal.
Skipping proper spacing around plant stems seems like it saves time. It adds up though.
Plants wilt. Roots suffocate.
Fungus finds a welcome home. This guide covers the most common mulching slip-ups Nebraska gardeners make each season. Fix even a few of these, and your yard will genuinely thank you for it.
1. Piling Mulch Against Plant Stems And Tree Trunks
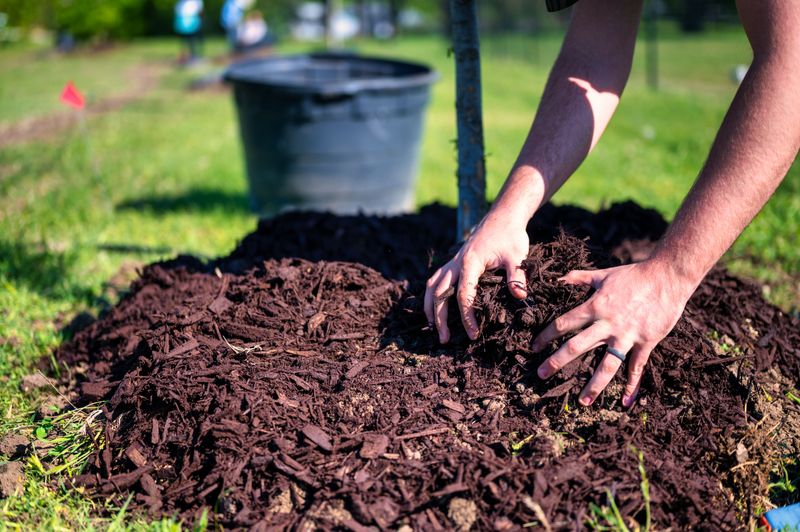
Piling mulch high against a tree trunk feels satisfying. The tree feels otherwise.
Piling mulch directly against bark traps moisture and creates the perfect conditions for rot, disease, and insects to move in. Many gardeners have no idea they are slowly harming the very plants they are trying to protect.
The stem or trunk base of any plant needs to breathe. When mulch stays pressed against it for weeks, the bark softens and breaks down.
Fungal infections can take hold before you ever notice a problem on the outside.
Pull your mulch back at least two to three inches from the base of every tree, shrub, and perennial stem. Think of it like giving the plant a little breathing room around its collar.
The mulch should form a flat ring, not a cone or pile.
Once you fix this habit, you will likely notice your plants looking healthier within a single season. Roots stay protected, bark stays dry, and the whole system works the way nature intended.
Small adjustments like this one make a surprisingly big difference in a hot Nebraska summer.
2. Applying Mulch Too Thickly
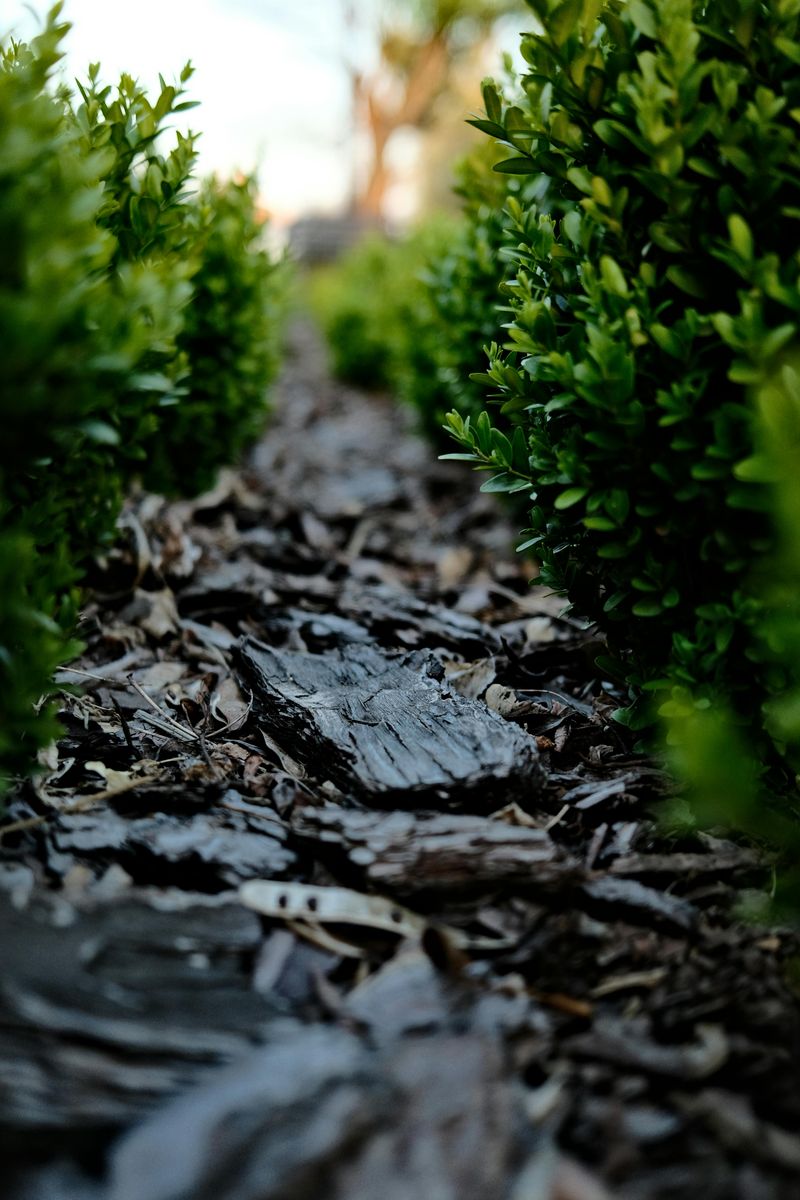
More is not always better, and mulch is the perfect example of that rule. Layers deeper than four inches can actually block water from reaching the soil below.
Plants sitting under a thick mulch blanket may look cozy from the outside while quietly suffering from drought stress underneath.
Thick mulch also creates a sponge effect. The top layer absorbs rainfall before it ever hits the ground.
Meanwhile, your plant roots stay dry even after a good rain, which is deeply confusing if you think your garden is getting enough water.
Two to three inches is the sweet spot for most garden beds. That depth is enough to hold moisture, regulate soil temperature, and slow weed growth without smothering roots or blocking airflow.
Measure it if you have to.
Grab a ruler the next time you top off your beds and check what you are working with. Refreshing mulch does not always mean adding more on top.
Your Nebraska Garden Changes Every Week. Your Plan Should Too.
Gardening in Nebraska changes quickly throughout the season. Every Friday you’ll receive a simple weekly plan showing exactly what to plant, prune, fertilize, harvest, and protect so you never miss the right timing.
Sometimes it means raking out the old layer first so the total depth stays in a healthy range. Getting the thickness right is one of the easiest mulching wins you can score this season.
3. Using The Wrong Type Of Mulch For The Plant
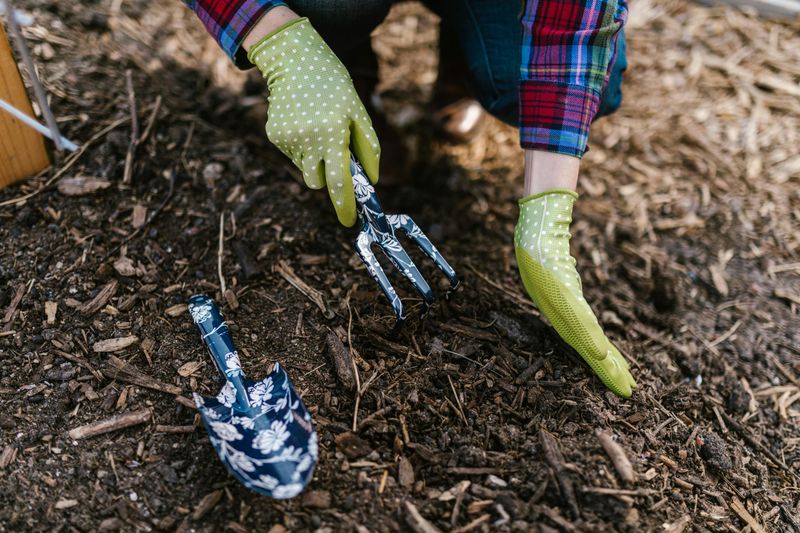
Not all mulch is created equal, and grabbing whatever bag is on sale can backfire fast. Some plants need acidic conditions, while others prefer neutral soil.
Dumping the wrong material around them shifts the soil chemistry in ways that stress the roots and limit nutrient absorption.
Wood chips work great around trees and shrubs but can mat down and repel water around delicate perennials. Straw is a favorite for vegetable gardens because it breaks down quickly and adds organic matter.
Rubber mulch holds color well but adds nothing to the soil and can heat up intensely in direct summer sun.
Match your mulch to your plant type and your goals. Acid-loving plants like blueberries and azaleas thrive with pine needle mulch or shredded pine bark.
Vegetable beds do well with straw, shredded leaves, or untreated grass clippings. Trees and shrubs love hardwood chips.
Spending five minutes researching which mulch fits your specific plants can save you a whole season of frustration. Your garden is not one-size-fits-all, and your mulch choices should not be either.
Picking the right material is one of the smartest moves you can make before summer temperatures climb.
4. Not Mulching At All During Hot Nebraska Summers
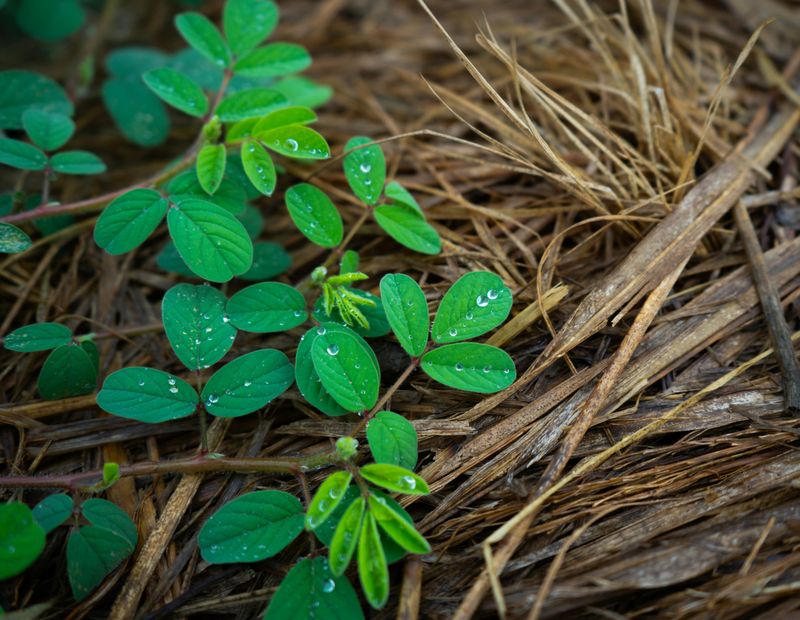
Bare soil in a Nebraska summer is a problem waiting to happen. Without any ground cover, soil temperatures can spike dramatically, stressing roots and evaporating moisture at a shocking rate.
Plants that look fine in the morning can show heat stress by early afternoon.
Unprotected soil also crusts over after rain, forming a hard surface layer that blocks future water from soaking in. Weeds love bare ground and will fill it faster than you expect.
The combination of heat, drought, and weed competition makes skipping mulch one of the costliest garden mistakes of the season.
Even a thin two-inch layer of organic mulch makes a measurable difference. Soil stays cooler, moisture lingers longer, and the ground stays loose enough for roots to expand comfortably.
That layer acts like a buffer between the brutal summer sun and your plant roots.
If you have been holding off on mulching because it feels like extra work, consider what you spend on water, replacement plants, and weed control instead. Mulching once in late spring or early summer pays dividends all season long.
Your plants will reward you with stronger growth and better resilience when the heat turns serious.
5. Applying Mulch Over Dry Soil Instead Of Moist Soil
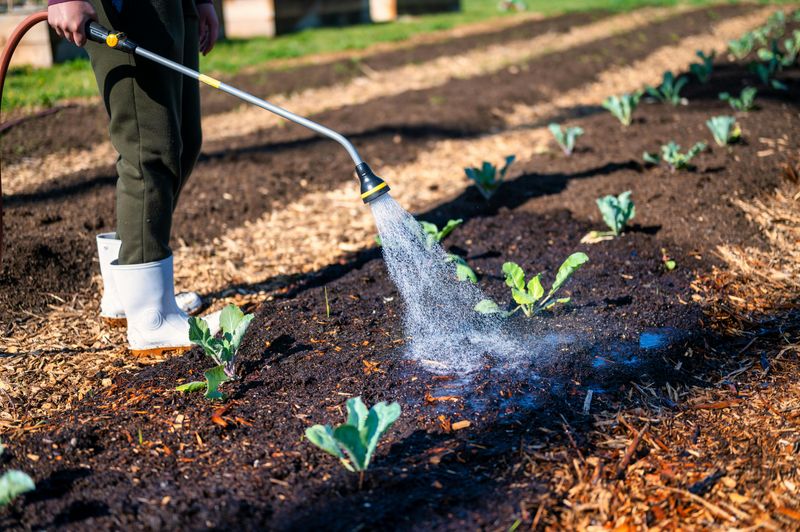
Timing matters more than most people realize when it comes to mulching. Spreading a fresh layer over bone-dry soil locks that dryness in rather than helping the situation.
The mulch acts as a lid, trapping the dry conditions underneath and making it harder for rain or irrigation to penetrate later.
Water the garden thoroughly before you mulch. Let the moisture soak down several inches into the root zone.
Then apply your mulch layer while the soil is still damp and happy. That sequence makes all the difference in how well your plants hold up through the dry stretches.
Think of mulch as a seal. Whatever condition the soil is in when you apply it tends to stay that way for a while.
Sealing in moisture is the whole point. Sealing in drought is the opposite of helpful.
Check the soil before every mulching session by pushing a finger two inches down. If it feels dry and powdery, water first and wait a day.
If it feels cool and slightly damp, you are ready to mulch. This one simple habit will immediately improve how effective your mulch layer is all summer long.
6. Leaving Old Mulch To Compact Without Refreshing It
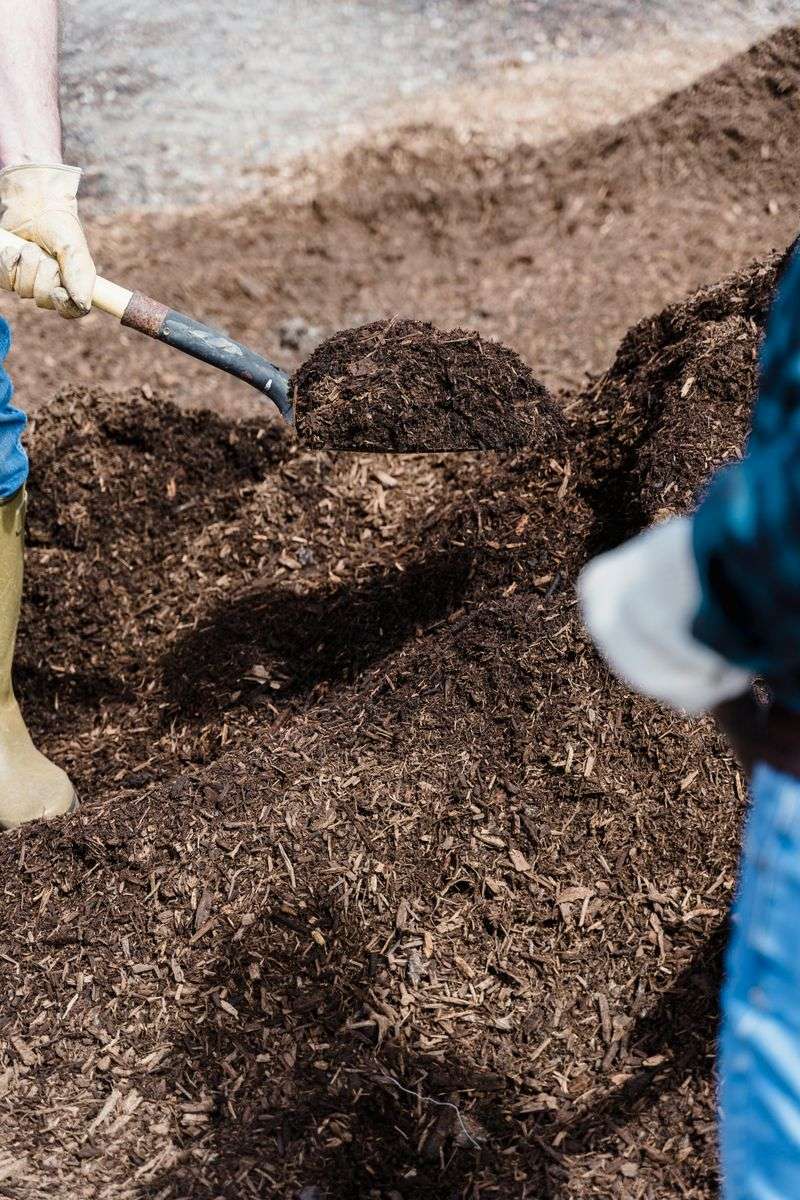
Old mulch does not just sit there harmlessly. Over time, it compacts into a dense crust that water can barely penetrate.
What started as helpful ground cover slowly becomes a barrier that blocks moisture and restricts airflow to the soil below. Many gardeners top it off without realizing the old layer has already turned into a problem.
Compacted mulch also develops a condition called hydrophobia, where it repels water instead of absorbing it. You can actually pour water directly onto old matted mulch and watch it bead off to the sides.
That is water your plants desperately need during a hot summer.
Once a year, take a rake or garden fork and fluff up the existing mulch layer before adding anything new. Breaking up that compaction allows air, water, and beneficial organisms to move through again.
If the old material has fully decomposed into the soil, that is actually a bonus because it adds organic matter.
Refreshing mulch is not just about appearances. It is about keeping the whole system functional.
A quick annual fluffing and light topping can restore everything the original layer was supposed to do. Your plants will thank you with stronger roots and better summer performance.
7. Mulching Too Close To The Crown Of Perennials
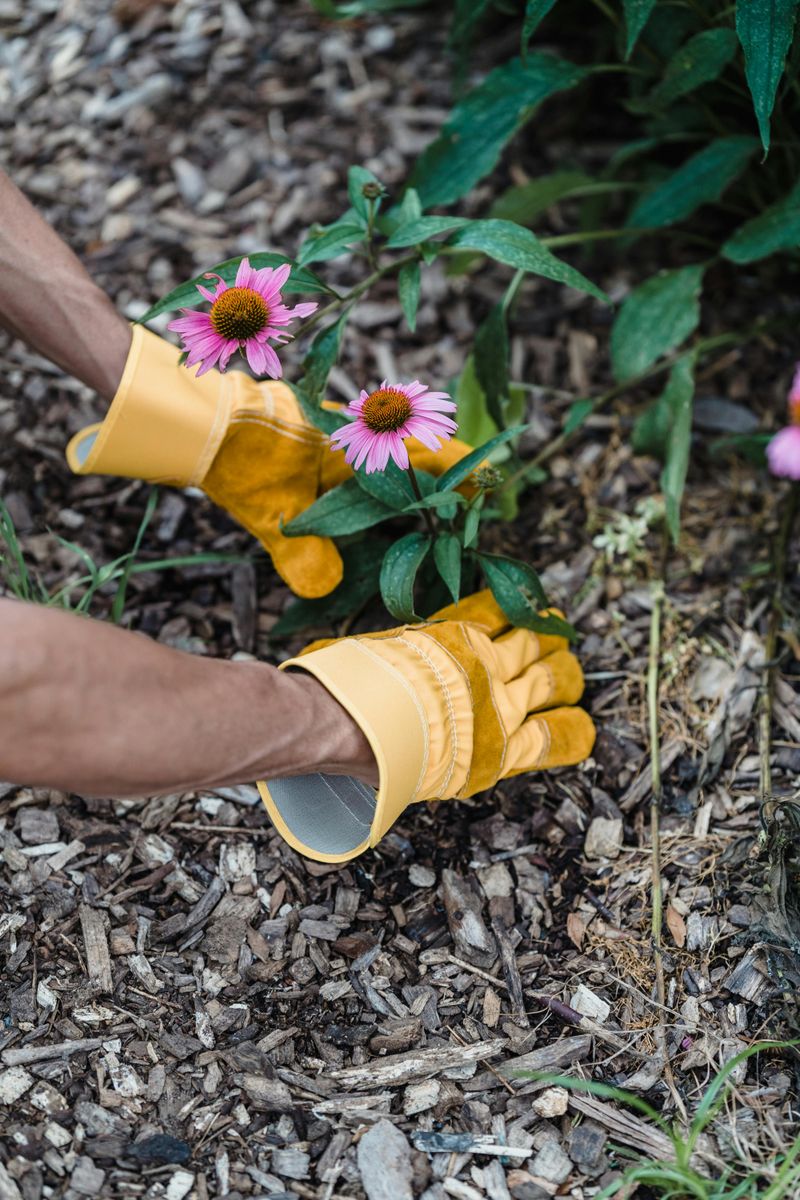
Perennials are tougher than they look, but their crowns? Not so much.
The crown is where the stem meets the root system, right at soil level, and it needs air circulation to stay healthy. Covering it with mulch encourages rot, fungal growth, and crown dieback that can seriously set back an otherwise healthy plant.
Many gardeners mulch perennial beds the same way they mulch around shrubs, but the two situations are different. Shrubs have woody stems that tolerate contact better.
Perennials have soft, fleshy crowns that break down quickly when they stay wet and covered for extended periods.
Keep mulch pulled back one to two inches from the crown of every perennial in your beds. The goal is to protect the surrounding soil while keeping the actual growing point exposed to air.
A little gap goes a long way in preventing crown rot.
Walk your beds after mulching and do a quick check on each plant. It only takes a minute and it can save a plant you have spent years growing.
Getting this detail right separates the gardeners whose perennials come back bigger every year from those who keep replacing plants they cannot figure out how to keep alive.
8. Using Fresh Wood Chips Directly Around Vegetables
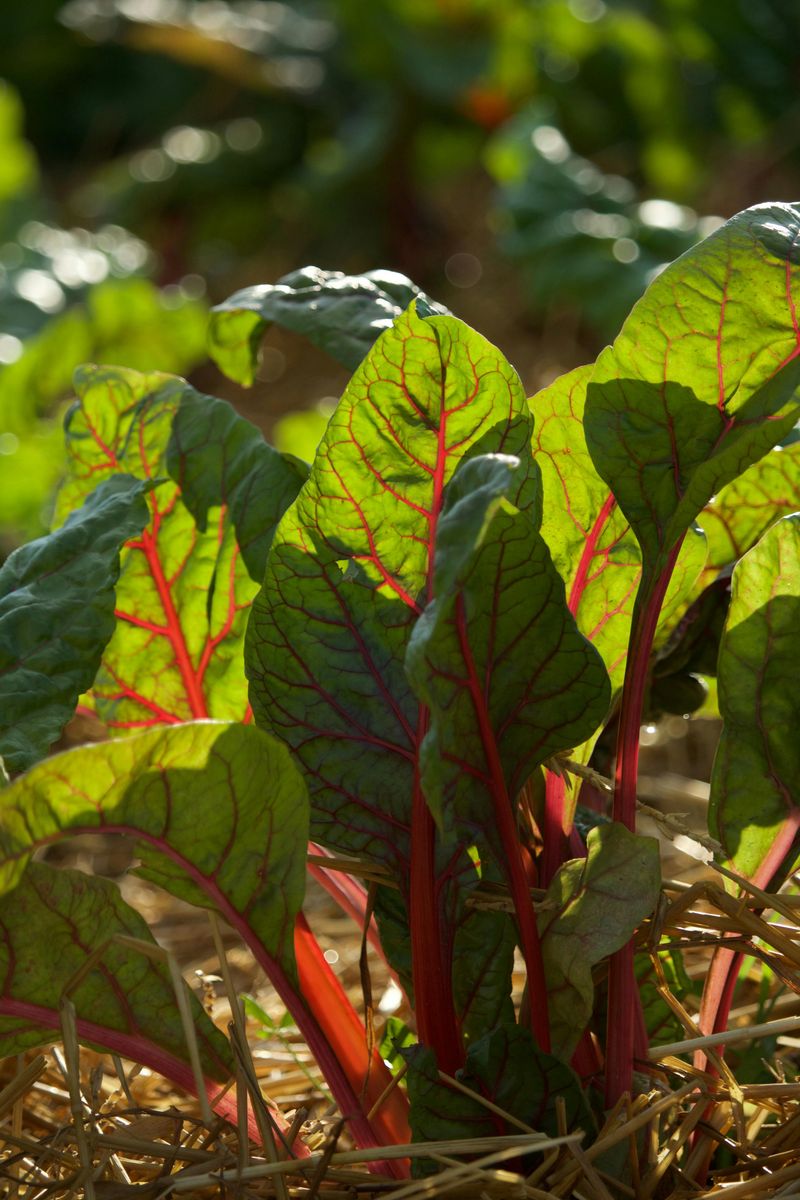
Fresh wood chips seem like a win, until your vegetable garden says otherwise. As they break down, they pull nitrogen directly out of the soil to fuel the decomposition process.
That nitrogen robbery can leave your vegetable plants pale, stunted, and struggling to produce.
This effect is called nitrogen immobilization, and it hits hardest in the first few months after fresh chips are applied. Vegetables are heavy feeders that need consistent nitrogen access to grow well.
Stealing that resource right when the plants need it most is a setup for a disappointing harvest.
Aged wood chips that have already started breaking down are a much safer choice for vegetable gardens. Straw, shredded leaves, or even untreated grass clippings work better because they decompose faster and do not compete aggressively for nitrogen.
Save the fresh chips for pathways or around established trees.
If fresh chips are all you have, apply them to pathways between rows rather than around plant stems. You still get weed suppression and moisture retention without the nitrogen drain.
Smart placement makes fresh chips a useful tool rather than a liability.
9. Spreading Mulch Too Thinly To Make Any Difference
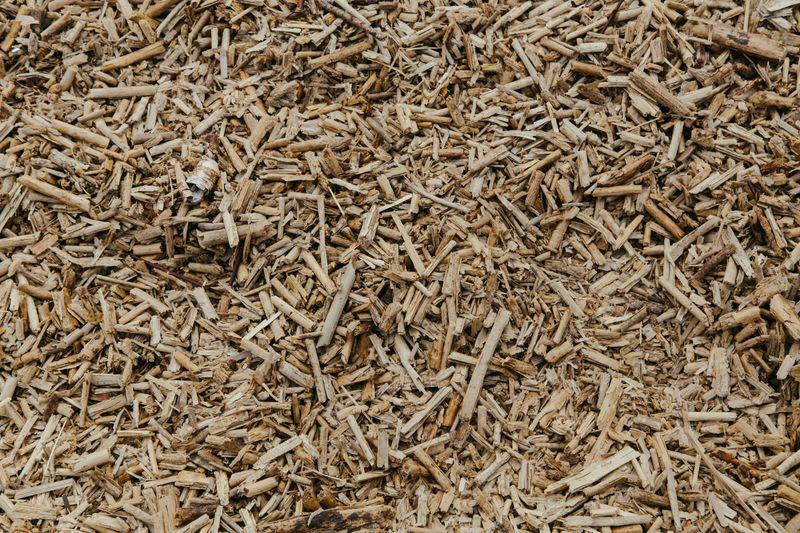
A thin sprinkle of mulch is better than nothing, but just barely. Layers under an inch thick dry out almost instantly in summer heat, offer almost no weed suppression, and do little to regulate soil temperature.
You end up with the look of a mulched bed without any of the actual benefits.
Weeds push right through thin mulch like it is not even there. One or two inches of coverage gives weed seeds just enough light and warmth to germinate happily.
If you have ever mulched a bed and still ended up pulling weeds a week later, a thin application is probably why.
Two to three inches is the minimum effective depth for most garden beds. That thickness is enough to keep the soil cool, hold moisture between waterings, and actually block most weed seeds from germinating.
Going thinner than that means you are doing the work without getting the reward.
Calculate how much mulch you actually need before your next garden trip. Measure your bed dimensions and use a mulch calculator to get the right bag count.
Buying enough the first time saves you a return trip and ensures your mulch layer does the job it was always supposed to do.
10. Not Extending Mulch Far Enough Around Trees And Shrubs
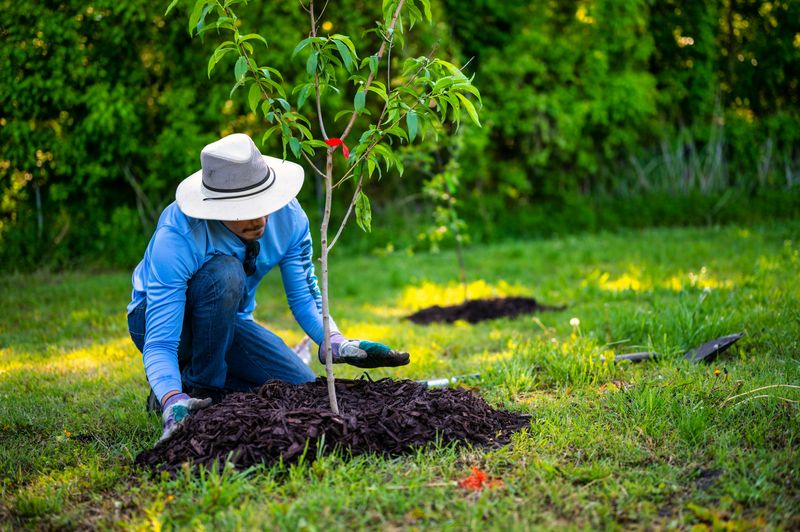
Mulching a tiny circle around a tree seems logical. Trees would love a word.
But tree roots spread far beyond the trunk, often extending to the edge of the canopy or even further. Mulching only a tiny ring leaves the majority of the root zone exposed to heat, compaction, and competition from grass.
Grass growing close to a tree trunk competes aggressively for water and nutrients. Lawn mowers and string trimmers also damage bark when they get too close, creating wounds that invite pests and disease.
Extending the mulch ring removes both of those threats at once.
Aim to mulch out to the drip line of the tree, which is the outer edge of the canopy. For large established trees, even going halfway there is a significant improvement.
The wider the ring, the more root area you are protecting and the less stress the tree experiences during dry spells.
Expanding a mulch ring takes an extra twenty minutes but delivers years of benefit. Healthier root systems mean stronger trees that handle summer stress with far more resilience.
Think of a wide mulch ring as one of the best long-term investments you can make in your landscape.
11. Using Dyed Or Treated Mulch Near Edible Plants
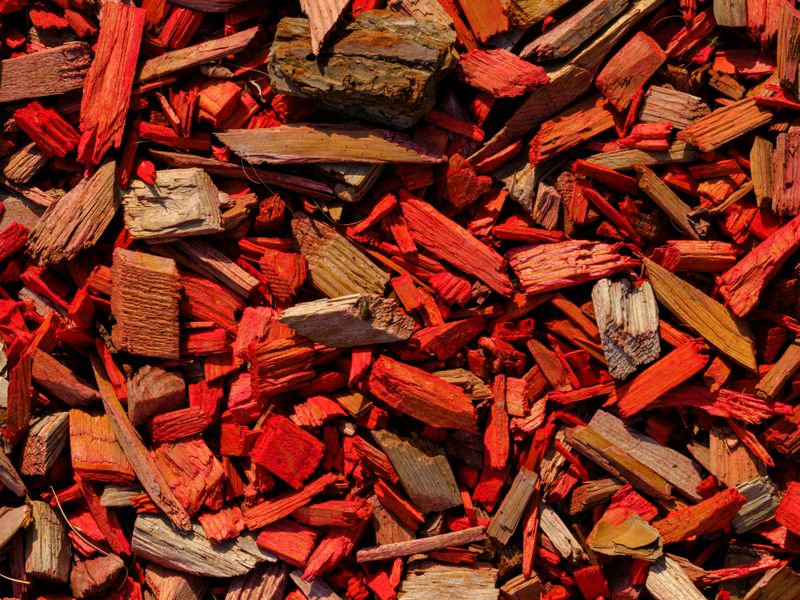
That bold red or black mulch catches your eye for a reason. It catches other things too.
Most commercial dyes used in mulch today, like iron oxide and carbon-based colorants, are considered low risk by regulatory bodies. The bigger question is the source wood underneath.
Some dyed products are made from recycled materials like reclaimed pallets or construction debris, and the quality and history of that wood can vary widely between suppliers.
Near vegetables, herbs, or fruit, that uncertainty is worth avoiding. Stick to natural, untreated organic mulches in any area where you grow food.
Straw, aged wood chips from known clean sources, shredded leaves, and untreated grass clippings are all safe and effective options that also improve your soil as they break down.
Check the label or ask your supplier about the source material before buying mulch for your edible garden. Knowing what is in your mulch is just as important as knowing what is in your soil.
12. Forgetting To Pull Weeds Before Applying Mulch
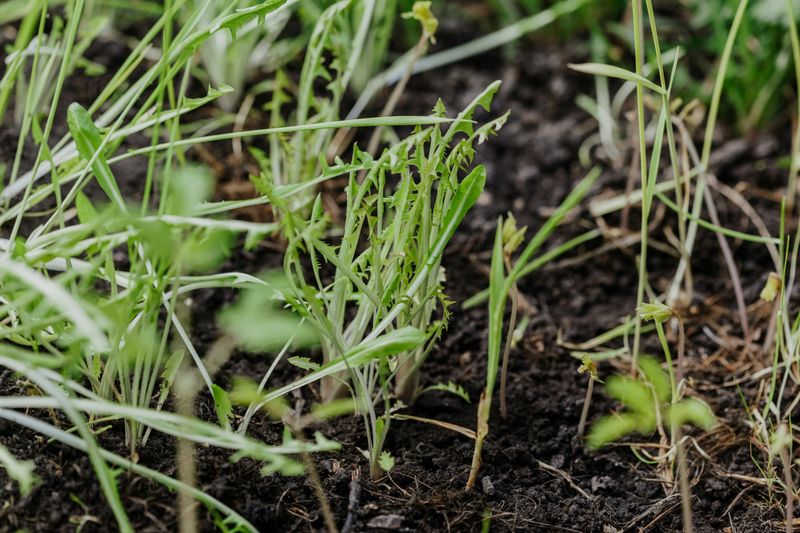
Mulching over weeds feels like a solution, but it is really just a delay. Most established weeds push right through a fresh mulch layer within days.
Annual weeds that have already gone to seed can actually germinate better in the warm, moist environment mulch creates. You end up feeding the problem instead of fixing it.
Perennial weeds like bindweed, thistle, and dandelion have deep root systems that mulch cannot touch. They will emerge through even a thick layer and spread sideways underneath where you cannot see them.
By the time they break through the surface, they are already well established.
Clear the bed completely before you mulch. Pull weeds by hand, use a hoe for smaller seedlings, or apply a targeted organic treatment if the infestation is heavy.
Give the soil a few days to let any remaining roots dry out, then apply your mulch layer over clean ground.
Starting with a weed-free surface is the only way mulch can actually do its job as a suppressant. That one extra hour of prep work before mulching can save you dozens of hours of weeding later in the summer.
Clean beds stay cleaner longer, and your plants get all the benefits mulching is supposed to provide.