Things You Should Never Do When Caring For Your New York Orchid (What To Do Instead)
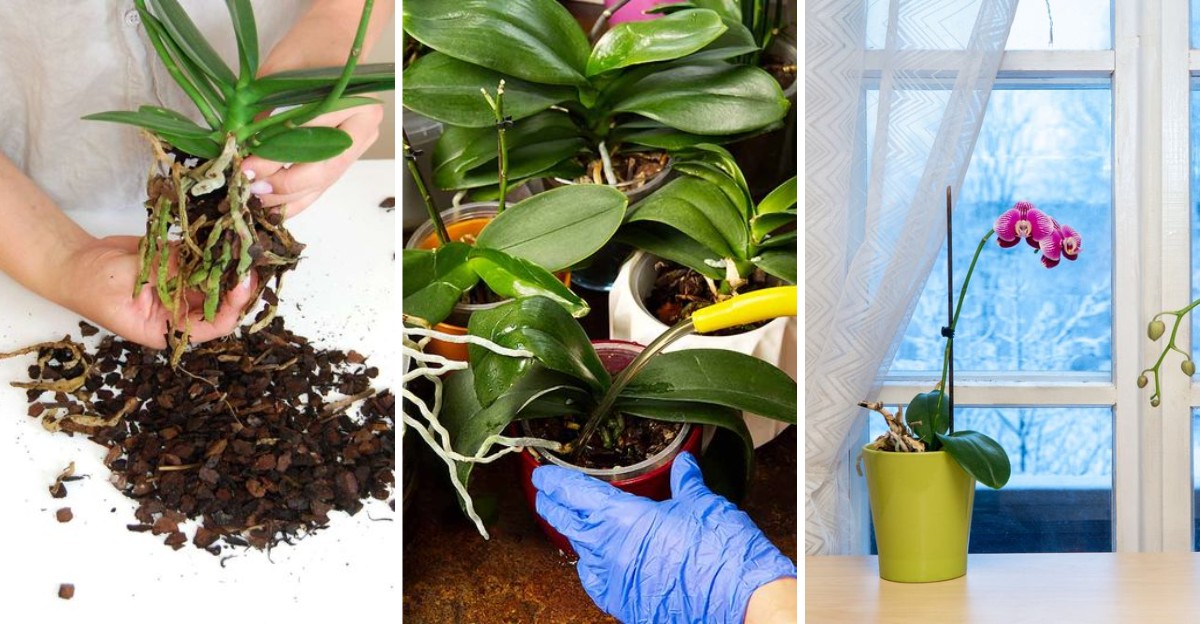
Soggy roots, harsh sun, and icy window glass can send a perfectly healthy orchid into a slow decline. Plenty of plant lovers bring home a gorgeous orchid and watch it lose its sparkle.
Orchids aren’t fussy divas, but they do have strong opinions. Most problems trace back to a handful of simple habits that are easy to fix.
City apartments add their own twists, like dry radiator heat and chilly winter drafts. A cold windowsill can chill leaves faster than most owners expect.
Once you know what bothers these tropical beauties, caring for them feels surprisingly relaxed. A few small swaps can make a big difference.
The mistakes below come with an easy fix for each. Follow them, and your New York orchid has a real shot at blooming again.
1. Soggy Bark Suffocates Roots, So Water Only When It Dries
Picture wearing wet socks all day long, with no chance to change them. Orchid roots feel just as miserable when their bark stays soaked for days.
Most orchids are epiphytes, which means they grow on tree branches in the wild. Their roots are built for fresh air, quick rain showers, and fast drying.
Soggy bark blocks that airflow, and roots start to rot. Watch for mushy brown roots, soft yellow leaves, or a musty smell coming from the pot.
Instead of watering on a strict schedule, check the bark first. Push a finger about an inch into the mix and feel for lingering moisture.
A wooden skewer works well too, much like testing a cake. Slide it in, wait a minute, and water only if it comes out dry.
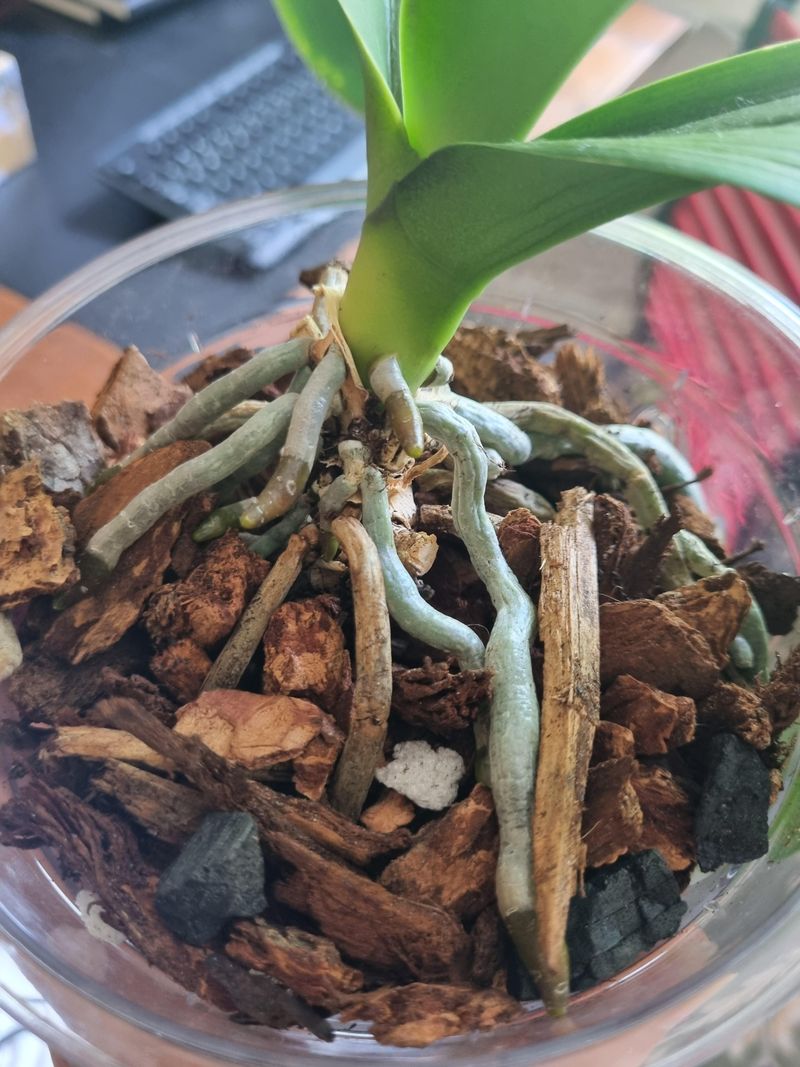
Root color offers another handy clue in clear pots. Bright green roots are well hydrated, while silvery gray roots are politely asking for a drink.
Most orchids want water about once a week, though cooler months stretch that timing. Humid summers can also slow drying, so keep checking before you pour.
When you do water, soak the pot well and let every drop drain out. Empty the saucer afterward so the roots are not left sitting in a puddle.
2. Pooled Water In The Crown Spells Trouble, So Blot It Dry
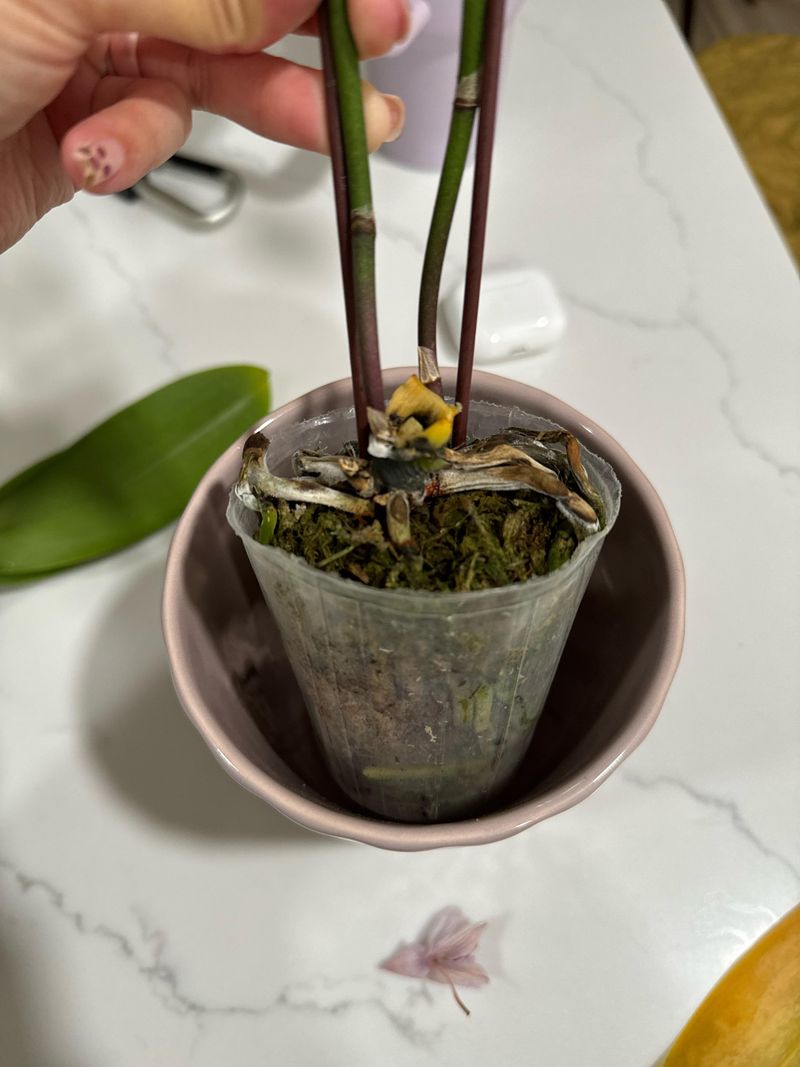
Here is a sneaky mistake that catches even careful plant parents off guard. A little puddle sitting where the leaves meet can quietly cause big problems.
That central spot is called the crown, and it is where new leaves grow. Water trapped there for hours invites bacteria and fungus to move right in.
Crown rot is the name for this trouble, and it spreads fast. Poor airflow and low calcium can make the risk even higher.
Fun fact: many wild orchids grow tilted sideways on tree trunks. Gravity drains their crowns naturally, so rain rarely gets a chance to pool.
Indoors, you can copy that clever trick with a few easy habits. Pour water onto the bark around the edges instead of over the leaves.
Water early in the day so any stray drops can evaporate by evening. Cool, damp nights are exactly what crown rot loves most.
Your New York Garden Changes Every Week. Your Plan Should Too.
Gardening in New York changes quickly throughout the season. Every Friday you’ll receive a simple weekly plan showing exactly what to plant, prune, fertilize, harvest, and protect so you never miss the right timing.
Spotted a puddle anyway? Twist the corner of a paper towel or tissue and gently soak up the water from the crown.
A small fan set on low also helps moisture disappear quickly. Muggy apartments in July especially benefit from that steady, gentle breeze.
3. Garden Soil Doesn’t Drain, So Pot In Orchid Bark
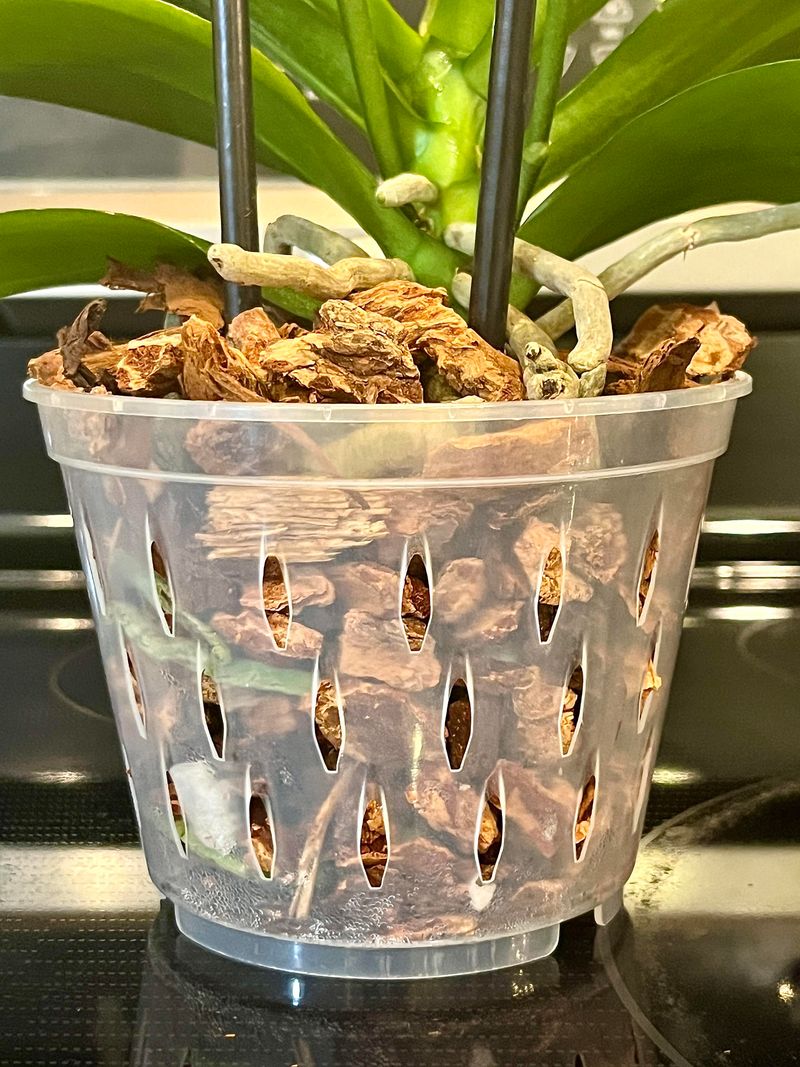
Grabbing a scoop of potting soil from the garden bag seems harmless enough. For an orchid, though, dense soil feels like being buried in wet clay.
Epiphytic orchid roots need gaps full of air between chunky pieces. Regular soil packs tightly, holds tons of water, and leaves roots gasping for oxygen.
Many beginners make this switch after repotting a gift plant. Within weeks, the leaves droop and roots turn dark and soft.
Orchid bark is the friendly fix, and most garden centers carry it. The chunky pieces let water rush through while air flows easily around each root.
A popular blend uses about 80 percent bark and 20 percent sphagnum moss. The moss holds a touch of moisture, while the bark keeps everything light.
Phalaenopsis, the moth orchids found in so many New York homes, love this mix. Growers in Brooklyn often recommend it for apartments with dry winter heat.
Choose a pot with plenty of drainage holes or side slots. Clear plastic pots are handy because you can peek at the roots anytime.
Before potting, soak the bark in water for an hour or so. Pre-soaked bark absorbs water more evenly later, which makes watering much simpler.
4. Decomposed Bark Holds Too Much Water, So Refresh It
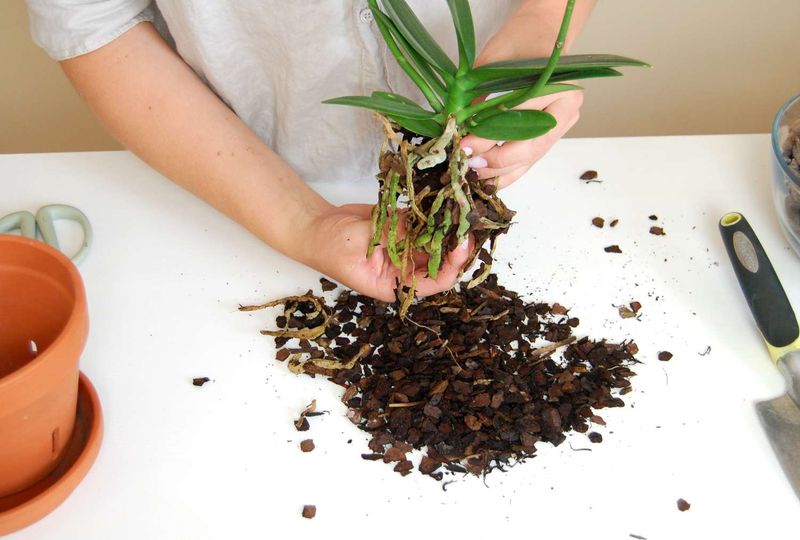
Old bark is a bit like a sponge left in the sink too long. It slowly falls apart, gets mushy, and stays wet far longer than it should.
Orchid bark breaks down naturally over time. The chunks crumble into fine bits that look more like soil than the airy mix you started with.
Those tiny pieces pack together and fill the air pockets roots depend on. Before long, the pot holds water like a swamp, and root rot follows.
Here is a clever clue to watch for during watering. Dark bits resembling coffee grounds in the draining water mean your bark is breaking down.
Plan to repot about every two years, or sooner if the bark looks tired. A quick check each spring helps you catch problems before roots suffer.
Timing matters too, so wait until flowering ends. The best moment is when fresh root tips start poking out, ready to settle into new bark.
Gently tease out the old mix and shake loose any stubborn crumbs. Fresh bark gives roots a clean, breezy home to stretch out in.
Many New York growers keep a small bag of bark on hand year round. Then repotting becomes a quick weekend chore instead of a scramble.
5. Trimming Healthy Roots Hurts, So Cut Only Spent Ones
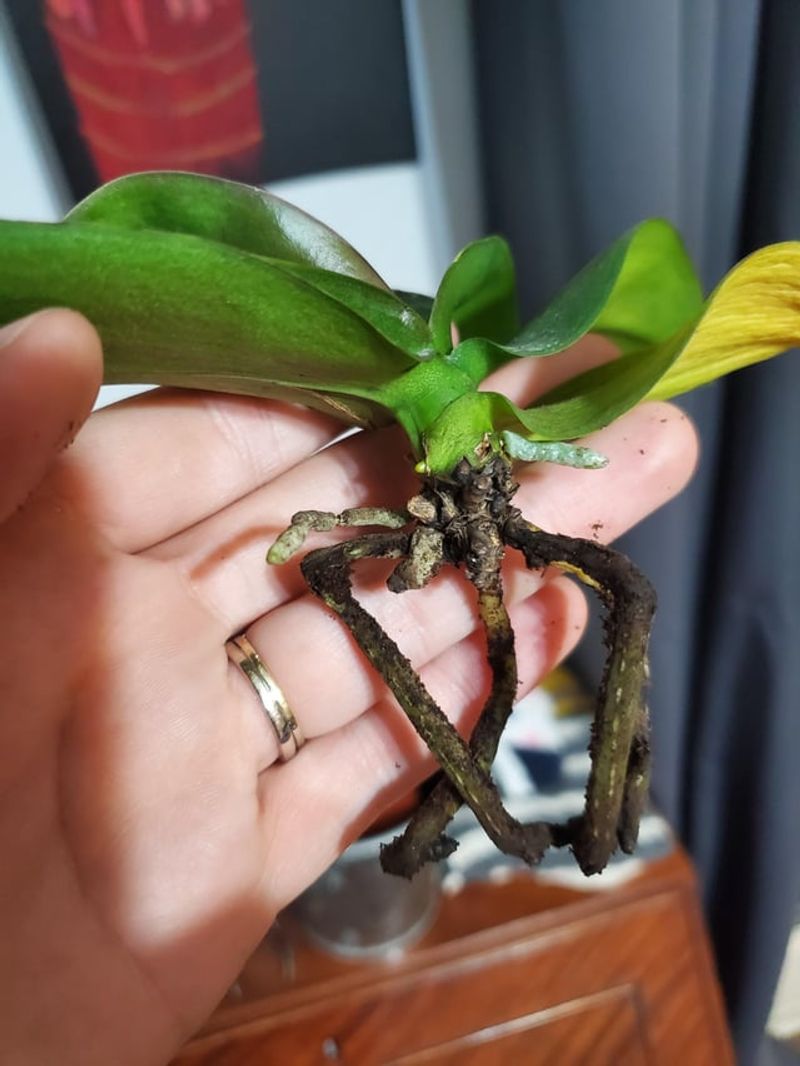
Scissors in hand, repotting day can turn into a trimming frenzy. Snipping away good roots, though, takes away the very parts that feed your orchid.
Learning to tell healthy roots from failing ones makes all the difference. Luckily, the signs are pretty easy to spot once you know them.
Healthy roots feel firm and plump, like a cooked noodle that still has bite. They look bright green when wet and silvery white when dry.
Unhealthy roots tell a different story. They turn brown or black and mushy, or they feel hollow, papery, and crunchy like an old twig.
Sometimes the outer layer slides right off a rotted root. All that remains is a thin, wiry string that no longer carries water.
Remove all the old bark first so you can see every root clearly. Then cut only the failing roots, trimming back to firm, healthy tissue.
Clean tools matter more than most people realize. Wipe your shears or razor blade with rubbing alcohol to keep germs from spreading between plants.
Silver roots are not a problem, just thirsty. Keep them, give them a drink, and watch how quickly they turn green again.
6. Harsh Sun Burns Leaves, So Choose Gentle Light
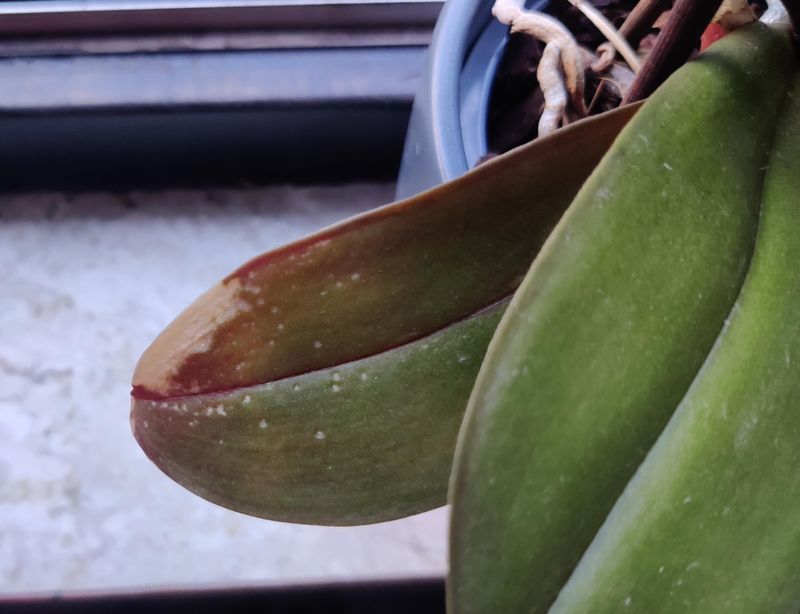
Orchids love light the way cats love a sunny nap spot. Too much direct sun, however, can leave ugly scorched patches on their leaves.
Sunburn shows up as white, yellow, or brown dry spots. Once a leaf burns, the damage stays, so prevention is the smartest move.
Afternoon sun blazing through an apartment window can be surprisingly intense. Hot glass magnifies the heat, cooking delicate leaves in just a few hours.
On the flip side, a dim corner keeps an orchid from blooming again. Bright, indirect light is the sweet spot these plants crave.
East or west facing windows usually offer just the right glow. Morning sun from the east is especially kind and rarely burns.
Stuck with a south facing window? Set your orchid three to four feet back, or hang a sheer curtain to soften the rays.
Leaves give helpful feedback if you look closely. Bright green means happy, while very dark green suggests your plant wants more light.
A reddish tint along the edges hints at too much sun. Shift the pot a little and check the color again in a week or two.
7. Strong Fertilizer Burns Roots, So Dilute It
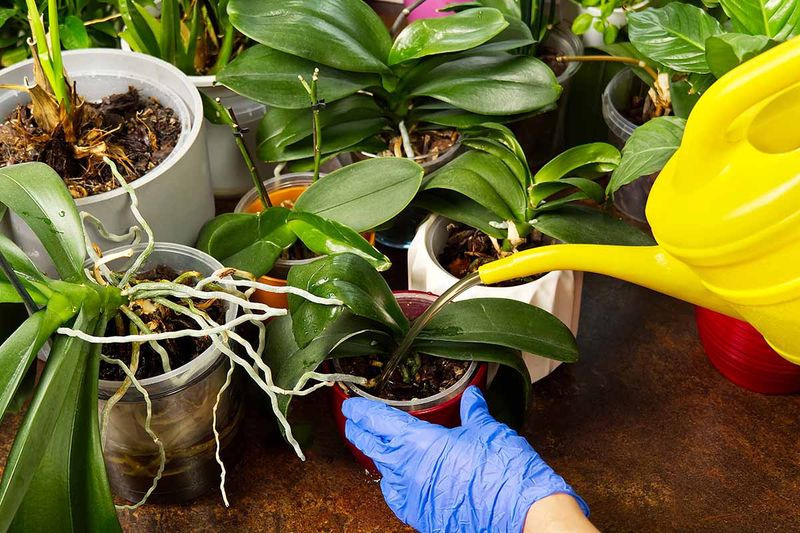
More food must mean more flowers, right? Sadly, orchids see things differently, and a heavy dose of fertilizer can backfire fast.
Strong fertilizer leaves behind lots of salts in the bark. Those salts pull moisture away from roots, so fine root tips shrivel and wilt.
Watch for blackened or crispy root tips and brown leaf tips. A white, crusty layer on the bark is another clue that salts are piling up.
The simple answer is to water down your fertilizer. Mix it at one quarter to one half of the strength listed on the label.
Here is a pro trick many growers swear by. Water your orchid with plain water first, then add the diluted fertilizer afterward.
Damp roots soak up nutrients gently instead of getting shocked. Dry roots, on the other hand, are far more likely to burn.
Pick an orchid fertilizer or a balanced, urea-free orchid fertilizer. Many orchid fans follow the easy motto of weekly, weakly.
Once a month, flush the pot with plain water for a minute or two. Rinsing washes away built up salts and keeps roots fresh and comfortable.
8. A Bad Cut On The Spike Wastes A Rebloom, So Trim Above A Node
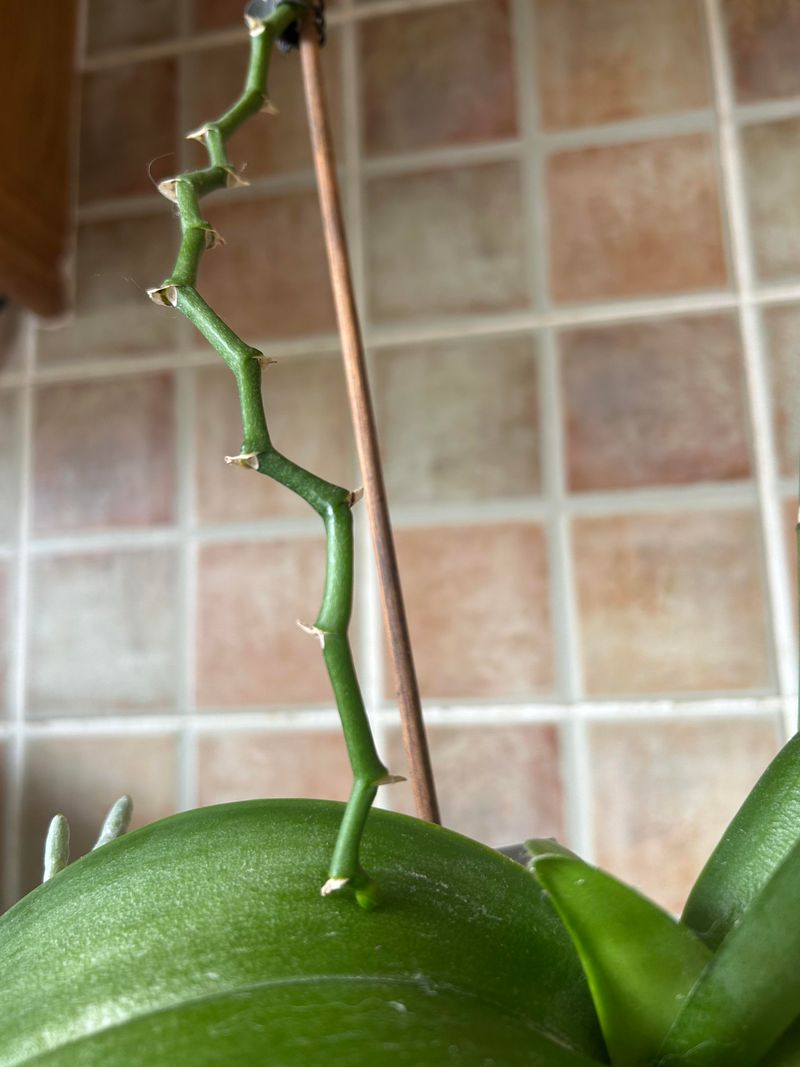
Those last flowers just dropped, and the bare stem looks a little sad. Before you chop it off at the base, take a closer look.
Many moth orchids can bloom again from the same flower spike. A careless cut, though, removes the very spots where new stems could sprout.
Those spots are called nodes. Look for small bumps along the spike, often covered by a thin, papery sheath.
Find the second node up from the base of the plant. Make a clean cut about one inch above it with sterilized shears.
With luck, a fresh stem pops out within a couple of months. The second round of flowers may be smaller, but they still brighten a room.
Has the whole spike turned brown and dry? In that case, trim it right down at the base, since it will not bloom again.
Reblooming takes plenty of energy from your plant. Only try this trick if your orchid has firm, healthy leaves and strong roots.
Weak plants do better resting instead. Letting them skip a round helps them grow roots and leaves for a bigger show next year.
9. Steady Warmth Delays Spikes, So Add A Cooler Night Period
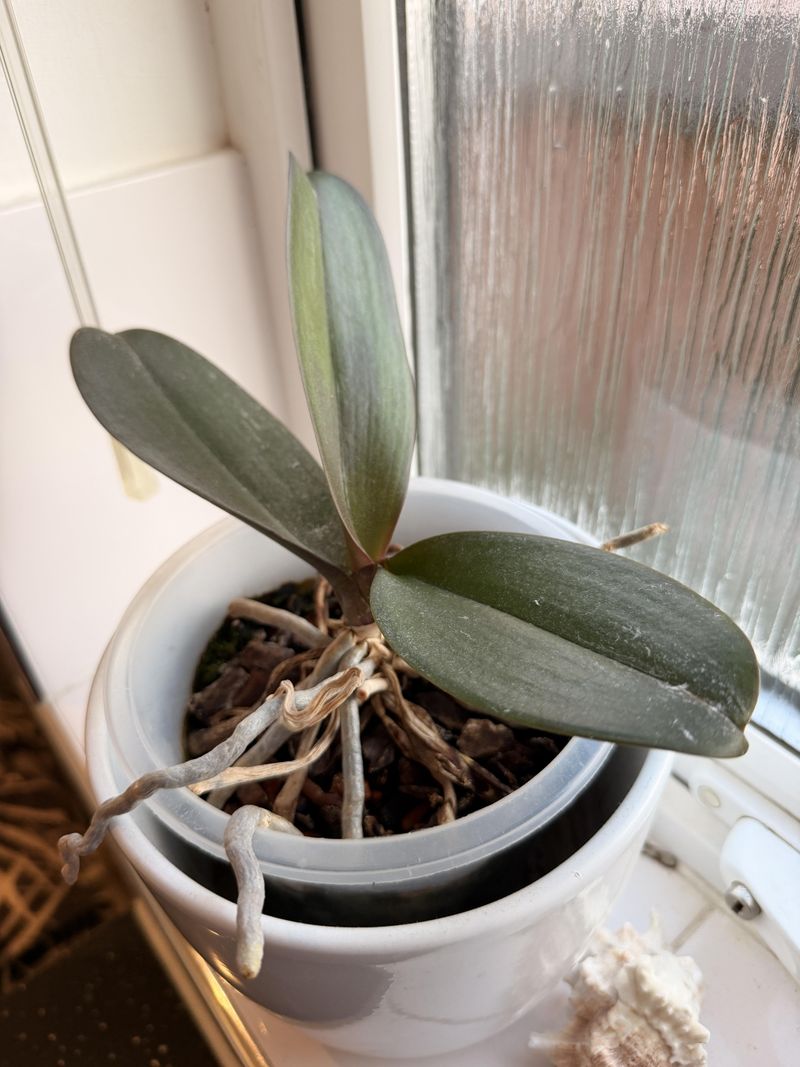
Cozy, steady heat sounds like a dream for a tropical plant. Oddly enough, nonstop warmth can leave your orchid with zero interest in blooming.
In the wild, nights cool off as seasons change. That nightly dip acts like an alarm clock, telling the plant it is time to grow flower spikes.
Indoors, heaters and thermostats often erase that natural signal. Your orchid stays green and healthy but quietly skips its flowering season.
Aim for daytime temperatures between 65 and 80 degrees Fahrenheit. At night, let things cool about 10 to 15 degrees below that.
Keep up those cooler nights for several weeks in a row. Many growers notice a fresh spike poking out soon after.
Fall in New York makes this surprisingly easy. Set your orchid near a slightly cooler window at night, away from radiators blasting heat.
Turning the thermostat down before bed works too. Bonus, your heating bill might shrink a little at the same time.
Just keep the dip gentle and steady. Nights around 60 to 65 degrees are perfect, while anything near freezing will cause harm instead of help.
10. Cold Windows Chill Leaves, So Keep Orchids Off The Glass
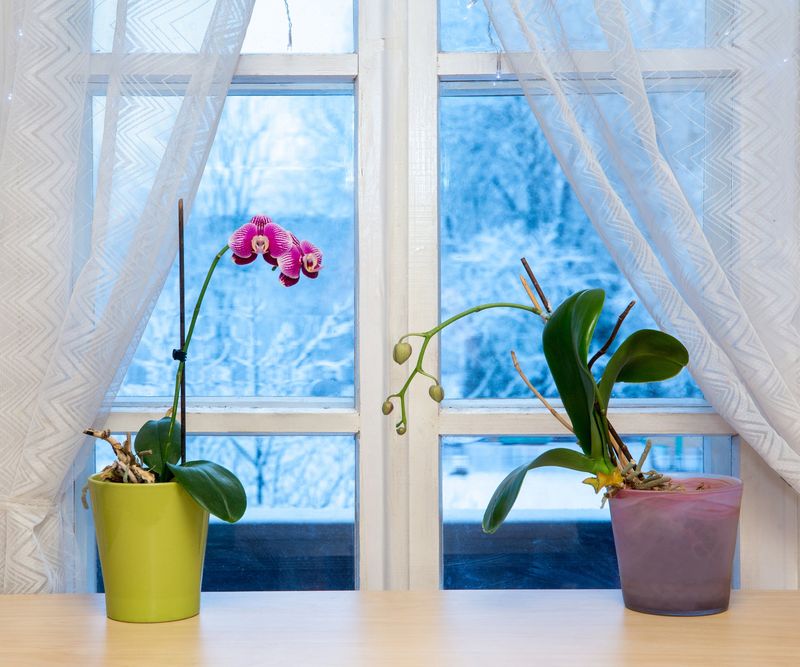
Ever pressed your hand against a window on a January morning? Now imagine your orchid leaves resting there all night long.
Orchids come from warm tropical places, so cold hits them hard. Leaves touching icy glass can develop soft, water soaked patches that later turn brown.
Flowers and buds are even more delicate. Even brief exposure to air below 50 degrees can trigger bud blast, where buds yellow and drop.
Winter in New York brings plenty of chilly surprises. Drafty Manhattan apartments, leaky doors, and old window frames all let frosty air sneak inside.
Leave a few inches of space between leaves and glass. On frigid nights, slide your orchid farther into the room until morning.
Heavy curtains make a handy shield after sunset. Pull them closed at night, then open them again so your plant still gets daytime light.
Bringing a new orchid home in winter? Wrap it in paper or a bag for the trip, even for a short walk.
Hot radiators are no better than cold glass. Find a cozy middle spot, and your orchid will reward you with steady growth all season.