Tiny Garlic Bulbs? You Might Be Making These Growing Mistakes
You lift your garlic and find a bulb smaller than a marble. Small bulbs trace back to small choices made in autumn.
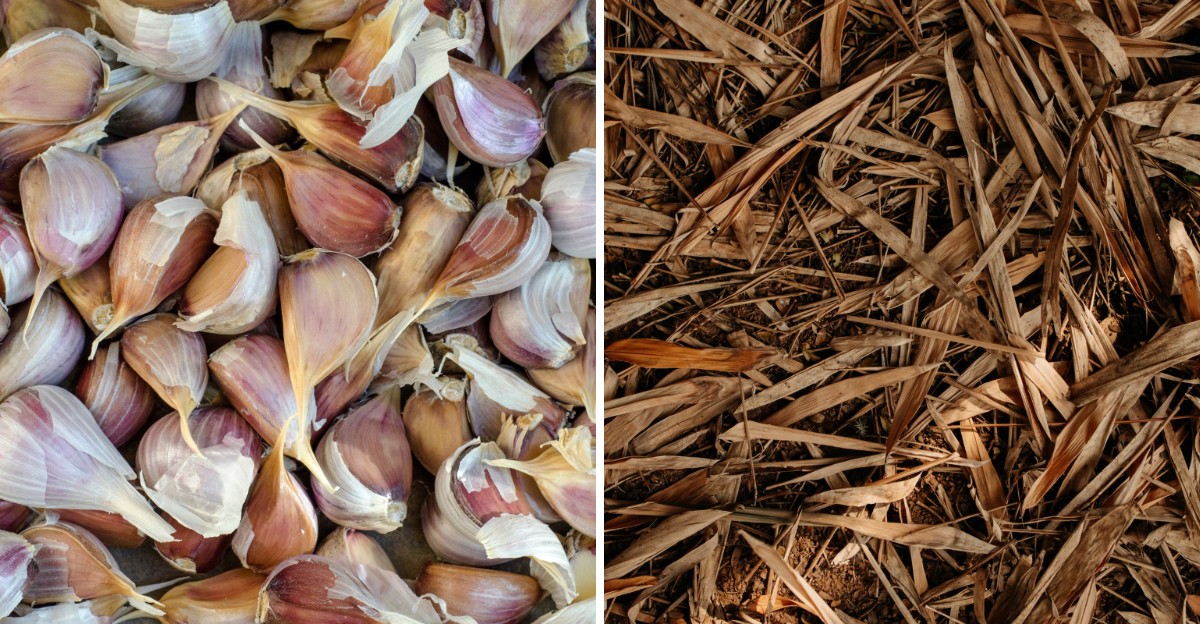
Planting depth, spacing, and clove size decide your harvest. Big bulbs begin with big cloves, so select the plumpest ones.
Separate the head before planting, leaving the papery skin on each clove. Point the tips skyward and bury them about a finger length deep.
Space them a hand and a half apart so roots stretch freely. Straw mulch holds warmth as the soil cools.
Skip grocery store bulbs, since some carry chemical sprout-delaying treatments. Hardneck varieties such as Rocambole handle cold well and reward you with plump bulbs.
Calendar dates mislead, so press a probe thermometer into the bed. Precise timing turns marble-sized bulbs into full-size ones. Reach exact soil temperature and your cloves develop into sturdy bulbs.
1. Planting Cloves At The Wrong Time Of Year
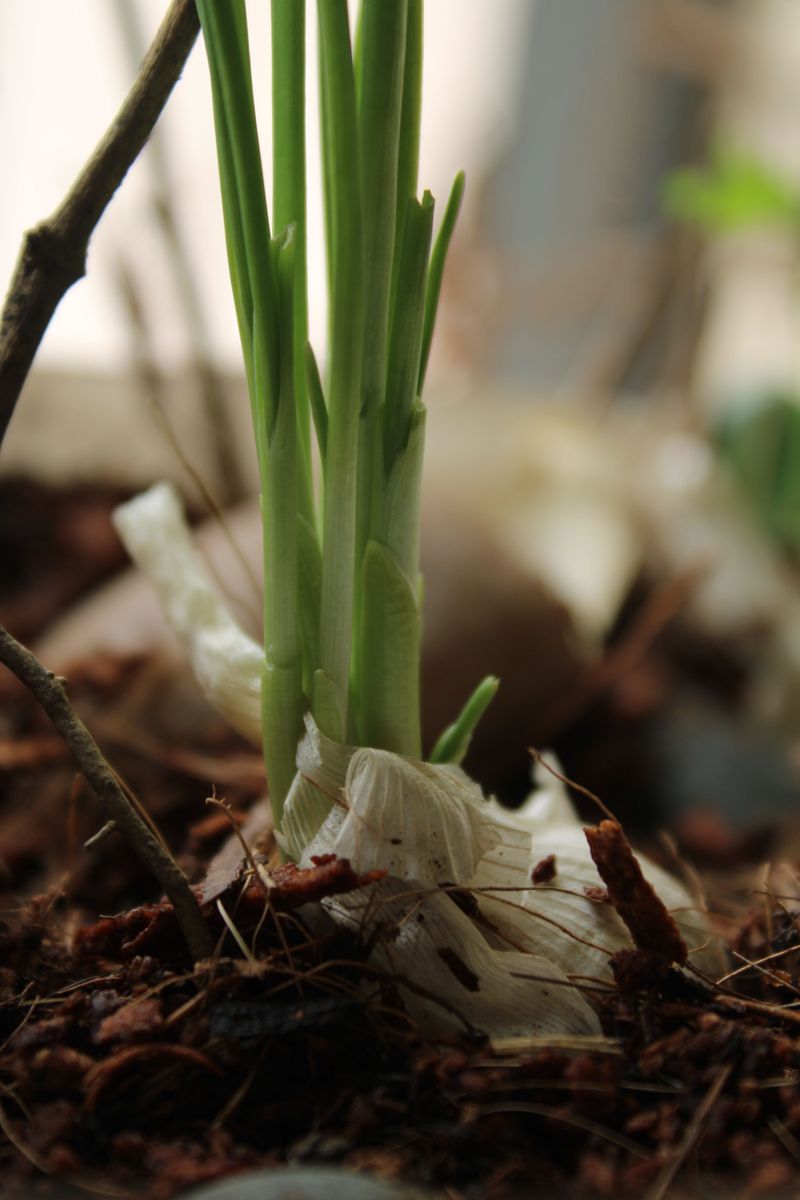
Picture a clove tucked into warm September soil, sprouting tall green leaves within two weeks. It looks impressive, but that early burst of growth can work against the plant once frost arrives.
Garlic needs a cool rest period called vernalization to split into many fat cloves. Without enough chilly weeks, bulbs often stay as one round lump or form tiny sections.
In many northern gardens, the planting window runs from late September to mid November, depending on your zone. Aim for about four to six weeks before the ground freezes solid.
Warmer regions can wait until late November or even December for planting. Gardeners in the South sometimes chill cloves in the fridge for a few weeks first.
Planting too late causes trouble as well, since roots need time to settle in. Cloves that go in frozen ground cannot build the root system that feeds spring growth.
Roots should form in fall while green tops stay short or hidden underground. That balance helps the plant survive winter without wasting energy on leaves.
A soil thermometer makes timing much easier than guessing by the calendar alone. Look for soil around 50 degrees Fahrenheit at a depth of four inches.
Some gardeners watch the trees for clues instead of checking numbers. Leaf drop can be a rough hint, but soil temperature is a more reliable guide.
Once autumn soil cools, this is your moment to get those cloves in. A little patience with timing pays off with plump, heavy bulbs next July.
2. Choosing Grocery Store Bulbs For Seed
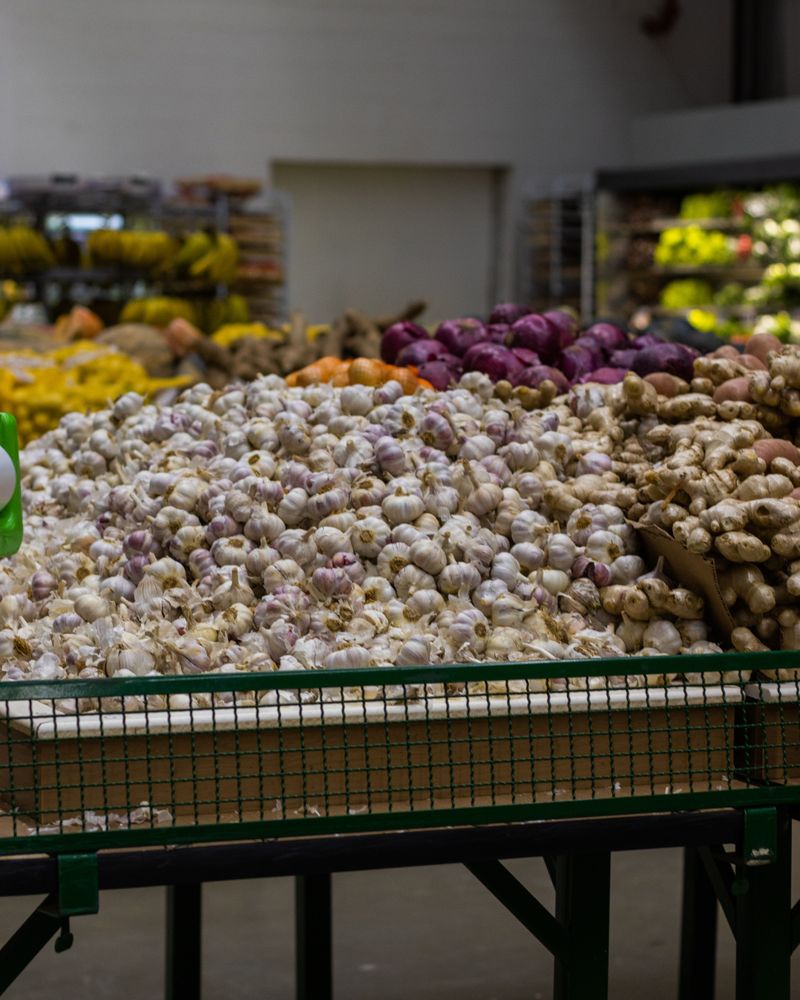
That bag of supermarket garlic looks like a free shortcut to a big harvest. However, many of those bulbs were grown far away in a very different climate.
A lot of store garlic comes from China or California, and those varieties may not suit your local climate. Those types may struggle when planted in colder regions.
Some grocery bulbs may also be treated with a sprout inhibitor to extend shelf life. Treated cloves may sprout slowly, weakly, or not at all.
Disease is another less obvious risk with random bulbs from the produce aisle. Fungi and tiny pests like bulb mites can hitch a ride and spread into your beds.
Certified seed garlic from a local nursery or trusted grower is the safer bet. Sellers usually list whether each variety suits cold or warm areas.
Hardneck types such as Music and German Extra Hardy love chilly winters. Softneck types like Inchelium Red handle milder weather and store longer in the kitchen.
Seed garlic costs more up front, but the investment pays off. Still, one good bulb provides several cloves to plant, so your stock grows quickly over a few seasons.
Save your biggest heads each summer and replant them the following fall. Over time, your garlic adapts to your soil and weather, almost like a hometown team.
Many popular seed varieties sell out by late summer, so ordering early matters. If shelves are bare by autumn, check farmers markets for locally grown bulbs.
Local bulbs have already proven they can handle your weather. That head start often shows up as bigger, firmer heads at harvest.
3. Picking The Smallest Cloves To Plant
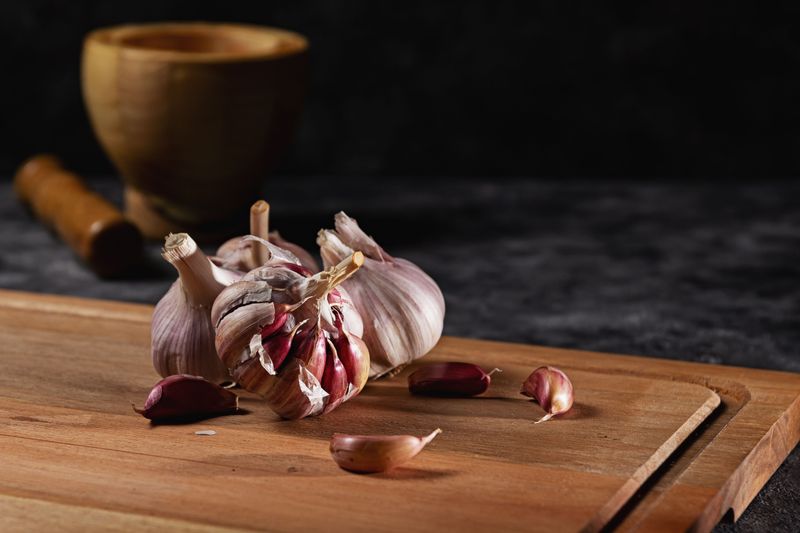
Gardeners who save the big cloves for cooking often wonder why harvests shrink. Clove size predicts bulb size, so a tiny clove usually grows a tiny bulb.
Each clove carries its own stored food to fuel early root and leaf growth. Larger cloves have a bigger pantry, which means a stronger start before winter.
Break apart your bulbs only a day or two before planting. Separating them too early can dry out the base where roots will form.
Sort the cloves into piles by size, much like sorting coins. Plant the largest outer cloves and send the skinny middle ones to the kitchen.
Some growers even weigh their cloves on a kitchen scale for fun. Heavier cloves, often five grams or more, tend to produce larger heads.
Hardneck bulbs usually have four to ten big cloves around a stiff center stalk. Softneck bulbs hold more cloves, but the inner ones are often too small.
Toss any cloves with soft spots, mold, or strange colors. One diseased clove can pass problems to healthy neighbors in the same bed.
Small cloves still have a purpose if you want to use them. Plant them close together in a pot to grow mild garlic greens for snipping.
Those greens taste great in scrambled eggs, soups, and homemade butter. You get a bonus crop while saving the best cloves for real bulbs.
Think of it as a rule worth repeating each fall. Big cloves in the ground mean big bulbs in your basket next summer.
4. Setting Cloves Too Shallow Or Upside Down
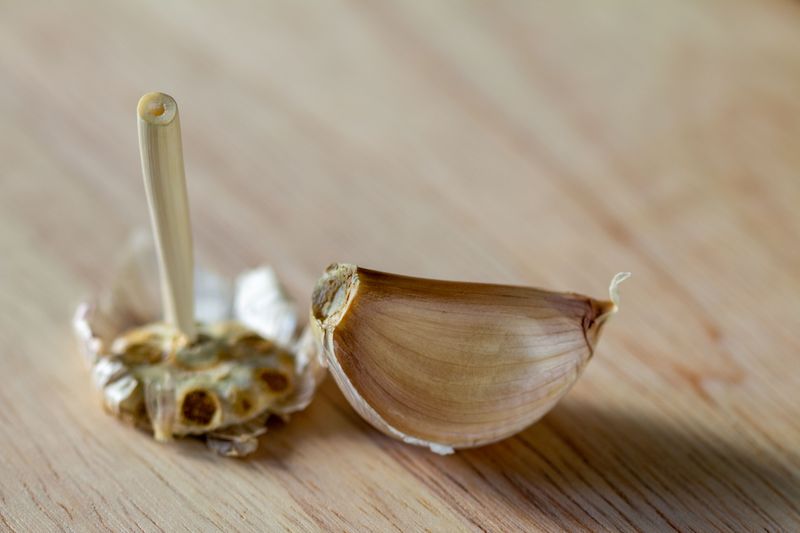
A clove planted upside down will still try to grow. The shoot must curl around to find the sky, wasting energy meant for the bulb.
Point the flat, rooty end down and the pointed tip up. If you can’t tell, look for the dry, slightly rough base where roots sprout.
Depth matters just as much as direction for healthy growth. Set each clove about two inches deep, measured from the tip to the soil surface.
In very cold zones, three inches gives extra protection from hard freezes. Shallow cloves can get pushed up by frost heave as the soil freezes and thaws.
Frost heave can damage young roots. Cloves left sitting on top of the ground may dry out or feed hungry squirrels.
Planting much deeper than recommended can delay emergence, especially in heavy clay. Shoots spend extra time pushing upward, and bulb size may drop slightly.
A simple trick is to mark your trowel or a dowel at two inches. Push it into the soil, drop in a clove, and cover it gently.
Press the soil down lightly with your palm after planting each row. That firm contact helps roots grab hold before the first real cold snap.
Water the bed once after planting if the soil feels dry. A good drink settles the dirt and wakes up the roots.
Kids love this job, so invite a young helper to place each clove. Just remind them that pointy ends face up, like tiny green rockets ready to launch.
5. Crowding Cloves Too Close Together
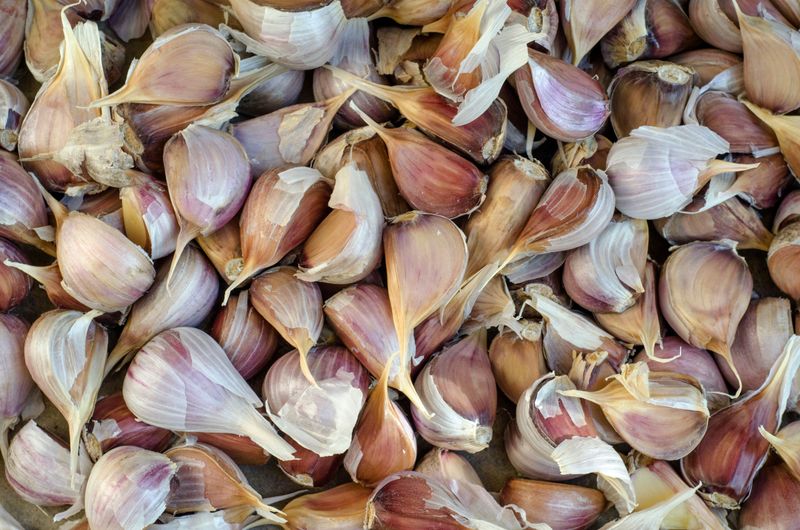
Garlic does not enjoy sharing an elevator with strangers. Crowded cloves compete for water, nutrients, and sunlight, and each bulb ends up smaller.
Give each clove about six inches of space in every direction. Rows should sit roughly ten to twelve inches apart for easy weeding.
Raised beds can use a grid pattern with six-inch spacing across the whole bed. That layout fits plenty of plants while still letting each bulb spread out.
Crowding also traps moisture between leaves, which can encourage fungus problems like rust. White rot lives in the soil, so rotate beds and plant clean seed garlic. Good airflow keeps foliage dry and healthy through rainy spring weeks.
A homemade planting board makes spacing easy and surprisingly satisfying. Drill holes six inches apart in a scrap of plywood and use it as a stencil.
Some gardeners use an old egg carton or a ruler instead. Any tool that keeps you from eyeballing will help, since our eyes tend to cheat.
Watch for the urge to squeeze in just one more row. That extra row often costs more in bulb size than it adds in total garlic.
In small gardens, fewer well-spaced plants usually beat many cramped ones. Ten big heads are worth more in the kitchen than thirty little marbles.
Companion plants should keep their distance as well. Some gardeners avoid planting beans or peas nearby, since traditional advice says garlic can slow their growth.
Some gardeners place low herbs like chamomile or parsley at the edges of the bed. Wider spacing also makes harvest day easier, since your fork won’t damage nearby bulbs.
6. Skipping The Mulch Before Winter
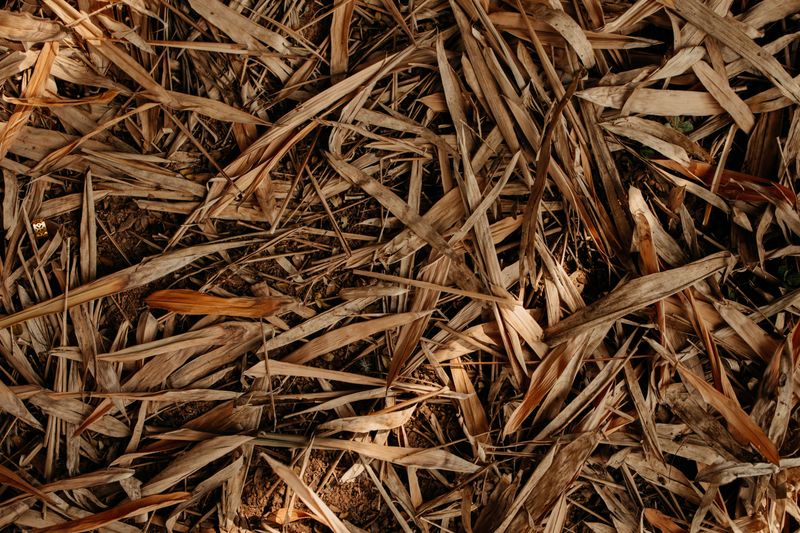
Imagine standing outside in January without a coat or hat. Bare garlic beds face that same chill, and young roots feel every bit of it.
Mulch acts like a fluffy blanket over the soil after planting. It keeps the ground temperature steadier and protects roots from repeated freezing and thawing.
Clean straw is a favorite because it stays loose and lets water through. Shredded leaves and pine needles work nicely too and cost nothing in autumn.
Spread about four to six inches over the bed once the ground starts to cool. In mild areas, two or three inches is usually plenty.
Avoid hay if you can, since it often carries weed seeds. Those seeds sprout in spring and compete with garlic for food and water.
Wind can blow loose straw around on stormy nights. A few sticks or a light layer of compost on top keeps it from wandering.
Mulch keeps working long after winter fades away. It holds moisture in the soil during dry spring weeks and blocks many weeds from sprouting.
Some growers pull back part of the mulch in early spring to warm the soil. Others leave it in place all season, especially in hot, dry climates.
Shoots may poke through the mulch on warm winter days, and that is normal. Leaves can handle cold, so this is not a cause for concern.
Grab a few bags of leaves from neighbors this season if your yard is short. Many people happily hand them over, and your garlic will benefit.
7. Neglecting Soil Nutrition, Drainage, And Watering
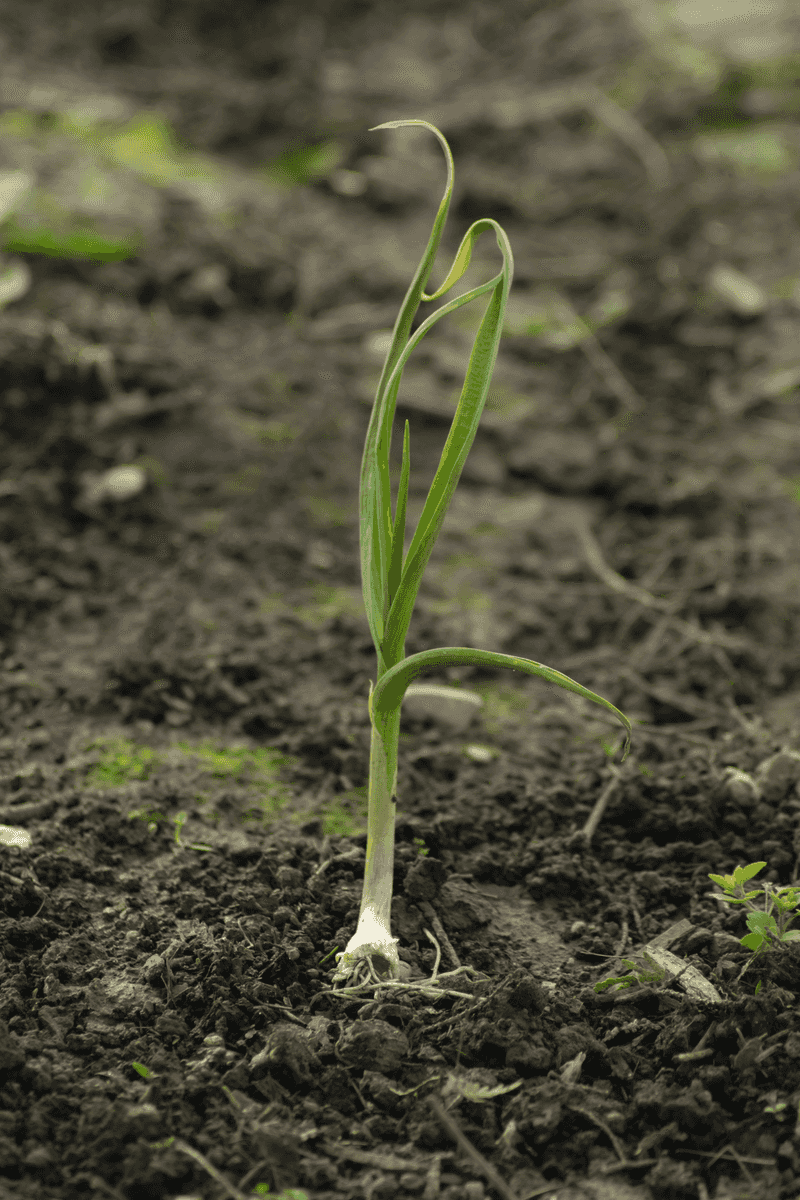
Soggy soil is one of the quickest ways to cause cloves to rot. Garlic does poorly in waterlogged soil, especially during long, rainy winters.
Before planting, dig a hole and fill it with water to test drainage. If water still sits there after a few hours, the spot needs help.
Raised beds or mounded rows lift roots above puddles and soggy clay. Mixing in two or three inches of compost also loosens heavy soil.
Sandy soil drains fast but holds little food for hungry roots. Extra compost helps it hold moisture and nutrients a bit longer.
Nutrients matter just as much as drainage for big bulbs. Garlic is a hungry crop that loves nitrogen during its leafy growth stage.
Work compost or aged manure into the bed before planting this fall. Then feed again in early spring when green shoots start growing quickly.
Blood meal, fish emulsion, or a balanced organic fertilizer all work well. Stop feeding by late May, since bulbs need to focus on swelling then.
Soil pH should sit between 6.0 and 7.0 for best results. A cheap test kit from a garden center tells you where your soil stands.
Water needs change as the season moves along. Give about one inch per week in spring, then cut back two weeks before harvest.
Too much late water can stain the wrappers and shorten storage life. Rotate your bed yearly too, since the same spot three years running invites disease.
8. Skipping Scape Removal And Weeding
In early summer, hardneck garlic sends up a curly green stem that looks like a party streamer. That curl is called a scape, and it holds a flower head.
Left alone, the scape pulls energy toward making flowers and tiny bulbils. Cutting it off can increase bulb size, though results vary by variety and growing conditions.
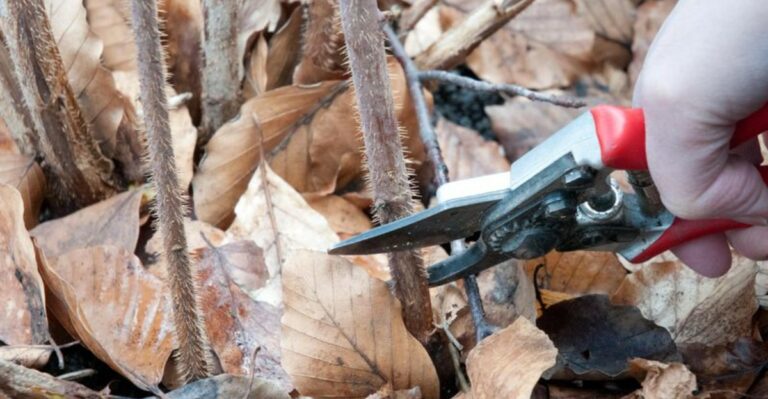
Snip scapes once they make one full loop, using clean scissors or pruners. Cut close to the top leaves without damaging the main stalk.
Better yet, scapes taste amazing and should not go to waste. Toss them into stir-fries, blend them into pesto, or grill them like green beans.
Softneck types usually skip the scape stage, so this step mostly applies to hardnecks. Check your variety label so you know what to expect.
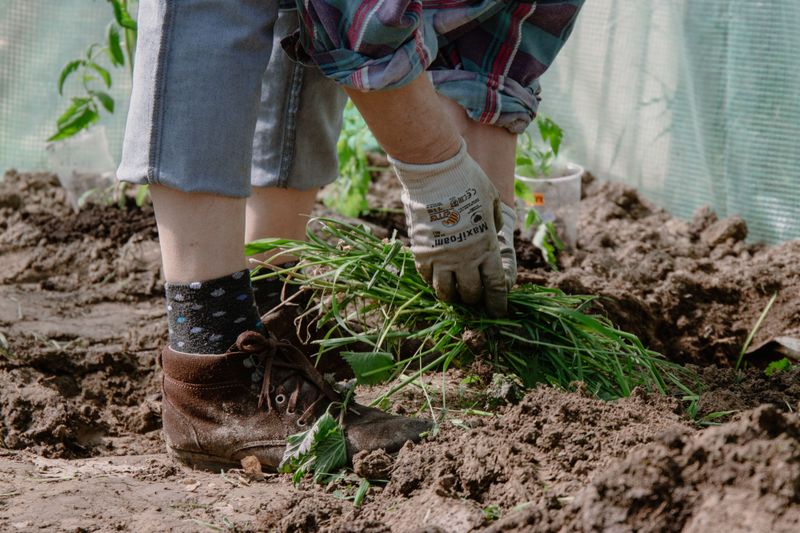
Weeds also compete with garlic for water and nutrients. Garlic has thin, upright leaves that cannot shade out competitors very well.
Weedy garlic beds can produce smaller bulbs and lower yields. Pull weeds by hand when they are small and the soil is slightly damp.
Grass is a highly competitive weed because its roots tangle with cloves underground. Clear grassy areas well before planting this fall to save headaches later.
Mulch from last fall helps here as well by blocking new weed seeds. Top it up in spring if bare patches start to show.
A weekly ten-minute weeding walk keeps the job from piling up. Bring a cup of coffee and treat it like a peaceful morning routine.