10 Tomato Mistakes Virginia Gardeners Keep Making Summer After Summer
Virginia soil makes you feel like you know exactly what you are doing. Then July arrives and proves you wrong.
I planted six tomato seedlings one June and gave them what I thought was a solid start. By mid-July they had gone pale and sulky, like they had personally decided to quit. Tomatoes in Virginia seem straightforward until they are not.
The Mid-Atlantic climate is basically a drama queen. One week brings a surprise cold snap, the next delivers soupy humidity that makes everything feel impossible.
Your fruit cracks. Your leaves curl.
Your harvest ghosts you entirely. Sound familiar?
You are not alone, and you are probably not doing everything wrong either. Chances are, just one or two sneaky mistakes are standing between you and a bumper crop of beautiful tomatoes.
The good news? Every mistake is fixable.
Read on to find out which ones you might be making before another Virginia growing season slips right through your fingers.
1. Planting Too Early Before The Last Frost Date Has Passed
Nothing stings quite like walking outside to find your tomato plants frost-burned overnight. Virginia gardeners get excited when February warms up and March feels almost like June.
That excitement leads to planting way too soon.
The average last frost date in central Virginia falls around April 15, but northern regions can see frost well into late April. Planting before that window closes is a gamble that rarely pays off.
Cold soil slows root development even if the plant survives the chill.
Tomatoes need soil temperatures of at least 60 degrees Fahrenheit to thrive. Anything below that and roots struggle to absorb nutrients, leaving plants stunted and pale.
Many gardeners assume a warm week means winter is done, only to lose everything to a late cold snap.
Check your local extension office for frost dates specific to your county. Use a soil thermometer before transplanting.
A little patience in spring leads to a much stronger harvest come August, and that is absolutely worth the wait.
2. Not Staking Or Caging Plants Early Enough
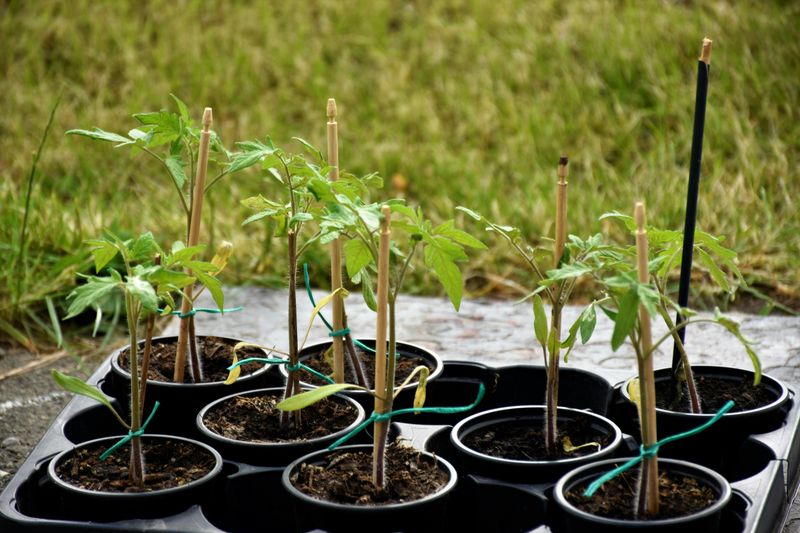
A tomato plant without support is basically a disaster waiting to happen. Most gardeners wait until plants are already flopping before they reach for the stakes, and by then the damage is often done.
Stems can snap, fruit gets buried in soil, and disease sets in fast.
Cages and stakes should go in at planting time, not weeks later. Setting them up early means you avoid disturbing the root zone once plants are established.
Roots spread wide and deep, so jabbing a metal stake in later can slice right through them.
Indeterminate varieties like Cherokee Purple or Brandywine can grow six feet tall or taller. Without solid support from the start, those heavy stems twist and break under the weight of ripening fruit.
A broken main stem mid-season is very difficult to recover from.
Use heavy-gauge cages or wooden stakes at least five feet tall. Tie stems loosely with soft garden tape every eight to ten inches as the plant grows.
Your Virginia Garden Changes Every Week. Your Plan Should Too.
Gardening in Virginia changes quickly throughout the season. Every Friday you’ll receive a simple weekly plan showing exactly what to plant, prune, fertilize, harvest, and protect so you never miss the right timing.
Starting strong means your tomatoes grow upright, get better airflow, and produce more fruit from top to bottom.
3. Watering Inconsistently Leading To Blossom End Rot
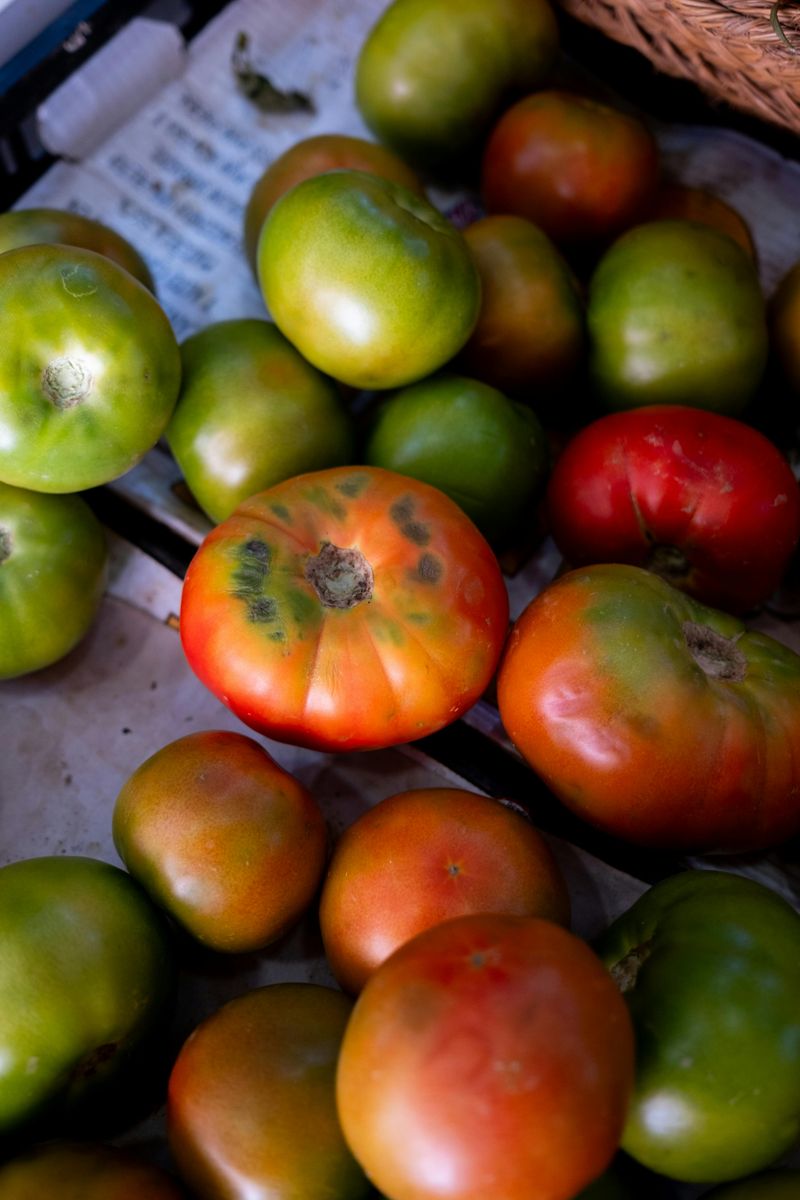
Black, sunken bottoms on your tomatoes are not a disease problem, they are a watering problem. Blossom end rot is one of the most common problems home growers face, and inconsistent watering is almost always to blame.
It looks like a fungal issue but it is actually a calcium deficiency triggered by uneven moisture.
When soil dries out and then gets flooded, plants cannot absorb calcium efficiently even when it is present in the soil. The fruit suffers first, developing that telltale dark rot on the blossom end.
Once it appears, affected fruit cannot be saved.
Virginia summers are notorious for stretches of dry heat followed by heavy thunderstorms. That natural boom-and-bust watering cycle is exactly what tomatoes hate.
Gardeners who rely on rain alone almost always deal with this problem at some point.
Aim for deep, consistent watering at the base of each plant, roughly one to two inches per week. Drip irrigation is the gold standard for keeping moisture levels steady.
Mulching around plants also helps retain soil moisture between waterings, which is a simple fix that makes a big difference.
4. Planting In The Same Spot Year After Year
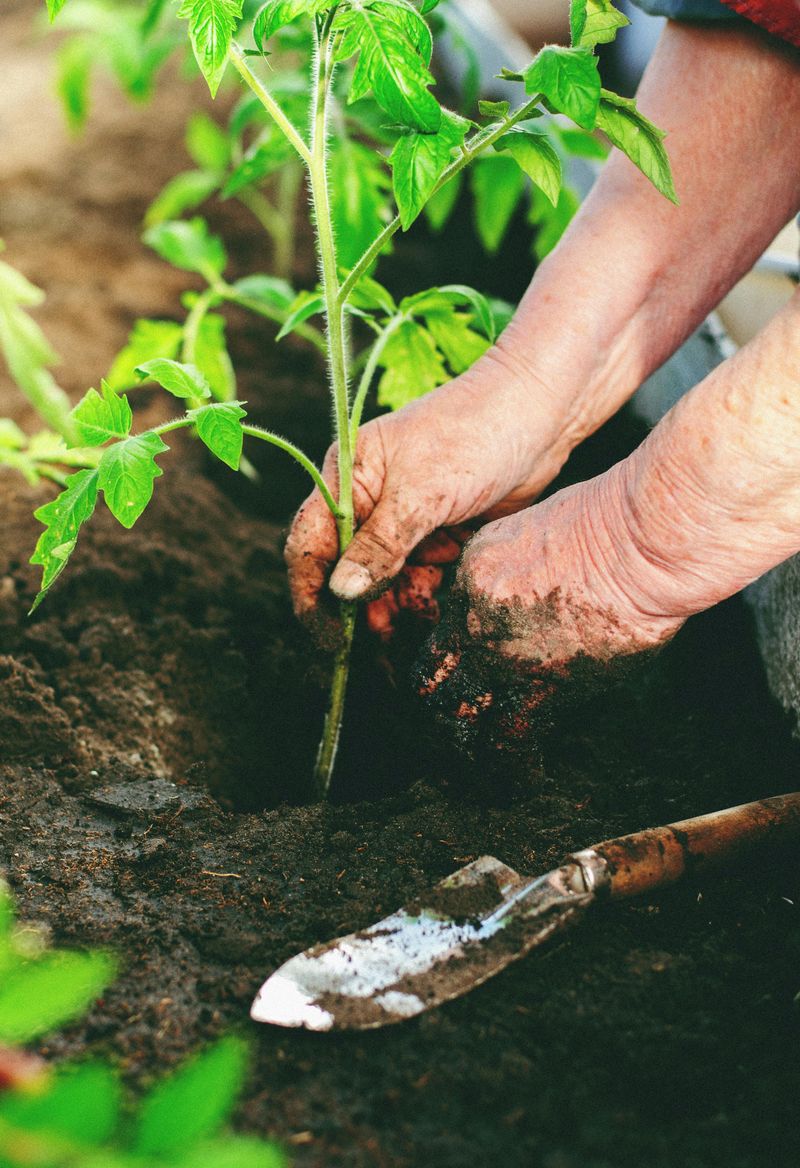
Soil memory is real, and tomatoes pay the price when gardeners ignore it. Planting the same crop in the same bed season after season builds up a toxic cycle of disease, pests, and nutrient depletion.
What worked great in year one can become a nightmare by year three.
Soilborne diseases like early blight, fusarium wilt, and nematodes accumulate in the ground over time. These pathogens thrive when their preferred host keeps showing up in the same location.
Rotating crops breaks that cycle before it gets out of hand.
A simple three-year rotation is the standard recommendation from most extension services. Move tomatoes to a new section of the garden and replace them with unrelated crops like beans, corn, or squash.
Those plants do not share the same disease pressures, so the soil gets a real chance to recover.
Keeping a garden journal makes rotation easier to track. Note where you planted each crop and plan the next season before winter hits.
Even shifting beds by a few feet makes a real difference, keeping sneaky soil pathogens from wrecking your harvest.
5. Skipping Mulch Around The Base Of Plants
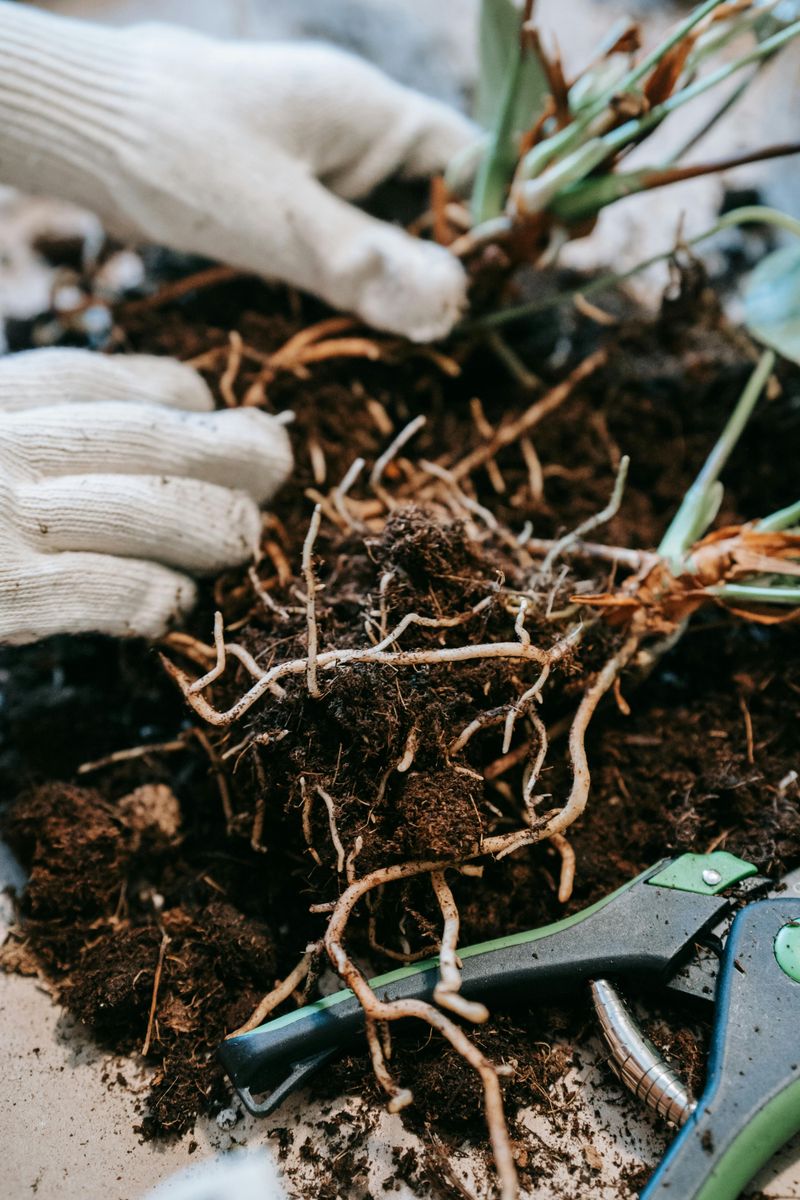
Bare soil around your tomato plants is working against you every single day. Without mulch, moisture evaporates fast in Virginia’s summer heat, soil temperatures spike, and weeds compete for nutrients your tomatoes desperately need.
It is a small step that most gardeners skip and then wonder why their plants struggle.
A two to three inch layer of straw, wood chips, or shredded leaves acts like a blanket for the soil. It keeps roots cool during heat waves, reduces how often you need to water, and blocks weed seeds from getting the light they need to sprout.
That is three major benefits from one simple action.
Mulch also plays a key role in preventing soil splash, which is how many fungal spores travel from the ground up onto lower leaves. Early blight often starts this way, and a good layer of mulch dramatically reduces that risk.
Fewer splashes mean fewer infections.
Apply mulch right after transplanting and refresh it mid-season if it breaks down. Keep it a few inches away from the main stem to prevent rot at the base.
This one habit can transform how your plants look and perform all summer long.
6. Ignoring Early Signs Of Blight
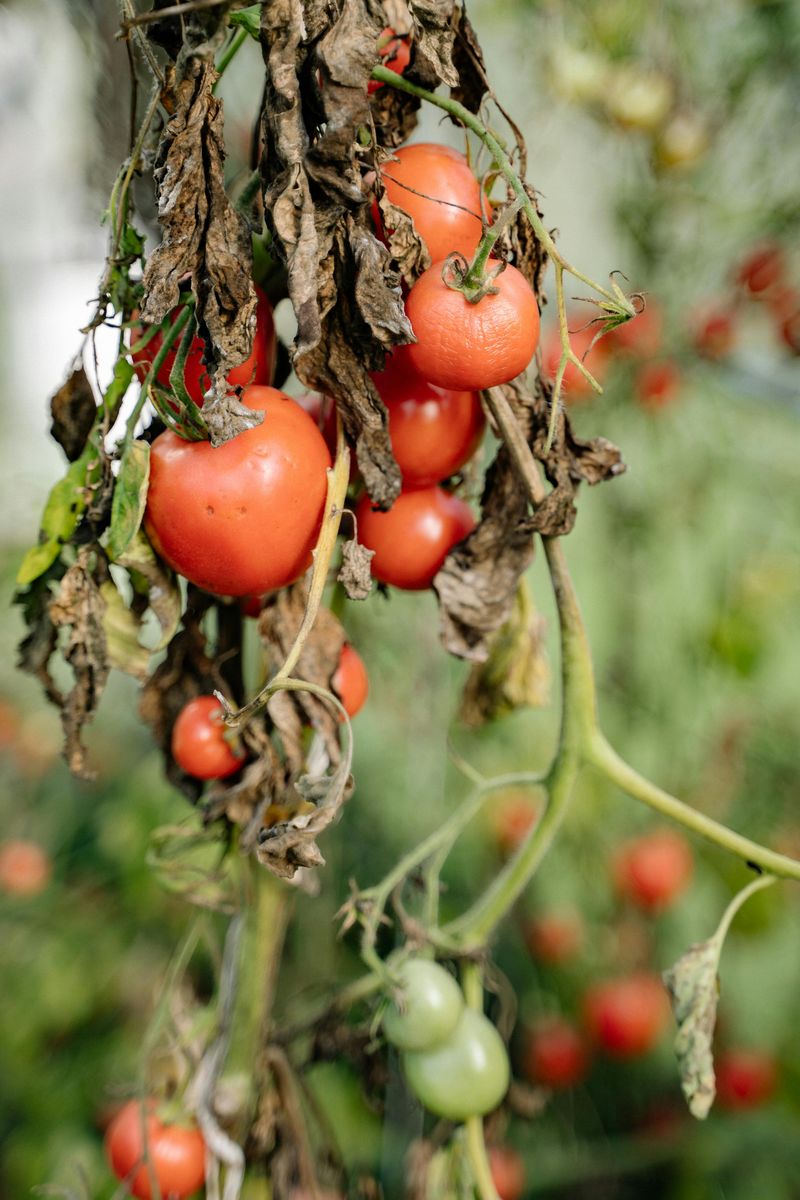
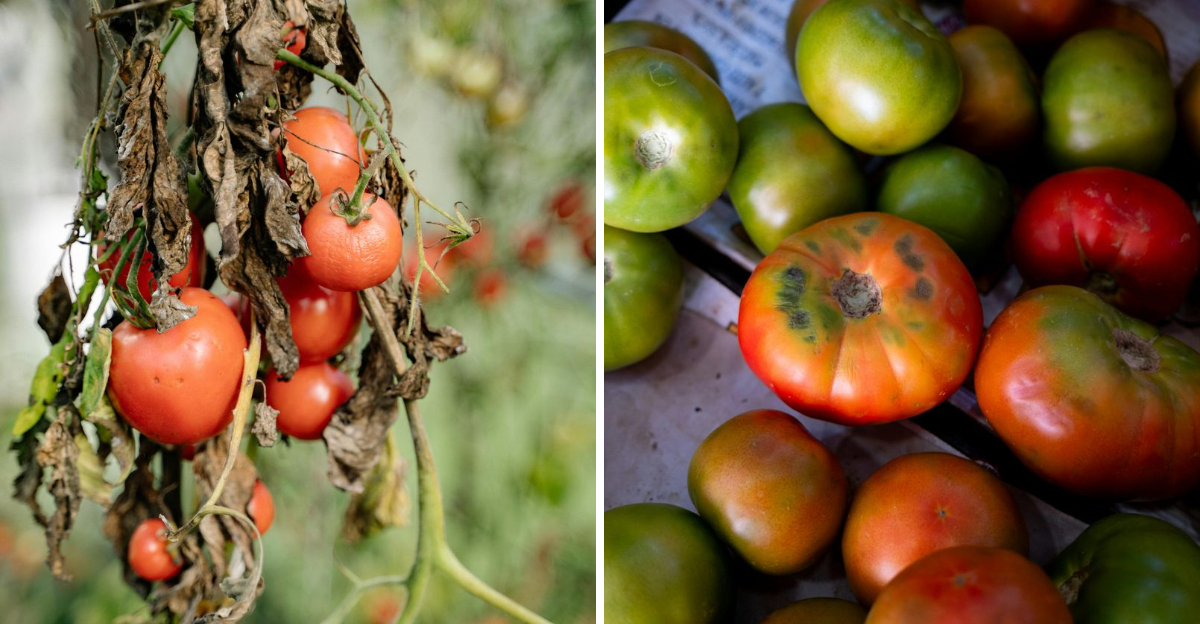
Those small brown spots on your lower tomato leaves are not just cosmetic, they are a warning. Early blight spreads fast in Virginia’s hot, humid summers, and most gardeners wait too long to act.
By the time the problem is obvious, it has already moved up the plant and into the fruit.
Early blight appears as dark brown spots with yellow rings, usually starting on the oldest leaves near the bottom of the plant. It thrives when nights are warm and humidity stays high, which describes Virginia from June through August almost perfectly.
Spores spread through rain splash, wind, and even your hands as you work in the garden.
Remove affected leaves immediately and bag them before tossing them in the trash, not the compost pile. Copper-based fungicide sprays applied early in the season can slow the spread significantly.
Preventive treatment works far better than reactive spraying once the infection is widespread.
Improving airflow through proper spacing and pruning also reduces blight pressure. Wet leaves are happy leaves for fungal spores, so water at the base rather than overhead.
Catching blight in its early stages is the difference between a modest setback and significant crop loss.
7. Overfertilizing With Nitrogen After Flowering Begins
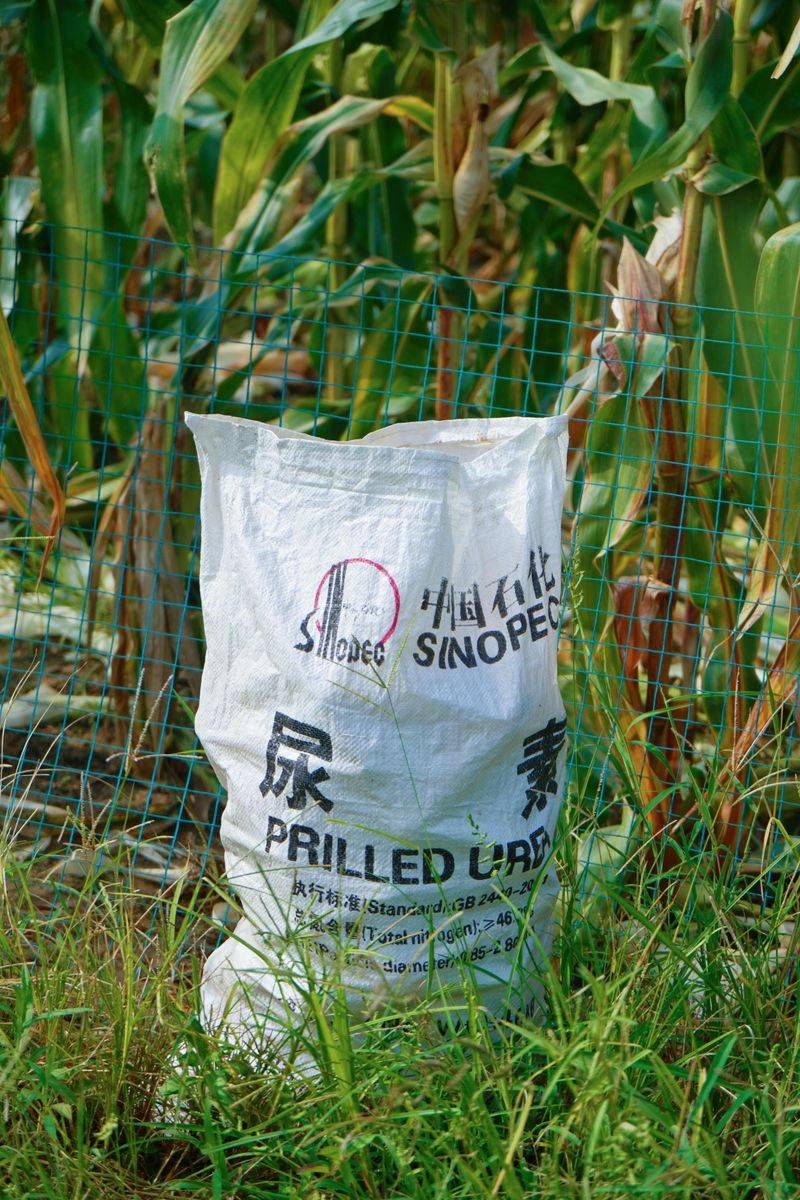
When your tomato plant looks like a jungle but has almost no fruit, nitrogen is probably the reason. Gardeners love feeding their plants, and nitrogen makes everything look lush and green.
The problem is that too much of it after flowering starts tells the plant to keep growing leaves instead of making tomatoes.
Nitrogen is essential early in the season when plants are building their structure and root systems. Once flowers appear, the plant needs phosphorus and potassium far more than nitrogen.
Keep pushing nitrogen at that stage and you get a gorgeous, leafy plant that barely produces.
Switch to a low-nitrogen fertilizer once you see your first flower clusters. Look for blends labeled for tomatoes or fruiting vegetables, with higher middle and last numbers on the label.
Those numbers represent phosphorus and potassium, which support fruit set and root strength.
Slow-release granular fertilizers applied at planting time reduce the risk of overdoing it later. If you are using liquid feed, cut back the frequency after blooming begins.
Feeding smart rather than feeding often is what separates a productive tomato patch from a pretty but fruitless one.
8. Not Pruning Suckers On Indeterminate Varieties
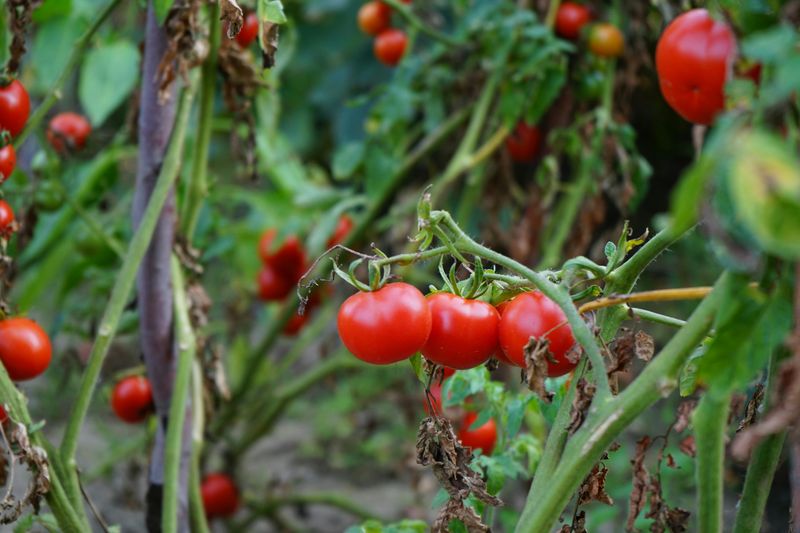
That innocent little shoot hiding between the stem and branch? It is called a sucker, and it is quietly stealing from your plant.
Leave them alone for two weeks and suddenly you have a second, third, and fourth plant all competing for the same resources. On indeterminate varieties, unpruned suckers turn into a tangled mess that shades itself out.
Indeterminate tomatoes, which include most heirloom and many hybrid varieties, keep growing all season long. Every sucker that develops becomes a full branch with its own flowers, leaves, and fruit.
That sounds like a bonus until you realize the plant cannot ripen all of it before the season ends.
Pruning suckers redirects the plant’s energy toward fewer, larger, better-quality tomatoes. It also opens up the canopy to sunlight and airflow, which lowers disease risk significantly.
Most experienced growers keep indeterminate plants to one or two main stems for the best results.
Pinch small suckers off with your fingers when they are under an inch long. Use clean scissors or pruners for larger ones to avoid tearing the stem.
Check your plants weekly because Virginia’s warm summers make suckers grow shockingly fast.
9. Planting Too Close Together
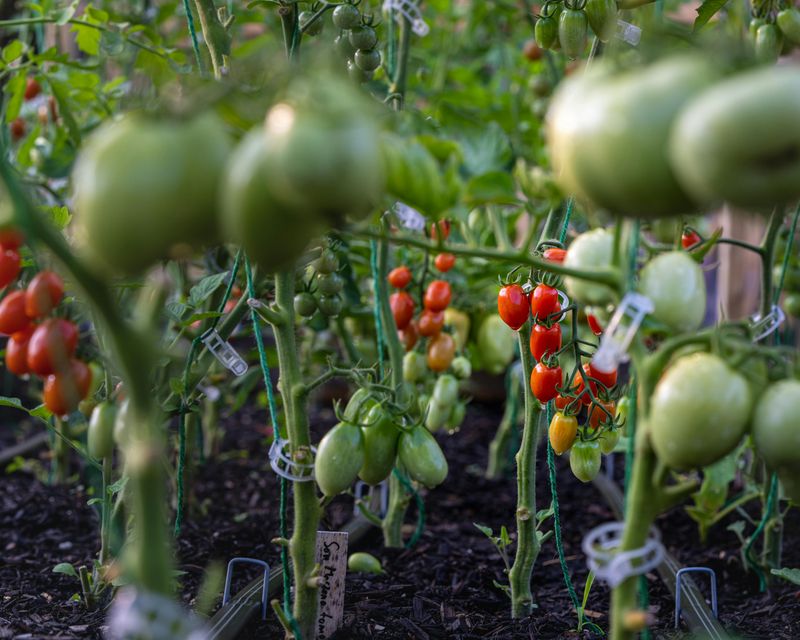
Cramming tomato plants together feels clever until everything goes wrong at once. Poor airflow between crowded plants creates the humid, stagnant conditions that fungal diseases absolutely love.
On top of that, plants compete for water, nutrients, and light, and nobody wins that fight.
Most full-sized tomato varieties need at least 24 to 36 inches of space between plants. Cherry tomatoes can get away with slightly less, but even they need room to breathe and spread.
Raised beds sometimes trick gardeners into thinking they can plant more densely, but tomatoes are not lettuce.
When plants touch, spores, pests, and moisture transfer easily from one to another. A single infected plant can spread blight to its neighbors quickly when foliage is constantly in contact.
Proper spacing is one of the cheapest and most effective disease prevention strategies available.
Mark your spacing before you plant using stakes or string so you are not guessing by eye. It feels like wasted space at first, but by July those plants will fill every inch of it.
Giving tomatoes room to breathe is one of the smartest moves you can make. Your Mid-Atlantic harvest will thank you for it.
10. Failing To Harden Off Seedlings Before Transplanting
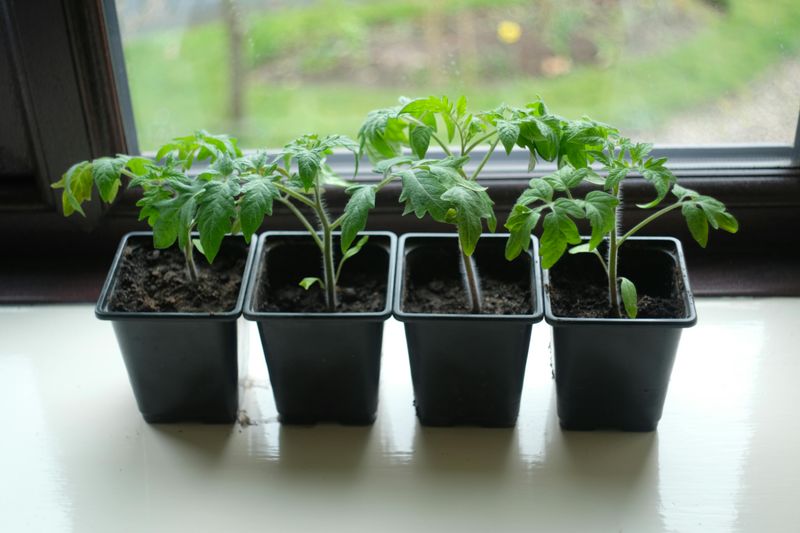
Skipping the hardening off stage is basically throwing your seedlings into the deep end. Hardening off is the process of gradually introducing seedlings to outdoor conditions, and skipping it almost always sets plants back by weeks.
Those lost weeks matter a lot in a season that already feels short.
Indoor seedlings have never felt wind, full sun, or a temperature drop in their lives. Outside, they face direct sun, temperature swings, and breeze that can damage their cells if they are not prepared.
Transplant shock shows up as wilting, leaf scorch, or complete collapse within a day or two.
The hardening process takes about seven to ten days. Start by setting seedlings outside in a shaded, sheltered spot for just two to three hours on day one.
Gradually increase sun exposure and outdoor time each day until plants are spending full days outside before going in the ground.
Watch the weather during this window and bring plants in if temperatures drop below 50 degrees at night. A cold frame or row cover can speed up the process safely.
Knowing the mistake is half the battle. That extra week of prep pays off with stronger, more resilient plants all season long.