8 Ways To Use Green Tomatoes Still On The Vine In California This November
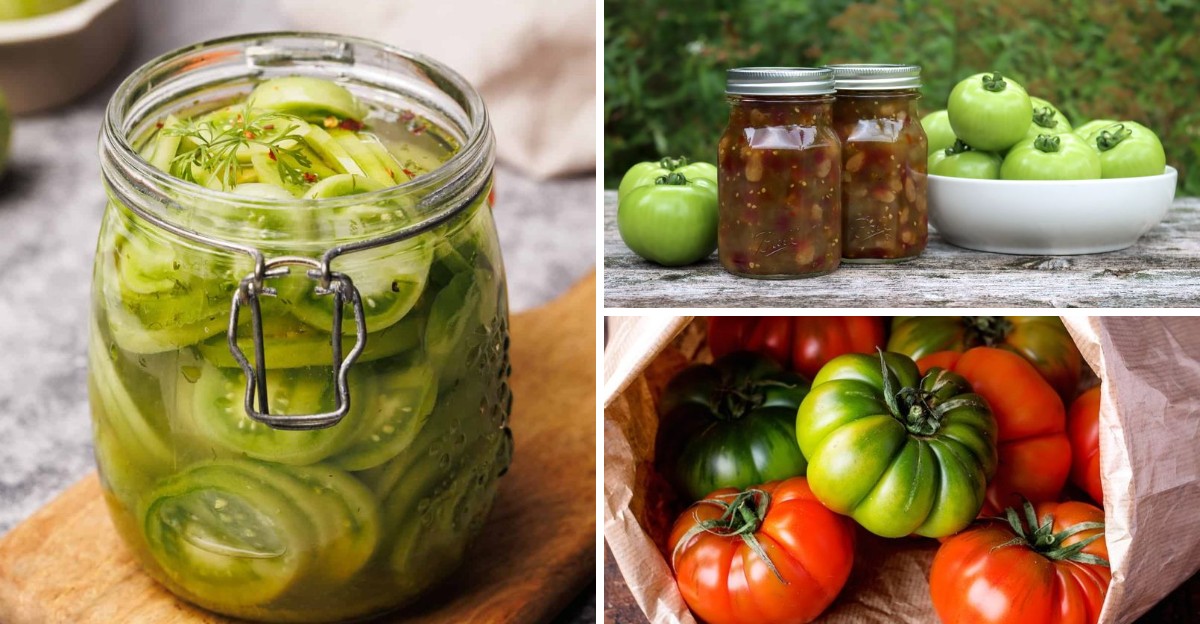
A rock-hard fruit the color of a lime can turn red on your kitchen counter weeks after picking. University researchers call that magic stage mature green, and it happens once a jelly-like gel forms around the inner seeds.
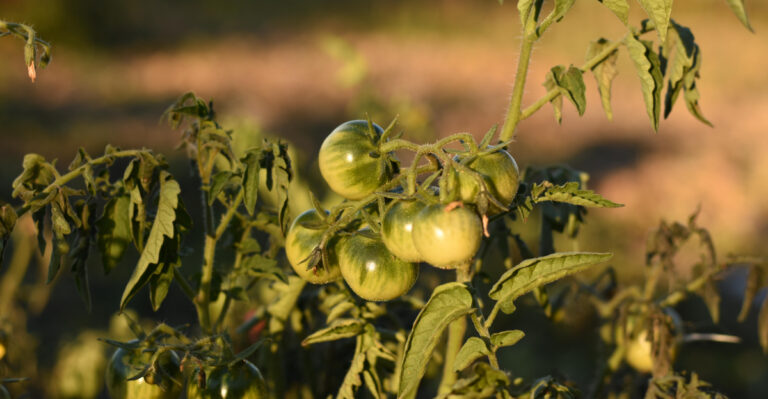
In much of California, November nights slip below fifty degrees and stall ripening on the vine. Coastal gardens may keep plants going a bit longer, while inland valleys can see their first frost this month.
I’ll admit it, I used to toss those stubborn green leftovers straight into the compost bin every single fall. Then a friend handed me a jar of tangy relish, and my whole attitude changed overnight.
Your California harvest might still have plenty of flavor hiding in those firm, sour little globes. So why let the season’s last crop go to waste when your kitchen could use a tart little surprise?
1. Pick Mature Green Tomatoes Before Cold Nights Hit
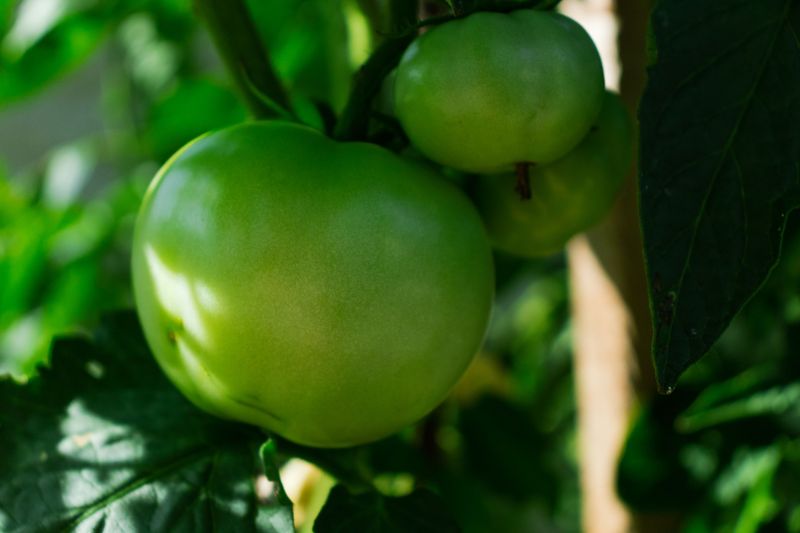
Squeeze a few green fruits gently, and you might notice some have a faint glossy sheen instead of dull fuzz. That shine often signals the mature green stage, when the fruit can finish ripening after you pick it.
Slice one open to check, because mature fruit shows jelly around the seeds and seeds that resist your knife. Immature ones look solid and pale inside, and they usually stay sour and shriveled instead of turning red.
UC Master Gardeners suggest harvesting before nights stay below fifty degrees, since cold slows ripening to a crawl. Frost can also damage the fruit, leaving soft, water-soaked spots that rot quickly on the counter.
I check the forecast like a hawk this time of year, especially for inland valleys around Sacramento and Fresno. Coastal gardeners often get a little more breathing room, but chilly fog still slows plants down noticeably.
Use clean pruners to snip each fruit with a short stem attached, which helps prevent tears in the skin. Set any cracked or bruised fruit into a separate bowl for cooking within a day or two.
Not going to lie, sorting the haul feels a bit like grading report cards for my whole summer. Still, splitting fruit into ripening and cooking piles makes every recipe later in this list much easier.
Small, hard green fruit with no gloss belongs in the cooking pile, since it rarely ripens well indoors. Your effort now means fewer wasted tomatoes and a busier, tastier kitchen for the next several weeks.
2. Ripen Green Tomatoes In A Paper Bag Indoors
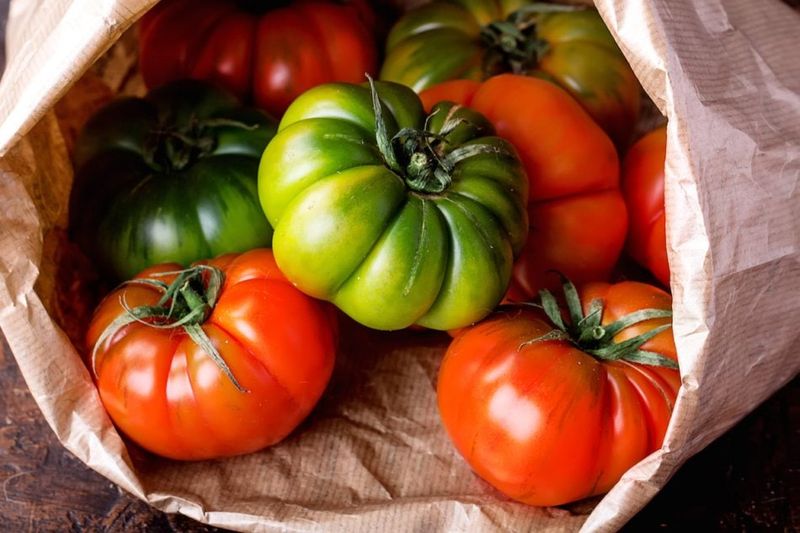
A brown paper lunch bag might be the most underrated gardening tool sitting in your kitchen drawer right now. Tomatoes release ethylene gas as they ripen, and a loosely closed bag keeps that natural signal nearby.
Tuck in a ripe banana or apple, since both fruits also give off ethylene and can speed things along. I’m a sucker for this trick, partly because peeking into the bag each morning feels like opening presents.
Keep the bags somewhere between sixty-five and seventy degrees for the quickest, most even color change. Cooler spots around fifty-five degrees slow ripening down, which helps if you want fruit trickling in for weeks.
Skip the refrigerator for unripe fruit, because temperatures below fifty degrees can harm flavor and texture. Chilled green tomatoes often turn mealy and bland, and honestly that disappointment is hard to swallow.
Sunny windowsills seem tempting, but direct light can heat the fruit unevenly and cause tough, blotchy skin. Darkness is not actually required for ripening, so a shady pantry shelf or cupboard works just fine for most fruit.
Check each bag every two or three days and pull out anything showing soft spots or mold. One spoiled fruit can spread trouble fast, so quick removal protects the rest of your stash.
Expect mature green fruit to color up within one to three weeks, depending on room warmth and the variety you grew. Homegrown flavor indoors might not match August sunshine, but it beats grocery store tomatoes by a mile.
3. Hang Whole Tomato Vines Upside Down In The Garage

Grandparents in farm country used to yank entire tomato plants and hang them from barn rafters before frost. Turns out the old-timers knew something, because fruit still attached to the vine can keep ripening slowly.
Pull the whole plant, roots and all, and gently shake loose soil back into the garden bed. Strip off yellowing leaves and any rotten fruit so mold has fewer places to hide indoors.
Hang plants upside down from sturdy hooks or rafters in a garage or covered porch out of the wind. Aim for a spot that stays above fifty degrees at night, since colder air stalls the process.
Lay an old sheet or newspaper underneath, because ripe fruit and dried leaves drop as the weeks go by. Trust me on this one, stepping on a squishy tomato in the dark garage is no fun.
Many gardeners say vine-ripened fruit tastes a bit richer, though research on that claim remains pretty limited. Either way, the method saves time compared with picking and sorting dozens of individual fruits by hand.
Cherry tomato plants work especially well here, since their small fruit clusters tend to ripen in waves. Larger beefsteak types can be heavy, so tie stems securely with garden twine before hanging them up.
Once the plant is out, you also free up space for garlic or a fava bean cover crop. Fall planting suits much of California, so this tidy trick doubles as smart bed preparation for winter.
4. Fry Crispy Cornmeal Green Tomato Slices
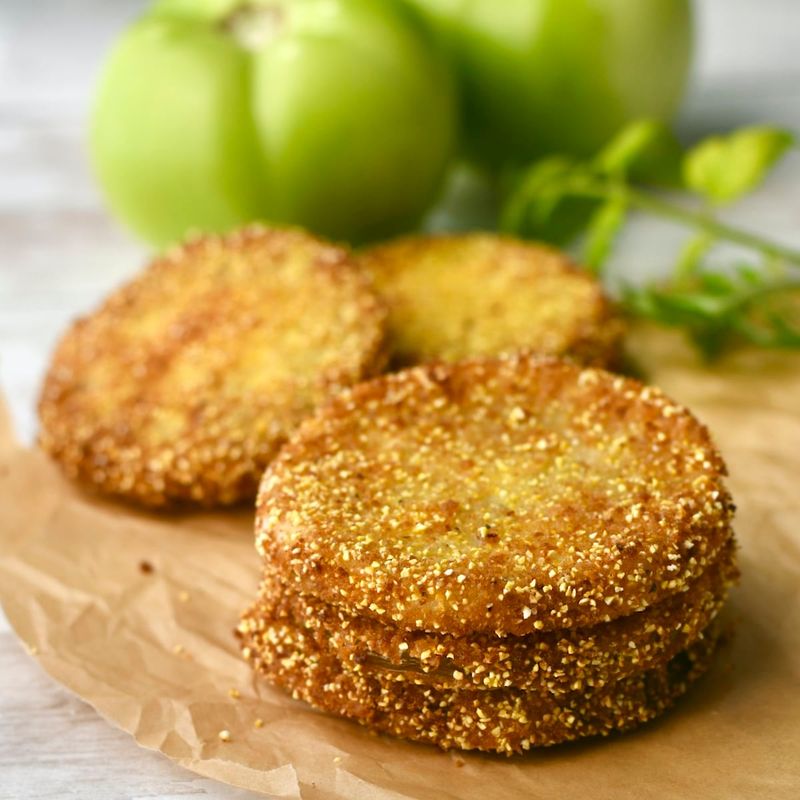
That sizzle when a cornmeal-crusted slice hits hot oil might be the best sound in any fall kitchen. Firm green tomatoes hold their shape in the pan, while ripe red ones would slump into mush.
Fun fact for you: fried green tomatoes have deep roots in Southern cooking, though Northeastern and Midwestern cookbooks featured them early too. The 1991 movie made them famous nationwide, and now the dish shows up on menus far from Alabama.
Cut fruit into slices about a quarter inch thick, then sprinkle lightly with salt for ten minutes. Pat them dry with a towel, because extra moisture makes the coating slide right off in the pan.
Dip each slice in beaten egg, then press it into a mix of cornmeal and a little flour. Season the coating with black pepper and a pinch of smoked paprika for a gentle, warm kick.
Fry in about a quarter inch of oil over medium heat until both sides turn golden and crisp. Crowding the skillet drops the oil temperature fast, so cook in small batches and stay patient.
Don’t laugh, but I’ve eaten these standing over the stove before they reached a plate. Serve them with a dollop of ranch or a spicy remoulade if you want to feel fancy.
Firm, pale fruit works best, so save the blushing ones for ripening and keep the hard ones here. Leftovers lose crunch quickly, but a quick reheat in a hot oven brings back some of the snap.
5. Pack Green Tomato Slices Into Tangy Refrigerator Pickles
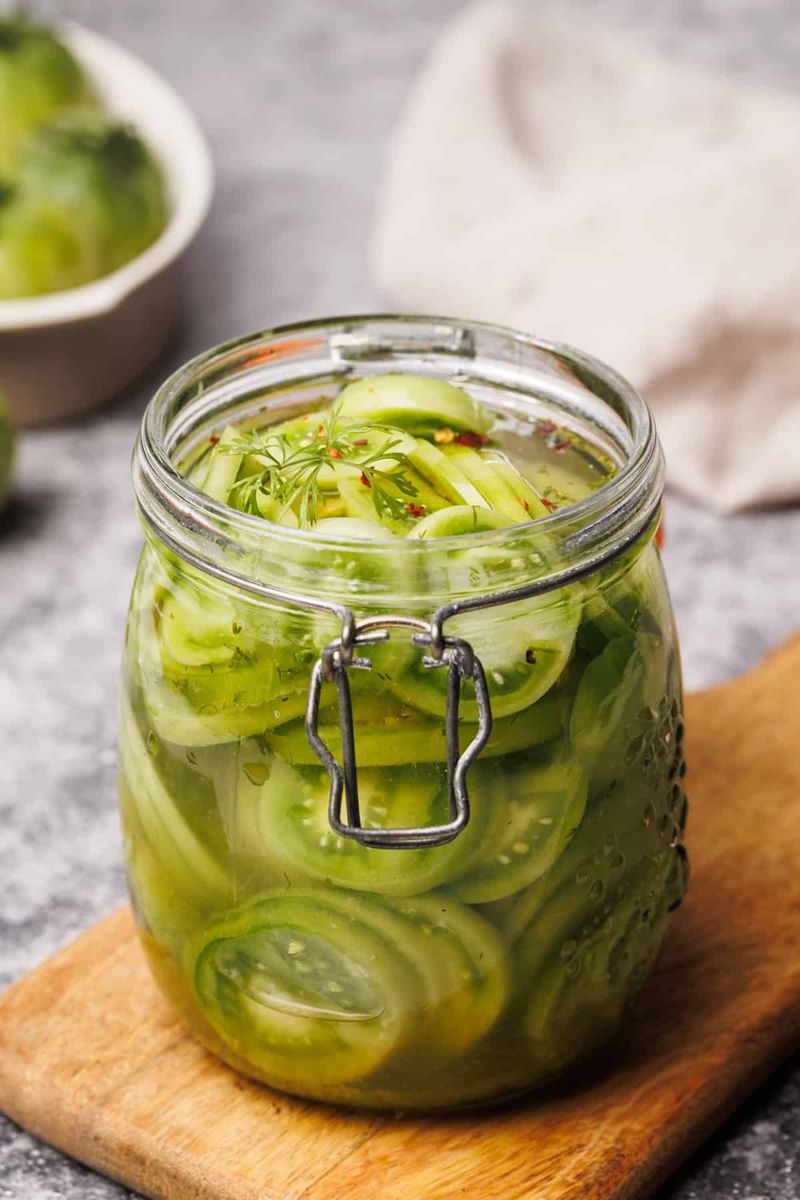
Green tomato pickles snap like a fresh cucumber, and they brighten up sandwiches better than you’d expect. Their firm flesh soaks up brine without collapsing, which makes underripe fruit a natural fit for pickling.
Refrigerator pickles are the easiest route by far, since you skip the canning pot and keep jars chilled instead. Most recipes call for equal parts vinegar and water, plus salt and a spoonful of sugar for balance.
Slice small fruit into wedges and larger ones into rounds, then pack them snugly into clean glass jars. Toss in a couple of peeled garlic cloves and some fresh dill sprigs for a classic deli-style flavor.
Bring the brine to a boil, then pour it over the slices while it is still steaming hot. Once cooled, tighten the lids and move the jars straight into the refrigerator for safe storage.
Wait at least two days before tasting, because the flavors need time to soak deep into the fruit. Refrigerator pickles usually keep well for a few weeks, so make small batches your household can actually finish.
Guilty as charged, I once made six jars and found the last one hiding behind leftover soup. Planning to eat them within a month keeps quality high and saves precious fridge space for big holiday cooking.
If you prefer shelf-stable jars, follow tested canning recipes from the National Center for Home Food Preservation. Tomato acidity varies, so improvising canned recipes can be risky without proper vinegar ratios and processing times.
6. Blend A Zesty Green Tomato Salsa
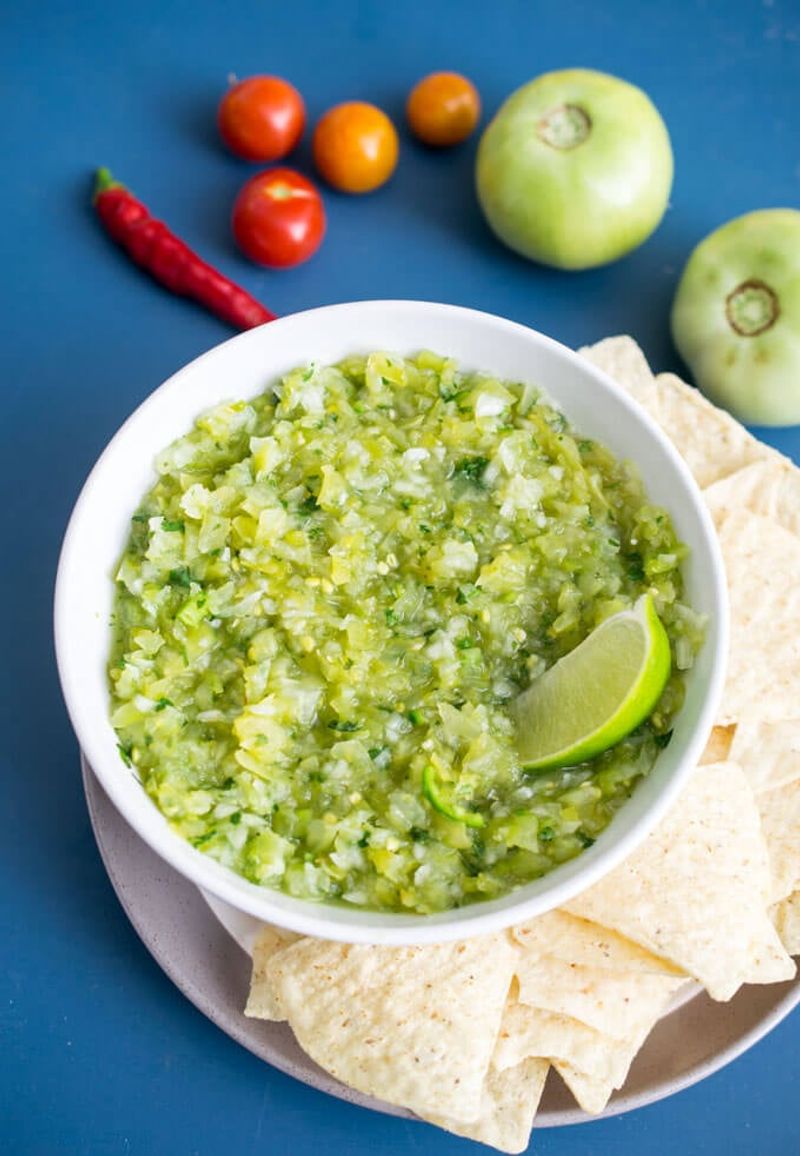
Tart green tomatoes can stand in for tomatillos in a pinch, giving you a bright salsa with real zip. They’re not the same plant, since tomatillos grow inside papery husks, but the sour flavor plays similarly.
Roasting tames the sharp bite, so I broil halved fruit until the skins blister and char in spots. Toss a jalapeño and a few unpeeled garlic cloves on the same sheet pan to save time.
Once everything cools, peel the garlic and blend it with the tomatoes, onion, cilantro, and lime juice. Pulse instead of pureeing if you like some texture, because a chunky salsa clings better to chips.
Taste and adjust with salt, since green tomatoes vary in sourness from one variety to the next. A pinch of sugar can smooth out an extra tangy batch without making the salsa taste sweet.
I didn’t expect my family to prefer this version, but now they request it over the red kind. It shines spooned over fish tacos or folded into scrambled eggs on a lazy Sunday morning.
Fresh salsa keeps about a week in the refrigerator when stored in a tightly covered container. Freeze extra portions in small jars, leaving some headspace, and thaw them in the fridge overnight.
Unripe fruit contains a compound called tomatine, but the amounts in typical green tomato recipes are considered safe for most people in normal serving sizes. Enjoy the salsa as part of a normal meal, and there is no need to worry over every bite.
7. Simmer Sweet Green Tomato Chutney
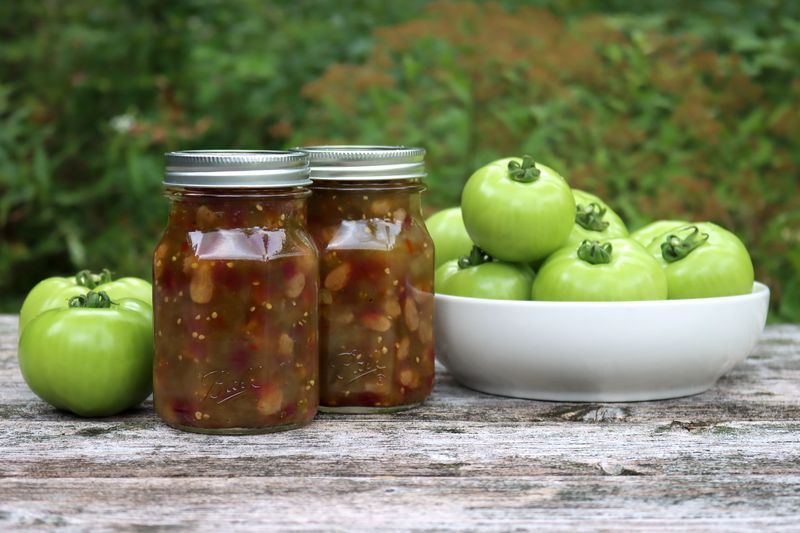
Chutney turns sour green fruit into a jammy, spiced spread that tastes like autumn in a spoon. British and Indian cooks have used chutneys for centuries to stretch harvests and liven up plain meals.
Chop green tomatoes into small cubes, then add diced apple and onion to a heavy-bottomed pot. Pour in apple cider vinegar along with brown sugar, which balances the tartness and helps the mixture thicken.
Spices are where you can play, and ginger with a little cinnamon makes my kitchen smell like a bakery. Raisins add pockets of sweetness, while red pepper flakes bring a slow warmth that sneaks up on you.
Simmer uncovered for about an hour, stirring often so the sugar does not scorch on the bottom. The chutney is ready when a spoon dragged across the pot leaves a clear trail for a moment.
I’m the first to admit my first batch was runny, because I got impatient and stopped too early. Low heat and extra time fixed it, and the second batch thickened into something worth sharing.
Serve it with sharp cheddar on crackers, or spoon it beside roast pork at a holiday dinner. Small jars make thoughtful gifts too, especially for friends who love bold flavors on a cheese board.
Store homemade chutney in the refrigerator for a few weeks unless you follow a tested canning recipe. Jars tied with twine and a handwritten label feel personal, and they show off your garden’s last hurrah.
8. Bake A Moist Green Tomato Snack Cake

Green tomatoes in a cake sound like a dare, yet grated fruit melts into the batter like zucchini. Old farm cookbooks include green tomato pies that mimic apple pie, proving thrifty kitchens love a clever swap.
Grate firm fruit on the large holes of a box grater, then press out extra juice in a strainer. Too much liquid makes the cake gummy, so squeeze gently until the shreds feel damp rather than wet.
Use any favorite zucchini bread or spice cake recipe, swapping in an equal amount of grated tomato. Cinnamon and nutmeg cover the tart edge nicely, and a handful of chopped walnuts adds welcome crunch.
The tang actually works in your favor, reacting with baking soda and keeping the crumb tender and moist. Call me stubborn, but I didn’t tell my kids about the secret ingredient until their second slice.
Bake in a greased loaf or square pan at around three fifty until a toothpick comes out clean. Let it cool before slicing, since warm cake made with juicy fruit can crumble apart on the knife.
A simple cream cheese frosting or a dusting of powdered sugar turns it into a holiday-worthy dessert. Wrapped slices freeze well for a couple of months, which helps when your harvest outpaces your appetite.
Of all eight ideas, this one wins over doubters fastest and uses up a hefty pile of fruit. Your final garden gift of the year might end up being the treat everyone asks about next fall.