9 Ways To Winterize Your Garden Hose Before New York Freezing Weather
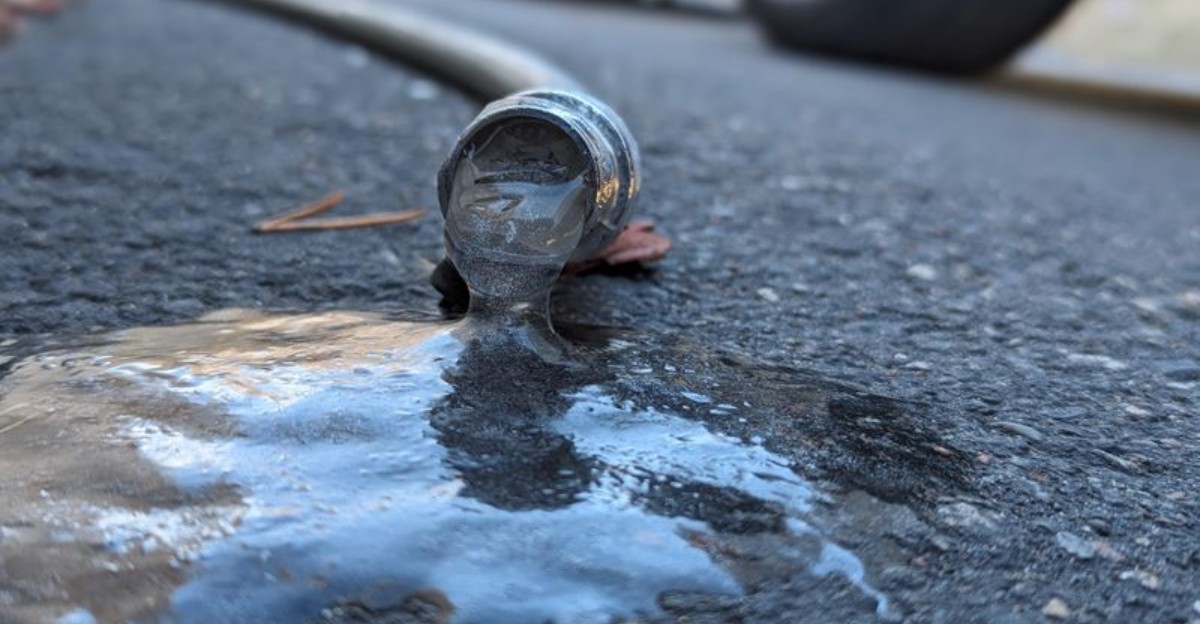
Your garden hose has one job, and one hard freeze can ruin it. Most gardeners discover the damage in spring, when the first spray soaks their shoes.
Water expands about nine percent as it freezes, and rigid fittings simply can’t stretch that far. Trapped ice splits hoses, cracks nozzles, and pops fittings right off the spigot.
New York frost can sneak up on you, often arriving while maples still hold their leaves. By the time the hose crosses your mind, the damage is done.
Replacing a quality hose and outdoor faucet can easily top a hundred dollars. Protecting them costs almost nothing and takes about twenty minutes.
The steps below cover hoses, faucets, nozzles, and the buried lines people forget. Tackle them this weekend and April will thank you.
1. Drain Every Hose Before Temperatures Drop
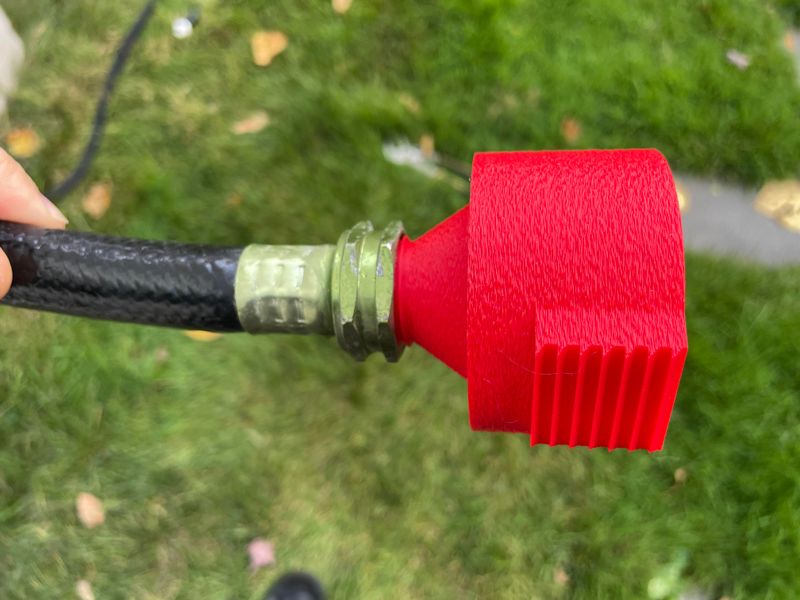
Ice is surprisingly strong, and it can turn a forgotten hose into a cracked, useless tube. Water trapped inside expands as it freezes, pushing hard against the rubber walls.
Across New York, the first hard freeze often arrives before gardeners finish their fall chores. Draining hoses early gives you a comfortable cushion against that sudden overnight chill.
Start by shutting off the spigot and pulling the hose free from the connection. Walk the length of it, lifting each section so gravity pulls the water out.
A sloped driveway makes the job easier because the water simply runs downhill on its own. Stretch the hose straight, wait a few minutes, then lift the upper end again.
Coiling a wet hose traps pockets of water inside every loop you make. Shake each loop gently as you wind it to release those hidden puddles.
Soaker hoses and flat hoses hold moisture longer than standard rubber models do. Roll them slowly across a flat surface to squeeze out the last stubborn drops.
Damage from trapped ice rarely shows up in November, which is why people get surprised. Splits often appear in April when pressure returns and water sprays from a hairline crack.
Ten minutes of draining protects a hose that costs thirty dollars or more to replace. Think of it as cheap insurance for next season’s tomatoes and flower beds.
Mark the chore on your calendar near the first frost date in your region. Routine beats memory when autumn gets busy and the weather turns quickly.
2. Disconnect Hoses From Outdoor Faucets
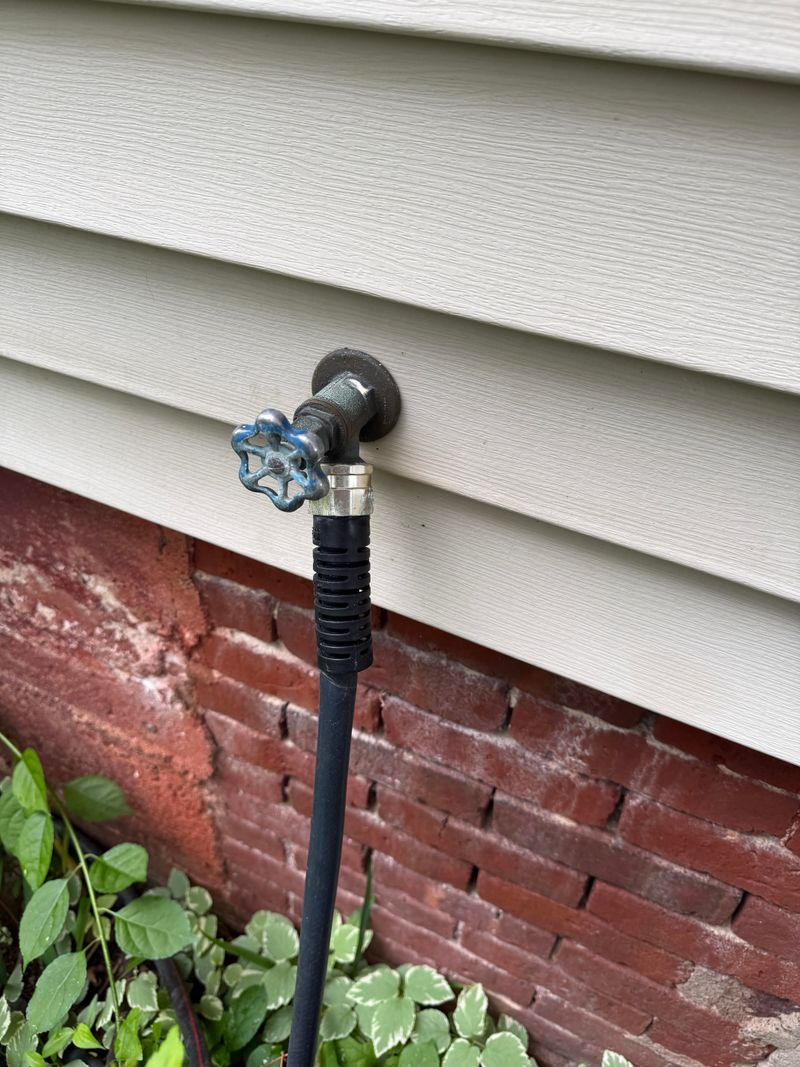
Leaving a hose screwed onto the spigot ranks among the most common fall mistakes. Water sits trapped in the faucet and the pipe just behind the wall.
Once temperatures dip, that trapped water becomes ice with nowhere to go. Pressure builds inside the valve and travels backward into your plumbing.
Frost-free spigots seem safe, but they rely on draining freely through the open end. An attached hose blocks that drainage and cancels the protection you paid for.
Unscrew everything, including Y-splitters, quick connectors, watering timers, and inline filters. Each attachment holds a little water and each one can trap ice.
Stiff connectors sometimes refuse to budge after a long summer of sun and grit. A pair of adjustable pliers with a rag wrapped around the fitting usually solves it.
Your New York Garden Changes Every Week. Your Plan Should Too.
Gardening in New York changes quickly throughout the season. Every Friday you’ll receive a simple weekly plan showing exactly what to plant, prune, fertilize, harvest, and protect so you never miss the right timing.
After the hose is off, open the faucet fully and let it run dry. Listen for the gurgle that tells you the line behind it has emptied.
Homes across New York often have an interior shutoff valve for each outdoor spigot. Close that valve, then open the outside faucet so any leftover water escapes.
Burst pipes behind siding can soak insulation and drywall before anyone notices the problem. Five minutes with a hose connection helps you avoid that soggy spring surprise.
Store removed fittings in a labeled bucket inside the garage. Spring setup goes faster when nothing rusts in the wet grass.
Set a reminder for mid October, since upstate cold arrives earlier than many expect. Early action beats scrambling with a flashlight during a freeze warning.
3. Empty Water From Sprayers And Nozzles
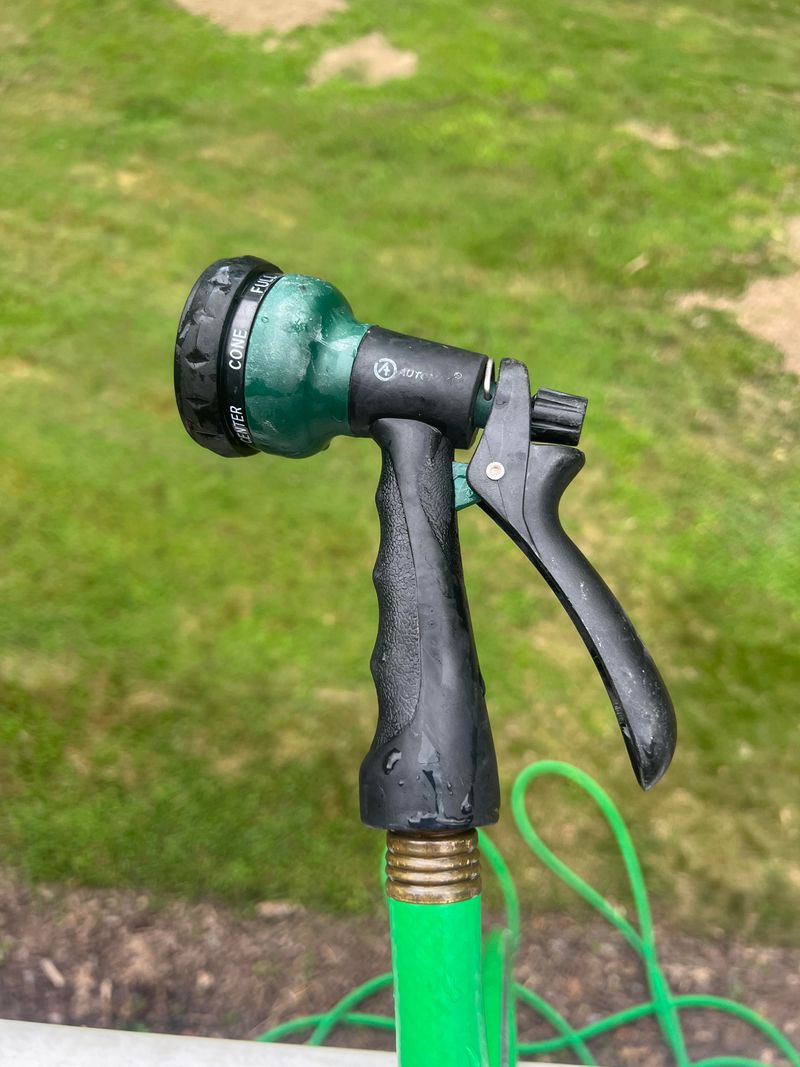
Nozzles look tough, yet their insides are a maze of narrow channels and tiny springs. Even a teaspoon of frozen water can crack those delicate parts.
Squeeze the trigger a few times after shutting off the water supply. You will be surprised how much liquid still dribbles out of the tip.
Adjustable wands, fan sprayers, and pistol grips all hold water in different spots. Shake each one upside down until the dripping finally stops.
Mineral crust from hard water builds up around the spray holes over a season. A soak in white vinegar loosens the buildup and restores an even spray pattern.
Old toothbrushes work nicely for scrubbing grit out of threaded collars and washers. Rinse afterward, then set the pieces on a towel until they are bone dry.
Rubber washers inside nozzles shrink and harden when they freeze and thaw repeatedly. Replacing a few for pocket change prevents annoying leaks next May.
Store the cleaned attachments in a plastic bin on a shelf, not on the floor. Cold concrete and damp corners speed up corrosion on brass and aluminum parts.
Gardeners often forget the sprayer left hanging on a fence hook. Snow piles on it, water seeps in, and spring watering turns into a dribble.
Label the bin with a marker so nobody hunts through the shed in April. Small organizing habits make the first warm weekend feel effortless.
Timers deserve the same care, so pull the batteries before storing them. Corroded terminals ruin a perfectly good unit over a single winter.
4. Check Hose Bibs For Leaks Before Winter
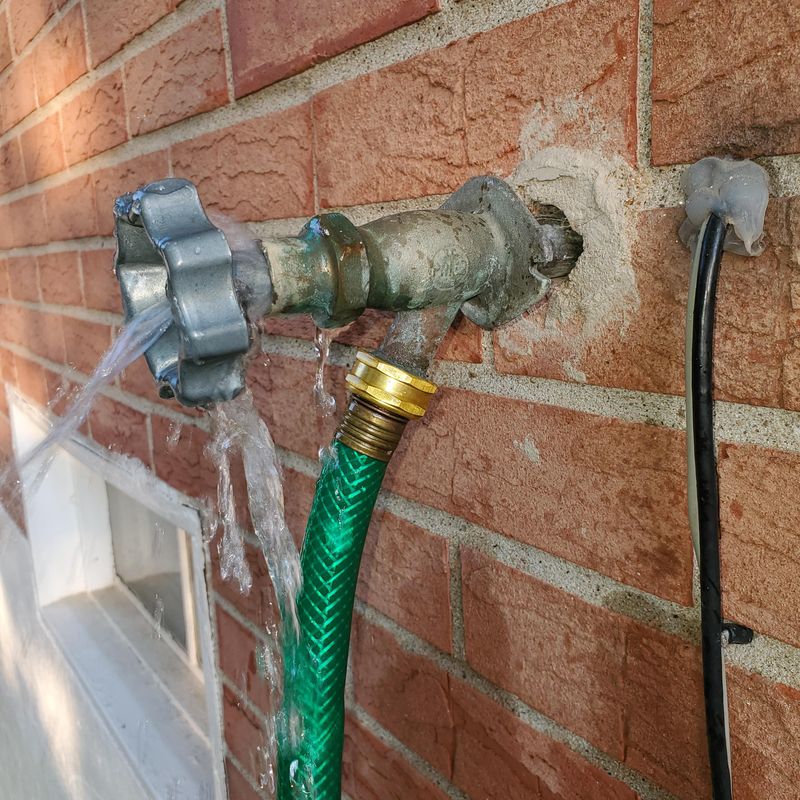
A slow drip in October becomes a frozen wedge in January. Inspecting your hose bibs now catches trouble while repairs are still cheap and simple.
Run your fingers around the spout, the handle, and the spot where the pipe meets siding. Moisture, green corrosion, or rust streaks all point toward a weak seal.
Puddles at the base of the wall deserve attention even when the faucet looks fine. Water often travels along the pipe before it finally shows itself outside.
Grab a helper for the best test of all. One person stands inside near the pipe while the other slowly opens the faucet.
Listen for hissing, spraying, or a steady tick behind the wall or in the basement. Any of those sounds means water is escaping where it should not.
Shut the interior valve immediately if you spot a leak during the test. Waiting through a cold snap turns a small repair into a flooded basement.
Loose packing nuts cause many drips and tighten with a simple crescent wrench. Worn stem washers cause the rest and cost less than a cup of coffee.
Cracked bodies, split pipes, or spinning handles call for a licensed plumber. Booking that visit in fall beats waiting on an emergency call in February.
Foam faucet covers add a helpful layer once the bib is dry and sound. They cost a few dollars and slip on in seconds.
Write down what you found so next autumn’s check takes half the time. A short note beats guessing about which spigot gave you trouble.
5. Drain Irrigation Lines That Can Trap Water
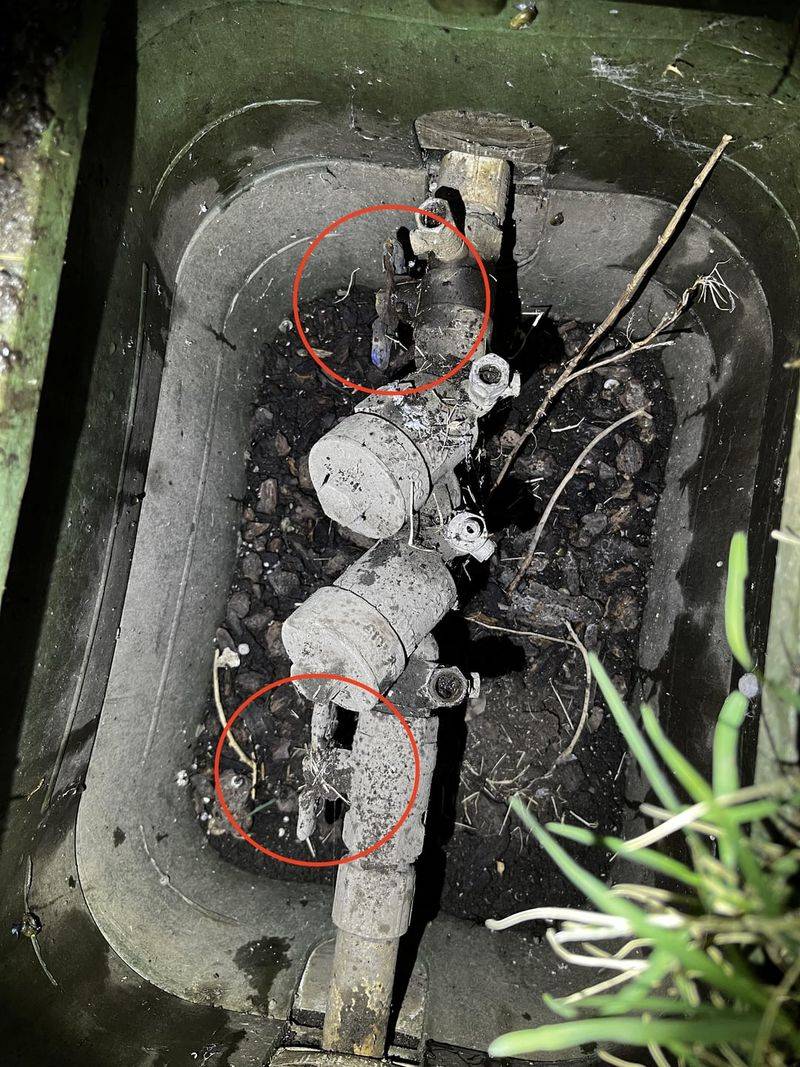
Buried sprinkler lines hide their problems well, which makes them risky in cold country. Water sitting in those pipes expands and cracks fittings you cannot see.
Begin by closing the main supply valve that feeds the irrigation system. Nothing can refill the lines once that valve is shut tight.
Three draining methods exist: manual valves, automatic drains, and the compressed air blow-out. Each one fits a different system design and local climate.
Manual drains work when the system slopes toward low points with drain valves installed. Open them one at a time and let gravity finish the job.
For most properties, a professional blow-out remains the safest option. Compressed air pushes water out of zones that gravity alone cannot reach.
Pressure matters more than power with air, so leave that work to trained technicians. Too much pressure can wreck sprinkler heads and blow apart poly fittings.
Removable backflow preventers, filters, and pressure regulators should come off and head indoors. Brass assemblies crack easily and cost far more than the hose they protect.
Insulate any above-ground piping with foam sleeves and a wrap of waterproof tape. Exposed sections freeze first and often crack before the buried lines do.
Drip irrigation deserves attention too, since emitters hold droplets inside narrow tubing. Open the end caps, flush the lines, then coil the tubing loosely.
Schedule the service in early October before contractors book up across the region. Late callers often wait weeks, and the weather rarely waits with them.
6. Store Coiled Hoses Under Cover
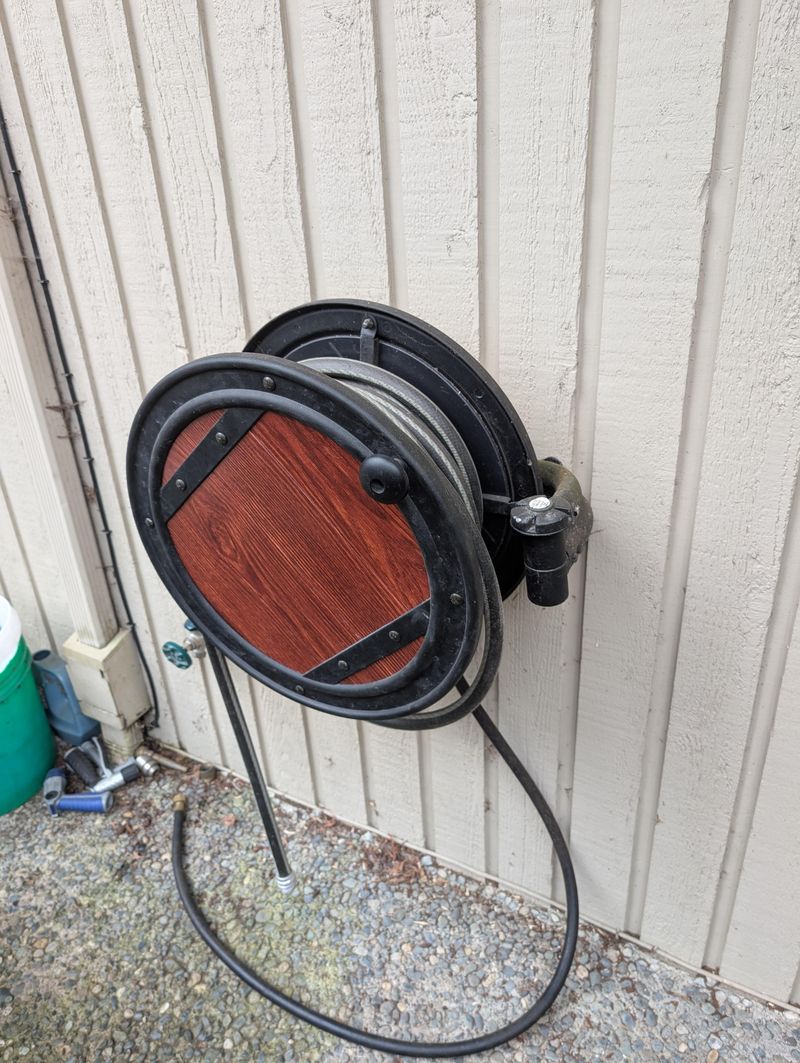
A hose left outside spends winter soaking up snow, salt spray, and freezing rain. Rubber grows brittle, colors fade, and the whole thing stiffens like an old garden stake.
Once drained, coil the hose in wide, relaxed loops about three feet across. Tight bends create kinks that weaken the inner lining over time.
Figure eight coiling helps long hoses lie flat without twisting on themselves. Fifty feet of hose behaves much better with that method.
Garages, sheds, basements, and covered porches all make solid winter homes. Pick the driest spot that stays above freezing whenever possible.
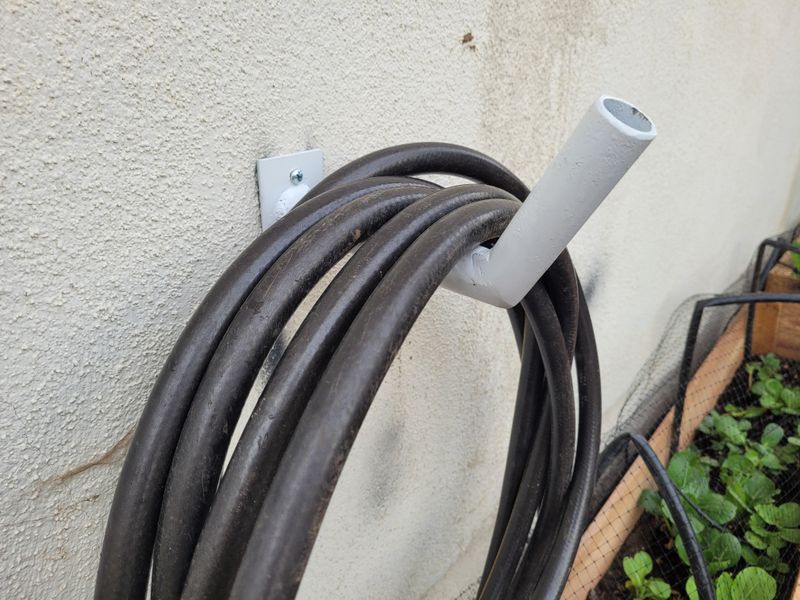
Hanging the coil on a wide bracket keeps its shape better than a thin nail. Narrow hooks dig into the rubber and create a permanent crease.
Hose reels with covers work especially well for yards that see heavy snow. Wheel the whole unit into the garage and forget about it until spring.
Capping both ends with a plastic plug keeps spiders, mice, and grit from moving in. A wad of cloth works in a pinch if you lack proper caps.
Avoid stacking heavy boxes or tools on top of the stored coil. Weight flattens the walls and leaves permanent dents that restrict water flow.
Sunlight through a shed window can still degrade rubber during bright winter afternoons. Toss an old sheet over the reel for cheap protection.
Neat storage also means you find the hose instantly when March mud arrives. Tangled piles waste time you would rather spend planting.
7. Keep Hoses Off Frozen Ground
Cold concrete pulls warmth out of everything touching it, including your garden hose. Ground contact keeps rubber colder longer and makes it far more brittle.
Frozen soil behaves the same way, holding low temperatures deep into the season. A hose lying there will chill down and stay that way for months.
Raise the coil onto a wall hanger, a reel, or even a sturdy sawhorse. Air circulating underneath helps any leftover dampness evaporate instead of pooling.
Mold and mildew love dark, wet spots where a hose presses against a floor. Elevation solves that problem without costing a dime.
Physical damage matters too, because hoses on the floor get stepped on and run over. A flattened section rarely returns to its original round shape.
Wooden pallets make a free platform if wall space is tight in your shed. Local hardware stores often give them away for the asking.
In snowy winters, shoveled piles can bury anything left along the driveway. Plow blades and ice chunks finish off whatever the cold started.
Hooks rated for heavy loads matter since a fifty-foot hose weighs more than expected. Anchor the bracket into a stud rather than drywall alone.
Rotate the hose ends downward while hanging so stray drops keep draining out. Small details like that prevent surprise ice pockets.
Give the hanging hose a quick check during a January thaw. Catching a sagging bracket early saves the whole coil from a hard fall.
8. Clean Mud And Debris From Hose Ends
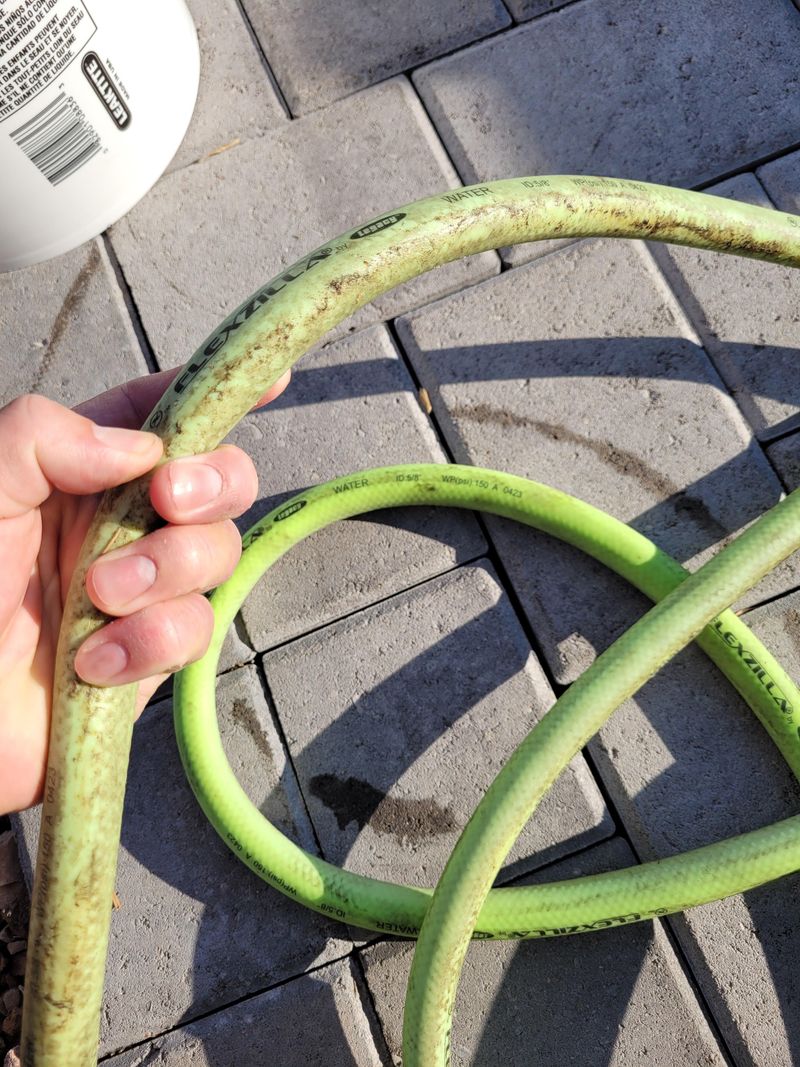
Hose ends collect an amazing amount of gunk over one growing season. Mud, grass clippings, and sand pack into the threads and around the washer.
Dirt in the coupling grinds against the rubber seal every time you tighten a fitting. Some leaks next spring trace back to that hidden grit.
Rinse both ends with clean water, then scrub the threads with a stiff brush. Warm soapy water loosens caked soil in about five minutes.
White vinegar tackles the chalky mineral crust common in many New York water supplies. Soak the metal fitting for thirty minutes, then rinse and wipe it dry.
Thread-cleaning tools sold at hardware stores restore damaged spigot and hose threads nicely. They cost little and make connections seal properly again.
Insects and spiders adore a dirty hose end tucked into a quiet shed corner. Clean, capped fittings give them far less reason to move in.
Check the rubber washer while everything is apart and open for inspection. Flat, cracked, or missing washers cause most of those annoying spray leaks.
Let every piece dry fully before storage, since trapped moisture encourages corrosion. A sunny afternoon on the deck railing usually does the trick.
Brass fittings appreciate a light wipe of oil before the long rest. The film blocks moisture and keeps threads turning smoothly in April.
The whole cleaning routine takes about fifteen minutes from start to finish. Future you will appreciate skipping a fight with a stuck, crusty coupling.
9. Give Damaged Hoses One Last Inspection
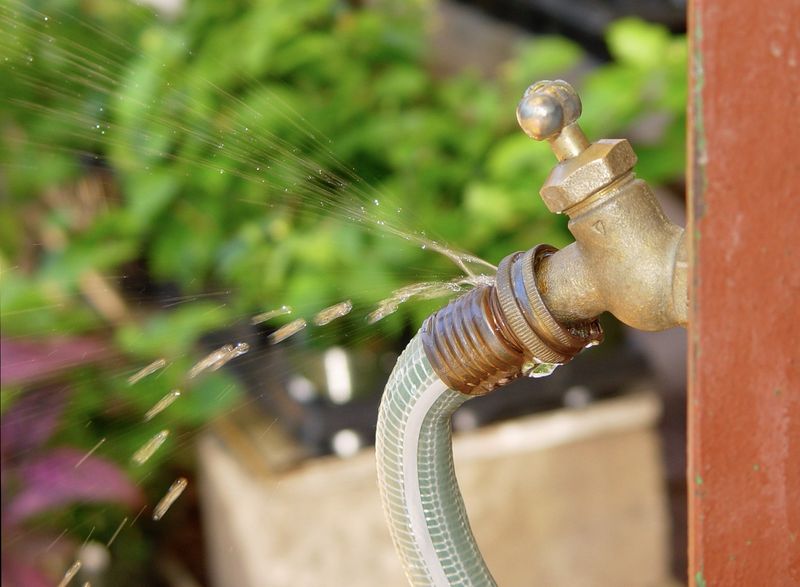
Think of this as a yearly physical for the hardest working tool in your yard. A careful look now decides whether the hose earns another season.
Stretch the hose flat and walk its length with the water running at normal pressure. Pinholes reveal themselves as thin spray fans you can spot instantly.
Bulges and soft bubbles signal weakened layers underneath the outer jacket. Those spots tend to blow out first once pressure returns.
Examine the couplings for ovaled shapes, stripped threads, and green corrosion. Bent metal ends rarely seal well no matter how hard you crank them.
Electrical tape handles a tiny pinhole for a while, though it is a temporary fix. Dedicated hose repair tape holds up much better under real pressure.
Larger splits call for a mender kit, which costs a few dollars at any hardware store. Cut out the bad section, insert the barbed coupler, then tighten the clamps.
Replace flattened washers in both couplings while the hose is already apart. Fresh rubber solves leaks that people mistakenly blame on the spigot.
A hose that has frozen before deserves extra scrutiny after it thaws. Fresh hairline cracks often appear along the old damage.
If the rubber feels chalky and stiff, retirement makes more sense than repair. Buying in late fall often means clearance prices at New York garden centers.
Jot the hose age on the coupling with a paint marker. Knowing its history makes next autumn’s decision much easier.