What To Do For Tennessee Daylilies Right After Their Blooms Fade
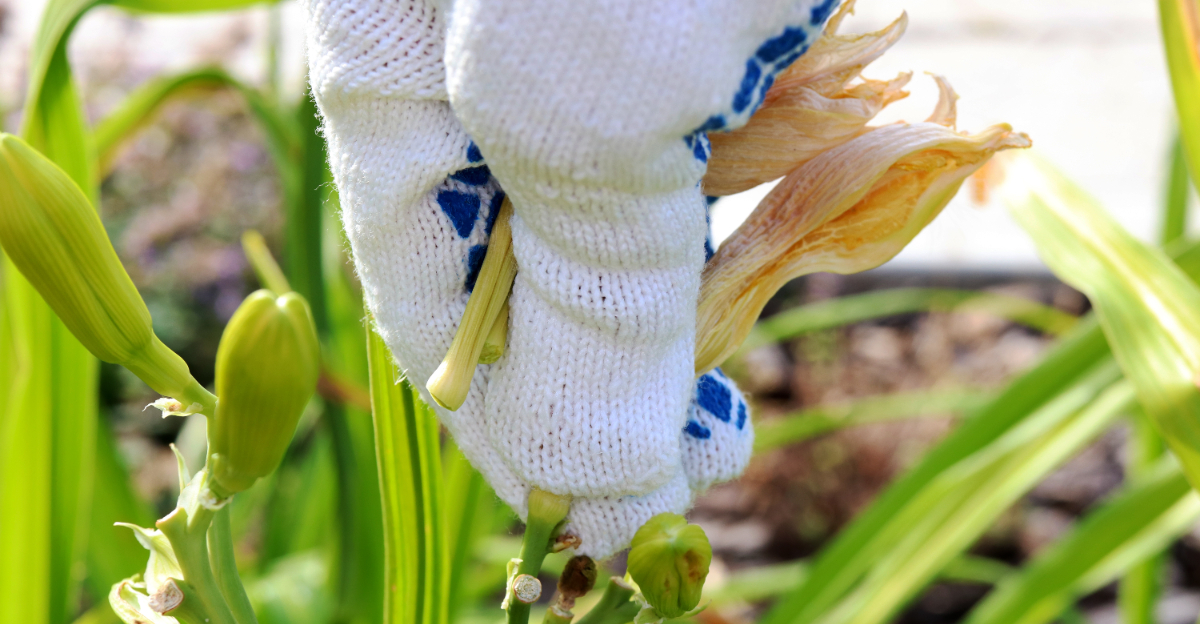
Your daylilies just finished their big moment, and now those faded blooms are scattered across the bed like confetti after a party nobody cleaned up. That mess isn’t just cosmetic. It’s a signal your plants are sending you.
Tennessee heat doesn’t wait around, and neither should you. Every week you skip this step, your clumps spend energy on things that no longer matter, instead of building strength for next year’s flush.
Those spent stalks aren’t just leftover decor. Left alone, they quietly drain resources your plant could be using somewhere far more useful.
Grab your gloves. This isn’t complicated work, but timing matters more than you’d think, and your plants are keeping score.
1. Remove Spent Flower Stalks Promptly
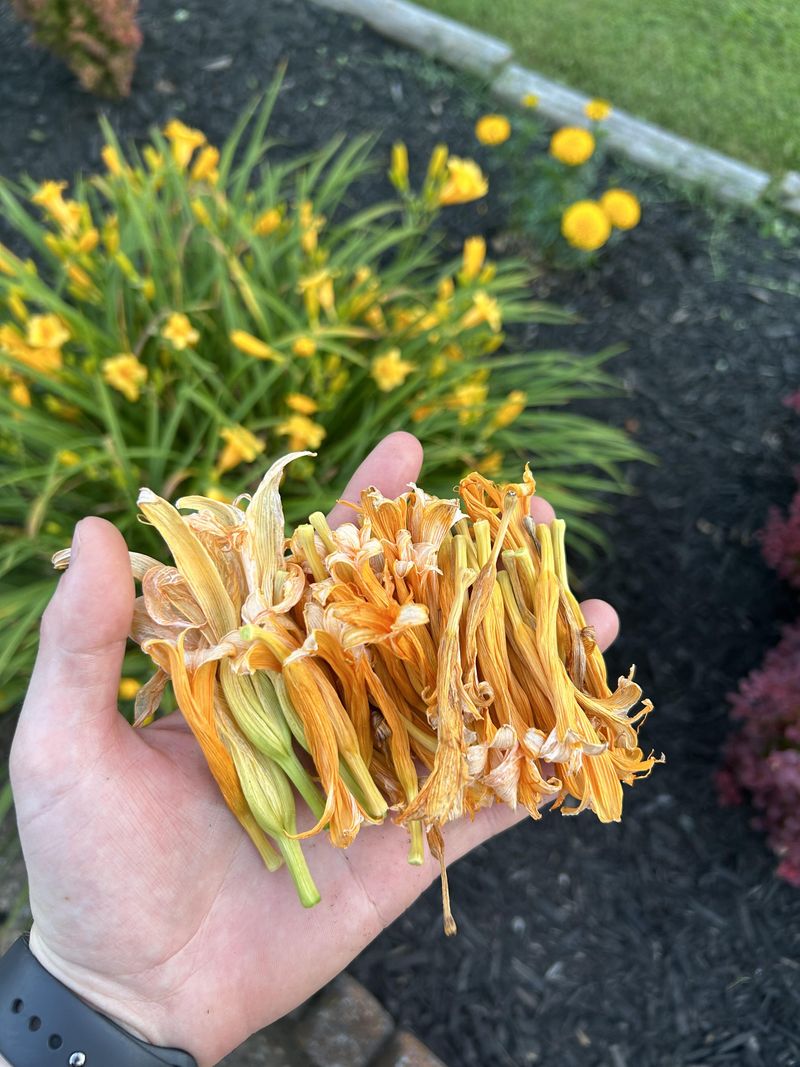
That brown, drooping stalk sticking up from your daylily is not decoration. Removing spent flower stalks right after Tennessee daylilies bloom is one of the fastest wins in your garden routine.
When a bloom fades, the plant shifts energy toward forming seed pods. You want that energy going to the roots and leaves instead, not wasted on seeds you never planned to plant.
Use clean, sharp pruning shears to cut the stalk near the base. Leaving even a few inches behind invites rot and looks messy in the bed.
Snip it close, but avoid cutting into the leaf fans surrounding it. Those green fans are still photosynthesizing and feeding the plant through the rest of summer.
Do this task every few days during peak bloom season. Daylilies often send up multiple stalks over several weeks, so one pass is rarely enough.
Check each clump carefully because stalks can hide behind taller foliage. A missed stalk going to seed pulls resources away from your whole plant.
Toss the cut stalks into your compost bin, not back onto the bed. Leaving organic debris on the soil surface can harbor fungal issues during humid Tennessee summers.
This simple habit keeps your garden looking tidy and your plants performing at their peak. Stay consistent with stalk removal, and your daylilies will reward you with stronger blooms next season.
2. Trim Yellowing Foliage Back Gradually
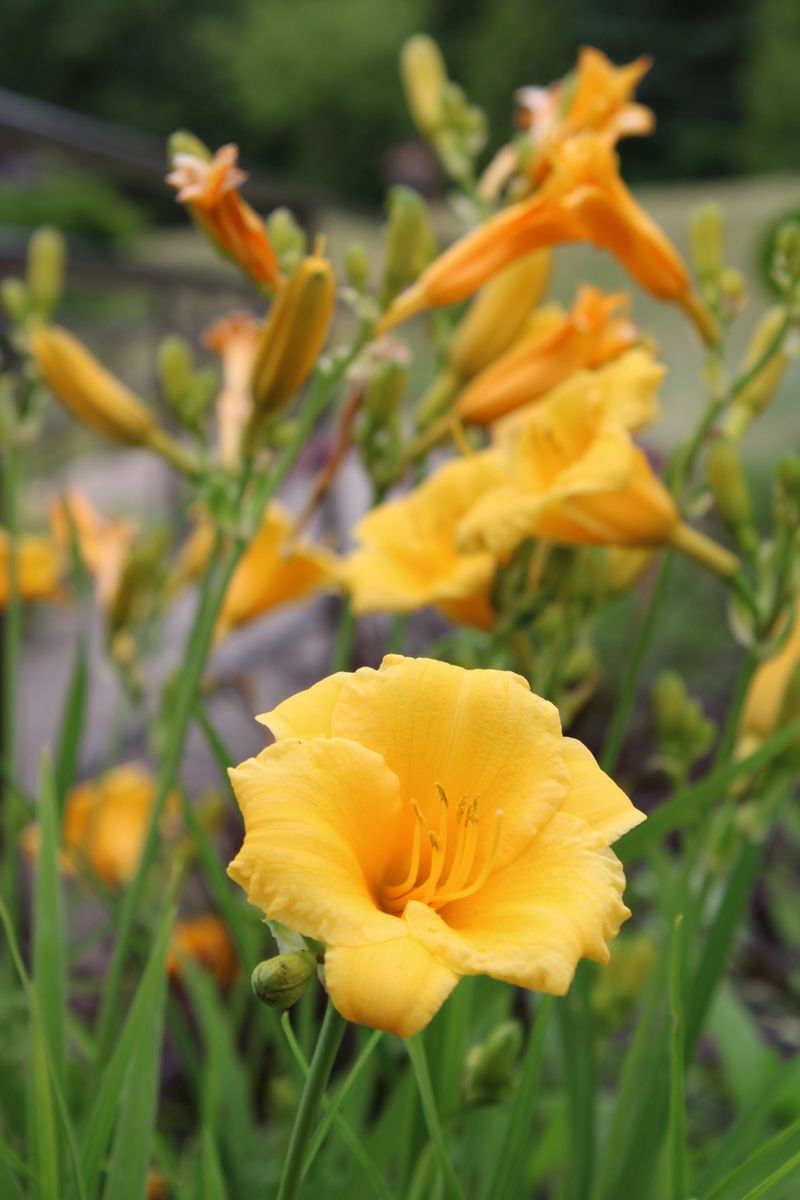
Yellow leaves on a daylily are rarely a reason to panic. Some yellowing after bloom is a normal part of the plant’s cycle, especially in the hot, humid stretch of a Tennessee summer.
The key word here is gradual. Do not strip every yellow leaf off in one aggressive session, or you will stress the plant more than help it.
Instead, remove only the leaves that are fully yellow or brown and crispy. Leaves that are still half green are still working for the plant, pulling in sunlight and feeding the roots.
Use clean scissors or hand pruners and cut the damaged foliage back to about an inch above the soil. This keeps things tidy without exposing the crown to harsh sun or pests.
Check your plants every week through late summer. New yellowing can signal anything from natural aging to drought stress or even a nutrient gap in the soil.
Your Tennessee Garden Changes Every Week. Your Plan Should Too.
Gardening in Tennessee changes quickly throughout the season. Every Friday you’ll receive a simple weekly plan showing exactly what to plant, prune, fertilize, harvest, and protect so you never miss the right timing.
If yellowing spreads quickly across the whole clump, that is worth investigating. Poor drainage or root crowding can both cause widespread leaf decline after bloom season ends.
Healthy green foliage remaining on the plant is your best friend right now. Those leaves are storing energy the plant will use to push new root growth through fall.
Trim with patience and purpose, and your daylilies will hold their shape beautifully through the rest of the season. A little grooming goes a long way toward a healthier plant next spring.
3. Divide Overcrowded Clumps This Month
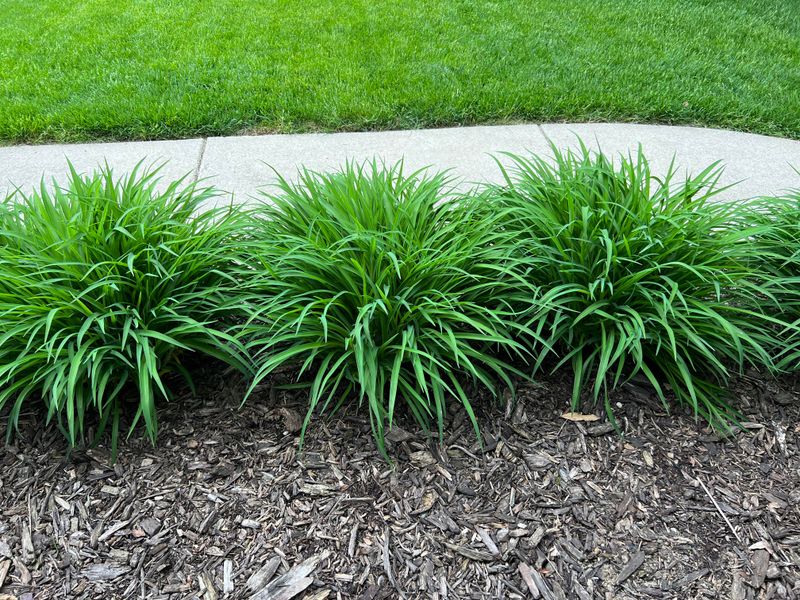
When a daylily clump stops blooming well, crowding is usually the culprit. Dividing overcrowded clumps right after bloom season is one of the smartest moves you can make in a Southern garden.
Daylilies multiply fast. A single plant can become a dense, tangled mass within just three to four years, and that competition chokes out flower production.
Late summer is a great window for division in Tennessee because the plants have finished blooming but still have time to establish before cold weather arrives. You get the benefit without the risk of losing new divisions to frost.
Use a sharp garden fork to lift the entire clump from the soil. Shake off excess dirt so you can see where the individual fans separate naturally.
Pull or cut the clump into sections, each with at least three to five healthy fans and a good root mass attached. Smaller divisions take longer to bloom, so bigger sections give you faster results.
Replant divisions at the same depth they were growing before. Setting them too deep can prevent blooming, while planting too shallow leaves roots exposed to summer heat.
Water new divisions well immediately after planting and keep the soil consistently moist for the first two weeks. Roots need to anchor before the late summer heat fully sets in.
Sharing extra divisions with neighbors is a great bonus. You refresh your own bed and spread a little garden joy down the street at the same time.
4. Water Deeply During Late Summer Heat
Tennessee summers do not mess around. After bloom season wraps up, the heat often intensifies, and your daylilies are sitting in the ground trying to recover from their biggest performance of the year.
Shallow, frequent watering is one of the most common mistakes gardeners make at this stage. It encourages roots to stay near the surface, where they are most vulnerable to heat and drought.
Instead, water deeply and less often. Aim for about one inch of water per week, applied slowly so it soaks down six to eight inches into the root zone.
A soaker hose or drip system works beautifully for this. Both methods deliver water directly to the soil without wetting the foliage, which reduces the risk of fungal issues during humid weather.
Morning is the best time to water daylilies. Watering in the evening leaves moisture sitting on soil and crowns overnight, which can invite rot and mildew in warm conditions.
Check the soil before you water by pressing a finger two inches into the ground. If it feels dry at that depth, it is time to water; if it still feels damp, hold off another day.
Mulch helps retain soil moisture between watering sessions, so pairing good mulch habits with deep watering is a winning combination. Your plants will show the difference in their leaf color and overall vigor.
Consistent hydration now sets up strong root development heading into fall. Well-watered plants come back with more energy and more blooms the following season.
5. Apply Light Fertilizer For Root Recovery
Blooming takes a lot out of a plant. Right after your daylilies finish their big show, their root system is essentially running on empty and craving a nutritional boost.
A light application of a balanced, slow-release fertilizer can make a real difference at this stage. Look for something like a 10-10-10 or a low-nitrogen blend designed for flowering perennials.
Avoid high-nitrogen fertilizers after bloom season ends. Too much nitrogen pushes leafy green growth instead of root recovery, which is the opposite of what you need heading into fall.
Sprinkle the granules around the base of each clump, keeping them a few inches away from the crown. Direct contact with fertilizer granules can burn tender tissue near the soil surface.
Water the fertilizer in thoroughly right after applying it. Dry granules sitting on top of the soil are not doing anything useful for your plants.
One light feeding in late summer is usually enough. Over-fertilizing daylilies can actually delay dormancy and leave new growth vulnerable when the first frost arrives in October or November.
If your soil has never been tested, now is a good time to consider it. A basic soil test from your county extension office can tell you exactly what nutrients your bed is missing.
Feeding your daylilies smartly after bloom season is like giving them a recovery meal after a marathon. The right nutrients at the right time fuel a stronger, more vibrant comeback next spring.
6. Watch For Pest Activity On Foliage
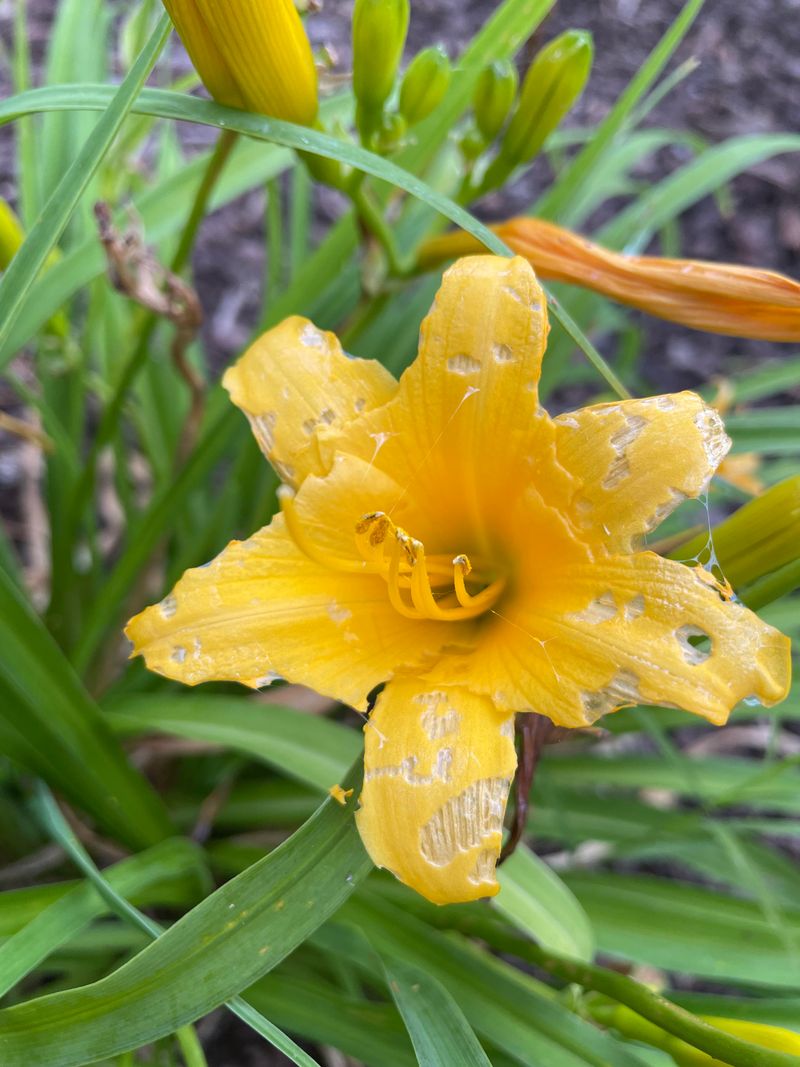
Pests love a tired plant. Right after bloom season, daylilies can be more vulnerable to insect damage because their energy reserves are lower and their defenses are not at full strength.
Aphids are one of the most common culprits in late summer gardens. These tiny, soft-bodied insects cluster on new growth and under leaves, sucking out plant sap and leaving foliage twisted and yellowed.
Thrips are another pest to watch for closely. These nearly invisible insects damage daylily blooms and foliage by scraping plant tissue and feeding on the juice underneath, leaving silvery streaks behind.
Spider mites tend to flare up during hot, dry spells. Look for fine webbing on leaf surfaces and a dusty, stippled texture that signals mite feeding activity on your plants.
Check your plants at least once a week by flipping leaves over and looking closely at stems. Catching an infestation early makes it far easier to manage without resorting to heavy chemical treatments.
A strong spray of water from a garden hose can knock aphids and mites off plants quickly. For heavier infestations, insecticidal soap or neem oil are effective and relatively gentle options for garden use.
Avoid spraying during the hottest part of the day. Applying treatments in the early morning or evening reduces the chance of leaf burn and gives the solution time to work properly.
Staying on top of pest activity now protects your plants through the rest of the growing season. Healthy foliage heading into fall means a healthier root system ready for winter.
7. Mulch Around The Base For Protection
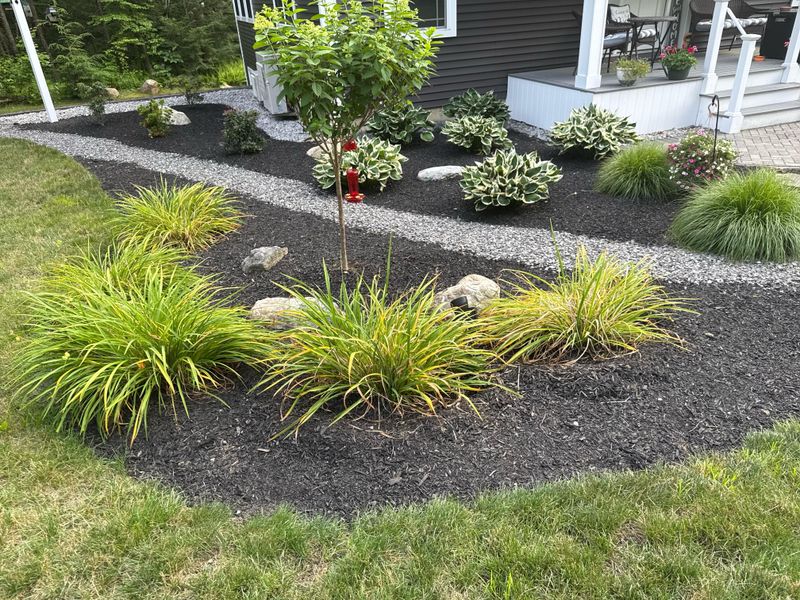
A fresh layer of mulch after bloom season is one of those garden moves that pays off in multiple ways at once. It is simple, affordable, and genuinely effective for daylily health.
Mulch regulates soil temperature during the intense heat of a Tennessee summer. When the ground stays cooler, roots stay more comfortable and water evaporates from the soil much more slowly.
Shredded bark, pine straw, or wood chips all work well around daylilies. Avoid using thick layers of grass clippings alone, since they can mat down and block air circulation near the crown.
Apply mulch about two to three inches deep around each clump. Thicker than that can hold too much moisture against the crown and lead to rot in humid conditions.
Keep the mulch a couple of inches away from the actual base of the plant. Piling it directly against the crown creates a moist hiding spot for slugs and other unwanted visitors.
Mulch also does a great job suppressing weeds, which compete with daylilies for water and nutrients during an already stressful part of the season. Fewer weeds mean less work for you overall.
As organic mulch breaks down over time, it adds nutrients back into the soil naturally. This slow, steady process improves soil structure and feeds beneficial microbes living around your plant roots.
Refreshing your mulch after bloom season is a small effort with a big payoff. Your daylilies will thank you with stronger roots and a healthier start when spring rolls back around.
8. Prepare Beds For Fall Growth Cycles
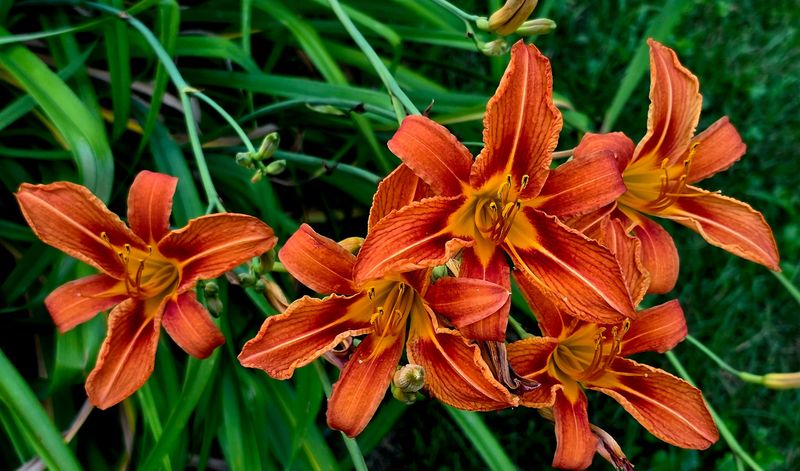
Most gardeners think the season ends when the blooms do. But daylilies are actively preparing for their next performance long before the first frost shows up in the forecast.
Late summer and early fall are when daylily roots push outward and deepen in the soil. Giving them a well-prepared bed now sets the stage for an impressive comeback next spring.
Start by pulling any weeds that have crept into the bed during the busy bloom season. Weeds left in place through fall will establish deeper roots and become much harder to remove later.
Loosen compacted soil around the edges of your clumps with a hand fork. Compacted soil restricts root expansion and reduces the oxygen flow that roots need for healthy fall growth.
Work a thin layer of compost into the top few inches of soil around your plants. Compost improves drainage, feeds soil microbes, and slowly releases nutrients that support root recovery through the cooler months.
If you noticed any drainage problems during summer rains, now is the time to address them. Daylilies dislike soggy roots, and improving drainage before fall rains arrive prevents serious crown rot issues.
Consider edging your beds cleanly to keep grass from creeping in. A sharp bed edge also improves the overall look of your garden as the season transitions from summer to fall.
Preparing your beds now is one of the most valuable things you can do for your Tennessee daylilies before winter. A little effort in late summer creates the foundation for a breathtaking bloom season ahead.