What To Do When Coneflower Seed Heads Turn Brown In Georgia Gardens
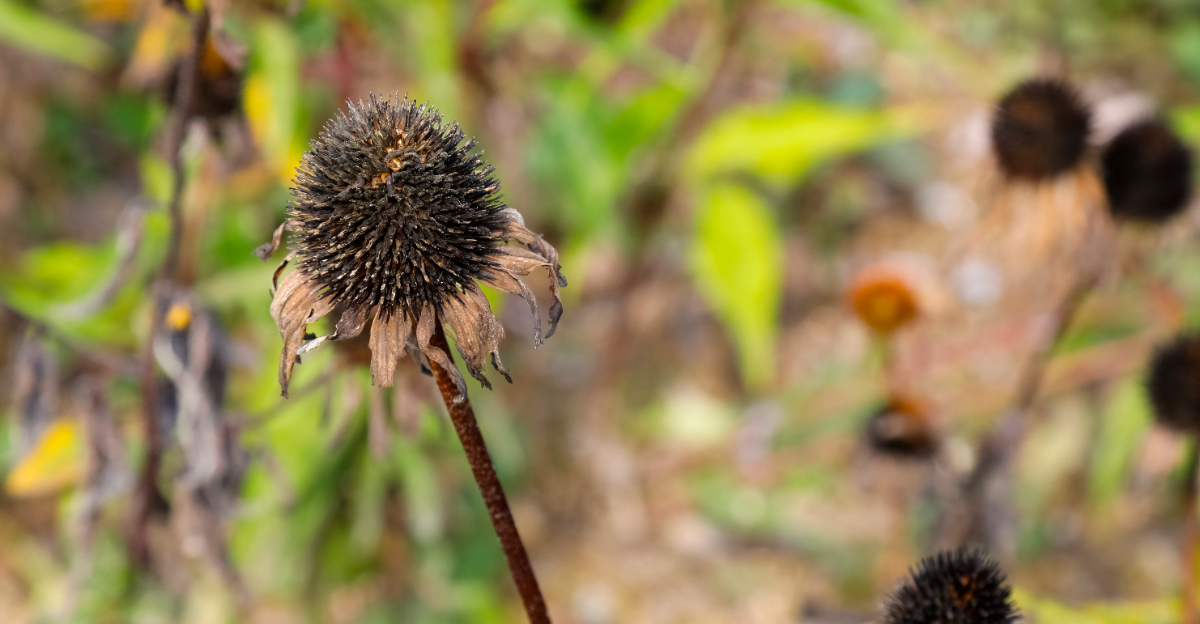
Brown coneflower heads can look like a clear signal to grab your pruners, but cutting them immediately may not be your best move.
Those faded blooms still have something to offer. What you do with them now can shape what happens around your garden later.
In Georgia, coneflowers naturally reach this stage as their summer display begins winding down.
Resist the urge to tidy every stem at once. Some seed heads are worth leaving in place, while others can be handled differently depending on what you want from the plants.
Your garden goals should guide what happens next rather than appearance alone.
Knowing when to leave those brown heads standing and when to remove them makes this simple seasonal task much easier. The choice can benefit both your coneflowers and the garden around them.
1. Leave Some Seed Heads For Visiting Finches
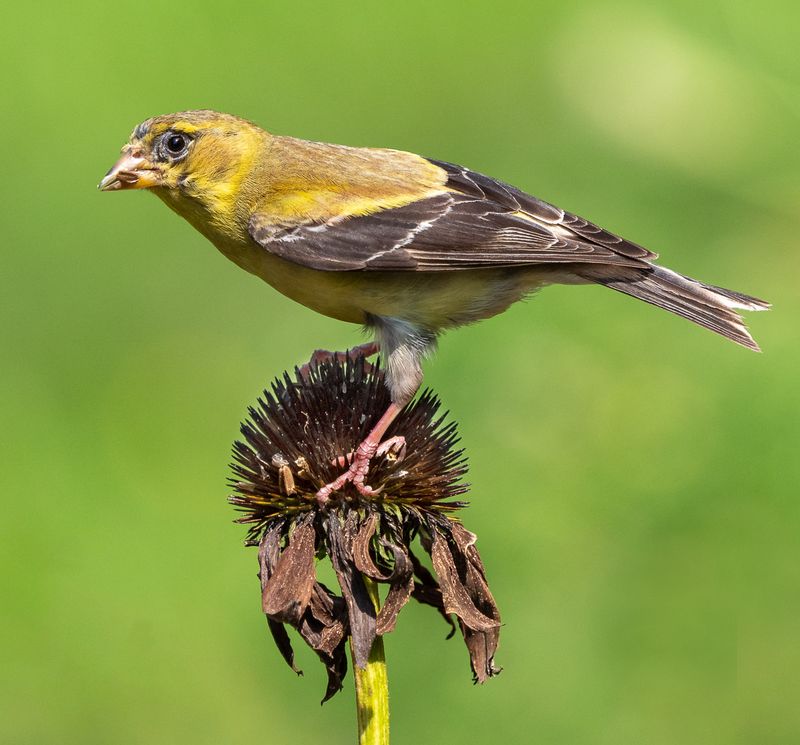
Goldfinches go absolutely wild for coneflower seeds. If you spot brown seed heads in your garden, consider leaving a good portion of them standing rather than cutting everything back at once.
Finches, especially American goldfinches, are drawn to the spiky brown centers like magnets. Watching them cling and feed is one of the better rewards a garden can offer in late summer and fall.
You do not need a fancy bird feeder to attract them. Standing seed heads work just as well, sometimes better, because birds feel more comfortable feeding in a natural setting.
Leave at least half your seed heads untouched if you want consistent bird visits. Cutting them all back removes a reliable food source right when migrating birds need it most.
Seed heads can stay standing well into winter without causing any plant problems. The stalks are sturdy enough to hold up through most fall weather in the Southeast.
Spacing matters too. Leaving a mix of tall and shorter stems gives birds multiple landing spots.
Finches often visit in small flocks, so having several seed heads available keeps them coming back.
Neighbors sometimes notice and ask what you are growing. Leaving seed heads up is one of those low-effort choices that benefits both wildlife and your garden long-term.
Those remaining stems can continue providing natural feeding spots as the seasons shift into cooler weather.
2. Collect Mature Seeds For Future Planting
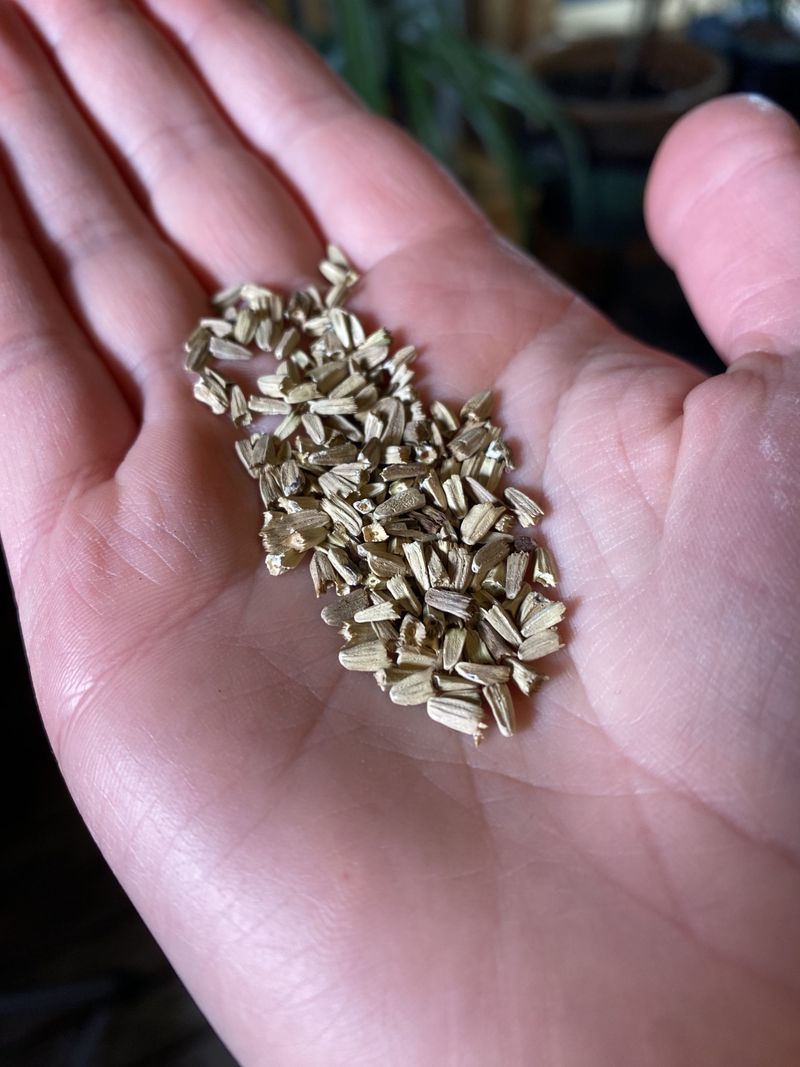
Brown seed heads are basically nature’s seed packet. Once the petals drop and the center cone turns fully dark and dry, the seeds inside are mature enough to collect.
Pinch the cone firmly and twist it off the stem. Hold a small paper bag underneath to catch loose seeds as you work.
Avoid plastic bags since moisture can build up and cause problems during storage.
Rub the cone between your palms over the bag to release seeds. You will see small, thin, wedge-shaped pieces fall out.
Those are the viable seeds worth keeping.
Let collected seeds air out on a paper towel for a day or two before storing. Moisture left on seeds can lead to mold during long storage periods.
Your Georgia Garden Changes Every Week. Your Plan Should Too.
Gardening in Georgia changes quickly throughout the season. Every Friday you’ll receive a simple weekly plan showing exactly what to plant, prune, fertilize, harvest, and protect so you never miss the right timing.
Store dry seeds in a labeled paper envelope inside a cool, dry spot. A drawer or cabinet away from heat works well.
Seeds stored properly can remain viable for a year or two, though germination rates can vary.
Planting saved seeds the following spring gives you more coneflowers without spending money. Start them indoors about six to eight weeks before your last frost date, or direct sow them in fall for natural stratification.
Seed collection is a satisfying habit that connects you to your garden in a more hands-on way. It takes only a few minutes per plant.
A small batch of saved seeds can eventually turn into a much fuller patch of coneflowers in your garden.
3. Keep Healthy Green Foliage In Place
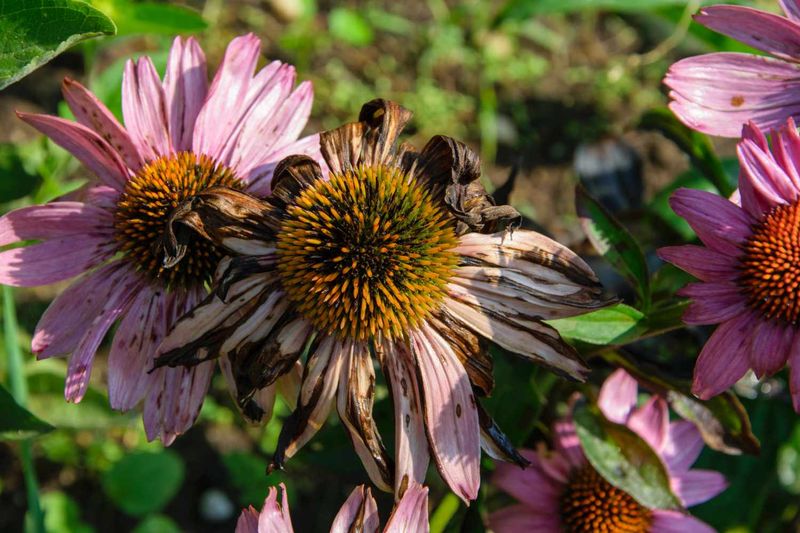
Brown on top does not mean the whole plant is struggling. Look carefully at the base before you reach for your pruners.
Healthy green leaves near the crown and along lower stems are doing real work. Photosynthesis continues as long as leaves stay green, and that energy goes straight back into the root system.
Cutting foliage too early can stress the plant before it has stored enough energy for winter. Roots need that late-season boost to come back strong the following spring.
Spot the difference between natural yellowing and disease. Leaves that fade to pale yellow gradually from the bottom up are likely just aging.
Spotted, blotchy, or suddenly wilted foliage is worth a closer look.
Resist the urge to clean everything up at once. A tidy garden bed can feel satisfying, but premature cutting often does more harm than waiting a few extra weeks.
Green basal leaves can persist well into fall in Georgia’s mild climate. Coneflowers are semi-evergreen in warmer zones, so some foliage may stay green through early winter.
Leaving that foliage intact also provides light ground cover that helps regulate soil temperature. Bare soil loses moisture faster and can experience wider temperature swings during cool nights.
Patience at this stage pays off. Healthy roots mean a stronger, fuller plant when warm weather returns next year.
4. Water During Dry Spells While Leaves Stay Green
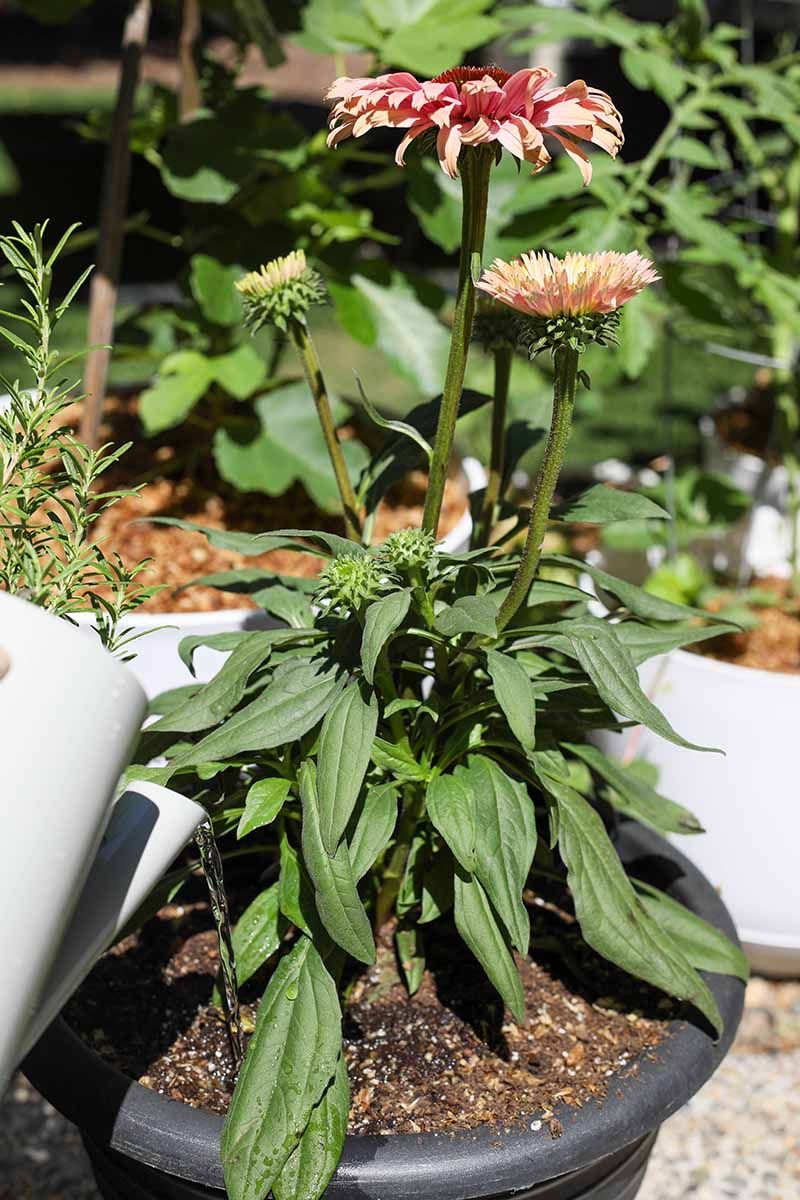
Dry soil in late summer can sneak up on you fast. Georgia heat tends to linger well past the calendar’s idea of summer, and coneflowers still need moisture while their leaves are active.
Wilting foliage on an otherwise healthy plant is often the first sign of drought stress. Check the soil before assuming the plant is simply done for the season.
Push a finger about two inches into the soil near the base of the plant. If it feels dry at that depth, watering is likely needed.
If it still feels slightly cool and damp, hold off.
Water deeply and slowly rather than giving a quick splash. Shallow watering encourages roots to stay near the surface, which makes plants more vulnerable to heat and dry spells.
Early morning is the best time to water. Moisture has time to soak in before afternoon heat causes evaporation, and wet foliage dries out before evening, which reduces disease pressure.
Coneflowers are reasonably drought-tolerant once established, but younger plants and recently divided ones need more consistent moisture. Do not assume all plants in your yard have the same water needs.
Aim for about one inch of water per week during dry stretches. Rainfall counts toward that total, so check what your area has received before running the hose.
Mulch spread around the base can also slow moisture loss and keep the root zone from drying out as quickly.
5. Check The Remaining Foliage For Disease
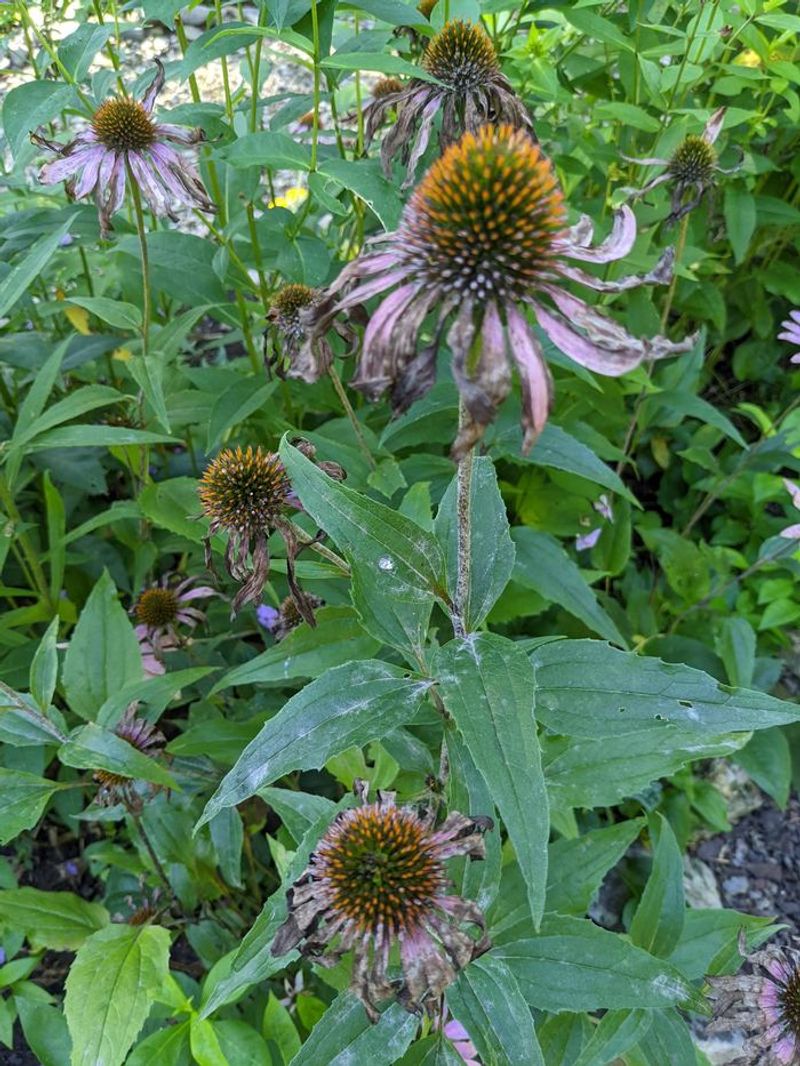
Not every blemish on a coneflower leaf means trouble, but some do. Late summer is a common time for fungal issues to show up, especially after periods of high humidity.
Powdery mildew is one of the most common problems. It looks like a white or gray powdery coating on leaf surfaces.
Affected leaves may curl or look distorted over time.
Septoria leaf spot is another issue seen in humid Southern climates. It shows up as small, circular brown spots with yellow halos.
Leaves with heavy spotting often drop early.
Pick off and bag any badly affected leaves rather than leaving them on the ground. Fallen diseased leaves can spread spores to nearby plants or back to the same plant the following season.
Improve airflow if plants are crowded. Spacing coneflowers with enough room between them helps foliage dry out faster after rain or watering, which limits fungal spread.
Avoid wetting leaves when you water. Drip irrigation or a soaker hose keeps moisture at the root level where it belongs, reducing leaf wetness that encourages fungal growth.
Healthy plants are better at resisting disease on their own. Good soil, appropriate watering, and adequate sunlight all contribute to natural plant resilience without relying on chemical treatments.
Catching problems early gives you more options and keeps issues from spreading across the whole bed.
6. Add Mulch If The Soil Dries Too Quickly
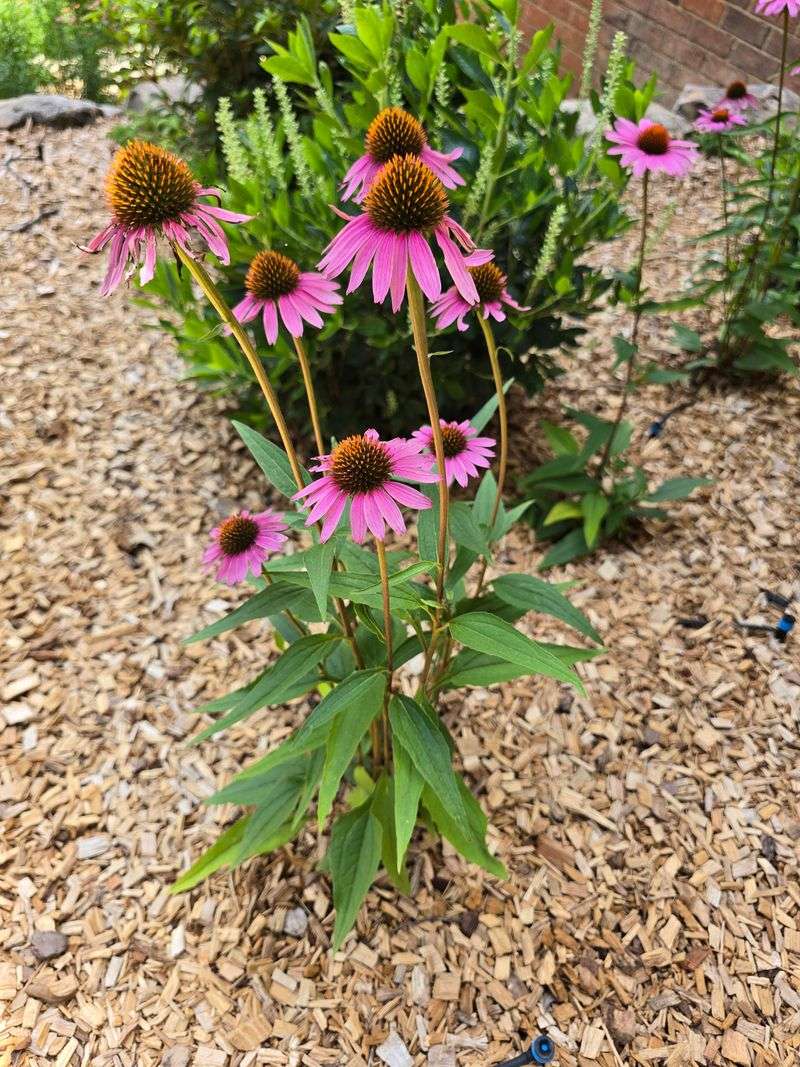
Bare soil bakes fast under a Southern sun. Mulch is one of the simplest fixes for keeping moisture in the ground longer without watering more often.
A two to three inch layer of organic mulch around the base of your coneflowers can make a noticeable difference. Shredded bark, wood chips, and pine straw all work reasonably well.
Keep mulch a few inches away from the base of the plant stems. Piling it directly against stems can trap moisture and encourage rot at the crown, which is one of the more preventable issues in garden beds.
Mulch also helps moderate soil temperature. As nights cool down in fall, a mulched bed holds warmth longer than bare soil, which can benefit root systems during the transition.
Organic mulch breaks down over time and adds a small amount of organic matter back into the soil. It is a gradual process, but it contributes to soil health season after season.
Check your mulch layer periodically. It compresses and thins out over time, especially after heavy rain.
Refreshing it once or twice a year is usually enough to maintain good coverage.
Pine straw is widely available across the Southeast and breaks down more slowly than some other options. It is a practical choice for gardeners looking for an affordable, locally sourced material.
7. Divide Crowded Plants When Cooler Weather Arrives
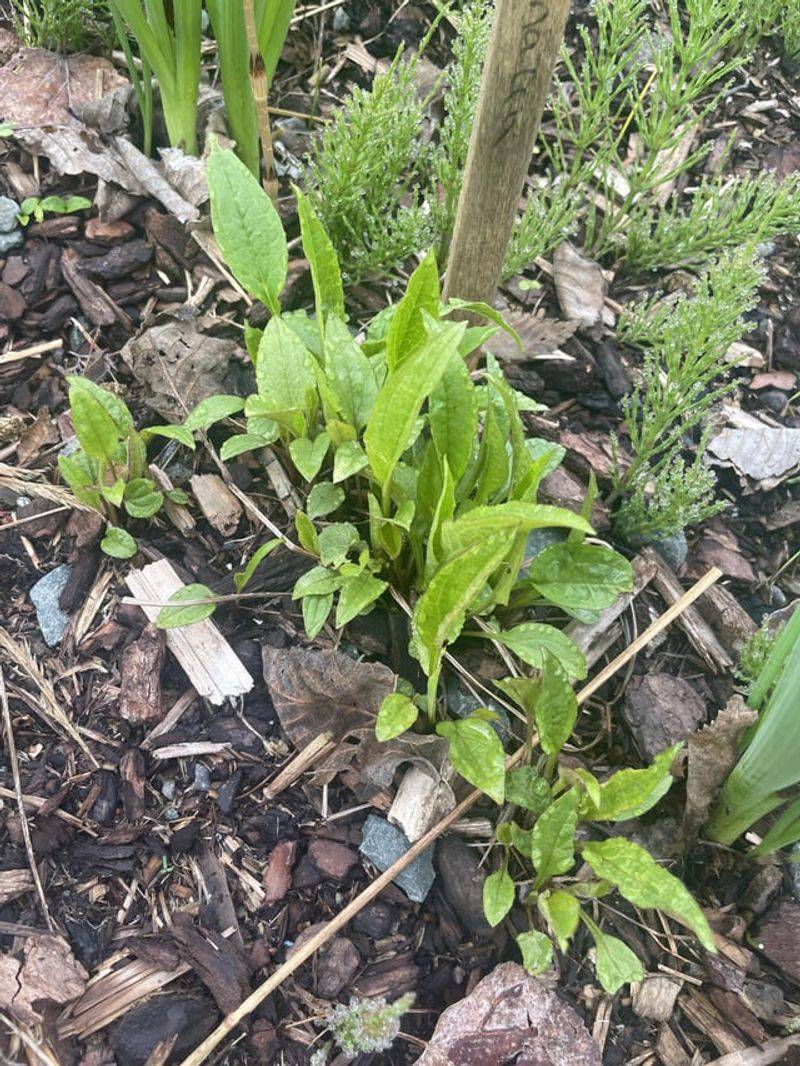
Crowded coneflowers compete for water, nutrients, and light. Over three to four years, a single plant can spread into a dense clump that starts to underperform.
Fall is a good time to divide, especially once temperatures drop and the heat of summer has passed. Cooler air reduces stress on plants during the process, and roots have time to settle before winter.
Dig around the entire clump with a garden fork rather than a shovel. Forks cause less root damage and make it easier to lift the whole mass cleanly.
Pull or cut the clump apart into sections, each with several healthy roots and at least a few shoots or crown buds. Smaller divisions establish more easily than large, tangled pieces.
Replant divisions at the same depth they were growing before. Planting too deep can cause crown rot, while planting too shallow leaves roots exposed to drying air and temperature swings.
Water new divisions right after planting and keep the soil consistently moist for the first few weeks. Roots need time to anchor before the ground cools significantly.
Divisions can also be shared with neighbors or planted in other spots around the yard. Coneflowers spread well when given enough space and decent soil conditions.
Dividing regularly keeps clumps vigorous and encourages better blooming in the seasons ahead.
8. Save Major Cutting Back For Later
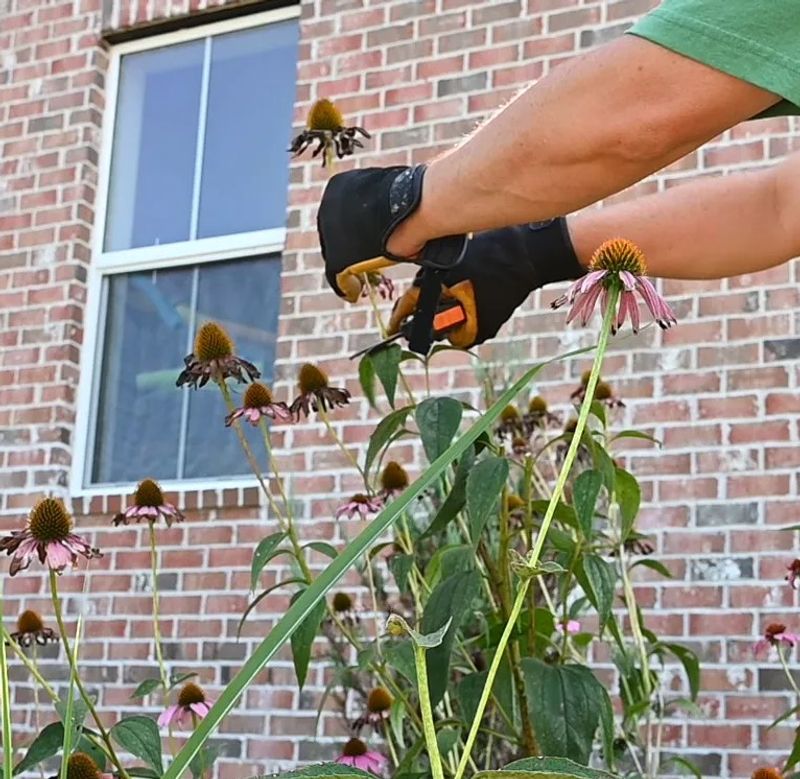
Grabbing the pruners the moment seed heads turn brown is a common mistake.
Cutting back too early removes food sources for birds and skips benefits the plant still gets from standing stems.
Hollow and pithy coneflower stems provide overwintering habitat for certain native bees and small beneficial insects. Cutting them flush to the ground in late summer eliminates that habitat before it serves its purpose.
Waiting until late winter or very early spring is often recommended by native plant gardeners.
By then, birds have had months to feed on the seeds, and insects have completed their overwintering cycle.
Late-season stems also catch fallen leaves and light debris, which adds a thin layer of natural insulation to the root zone. It is not dramatic, but it contributes in small ways.
When you do cut back, aim for stems about four to six inches above ground level. Leaving short stubs protects the crown from late cold snaps and gives you a visible marker for where plants are located in the bed.
Sharp, clean pruners make the job faster and reduce the chance of tearing stems. Wipe blades between plants if you noticed any signs of disease earlier in the season.
Cutting back in late winter also lets you assess what survived and plan any changes before new growth begins. It is a good moment to evaluate spacing, soil conditions, and where to add new plants.