When To Cut Back Your New York Hostas This Fall For A Healthier Garden Next Spring
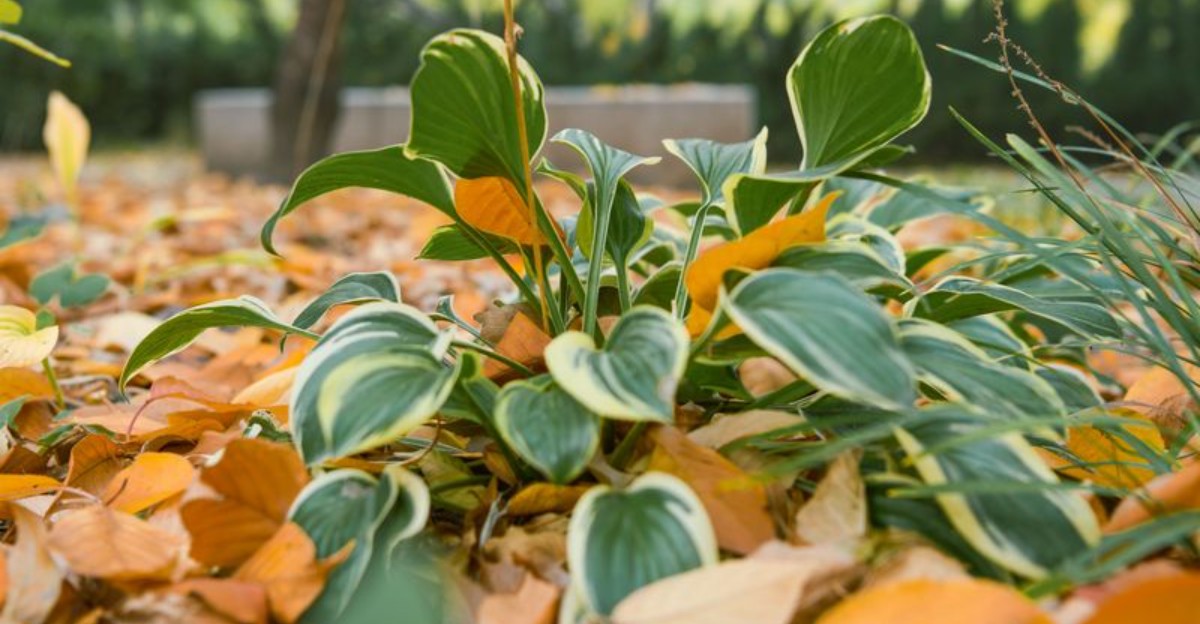
One October morning, your proud hostas suddenly look like soggy lettuce left out after a picnic. The air smells of wet leaves, and the garden feels quiet and sleepy.
For gardeners across New York, that droopy sight raises a big question about when to grab the pruners. Cut too soon, and you rob your plants of stored food they need for spring.
Wait too long, and slugs, disease, and hungry voles may move in for the winter. A few small habits can make a surprising difference either way.
Hosta care in fall is simple once you know the signals. Your plants actually tell you when they’re ready, if you know where to look.
1. After The First Hard Frost Knocks Them Down
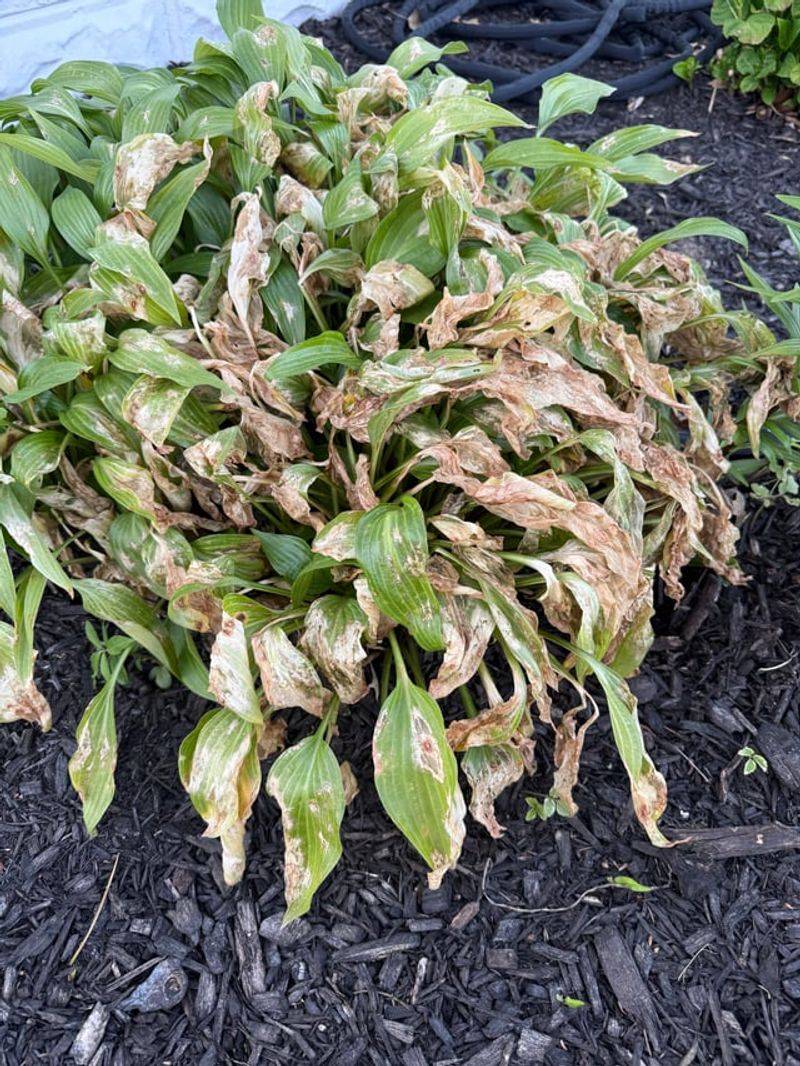
Picture waking up to silver frost coating every leaf in your yard. By lunchtime, your hostas may look flat, mushy, and tired.
A hard frost usually means temperatures dipped to about 28 degrees or lower for several hours. Hosta leaves are soft and full of water, so that cold snap hits them hard.
Once frozen, the cells inside each leaf burst open. The foliage then turns see-through, darkens, and flops onto the soil like a wet towel.
Gardeners love this moment because it acts like a natural alarm clock. Your plant is telling you it has gone to sleep for winter.
Before the frost, hostas are still busy working hard underground. After the frost, their seasonal job is finished, and the leaves are no longer helpful.
Here is a handy trick for tracking the timing. Check your local weather app for frost warnings and jot the date on a calendar.
Many New York gardeners see their first hard frost between early October and early November. Upstate towns often get it weeks earlier than Long Island or New York City.
Give the plants a few days after the collapse before you start snipping. Mushy leaves are easier to gather once they have settled a bit.
Light frosts that only nip leaf edges do not count as the real signal. Wait for the full knockdown, when most of the foliage lies limp on the ground.
Patience pays off here, and the reward is a stronger plant come spring. Think of the frost as nature handing you permission to begin.
2. Yellowing Leaves Are Still Storing Energy
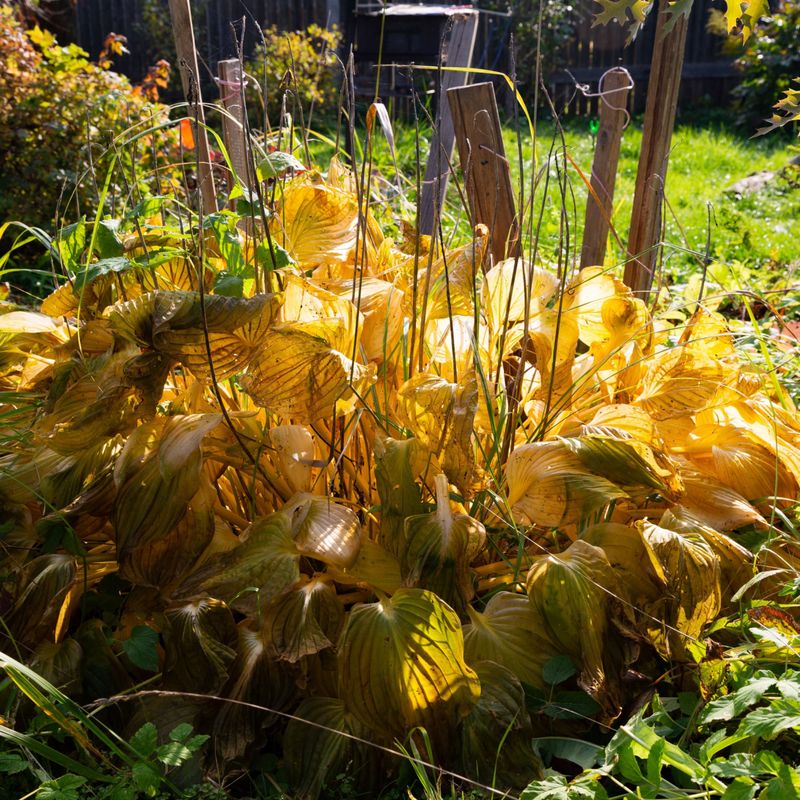
Golden hosta leaves in autumn can look a little sad at first glance. Surprisingly, that buttery color is a sign of a very busy plant.
As days shorten, hostas stop making chlorophyll, the green stuff that captures sunlight. Without it, hidden yellow pigments finally get their chance to shine.
Meanwhile, something clever happens inside the plant. Sugars and nutrients travel from the leaves down into the crown and roots.
Think of it like packing a lunchbox for a long winter trip. Your hosta is saving snacks it will eat when new shoots push up in spring.
Cutting those yellow leaves too early is a bit like grabbing the lunchbox halfway packed. The plant loses food it was counting on.
Your New York Garden Changes Every Week. Your Plan Should Too.
Gardening in New York changes quickly throughout the season. Every Friday you’ll receive a simple weekly plan showing exactly what to plant, prune, fertilize, harvest, and protect so you never miss the right timing.
Over time, early cutting can lead to smaller clumps and fewer leaves. Some gardeners notice weaker growth after just one or two seasons of rushing.
So what should you do with a yellow but upright hosta? Simply leave it alone and enjoy the warm color for a few more weeks.
Fun fact for curious minds: hostas came from Japan, China, and Korea. They evolved in woodlands where fall leaves quietly fed the plant through winter.
If a yellow leaf looks messy near a walkway, you can snip that single leaf. Just keep most of the foliage in place until frost arrives.
A little patience now turns into lush, full growth next May. Your future self will thank you when those big leaves unfurl.
3. Late October Through November Is Typical
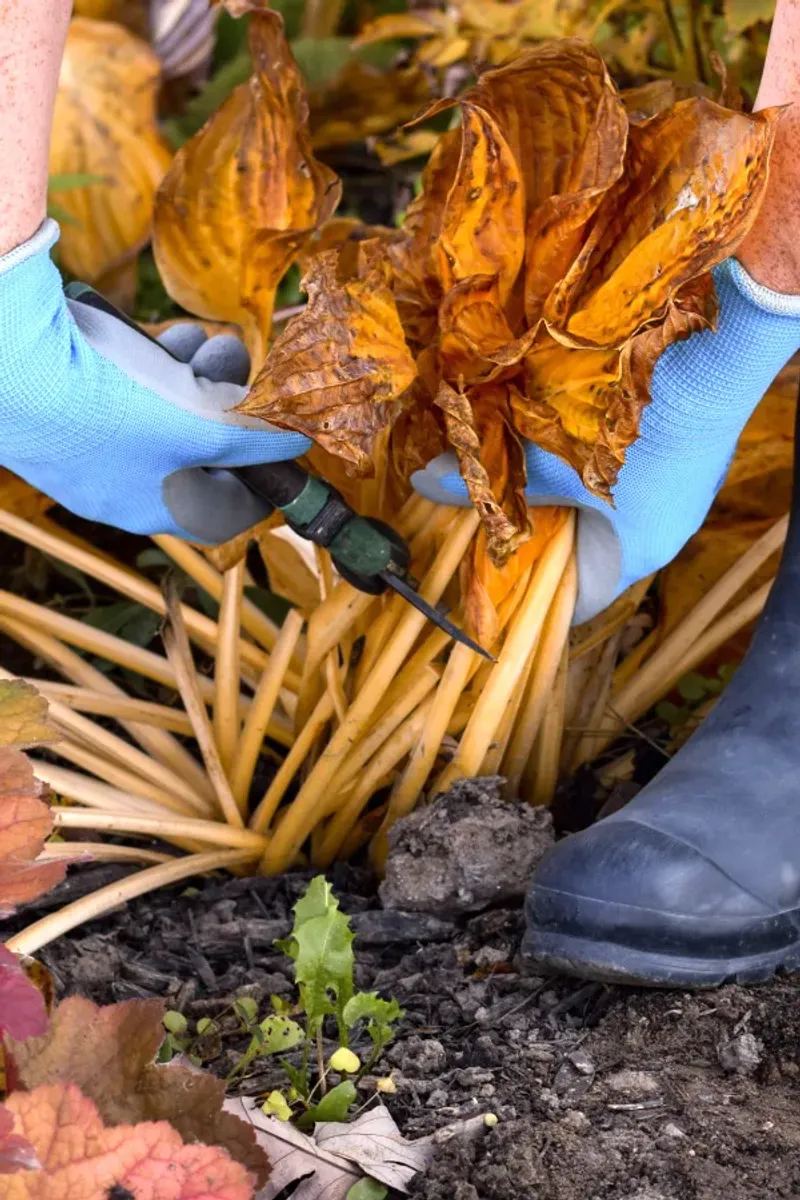
Ask ten neighbors when they trim hostas, and many will say around Halloween. That guess lines up nicely with how New York weather usually behaves.
Across much of the state, the sweet spot runs from late October into November. That window matches when hard frosts typically settle in.
Location changes things quite a bit, though. Gardeners near the Adirondacks might start in mid-October, while Brooklyn growers could wait until Thanksgiving.
Your goal is to finish before heavy snow covers the beds. Snow-soaked leaves turn slimy and are much harder to rake out.
A simple plan can help you stay on track. Pick a dry weekend after the frost and mark it as your hosta cleanup day.
Dry days make the work far more pleasant, honestly. Wet leaves stick to tools, gloves, and boots, turning a quick job into a muddy chore.
Group this task with other fall chores to save energy. Raking, bulb planting, and hose storage often happen during the same stretch.
Keep an eye on the ten-day forecast as November moves along. A sudden early snowstorm can arrive in upstate regions with little warning.
If you miss the window, do not worry too much. Hostas are tough, and a late cleanup rarely causes serious trouble.
Treat the timeline as a guide rather than a strict rule. Watching your own plants will teach you more than any calendar can.
4. Leaving Them Standing Is Fine If You Prefer Spring Cleanup
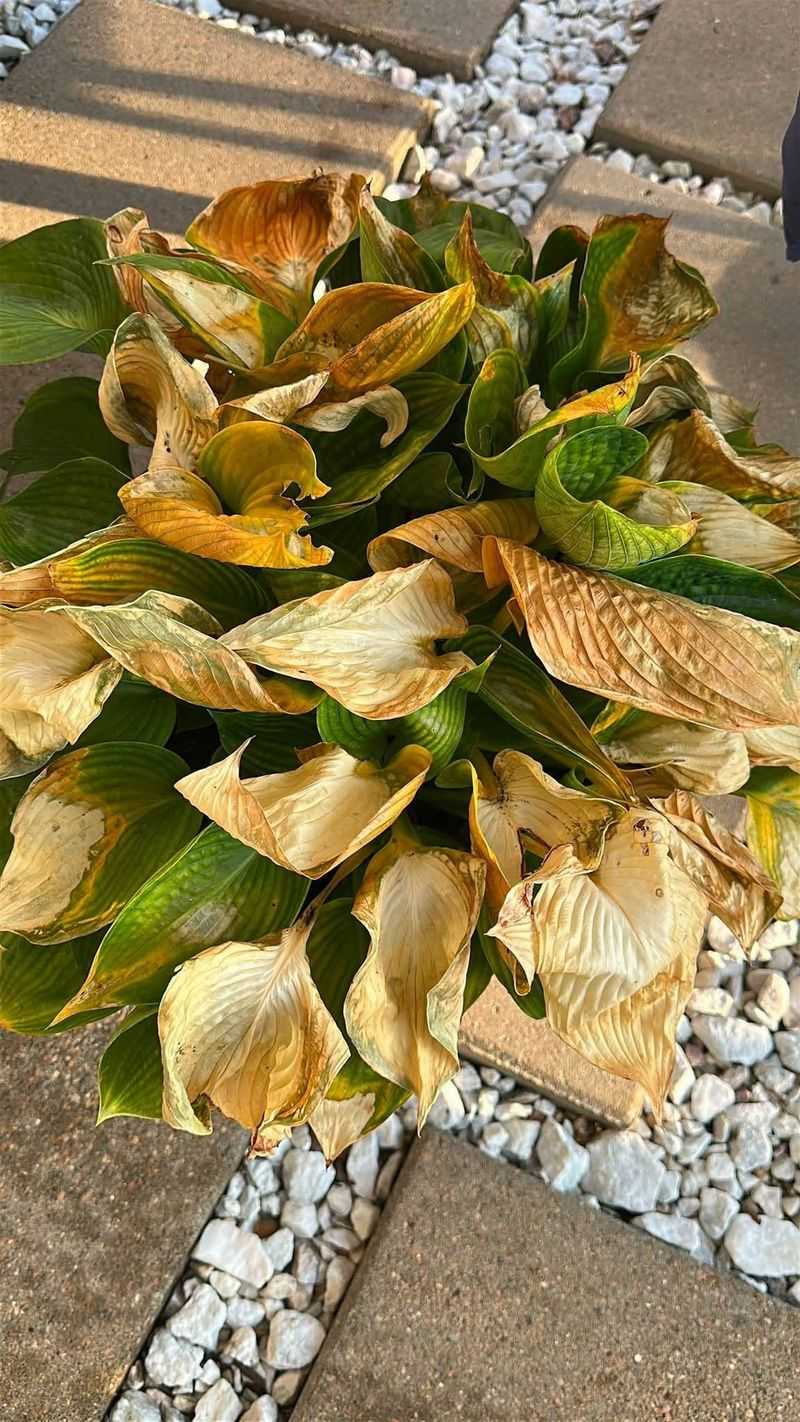
Not a fan of cold-weather chores? Good news, because skipping fall trimming is a perfectly fine choice for healthy hostas.
Dormant plants rest safely underground all winter long. The old leaves above the soil will not harm the sleeping crown below.
Many gardeners actually enjoy the relaxed approach. Spent foliage can trap a bit of snow, which works like a cozy blanket.
Come spring, those tough leaves turn soft and papery. You can often pull them away by hand in just minutes.
Timing matters for the spring version too. Clear old foliage in March or early April, before new pointed shoots poke through.
Once those little green spears appear, work carefully around them. They snap easily, and a broken shoot means fewer leaves that season.
There is one catch worth weighing, though. Leftover leaves can shelter slugs and disease, especially in damp, shady spots.
If your garden has had slug trouble before, fall cleanup may be smarter. Healthy beds with few pests can usually wait without much worry.
Plenty of New York gardeners split the difference each year. They tidy troubled plants in fall and leave healthy clumps for spring.
Choose the method that fits your schedule and energy. Either way, your hostas will wake up ready to grow when the soil warms.
5. Clearing Debris Cuts Down On Slug Eggs
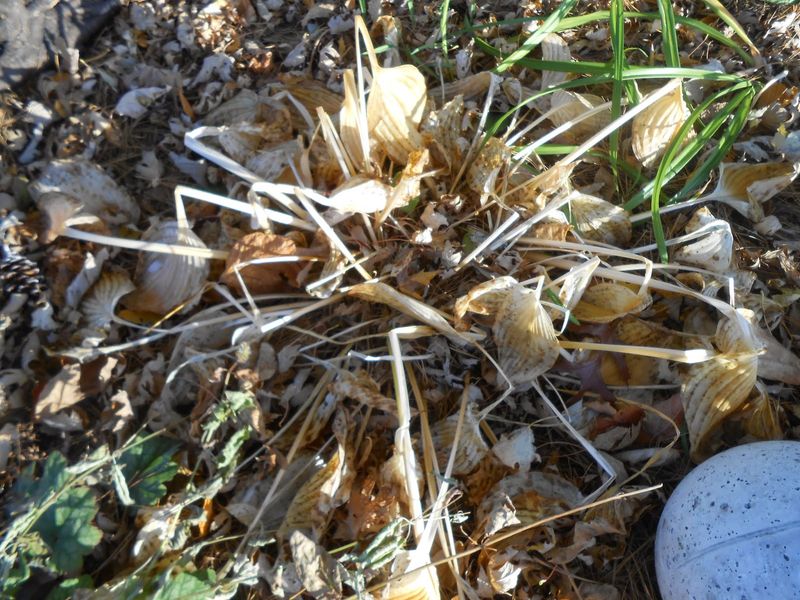
Slugs are the sneaky villains of the hosta world. Anyone who has seen lacy, hole-filled leaves in July knows exactly what they can do.
Here is the part many people miss. Slugs lay clusters of tiny, jelly-like eggs in fall, often tucked under rotting leaves.
Those eggs look like little clear pearls about the size of a BB. They sit quietly all winter, waiting for warm spring weather.
Soggy hosta foliage makes a perfect nursery for them. It stays moist, shady, and sheltered from cold wind and hungry birds.
Removing that debris in fall wipes out many hiding spots. Fewer eggs mean fewer baby slugs chewing your fresh spring shoots.
Grab a rake or gloved hands and gather every limp leaf. Check under nearby stones and edging too, since slugs love tight gaps.
While you work, flip a few leaves and look closely. Spotting egg clusters can be oddly satisfying, like finding hidden treasure you get to toss.
Bag the debris rather than piling it nearby. A heap at the edge of the bed just moves the problem a few feet away.
Consider thinning out thick groundcovers near your hostas as well. Dense growth gives slugs another cozy place to settle in.
One afternoon of cleanup can save weeks of frustration next summer. Your hostas will open with smoother, cleaner leaves as a reward.
6. Toss Foliage Showing Signs Of Disease
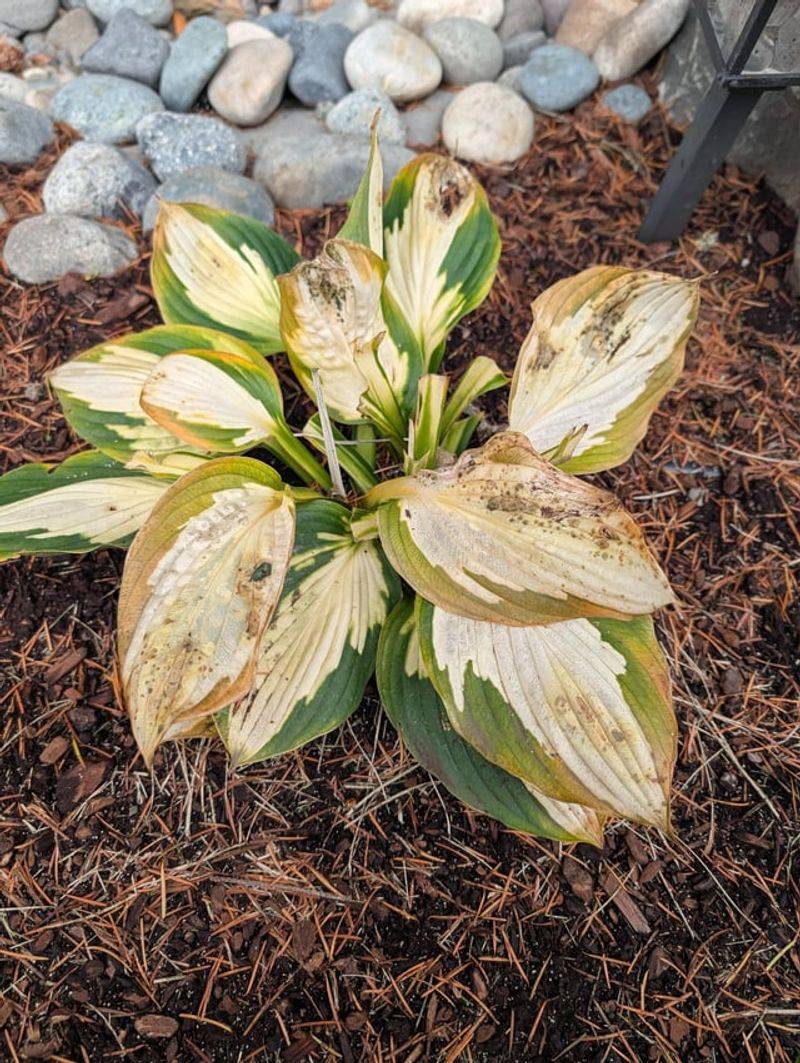
Spotted, blotchy leaves are not just ugly to look at. They can carry fungus and bacteria that hang around until spring.
Common trouble signs include brown or tan spots with dark edges. Look also for mushy stems, strange mottling, or leaves that seem to rot from the base.
Anthracnose and crown rot are two problems hosta growers often face. Both can linger in old plant material through a cold winter.
Your compost pile might seem like a handy place for scraps. Sadly, most home piles do not get hot enough to destroy these germs.
Instead, seal sick foliage in a trash bag and set it out with regular garbage. Some towns in New York also accept yard waste at hot municipal compost sites.
Take a quick photo of odd symptoms before tossing anything. Local Cornell Cooperative Extension offices can help identify problems from pictures.
Wear gloves while handling diseased leaves, then wash them afterward. Germs can travel on fabric as easily as on tools.
Healthy leaves can still go into your compost without fuss. Only the questionable ones need the trip to the trash.
Keep notes about which plants had issues this year. Tracking patterns helps you spot poor drainage or crowded spacing that invites trouble.
A clean bed gives your hostas a fresh start each spring. Think of it as tidying the house before guests arrive.
7. Wipe Blades Between Plants To Stop Virus Spread
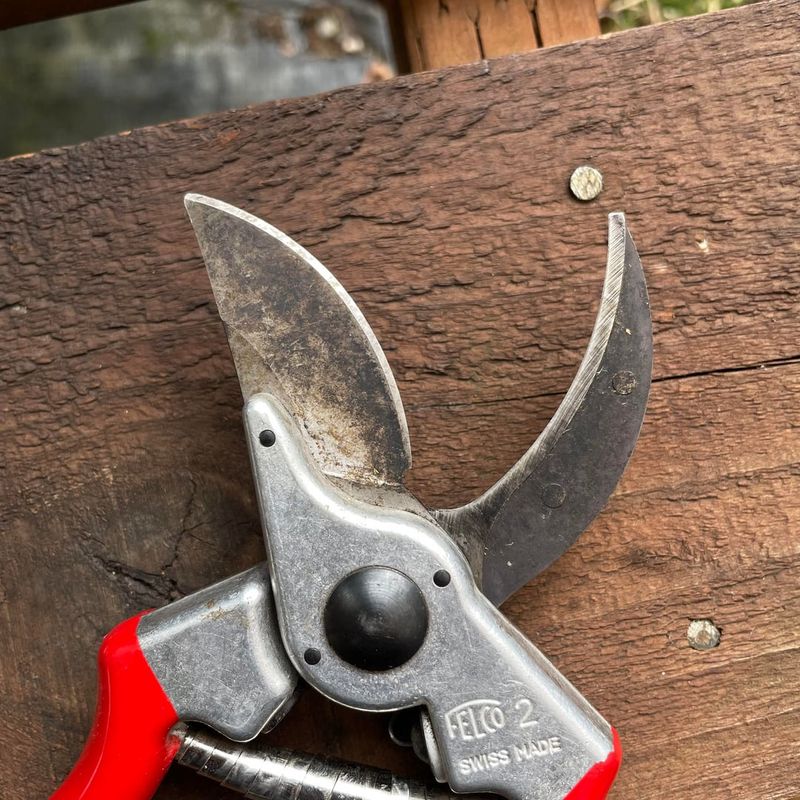
Believe it or not, your pruners could be the biggest threat in the garden. A tiny smear of sap can carry a virus from one plant to the next.
Hosta Virus X, often called HVX, is the best-known culprit. It causes blotchy, streaked, or puckered leaves that look oddly stained.
Scientists first described HVX in the 1990s in Minnesota. Since then, it has spread widely through nurseries and home gardens.
There is no cure once a plant catches it. Infected hostas should be dug up and thrown away, not composted.
Prevention is thankfully easy and cheap. Wipe your blades with rubbing alcohol, ideally 70 to 90 percent isopropyl, between each plant.
A spray bottle and a rag in your pocket make the habit simple. Some gardeners keep a small jar of alcohol handy to dip blades quickly.
Bleach works too, mixed at one part bleach to nine parts water. Rinse and dry tools afterward, since bleach can cause rust over time.
Another sneaky option is to skip tools entirely on frosted leaves. Mushy foliage often pulls free by hand without cutting any sap-filled tissue.
Wash your hands between suspicious plants as well. Sap on gloves or fingers can move the virus just like dirty blades.
A few extra seconds per plant protects your whole collection. Rare or pricey hostas especially deserve this small bit of care.
8. Cut Just Above The Crown, Not Into It
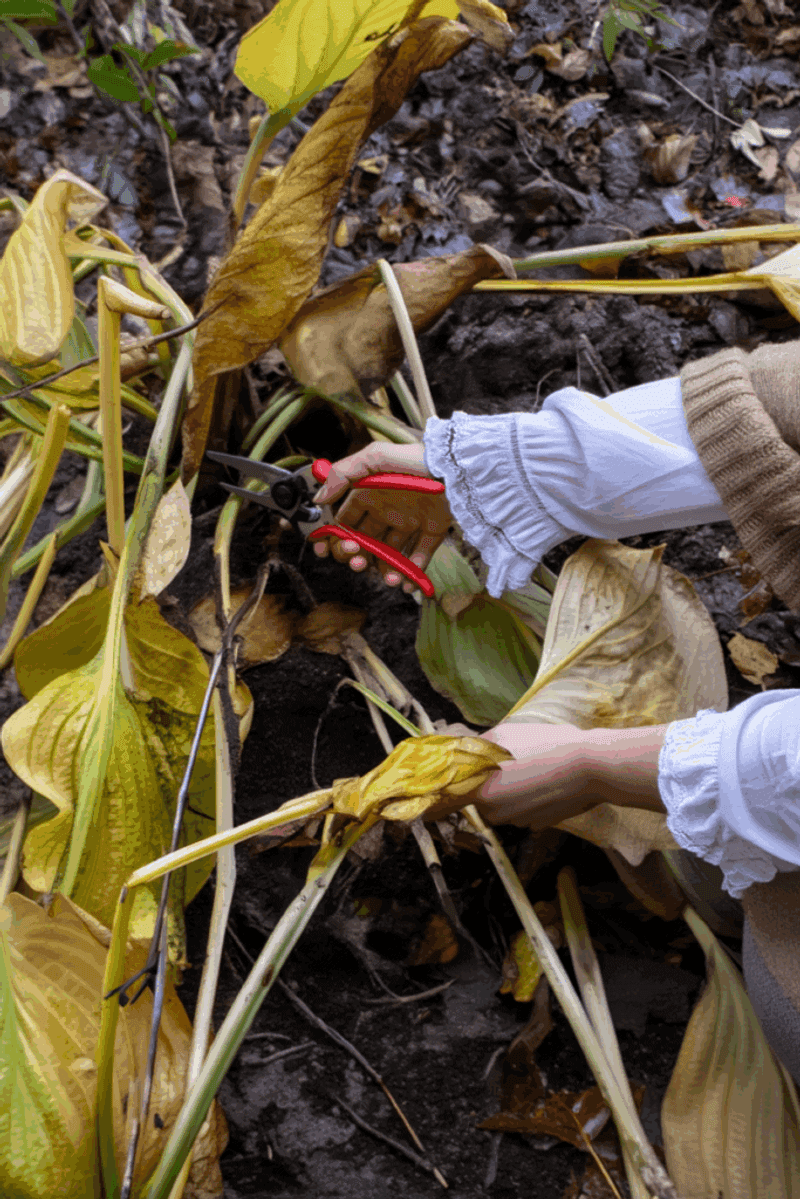
Where you snip matters just as much as when. One careless cut can harm the part of the plant that creates next year’s leaves.
The crown is the thick, knobby center where stems meet the roots. Tucked inside are buds that will become spring shoots.
Aim to trim stems about two to three inches above the soil. That little stub gives the crown a buffer against accidental nicks.
Imagine giving a haircut instead of shaving the head. You want the plant tidy, not scraped down to the scalp.
Bypass pruners work best because they slice cleanly like scissors. Dull blades can crush stems and leave ragged wounds that invite rot.
Gather a handful of stems, hold them gently, and cut straight across. Working in small bunches keeps you from poking deeper than you meant to.
Those short stubs have a bonus job too. They mark where each hosta lives, so you will not dig into it while planting bulbs.
Some gardeners add a small plant label beside each clump. Snow can hide everything, and a marker helps in early spring.
Skip mowers and string trimmers for this task. They chop too low and can shred the crown in seconds.
Slow, careful cuts take only a few extra minutes per plant. The payoff is a healthy crown bursting with shoots next season.
9. Mulch After The Ground Freezes
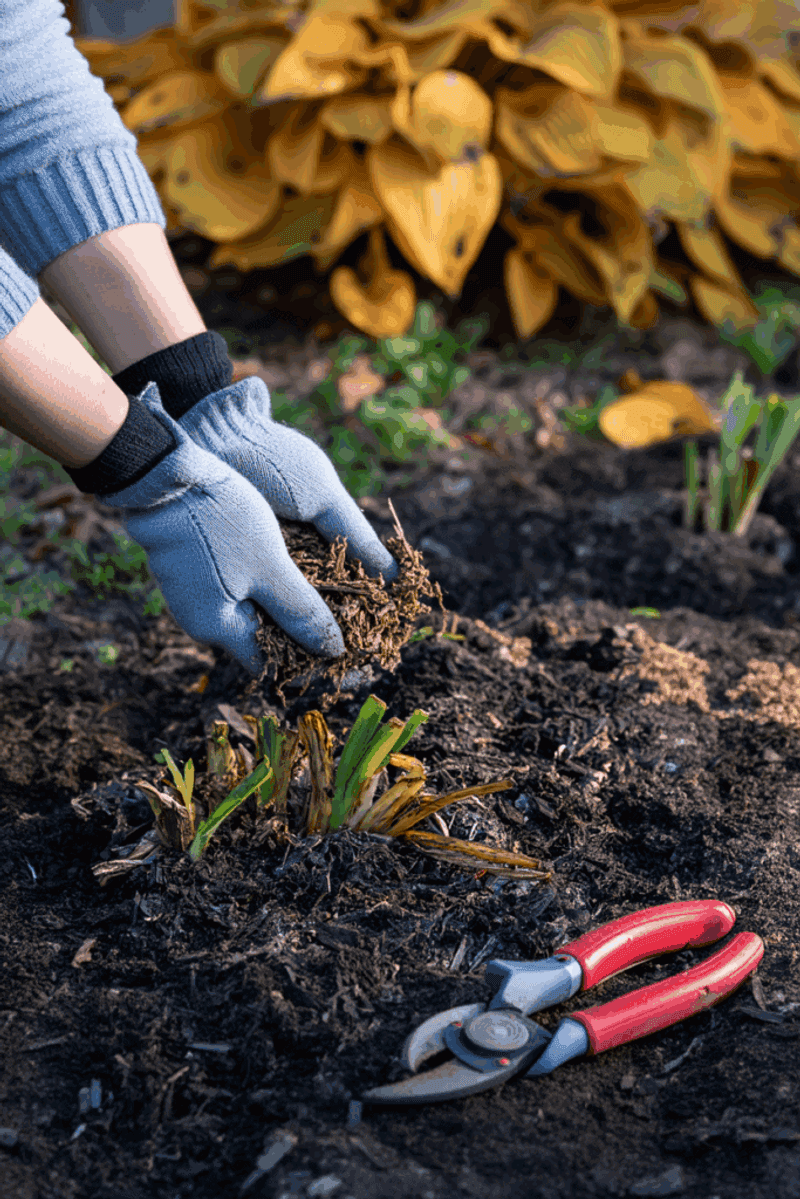
Mulch is like a winter coat for your garden beds. Put it on at the wrong time, though, and it can cause more harm than good.
Wait until the top few inches of soil freeze solid. In much of New York, that usually happens from late November into December.
Why hold off? Early mulch keeps soil warm, which can trick plants into staying awake and invite rodents looking for a cozy home.
Frozen ground signals that your hostas are fully tucked in. The mulch then keeps the soil steady and cold instead of warm.
Freeze and thaw cycles are the real enemy here. Repeated swings can push crowns up out of the soil, a problem called frost heave.
Spread about three to four inches of shredded bark, chopped leaves, or straw. Chopped leaves from your own yard make a free and easy option.
Run a mower over dry leaves before using them. Whole leaves mat together and can trap too much water against the crown.
Check the soil with a garden trowel if you are unsure. When the tip barely scratches the surface, the ground is ready.
Pull mulch back a bit in early spring as soil warms. New shoots appreciate the sunshine and airflow once winter loosens its grip.
Smart timing turns simple mulch into powerful protection. Your hostas stay snug through even the chilliest upstate winters.