Wisconsin Gardeners Are Pulling Their Tomato Plants Now, and Here’s What to Do With the Green Fruit
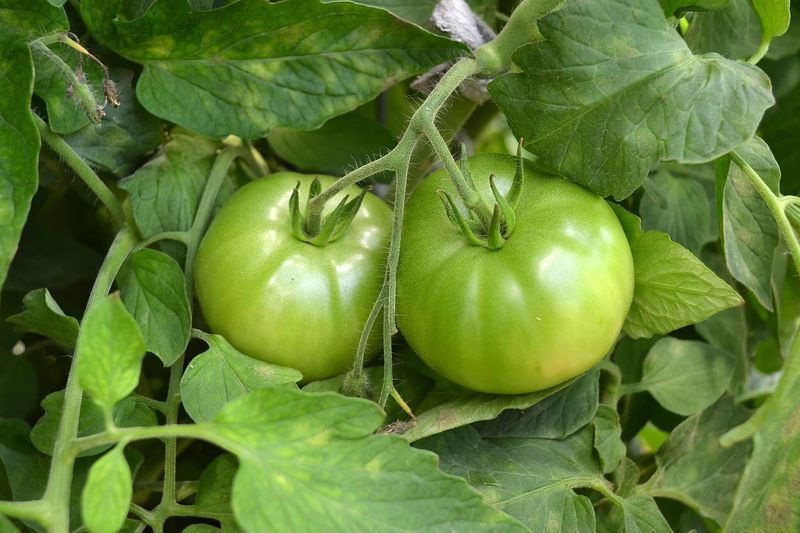
Late summer in Wisconsin has a way of sneaking up on gardeners, and suddenly the tomato patch looks more green than red. Before you yank every plant and toss the unripe fruit, there are smart steps that can turn that pile of green tomatoes into something worth eating.
Whether your Wisconsin garden sits near Lake Michigan or in a frost-prone valley up north, the right moves now can save weeks of future harvests.
Let Local Frost Risk Decide When Tomato Plants Come Out
Checking your local frost forecast is the first and most important step before pulling a single Wisconsin tomato plant. The idea that every Wisconsin gardener should yank plants the moment September arrives does not hold up when you look at actual conditions across the state.
Wisconsin spans a wide range of microclimates and growing seasons. Average first-frost dates vary considerably from one region to the next.
Mid-September can still offer productive outdoor ripening time in many Wisconsin locations. Instead of treating the calendar as a removal deadline, watch nighttime lows and listen for frost advisories in your county.
If a light frost threatens, UW-Madison Extension notes that plastic tunnels or floating row covers can protect plants through a light frost when removed during the day to prevent overheating. A hard freeze is a different story and signals it is time to harvest everything sound and pull the plant.
Declining production, widespread disease, or a confirmed hard freeze in your Wisconsin zip code are the clearest signals that removal makes sense. Use your local forecast, not a statewide headline, to make that call.
Harvest Sound Tomatoes Before Frost Arrives
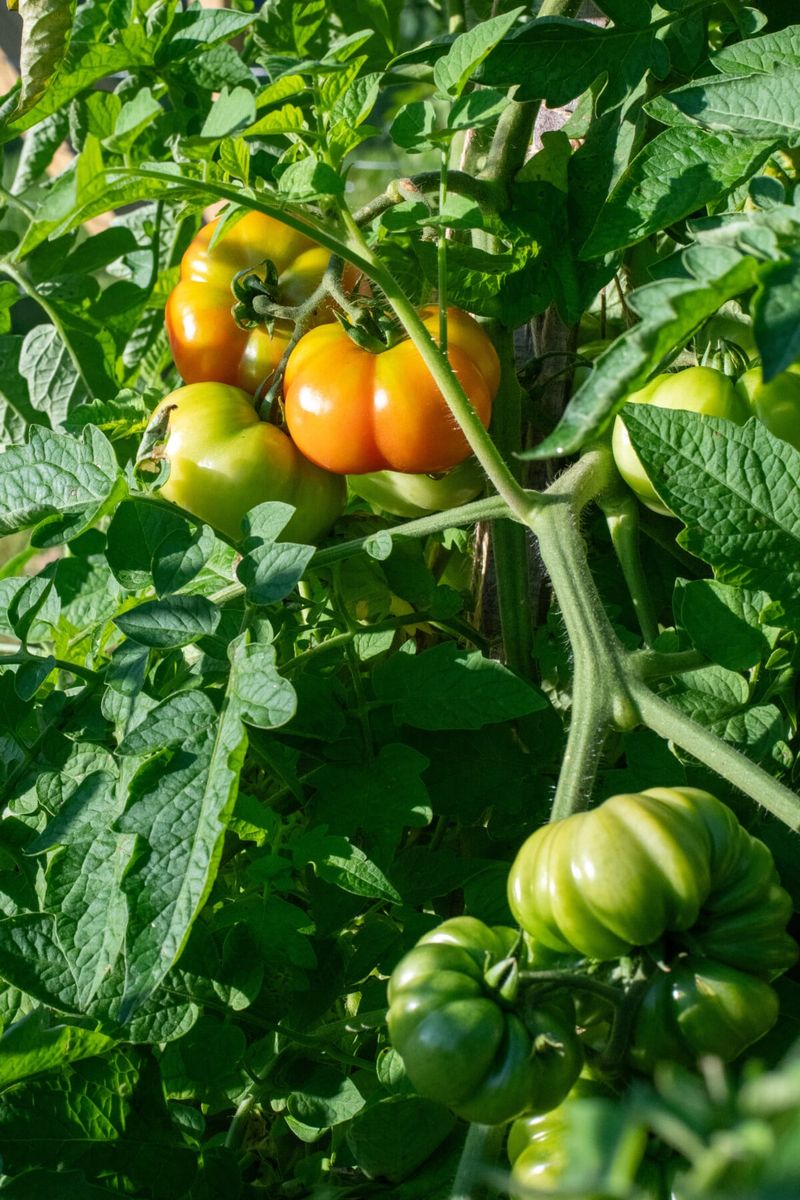
The core harvest rule is straightforward: pick every sound, usable tomato before a predicted frost or freeze hits your Wisconsin garden. Tomatoes are highly frost-sensitive, and waiting even one night too long can turn a useful harvest into a pile of damaged fruit.
Working through the plants the evening before a predicted frost, basket in hand, is time well spent.
Fruit harvested safely ahead of frost is a completely different category from tomatoes that have already been touched by freezing temperatures. The National Center for Home Food Preservation is clear that tomatoes from dead or frost-killed vines should not be used for canning, and University of Minnesota Extension canning guidance reinforces that frost-damaged fruit carries quality and safety concerns that make it unsuitable for shelf-stable preservation.
When sorting your harvest, set aside any tomato that shows visible mold, is leaking juice, feels mushy from frost exposure, or has obvious rot. Those go to the compost or trash, not the kitchen counter.
Sound fruit – even if fully green – can be sorted for ripening or cooking as described in the sections that follow.
One important distinction: a plant that shows some disease symptoms on its leaves does not automatically mean every tomato on it is ruined. Wisconsin Extension tomato guidance focuses exclusions on visibly damaged, deteriorated, or frost-exposed fruit rather than placing a blanket ban on all tomatoes from any plant with a leaf problem.
Your Wisconsin Garden Changes Every Week. Your Plan Should Too.
Gardening in Wisconsin changes quickly throughout the season. Every Friday you’ll receive a simple weekly plan showing exactly what to plant, prune, fertilize, harvest, and protect so you never miss the right timing.
Inspect each tomato individually and let the condition of the fruit itself guide your decision.
Sort Mature-Green Tomatoes From Immature Fruit
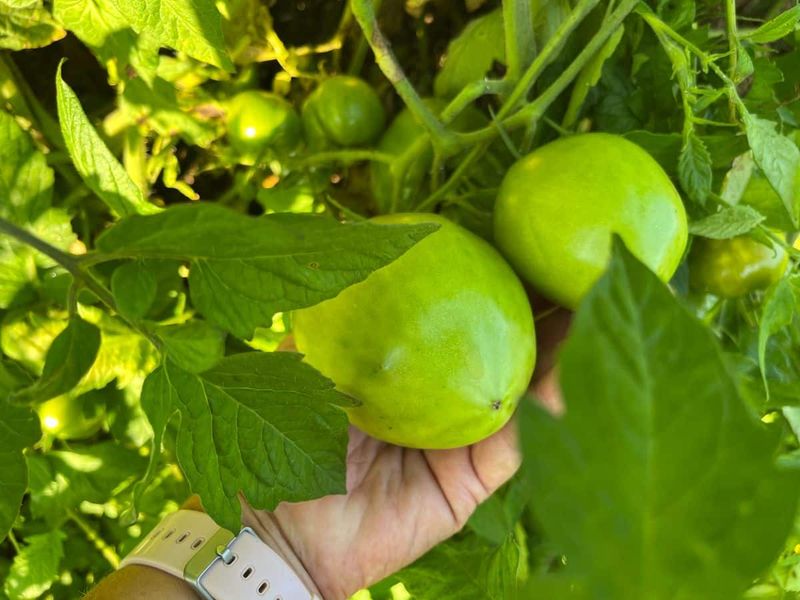
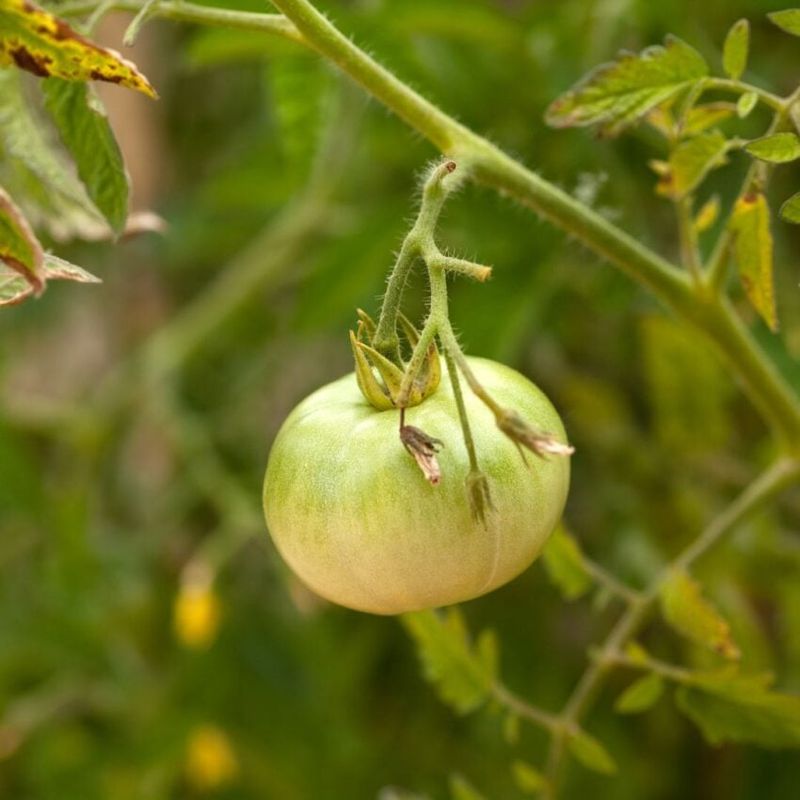
Not every green tomato is the same, and sorting your harvest by maturity is what separates fruit you can ripen indoors from fruit better suited to the skillet or the pickle jar. A mature-green tomato is one that has reached its full size and whose skin has begun lightening from deep green toward a lighter shade, sometimes showing a whitish, pinkish, or faintly yellow cast near the blossom end.
That color shift is a sign that the fruit has progressed far enough in development to continue ripening after it leaves the vine.
Small, hard, uniformly dark-green tomatoes with no sign of lightening belong in a separate pile. These are the ones that have not yet reached physiological maturity, and no amount of patience on a warm countertop is likely to turn them into a flavorful red tomato.
They are not wasted, though. Wisconsin cooks have long put immature green tomatoes to excellent use in fried preparations, relish, chutney, and pickles, as covered later in this article.
A useful sorting rule: if the tomato is full-sized and you can see any lightening of skin color at all, put it in the ripening group. If it is noticeably small and uniformly dark green with firm, dense flesh throughout, direct it toward cooking.
Wisconsin Extension tomato guidance supports this practical two-group approach as the most reliable way to manage a late-season harvest.
Create a Warm, Ventilated Indoor-Ripening Space
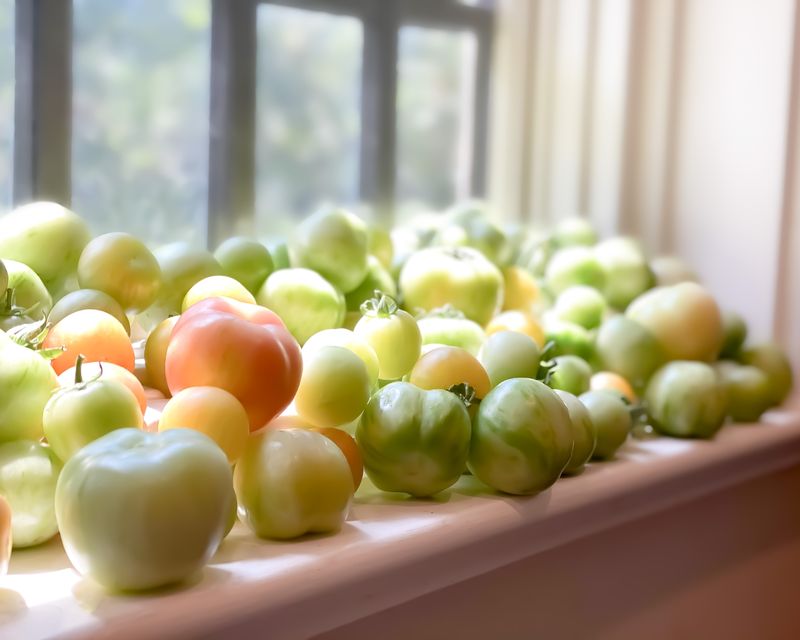
Setting up a proper ripening spot takes about ten minutes and makes a real difference in how many of your Wisconsin tomatoes actually reach the table. The goal is a warm, dry, well-ventilated indoor location where fruit can sit in a single layer with space between each tomato.
That separation matters because one tomato developing soft rot can quickly spread to its neighbors if they are stacked or touching.
UW-Madison Extension recommends storing tomatoes between roughly 55 degrees F and 70 degrees F and keeping them away from temperatures below 55 degrees F. Cold storage – including the refrigerator – can impair flavor development and interfere with the ripening process.
A kitchen counter away from drafts, a spare bedroom, or a dry basement shelf that stays comfortably warm all work well for Wisconsin homes in autumn.
Sunlight is not needed. Temperature and fruit maturity are what drive ripening, not light exposure.
A shelf in a dim spare room works just as well as a sunny windowsill, and direct sun can actually cause uneven heating that speeds decay on one side of the fruit. University of Minnesota Extension confirms that a warm location with good air movement is the right environment, with no mention of a sunlight requirement.
Paper bags or individual paper wrapping are optional tools rather than necessities. UC Agriculture and Natural Resources guidance on frost and harvest notes that wrapping can help manage the pace of ripening.
What to avoid is sealing tomatoes in airtight plastic bags, which traps moisture and encourages mold.
Inspect Stored Tomatoes as They Change Color
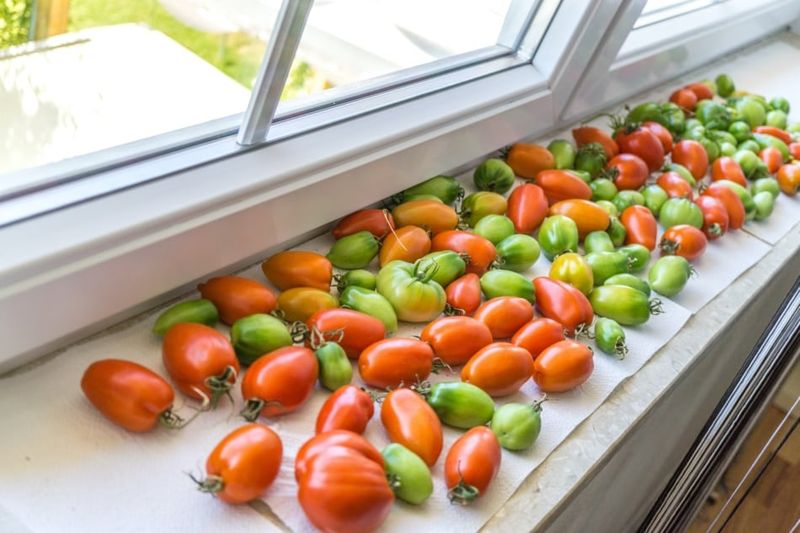
Storing green tomatoes indoors is not a set-it-and-forget-it project. A quick daily or every-other-day check through your stored fruit catches problems early and keeps the whole batch from going bad at once.
Pick up each tomato, feel for soft spots, and look for any signs of mold or leaking. Remove any fruit showing those problems immediately so it does not affect the ones next to it.
University of Minnesota Extension tomato guidance recommends using fruit as it colors up rather than waiting for every tomato to reach the same stage. A tomato that has turned fully red and feels slightly soft at the blossom end is ready to eat; one that is still greenish-white with firm flesh needs more time.
UC Agriculture and Natural Resources ripening guidance notes that warmer room temperatures generally speed the process while cooler conditions slow it down, but no fixed number of days applies to every fruit or every Wisconsin home.
Pulling the tomato plant does not force the harvested fruit to ripen faster. What actually determines whether a green tomato becomes a good red one is its maturity level at harvest, the temperature of the storage space, and whether disease or damage interrupts the process.
A truly immature tomato sitting in a warm room will not suddenly develop the flavor of a vine-ripened fruit just because the plant it grew on is gone.
Wisconsin Extension reinforces that regular inspection and timely use are the practical keys to getting the most out of your stored harvest. Plan to cook or eat tomatoes as they ripen rather than holding them for a single large batch.
Use Truly Immature Green Tomatoes in the Kitchen
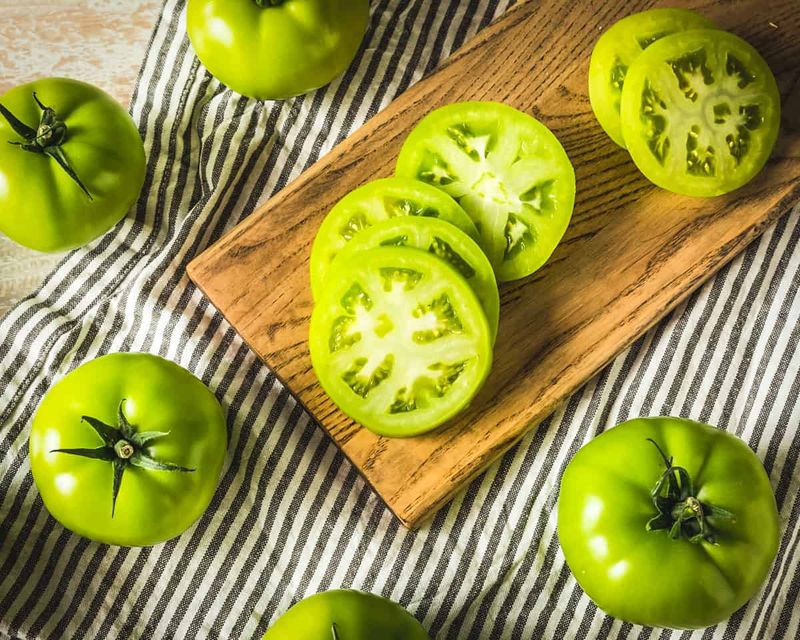
Small, hard, uniformly dark-green tomatoes that show no sign of maturity are not destined for the compost bin. Wisconsin cooks have a long tradition of turning end-of-season green tomatoes into some genuinely good food, and the options go well beyond the classic fried preparation.
The key is matching the fruit to the right method rather than forcing immature tomatoes into a ripening role they cannot fill.
Frying is the most familiar starting point. Sliced green tomatoes dredged in cornmeal and pan-fried in a little oil are a satisfying late-season side dish.
For longer storage, pickling works well, and green tomato relish or chutney are traditional Wisconsin pantry staples that use large quantities of unripe fruit efficiently.
Green tomatoes do contain tomatine, a naturally occurring compound in the nightshade family that decreases as the fruit ripens. Published research on green tomato compounds and studies on steroidal glycoalkaloid content at different ripening stages document its presence but do not establish that ordinary culinary servings of green tomato fruit are dangerous to healthy adults.
Normal food-safety practices apply: cook the fruit thoroughly, handle it cleanly, and keep the focus on the tomato itself rather than the leaves or stems, which are not culinary ingredients.
Freezing chopped green tomatoes for winter soups, stews, or salsas is one of the simplest approaches. Blanch briefly, cool, and pack into freezer containers.
This method requires no special equipment and preserves a useful supply of green tomato flavor for the months ahead.
Follow Tested Rules for Tomato Canning
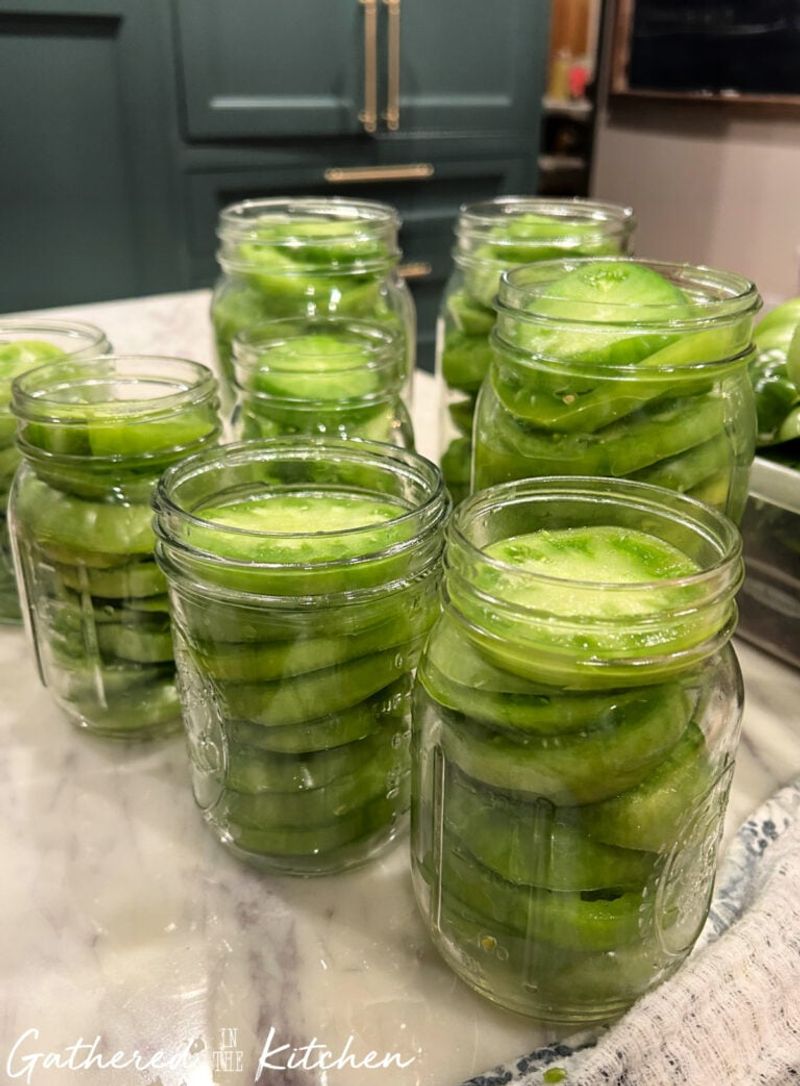
When the goal shifts from cooking dinner to putting up shelf-stable jars, the rules change significantly and the margin for error shrinks. Green tomatoes are generally more acidic than ripe ones, but acidity varies by variety, growing conditions, and maturity level.
That variability is exactly why tested procedures exist and why following them precisely is non-negotiable for safe home canning in Wisconsin.
The National Center for Home Food Preservation canning introduction specifies adding 2 tablespoons of bottled lemon juice or one-half teaspoon of citric acid per quart, with half those amounts for pints, when following applicable tomato-canning procedures. Bottled lemon juice must be used rather than fresh-squeezed because its acidity is standardized.
University of Minnesota Extension canning guidance reinforces the same acidification requirement and emphasizes using only current tested recipes.
Improvising is where things go wrong. A family salsa recipe, a handwritten relish formula from a grandparent, or a sauce that includes onions, peppers, garlic, or any other low-acid ingredient needs laboratory-tested processing instructions with precise ingredient ratios and timing.
Two methods that should never be used are open-kettle canning and oven canning. Penn State Extension addresses both methods directly and explains why neither produces a reliably safe product.
A jar that seals on the counter after being filled with hot liquid has not been through a tested process, and a vacuum seal alone does not prove the contents are safe to eat. Finally, do not can tomatoes from dead or frost-killed vines: the quality and safety concerns from frost-damaged fruit make it unsuitable for shelf-stable preservation.
Remove Severely Diseased Plants With Care
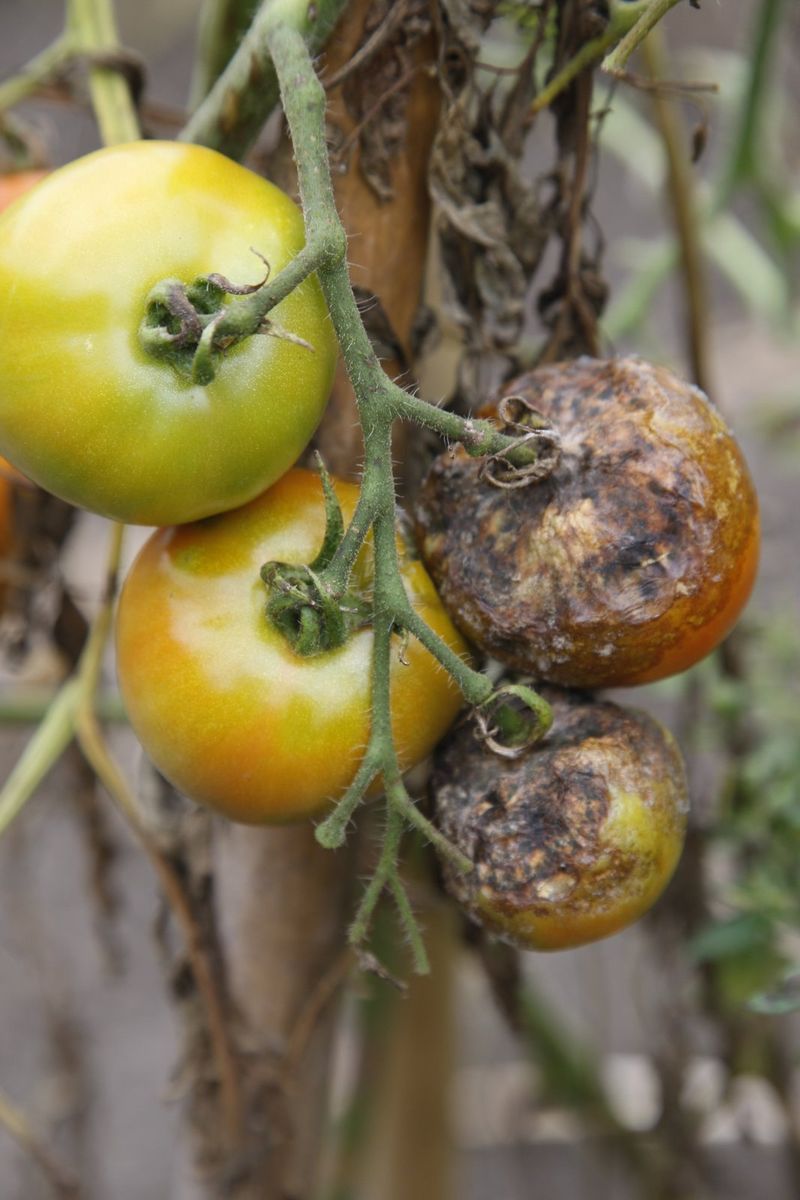
Cleaning up tomato plants at the end of the season is more nuanced than simply pulling everything and tossing it in the compost pile. Healthy tomato vines and leaf debris can be composted under suitable conditions, but plants showing late blight or other serious disease are a different matter entirely.
Putting infected material into a home compost pile risks carrying the pathogen forward into next season.
UW-Madison Extension’s garden winterization guidance recommends bagging and disposing of severely diseased tomato plant material rather than composting it. Wisconsin Extension late blight information is specific about removing infected debris from the garden area entirely, following local disposal guidance for your municipality.
On the fruit side, the exclusion applies to tomatoes that are visibly diseased, moldy, leaking, frost-damaged, or otherwise deteriorated. A plant with some leaf disease does not automatically mean every tomato on it is ruined.
Inspect each fruit individually and let its own condition guide your decision. Wisconsin Extension’s comprehensive tomato guide supports this fruit-by-fruit approach rather than a blanket discard rule.
The end-of-season sequence for Wisconsin gardeners comes down to a handful of connected steps: check the local forecast before pulling anything, harvest sound fruit ahead of any frost, sort by maturity and route each tomato toward ripening or cooking, follow tested procedures if canning is the goal, and bag severely diseased plant material for disposal rather than the compost heap. A green tomato is not a failure – it is just the next project.