8 November Rosemary Jobs for Florida Gardeners Before the Cool Season Arrives
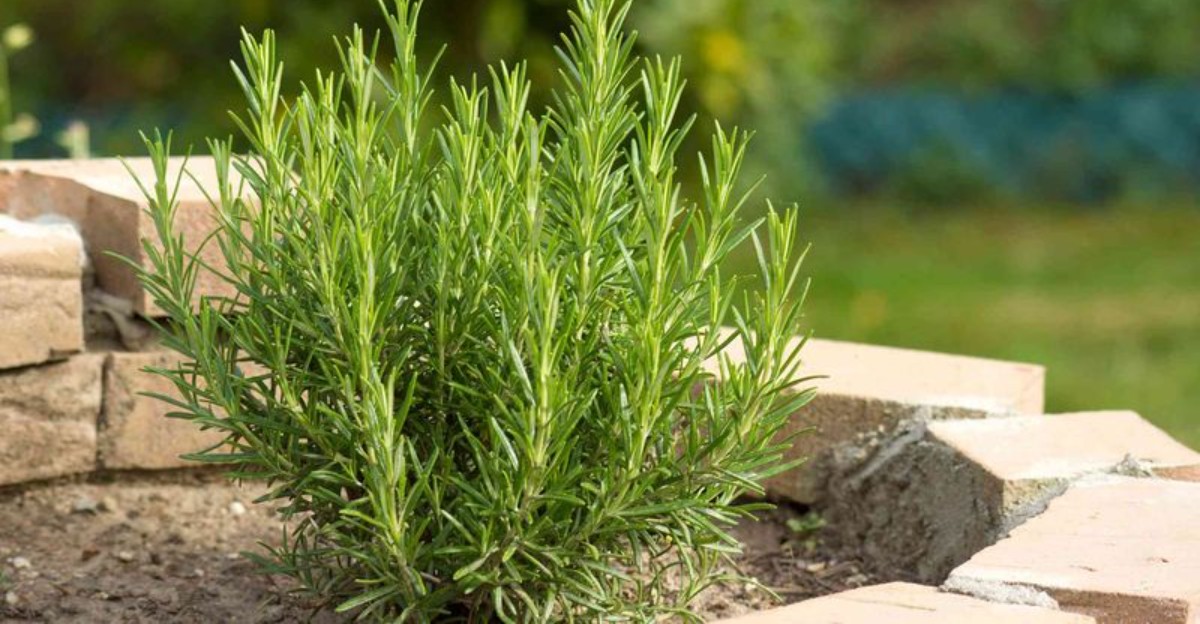
Botanists quietly moved a famous kitchen herb into the sage genus, Salvia, in 2017, and many seed packets still haven’t caught up. Its old name means dew of the sea in Latin, a nod to its salty Mediterranean cliffside roots.
That seaside heritage explains why the shrub shrugs off drought yet sulks badly when its roots stay soggy. In Florida, our wet summers can push it to the edge long before the cooler months show up.
I have to admit my own plant looked tired and leggy by Halloween one year, and it worried me. You might notice the same thing, because late fall is when stressed shrubs quietly show their summer damage.
A few simple chores right now can turn that scraggly bush into a fragrant, sturdy winter performer.
Which of these Florida jobs have you been skipping, and how much flavor are you leaving on the stem?
1. Check Soil Moisture Before Watering Your Rosemary
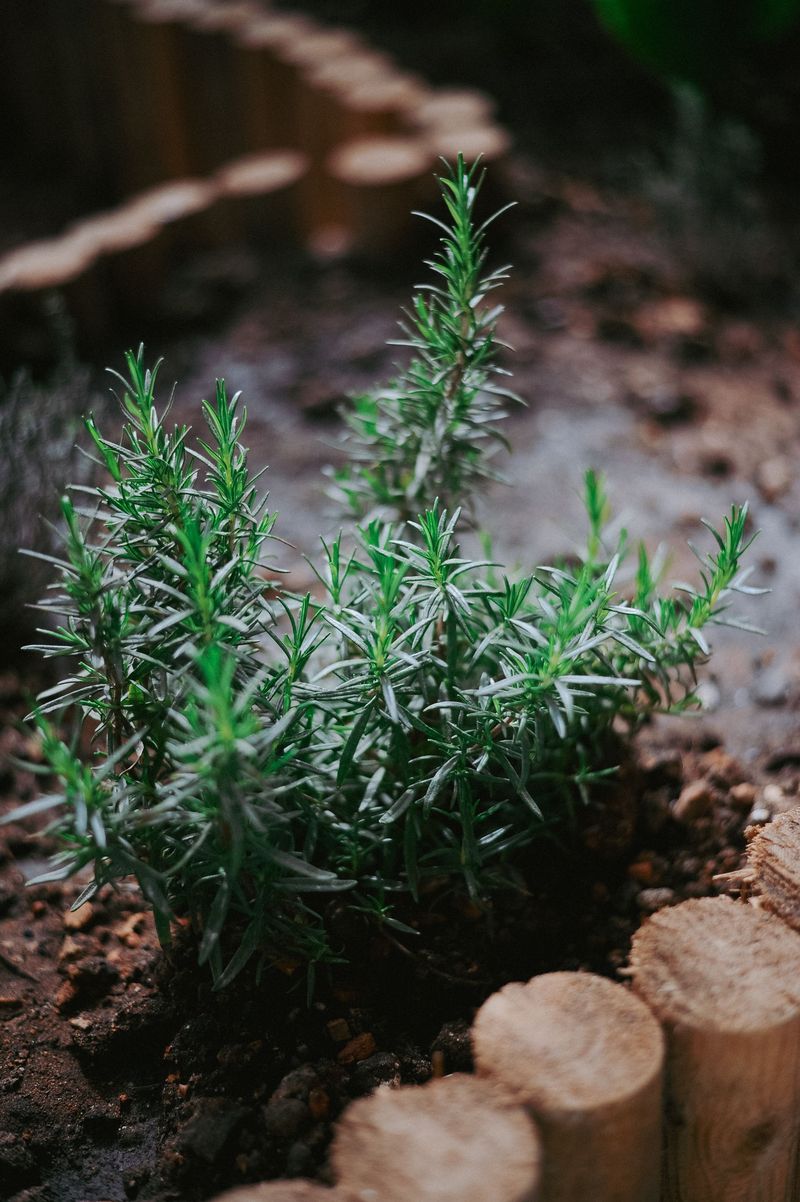
Stick your finger two inches into the soil, and your rosemary will tell you more than any watering schedule. Dry and dusty means a drink is welcome, while cool and damp means you should put the hose down.
I love how this little test saves me from guessing, especially when fall weather swings between dry and stormy. Growth slows as days shorten, so the plant simply uses less water than it did in July.
Overwatering is the classic mistake, and it often shows up as yellow leaves and mushy stems near the base. Root rot follows close behind, and once it settles into soggy soil, recovery becomes a real uphill climb.
That said, a long dry spell in late fall deserves attention, because thirsty shrubs handle chilly nights poorly. Well hydrated stems and leaves seem to cope better when the first cold front sweeps down the peninsula.
When you do water, soak the root zone deeply instead of sprinkling the leaves a little every day. Deep, occasional drinks push roots downward, where they find steadier moisture during the dry winter stretch.
Most in-ground plants need water only every week or two, depending on rain and your soil type. Sandy soil drains fast, so check it a bit more often than heavier ground with clay or muck.
Personally, I water early in the morning so the foliage dries before evening humidity settles over the garden. Your rosemary will reward that patience with tighter growth and a stronger, piney scent every time you brush past.
2. Trim Leggy Rosemary Stems Without Cutting Old Wood
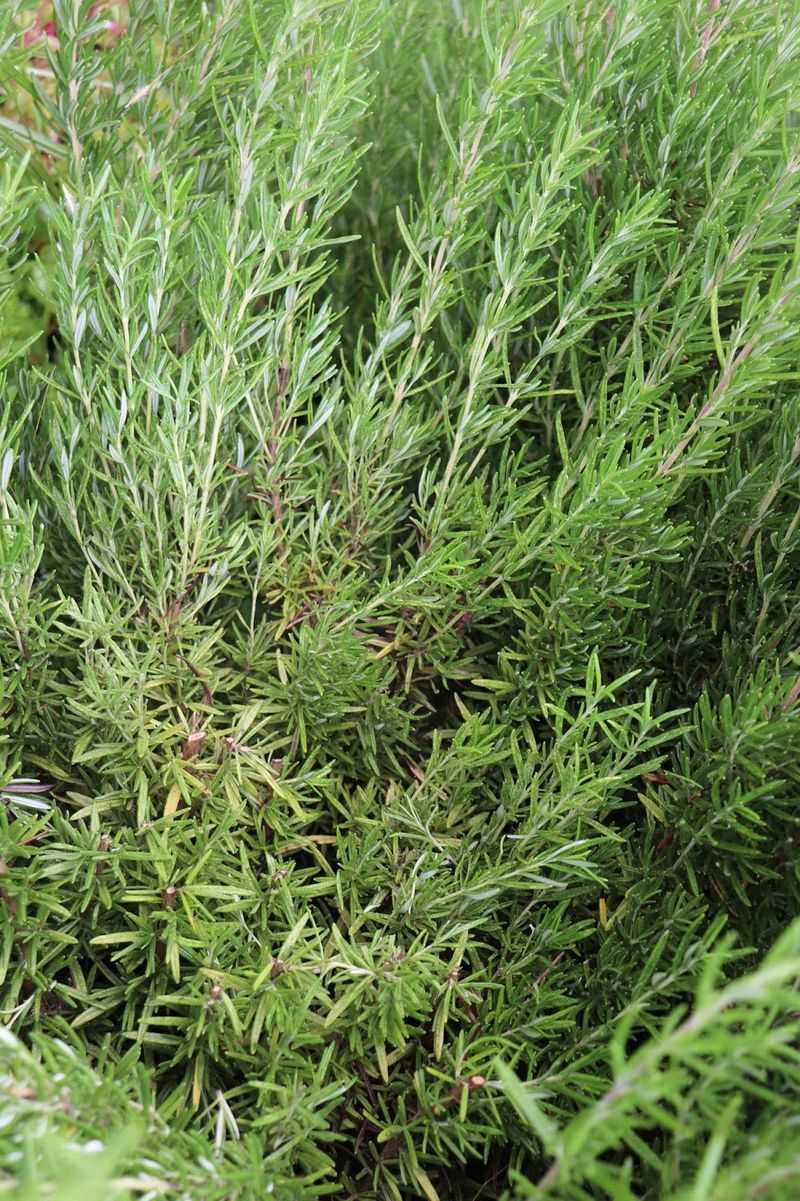
Few garden chores smell as wonderful as a fall rosemary trim, and your hands will carry that scent for hours. Lightly shaping the shrub now keeps it tidy and lets air move freely through its crowded center.
Keep the cuts gentle, removing no more than about a third of the plant during any single session. Heavy pruning is better saved for spring, when strong new growth can quickly fill in the gaps.
Woody stems are the big trap, because rosemary rarely sprouts fresh shoots from old, bare brown wood. Snip just above a spot where green leaves still grow, and new buds can form right below your cut.
I believe crossing branches cause more trouble than most people realize, since they rub and create small wounds. Removing one of each crossing pair opens the canopy and helps leaves dry faster after heavy morning dew.
Damaged or weak stems should go too, along with brittle twigs that snap easily between your fingers. Cleaning out that clutter makes the shrub look fresher and gives pests fewer places to hide.
Finish trimming at least a month before your area typically sees frost, so tender tips can toughen up. North Florida gardeners should aim for early November, while southern growers have a little more breathing room.
Clean, sharp pruners make smooth cuts that heal quickly and reduce the chance of disease entering the stems. Those clippings are a bonus harvest, so tuck them into roast chicken or dry them for winter soups.
3. Spread Gravel Mulch Around The Rosemary Base
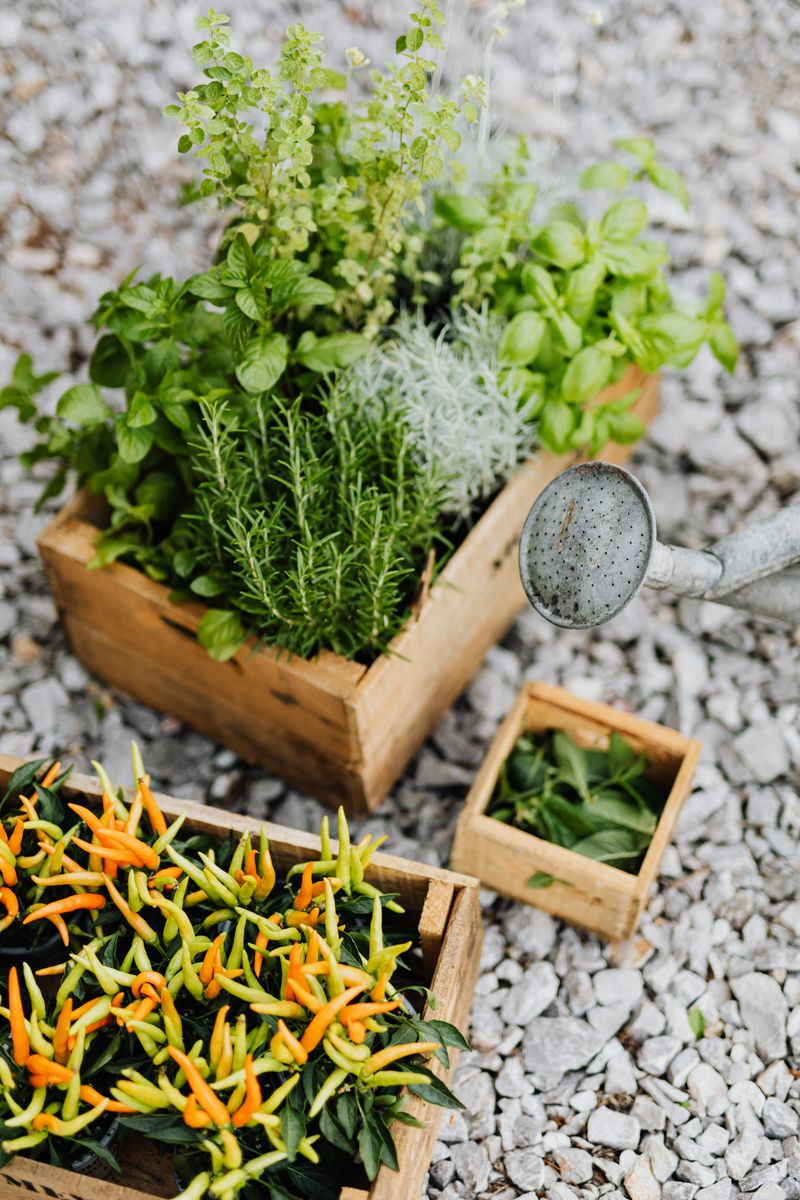
Rosemary grows wild on rocky Mediterranean hillsides, so it feels right at home with stones around its feet. I like how a ring of pea gravel looks neat while quietly solving several drainage headaches at once.
Heavy bark mulch holds lots of moisture, which most vegetables enjoy but this drought-loving herb often resents. Gravel or coarse sand lets rain slip away quickly, keeping the crown drier during long humid stretches.
Spread a layer about one to two inches deep across the root zone, extending toward the outer branch tips. Thicker layers are rarely needed, and too much material can trap warmth and dampness near the soil surface.
Leave a gap of a few inches around the main stem, because mulch piled against bark invites rot. You need that open collar of soil so air can reach the base and moisture can evaporate freely.
Mulch also helps smother sprouting weeds, which compete for water and crowd the lower branches of young plants. Pulling a few weeds now saves you from a bigger tangle once spring growth starts in earnest.
During a cold snap, that mulch layer helps buffer soil temperatures and gives roots a bit of extra insulation. It will not stop frost on the leaves, but it can soften the shock below ground for shallow roots.
If you already used pine straw or bark, simply pull it back from the stem and thin it out. Your shrub will appreciate the breathing room, and the soil near the crown will dry faster after storms.
4. Hunt For Spider Mites And Caterpillars On Rosemary
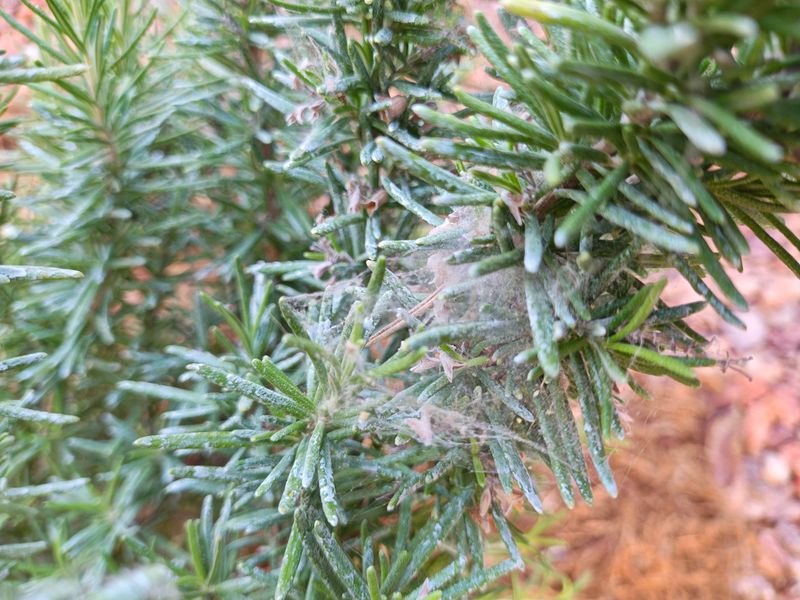
Rosemary’s strong oils keep most bugs away, yet a few stubborn pests still find that piney scent irresistible. Fall is a smart time to look closely, before cooler weather slows the plant’s ability to bounce back.
Spider mites are tiny, but their damage is easy to spot as pale speckles across the needlelike leaves. Fine webbing between stems is another clue, and these pests multiply fastest during hot, dry spells.
Try tapping a branch over white paper, and watch for moving specks no bigger than a grain of pepper. A strong spray of water knocks many mites loose, and repeating that every few days can keep numbers low.
What surprises me most is the southern purple mint moth, whose small caterpillars love rosemary and other mint family herbs. Look for silky webbing near shoot tips along with tiny dark droppings, called frass, scattered on the leaves.
Handpicking works well on small plants, and pruning out heavily webbed tips removes many larvae at once. If numbers climb, products containing Bt target caterpillars while sparing many helpful insects in your garden.
Powdery mildew can also appear as a white, dusty coating, especially when plants sit crowded together in shade. Better airflow and morning sun usually help, so space pots apart and trim interior growth that blocks breezes.
I can’t imagine skipping this quick checkup, because catching trouble early means fewer sprays and healthier harvests later. Make it a weekly habit while you snip sprigs for dinner, and problems rarely get a chance to spread.
5. Hold Off On Heavy Fertilizer For Rosemary
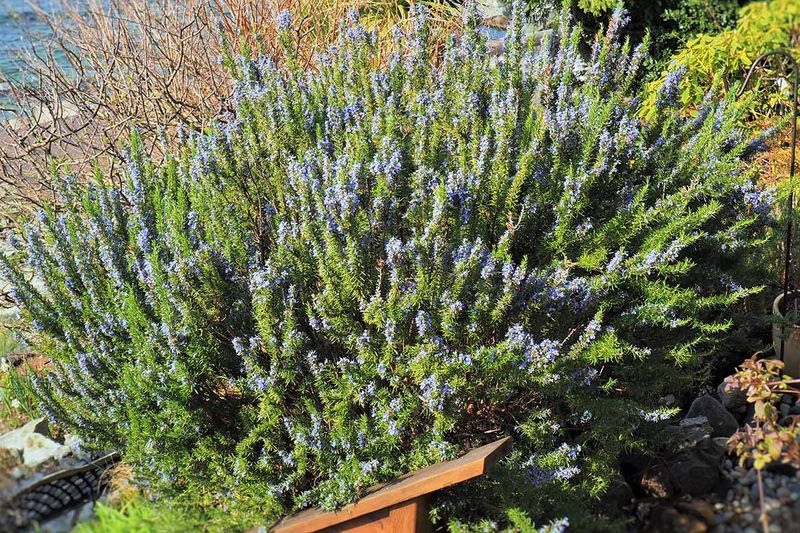
Rosemary is a lean eater, and this month your fertilizer bag can mostly stay tucked away in the shed. Too much food encourages soft, leafy growth that tastes milder and struggles when chilly air finally rolls in.
A light feeding in early fall can help in warm areas, but that window has mostly passed by now. Many experts suggest stopping fertilizer at least two months before your first expected frost date arrives.
In North Florida, frost can arrive by late November or December, so fresh feeding now works against you. Tender new shoots are the first to brown when temperatures dip near freezing on a clear, still night.
South of the frost line, plants keep growing slowly through winter, yet they still need very little extra nutrition. Rich soil often leads to floppy stems, and that relaxed growth can open the door to fungal trouble.
I believe a thin layer of aged compost is the kindest option if your shrub looks pale and slow. Compost feeds the soil gently and improves its structure without triggering a big flush of fragile growth.
Container plants are a slight exception, since frequent watering washes nutrients out of the potting mix over time. In warmer southern areas, one half-strength dose of fish emulsion this month is plenty for most potted herbs.
Save the real feeding for early spring, when a balanced slow-release fertilizer supports the fresh growing season. Your patience now pays off with sturdier stems and leaves packed with that bold, resinous flavor cooks love.
6. Move Potted Rosemary Near A Sunny South Wall
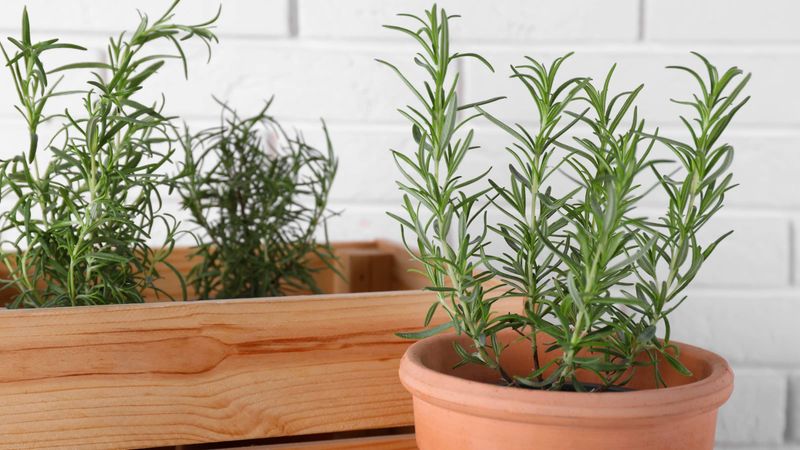
Cold fronts can sweep surprisingly far south, and a sudden freeze can catch exposed potted herbs off guard. Container roots sit above ground, so they feel cold much faster than roots tucked safely into garden soil.
Established rosemary handles light frost fairly well, and hardy cultivars like Arp tolerate much colder temperatures than most. Still, young plants and tender varieties appreciate a little help when forecasts predict temperatures near freezing.
Personally, I scout a spot against a south-facing wall, where bricks soak up daytime heat and release it overnight. That small pocket of warmth can make a noticeable difference during a brief cold snap in Central or North Florida.
Rolling plant caddies make the move easy, especially for large clay pots that feel heavier every single year. Grouping containers together also helps, since clustered pots shelter each other and hold warmth a little longer.
For in-ground shrubs, a frost cloth draped down to the soil traps heat rising from the ground overnight. Skip plastic sheeting touching leaves, because it can transfer cold directly and cause more harm than protection.
Remove covers the next morning once temperatures climb, so the plant gets sunlight and does not overheat. Leaving fabric on for days can trap humidity, which rosemary dislikes even more than a chilly breeze.
If you bring pots indoors, place them in your brightest window and expect some leaf drop during adjustment. Indoor air is often dry and dim, so return plants outside once the cold spell passes.
7. Check Drainage Holes On Container Rosemary
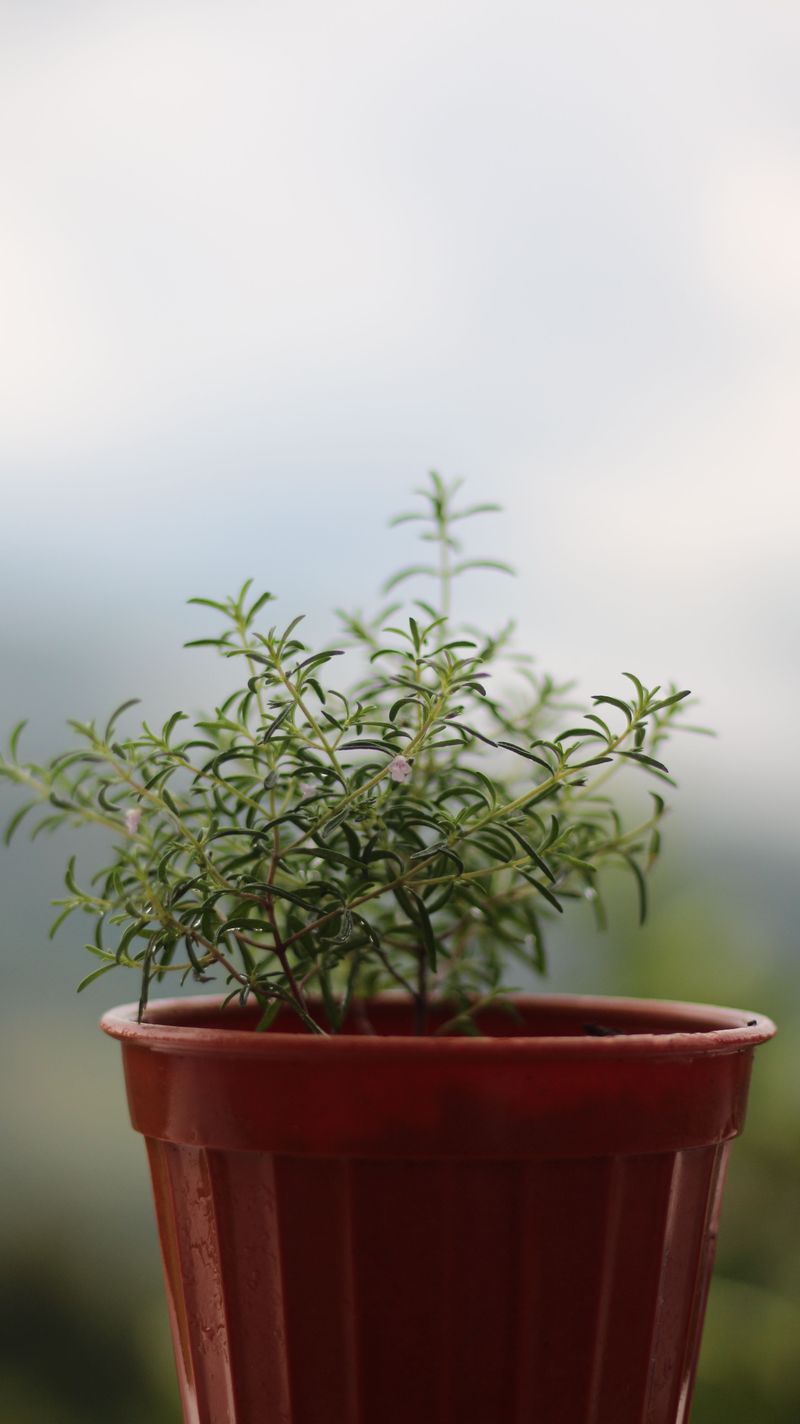
Flip your rosemary pot over, and you might be shocked to find a single tiny hole clogged with roots. That small opening controls everything happening below the surface, and cooler weather makes its job even more important.
Water lingers longer in pots as days shorten, because less sunshine and cooler air slow evaporation dramatically. Soggy potting mix in winter is one of the fastest routes to root rot for this Mediterranean herb.
Poke a chopstick through each hole to clear packed soil, and make sure water flows out freely after watering. Saucers deserve a glance too, since standing water underneath lets roots soak in a stagnant puddle for days.
I have to admit terra cotta is my favorite choice, because its porous walls let extra moisture escape. Glazed or plastic containers work fine as well, but they need a looser, faster-draining mix to compensate.
A good blend combines quality potting soil with plenty of perlite or coarse sand for quick drainage. If your current mix feels dense and stays wet for a week, repotting now is worth the effort.
Choose a pot only slightly larger than the root ball, since oversized containers hold excess soil that stays damp. Gently tease circling roots apart before settling the plant in, then water once and let it drain.
Afterward, cut back watering frequency noticeably, checking the mix by weight or finger test before each drink. A light pot usually means it is ready for water, while a heavy one can easily wait another few days.
8. Raise Soggy Rosemary Into A Sunny Raised Bed
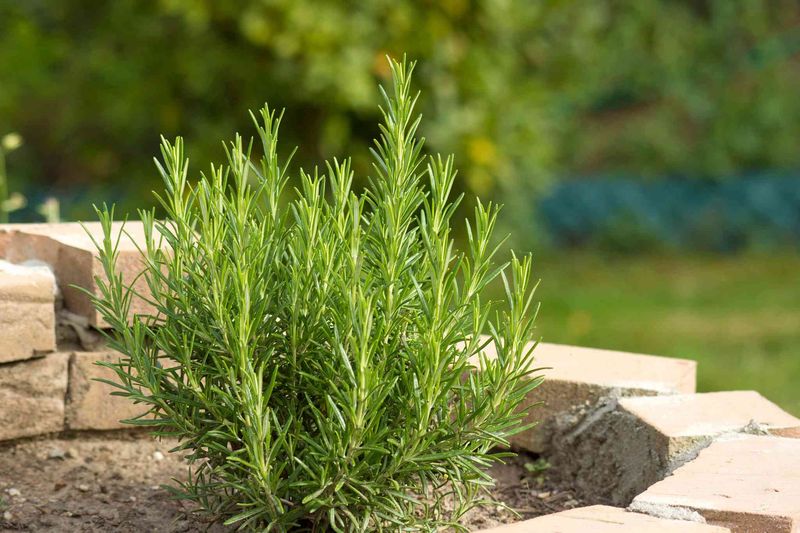
Summer storms are honest teachers, and any rosemary that yellowed after August downpours is sending a clear message. Poor drainage is the top cause of root rot in this herb, especially across low, flat Florida yards.
After a heavy rain, walk your garden and watch where puddles linger longer than an hour or two. Those soggy spots are rough on Mediterranean plants, no matter how much care you give them otherwise.
Mild fall weather makes this a comfortable season for relocating struggling shrubs, without the brutal summer heat. Cooler air reduces transplant stress, and roots can settle in before the next rainy season begins in late spring.
Raised beds are my favorite fix, because lifting roots even eight to twelve inches above grade changes so much. Fill them with native soil blended with sand and some aged compost for a loose, fast-draining texture.
Aim for a soil pH between roughly 6.0 and 7.0, which your county extension office can help you test. That small step removes guesswork and tells you whether lime or other amendments are actually needed.
Sunlight matters just as much, so pick a site receiving at least six to eight hours of direct sun daily. Shady corners lead to thin, floppy growth and a weaker fragrance that disappoints anyone hoping for a flavorful harvest.
When moving an older plant, dig a wide root ball and water it in well to settle the soil. Give it a few weeks of steady attention, and you may spot fresh green tips pushing out before the holidays.