Water Propagation: Everything You Need To Know
All activities related to indoor gardening are exciting and fun, but one definitely stands out: getting new plants through propagation!
If you are a beginner grower and don’t know much about all the different propagation methods, you’ll enjoy hearing about the stem cutting or leaf cutting methods, air layering, division, etc.
However, there’s a straightforward method that’s perfect for beginners, known as water propagation.
I’ll tell you everything you need to know about it, including its benefits and drawbacks.
Let’s get started!
What Is Water Propagation?
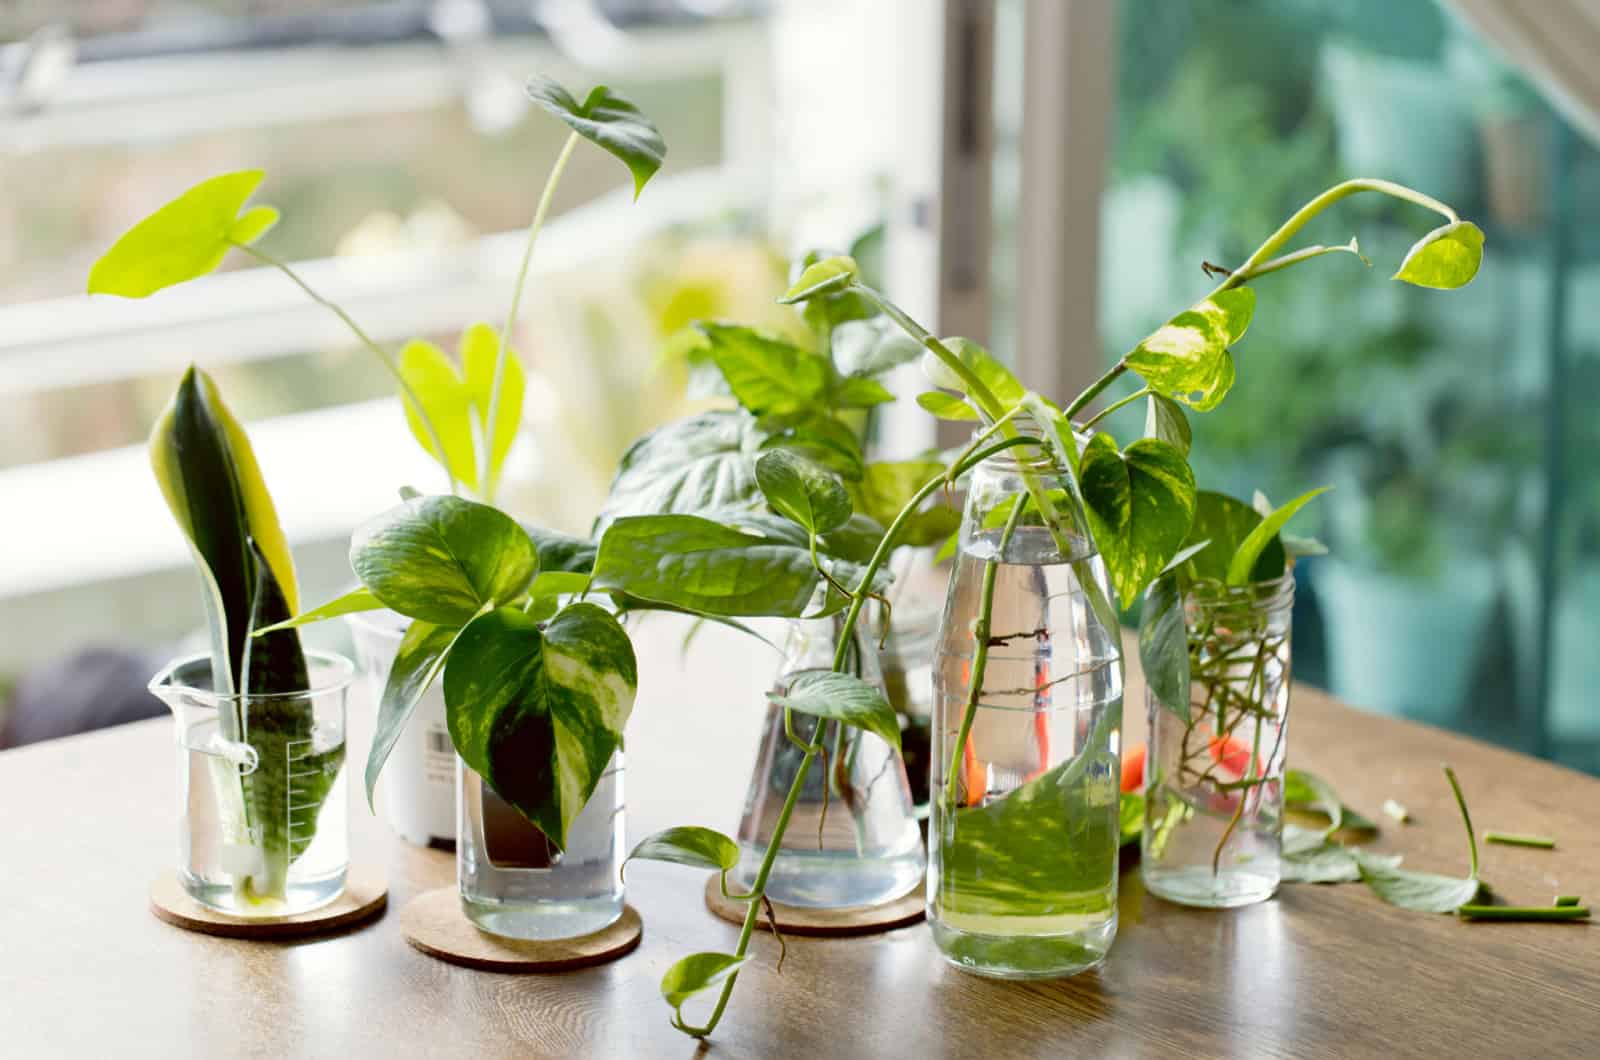
You’ll come across the term water propagation whenever there’s a discussion about the stem cutting method.
Rooting the cuttings in water means that they have no roots and that the water will aid in their development.
We’re going to discuss both the advantages and disadvantages of rooting stem cuttings in water.
The process is simple: prepare the necessary equipment, immerse the cuttings in water, and transplant them once the roots sprout.
That sounds like a piece of cake, right? Well, it’s simple when you follow each step carefully, but if you skip any parts or do them wrong, this method can fail.
Let’s look at the benefits first.
The Benefits Of Propagating In Water
You can root the cuttings directly in soil, but is it good to keep them in water first?
Unfortunately, roots can’t develop overnight. The process may last for an extended period, especially with larger plants that have more robust stems.
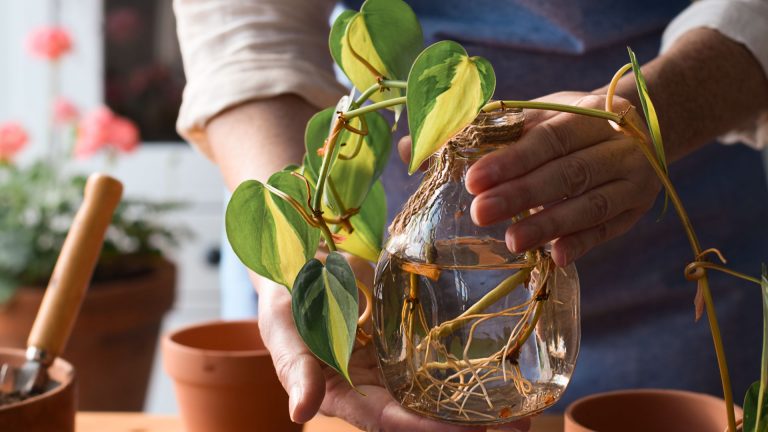
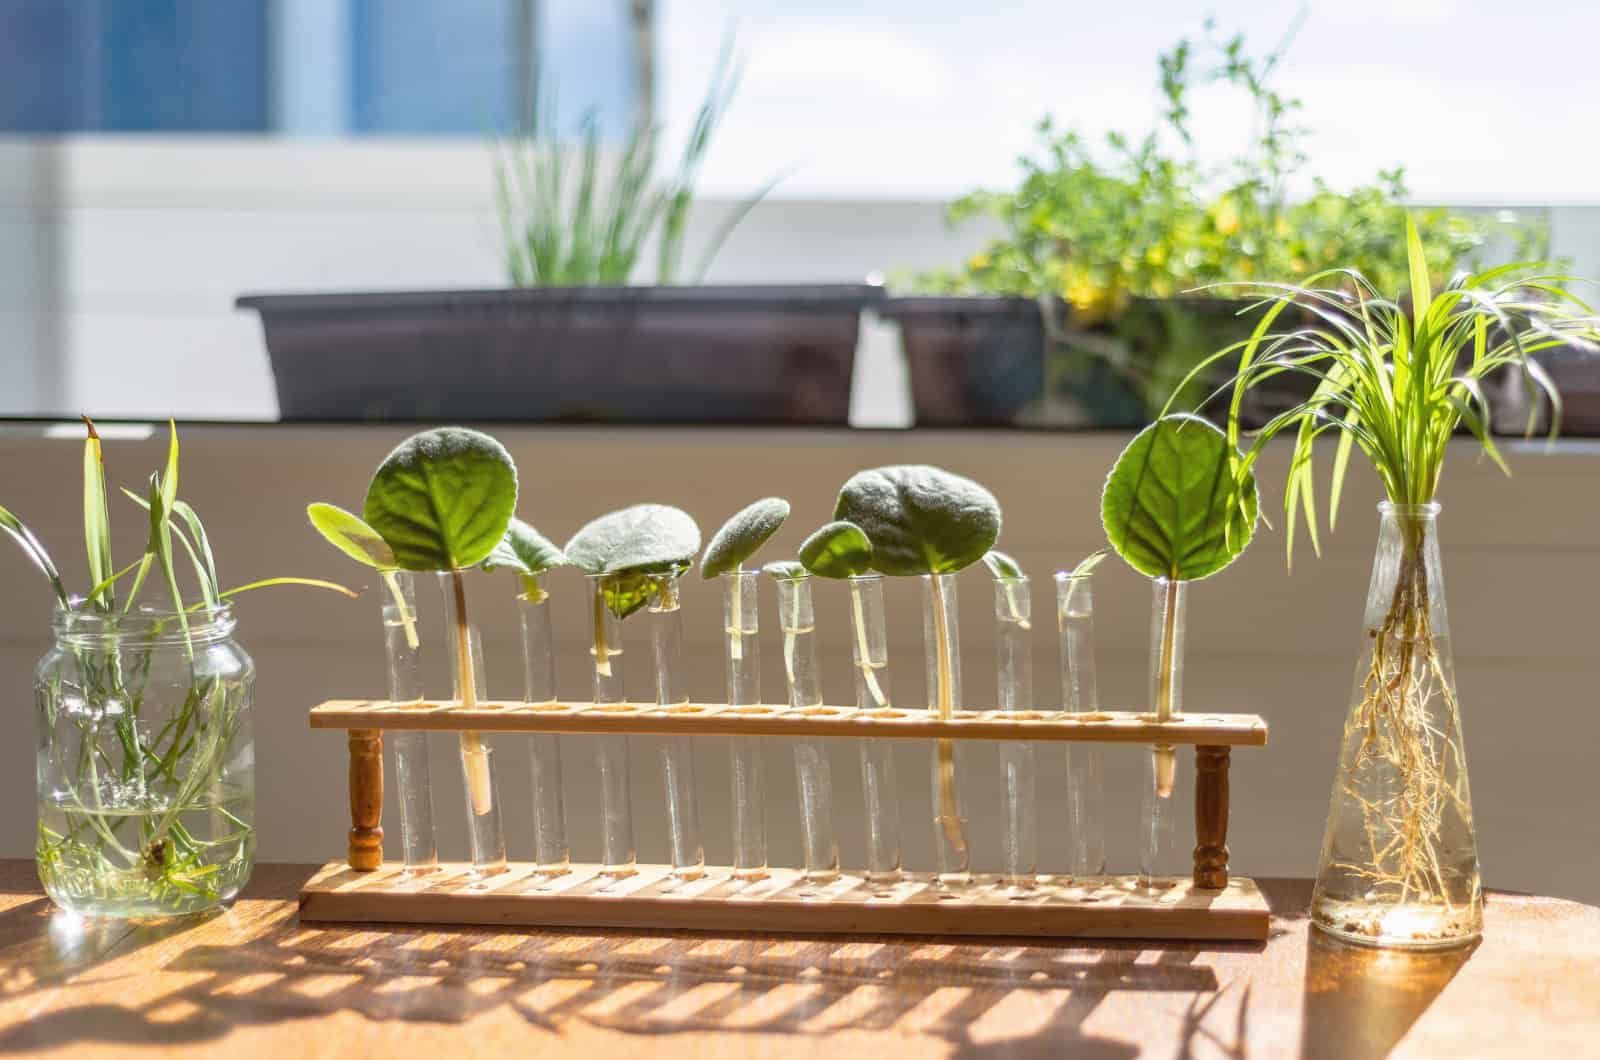
When using water as a rooting medium, you can observe the root development as the container is clear (it must be), so everything is visible.
It’s also easier to detect issues with the cutting and monitor the overall health.
One of the biggest benefits of this method is that it’s entirely pest and pathogen-free, so you don’t need to worry that some tiny creature is sucking the life out of your cutting or that a pathogen is eating newly developed roots.
When using this method, you’ll know the precise growth stage of each root, and it won’t take much time for the roots to be ready for transplant into the soil.
Water Propagation: Drawbacks
Just like any other part of indoor gardening, this type of propagation isn’t problem-free.
Many growers think that plants shouldn’t be rooted in water, so let’s see what brought them to that conclusion.
First off, stagnant water can cause the cutting to rot before it develops roots. Bigger problems arise when the roots are developed, but the water is stagnant; in this case, your cutting will suffer from root rot.
If you are using this method for the first time, it can be tricky to solve the issue with stagnant water and rotting, so keep reading to find out how to prevent it from happening in the first place.
Another drawback is related to the roots; they develop in water, and are referred to as water roots.
When compared to ‘normal’ roots, water roots are sensitive, and you can easily break them during transplantation. Other conditions, such as inadequate light, will damage these roots easier than normal roots.
Propagating In Water vs Soil
I mentioned that you could skip the part with rooting plant cuttings in the water and put them directly in the soil.
With soil propagation, you don’t know when the roots are developed or if they have developed at all. Everything may look fine above the soil line, but you can’t know what is going on underneath.
Soil also contains fungi that activate once they receive enough water.
However, the roots will be stronger if grown in potting soil alone as they won’t need transplantation, which means you can’t damage them.
The cutting will receive nutrients from an adequate potting mix, which makes the roots more resistant to issues.
The roots are less likely to suffer from root rot if you don’t keep watering the soil.
Water roots typically develop faster.
Therefore, the rooting medium mainly depends on you.
Let’s find out how to root the cuttings in the water so you can decide which method to use.
Plant Propagation In Water: What You’ll Need
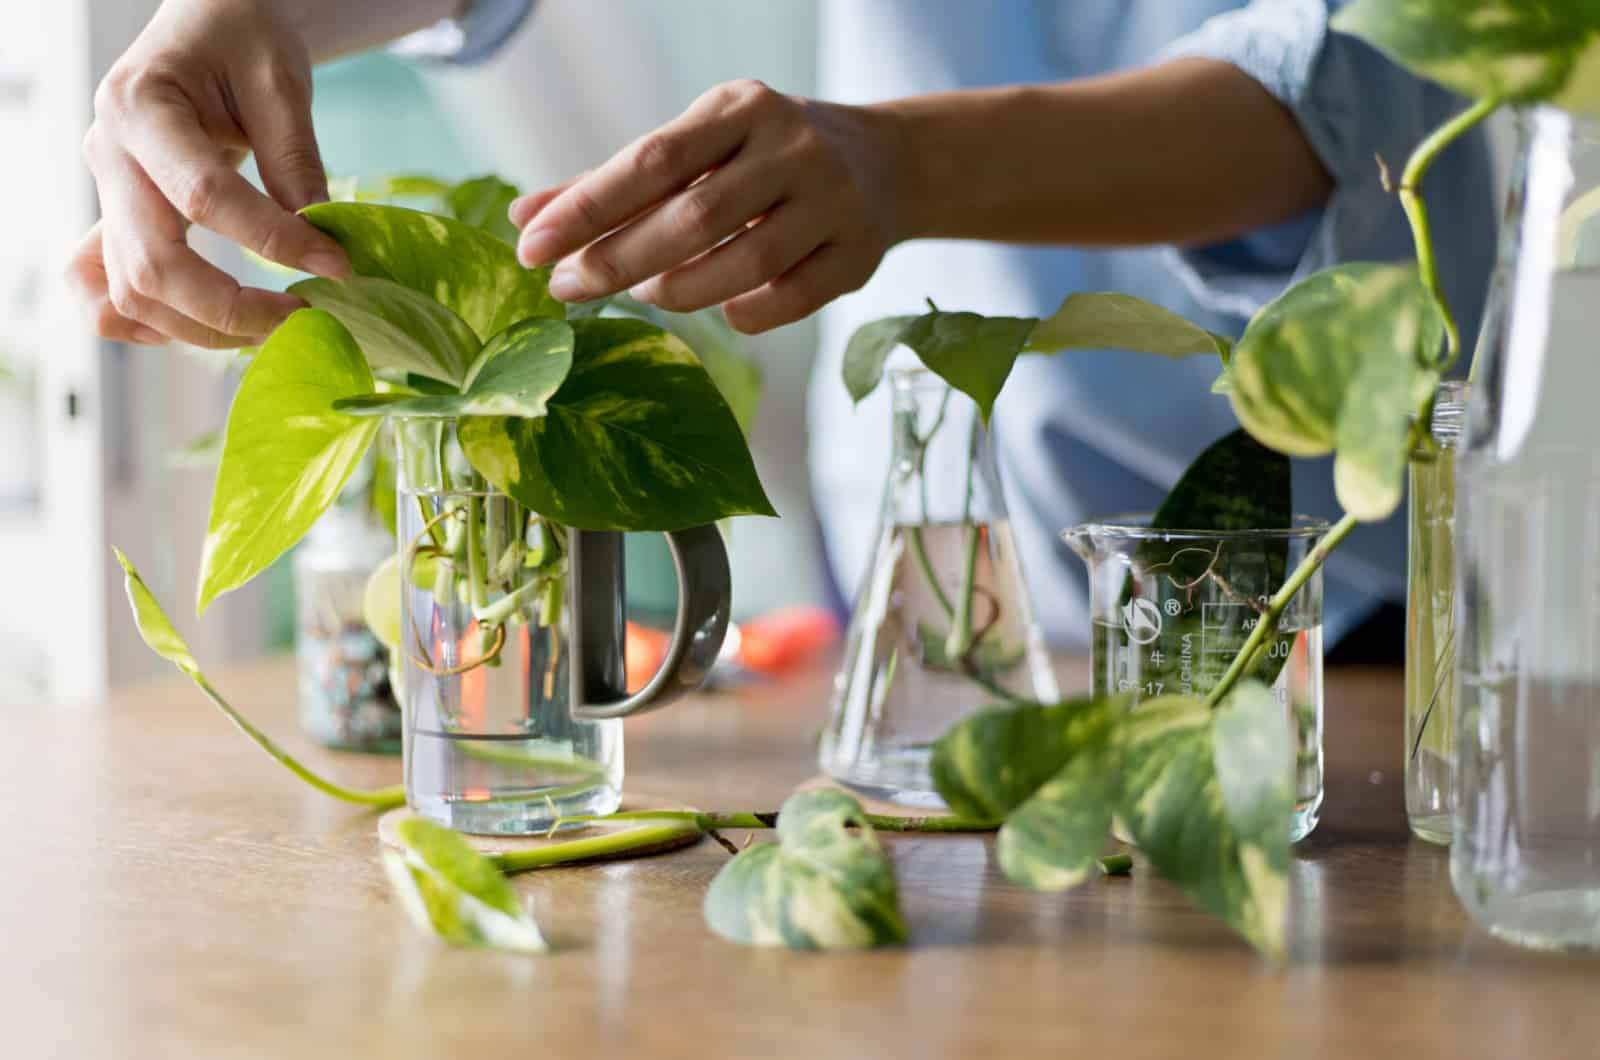
You should prepare the equipment you’ll need before you start. Don’t worry, propagation isn’t expensive.
It’s always better to root cuttings than buy new plants.
Before I tell you more about the equipment needed for rooting, I must remind you that your plant needs to be completely healthy in order for the process to succeed.
For example, if you are rooting fiddle leaf fig cuttings in water, your fig plant needs to be healthy, and disease and pest-free.
If you notice that some leaves are diseased, the soil is mushy, or the plant is wilting or drooping, first figure out what’s going on, solve the problem, and then continue with propagation.
Now, let’s look at the tools you’ll need.
Tools
Luckily, the tools we use for houseplants don’t cost much, and the majority are long-lasting.
Think of it as an excellent investment.
Here is a list of the tools to prepare:
1. Gloves: technically, gloves are optional, but bear in mind that some plants, such as Philodendrons or Monsteras, are toxic, so I recommend protecting your skin by wearing gloves to avoid irritation.
When choosing gloves, make sure they fit you and they are not too sturdy, as indoor plants are more delicate compared to garden plants.
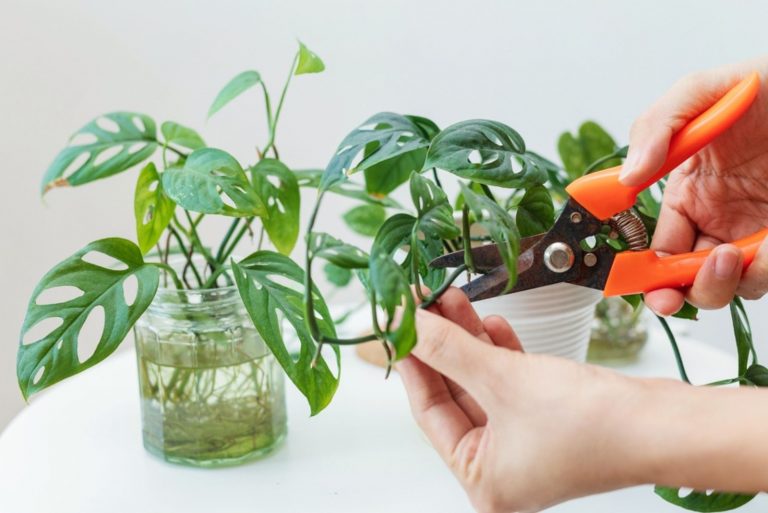
2. Pruning shears, scissors, or knives: it’s really up to you when it comes to the cutting tools, but consider a few things first:
If you use pruning shears when handling plants, feel free to use them for propagation. However, I recommend using smaller tools when handling smaller plants. For example, I suggest a small, sharp knife if you want to propagate a watermelon peperomia.
3. Sanitizing solution: If you want the rooting to succeed, you must use a sanitizing solution. The last thing you need right now is contamination.
You can find many sanitizing solutions on the market, but I usually use isopropyl alcohol, bleach, or sometimes household disinfectant.
Cuttings & Rooting Medium
Of course, you’ll need cuttings and some containers to root them in.
The process of taking stem cuttings varies from plant to plant, but there are some common characteristics.
For example, the cuttings won’t develop roots if they don’t have nodes, so propagating a Monstera without a node is impossible.
You can snip a longer section of the parent plant stem and cut it into a few smaller sections if you are propagating vining plants like the string of dolphins.
Let’s now discuss the rooting medium. You can use any type of container, including pots without drainage holes.
However, I highly recommend using a clear rooting medium, as you never know with water. It’s best to inspect the health of the cutting regularly, and it’s easier to do so when using clear containers.
A clear glass, vase, or jar will make for a great rooting medium.
What Water Is Best For Plant Propagation?
We have the plant, the tools, the cutting, and the rooting medium, so now we just need the right water type.
Sadly, you can’t simply use tap water for the cutting because it’s not the water type to use for plants.
Chlorine and fluoride are your main concerns as plants are sensitive to these elements, so it would be best if you could avoid using tap water.
You have two options: rainwater or filtered fresh water. Rainwater gives your indoor plants the same type of water they receive in their natural habitat.
Filtered water is a suitable alternative in which cuttings do well.
Also use room temperature water because if it’s too cold or too hot, it will cause temperature shock.
How To Root Cuttings In Water
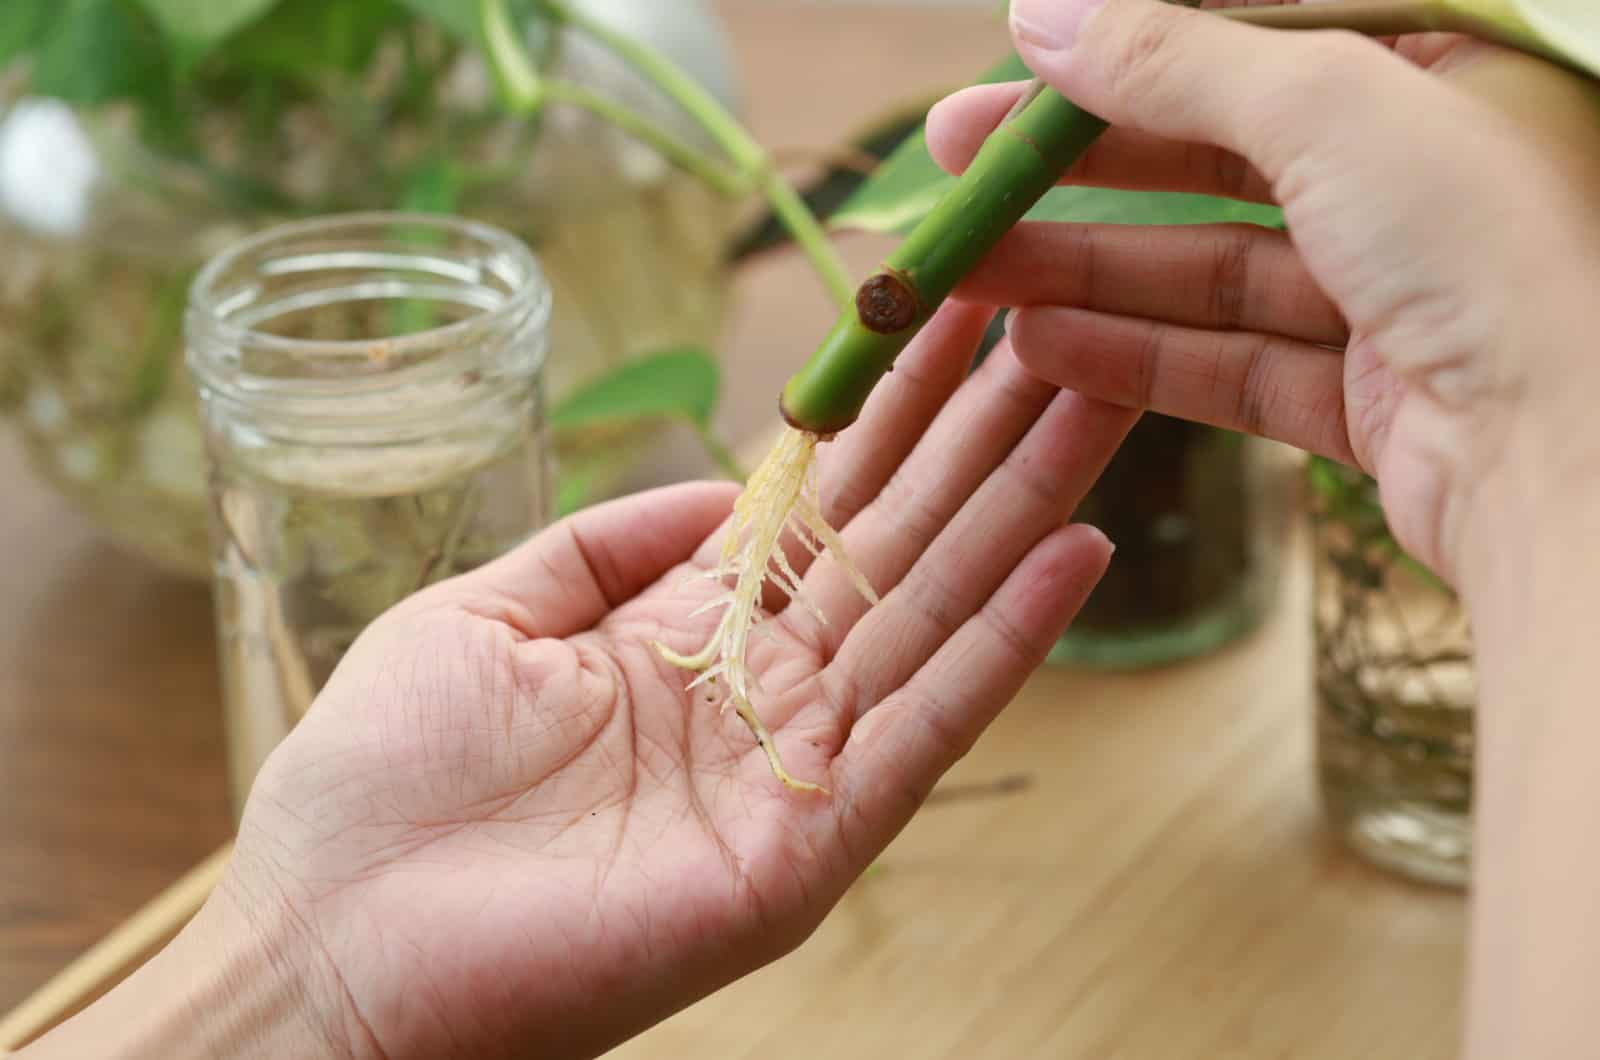
You can easily root Monstera cuttings in water to get great results. It’s simple, and tropical plants seem to love it.
Here’s how to place the cuttings in water:
• Fill the rooting medium with fresh water.
• Put the bottom third of the cutting in the water because the rest of the cutting could quickly decay if immersed for an extended period of time.
Pro tip: Remove any lower leaves that come into contact with water because they may start rotting after a couple of days and interfere with the process.
New growth won’t appear if you don’t ensure the appropriate conditions.
Let’s find out how to speed things up and get new and healthy plants ASAP.
How To Boost Root Development
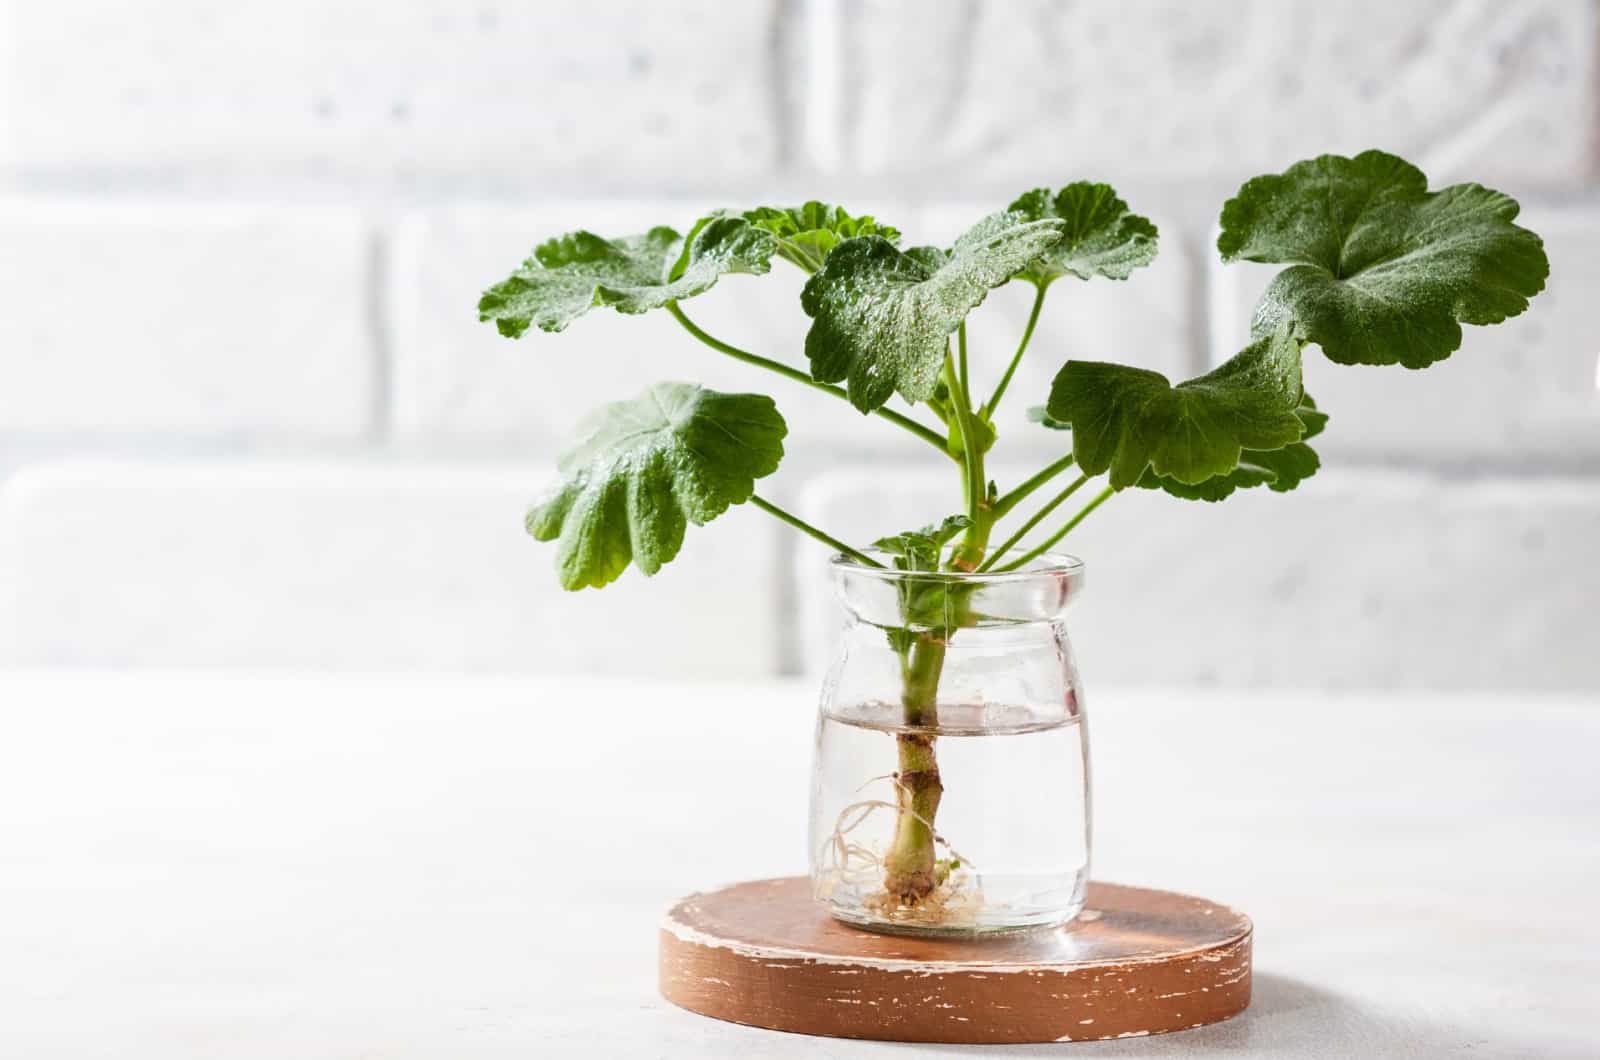
Some plants will develop new roots before others due to a faster growth rate.
You need to pay attention to all your plants as only the right conditions will lead to successful propagation.
Here are a couple of tips for promoting root growth:
Use A Rooting Hormone
Once, my gardener friend told me that the roots would still sprout without any supplements. Well, he was right, but I am a pretty impatient person, so I wanted to boost the growth of my plant.
Rooting hormones contain chemical substances and have a wide range of uses in horticulture, including promoting root development.
You can find rooting hormones that consist of synthetic chemicals or organic hormones.
As a result, they are more cost-effective because they last longer before losing their effectiveness.
Some plants might take a bit longer to develop roots, while others might not begin to produce hormones at all. They dehydrate or decay when this occurs.
Rooting hormones will aid in root production and also help plants to adapt after transplantation from water into the soil.
You can choose between liquid, gel, or powder rooting hormones.
Ensure Enough Light
Your houseplant will need a lot of light to develop a strong root system.
The light level depends on the type of plant, but the majority of houseplants prefer indirect light.
If you propagate polka dot plants, you’ll need to ensure bright indirect light.
All indoor plants have one thing in common – they are sensitive to direct sunlight!
Plants such as Sansevierias (snake plants) will display leaf scorching and curling when exposed to intense sun rays. Placing sheer curtains on a south-facing window, avoiding north-facing windows, and placing plants near east or west-facing windows is the best thing you can do.
On the other hand, low light isn’t a good choice for houseplants either. The roots can’t develop if you don’t give them enough light.
Additionally, new leaves won’t form when the plant doesn’t receive enough light.
If you can’t provide a spot with enough light, a great way to boost light levels is by using grow lights.
Ensure Proper Humidity
Different houseplants require different humidity levels!
Tropical plants are used to pretty high humidity levels in their natural surroundings. Ensuring enough humidity for these plants may be a little tricky due to the low humidity typical of most households.
Therefore, we’ll need to boost humidity levels after propagation.
There are a couple of ways to increase humidity indoors. When it comes to cuttings, the best practices are misting and covering the containers with plastic bags.
The function of plastic bags on containers is to trap the moisture within and provide enough humidity.
However, you’ll need to uncover the cutting from time to time as your plants need some air.
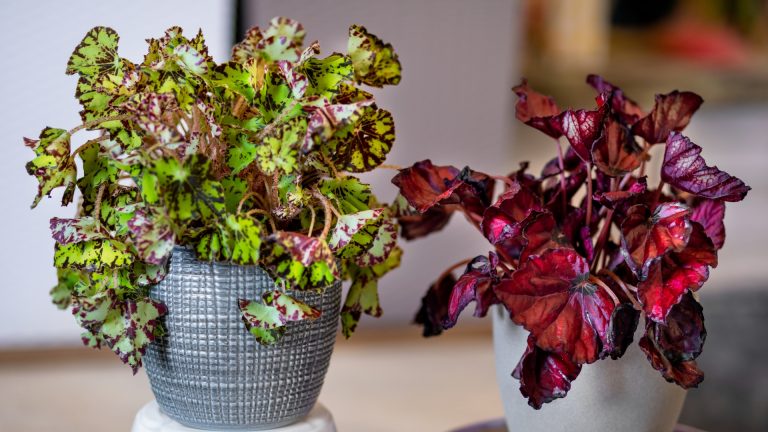
So, if you decide to propagate the Begonia maculata plant, pay attention to the humidity level as it needs to be higher than 50%.
Low humidity decreases the evaporation rate, so your plants may quickly get root rot if grown in low humidity.
How Long Do You Propagate In Water
Water propagation typically takes a month, but it depends on the type of plant and the conditions you ensure.
Of course, some plants will produce roots earlier, and you’ll only notice them after two weeks.
On the other hand, some plants may take over a month. If the cuttings take a lot of time for root production, you’ll need to check if all requirements are being met.
My advice is not to panic. Check the water in the rooting medium and the overall health of the cutting. A healthy cutting will have the color of the mother plant and won’t be discolored, mushy, or soft.
It also won’t smell bad, and the water will look fresh and clean. Be patient, and your favorite plants will form roots in no time.
The general rule is to transplant the plant cuttings once the roots are about 1-2 inches long.
How To Transplant The Cuttings
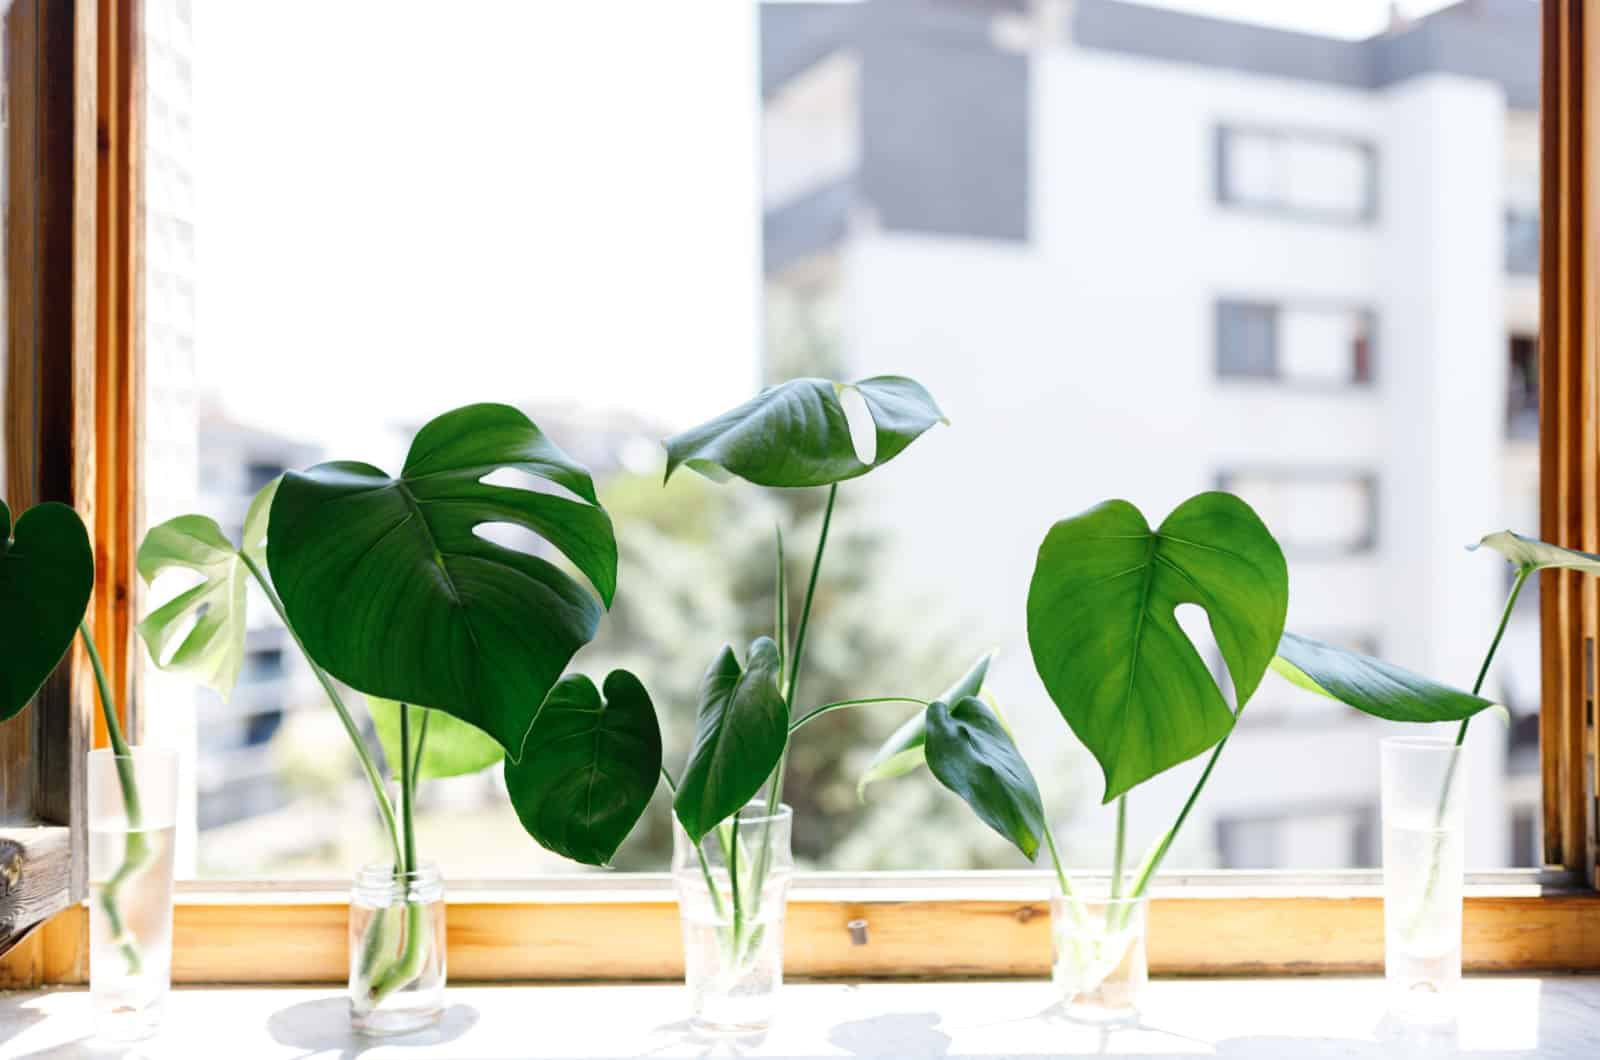
After propagation, your plants will need transplantation. You can grow Monsteras in water for an extended period, but the growth rate will be slower.
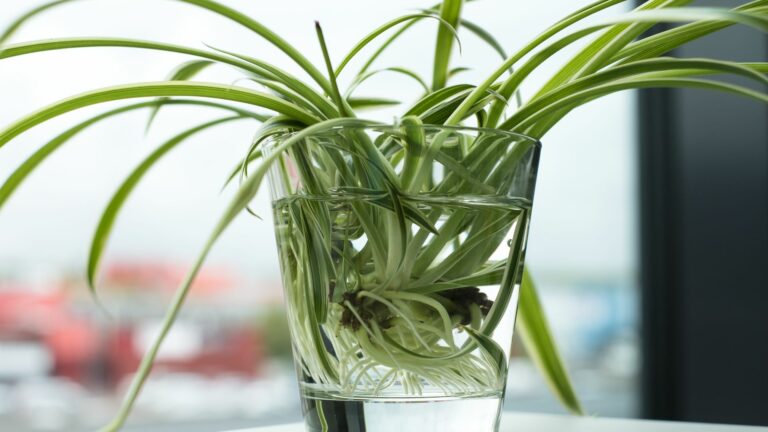
For instance, plants that need immediate transplantation after root development include pothos plants, spider plants, or pileas.
Before you start transplanting, you need a new potting soil and a container.
The perfect potting soil depends on the plant’s needs, but there are some general rules when it comes to the soils of indoor plants.
Choose The Appropriate Potting Mix
The majority of plants do best when grown in well-draining and porous soil. Succulents, for instance, store water in their fleshy leaves, so waterlogging is their biggest enemy.
Some materials used to promote drainage can be used in all soil types. Instead of purchasing ready made soil mixes, go with a DIY version.
It is good to incorporate perlite into the soil to ensure that water drains well because this material naturally expands when it receives water, making it incredibly porous and allowing it to absorb water while also improving drainage.
Pumice is another material that enhances soil structure rather than improving soil fertility. It will lighten dense soil types and prevent them from compacting even when the soil is wet. Therefore, they promote aeration.
Horticultural sand may be used for gardening as it doesn’t affect soil acidity and prevents waterlogging.
Wood chips and orchid bark also improve drainage, so consider adding these materials if you grow tropical plants.
Compost will prevent nutrient deficiency and keep the soil moist.
Combine materials depending on the type of plant.
Choose The Right Container
When choosing a suitable container for your plants, pay attention to the size and the material.
Remember, the container shouldn’t be too big as the last thing you need is waterlogging due to too much soil around the roots.
The material of the container also plays an important role. You can choose between various pot types, such as metal, plastic, terracotta, or concrete.
For example, a pot for snake plants should be made of terracotta as these plants need good aeration.
No matter the pot material, it must always have drainage holes!
Transplant Your Rooted Cutting
Here is a step-by-step guide on transplantation from water to soil:
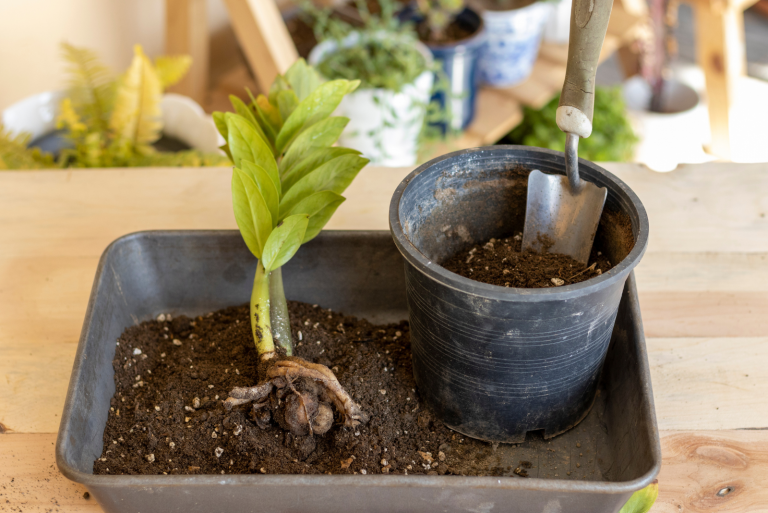
1. Fill the container with an adequate potting mix.
2. Poke a hole in the soil, or more holes depending on the number of cuttings.
3. Gently remove the cutting from the water. Remember that newly formed roots are delicate, and damaging them at this point would destroy everything.
4. Put the bottom part of the cutting in the hole, making sure all roots are below the soil line.
5. Add more soil if needed so the cutting stands upright.
That’s it! Your plant is now successfully propagated, and you should just continue with your usual plant care!
Common Issues
The best plants for rooting in water are Philodendrons, Monsteras, Begonias, Pileas, and Pothos. You won’t have many issues if you are rooting these plants in water as long as you follow each step carefully.
Other plants root better in soil, but propagating them in water is also possible.
Here are some common mistakes when it comes to rooting cuttings in water:
Incorrect Growing Conditions
Here’s a list of the conditions necessary for successful rooting:
1. Light: Plants won’t root if they don’t receive adequate light levels. If they receive too much light, the cutting will scorch, wilt, or simply get burned, and low light will prevent it from developing roots entirely.
2. Humidity: Plants need humidity to root. Try covering the cutting with a plastic bag.
3. Temperature: Both low and high temperatures will prevent the cutting from rooting, and the cutting will go through temperature shock either way.
Unhealthy Cutting
A healthy mother plant is essential for successful rooting. Houseplants sleep over winter, and it would be ideal to root them during the growing season.
There are many possible causes for plant damage. If your plant displays yellow, brown, wilting, drooping, softened, or mushy leaves, something is definitely wrong.
The same applies to stems and flowers.
Don’t start rooting until you eliminate the causes, remove any unhealthy parts, and your plant is fully recovered.
Water Isn’t Fresh
If the water in the rooting medium isn’t fresh, don’t expect the cutting to root. This is the most common cause of failed rooting.
First off, stagnant water attracts harmful fungi and bacteria.
Secondly, stagnant water decreases oxygen levels; if the cutting can’t breathe, it can’t root.
So, don’t forget to freshen the water regularly!
Wrong Water Type
Chlorine, fluoride, and other harmful chemical substances found in tap water can damage plants in general, not just the cuttings.
Don’t use soft water either as it doesn’t contain the minerals needed for optimal plant growth.
Plant cuttings can be malnourished due to soft water, and they won’t obtain any minerals that aid in root production.
The salt found in water also causes the plant to become dehydrated, so even while the amount of water in the container decreases, your plant isn’t actually absorbing any more water.
The Cutting Doesn’t Have A Node
If you want to propagate plants, for example, Monsteras, they won’t root if the cutting is missing nodes.
Roots can’t sprout if the cutting lacks nodes as they develop from these parts.
FAQs
Can you keep propagation in the water forever?
It’s possible to keep the cutting in water, but there are a few things to consider.
If the cuttings spend too much time in the water, it’s more likely that the plant will suffer in the long run. The water won’t provide the plant with nutrients (it doesn’t have any) and can make your plants more susceptible to fungal diseases.
Changing the water regularly and even adding smaller amounts of fertilizer can assist in fighting the problems above.
What happens after you have finished propagating?
If the propagation is successful, the only thing to do is to provide your plants with adequate care.
Depending on the type of plant, you’ll need to ensure the conditions necessary for optimal growth, such as light, humidity, soil type, temperature, watering, fertilizing, repotting, etc.
Wrapping Up
Water propagation is an interesting and fun way to get new plants, and it’s also very cost-effective.
There are many benefits of this method, especially for beginners. Of course, many master gardeners also use this method due to its high success rate.
Follow each step carefully, and I’m sure you’ll make it.
Until next time!
Like This Post? Share Or Pin It For Later!
