9 Tomato Mistakes Illinois Gardeners Make Every Summer (And How To Fix Them)
You did your homework, picked the right spot, started with healthy plants, and never skipped watering.
Somehow, your tomatoes still look like they’re auditioning for a plant horror movie. Sound familiar?
You’re not alone, and more importantly, you’re not cursed. Illinois is actually a great state for growing tomatoes.
But it comes with its own quirks.
Late spring frosts that show up uninvited. Summers that swing from soggy to scorching.
Soil that needs a little convincing.
Most tomato problems Illinois gardeners face aren’t bad luck. They’re a short list of very fixable mistakes that get repeated year after year, usually without anyone realizing it.
Here are nine of the most common ones, why they happen, and what to do instead. By the end, your biggest tomato problem will be figuring out what to do with all of them.
1. Planting Too Early
Soil temperature matters more than the calendar date.
Late April hits. Hardware stores stack up tomato transplants.
Illinois gardeners get excited and rush home to plant them immediately.
But cold soil below 60 degrees Fahrenheit slows root development and stresses young plants right from the start. Tomatoes are warm-season crops that need warmth from the ground up, not just from the sun above.
When soil stays too cold, roots struggle. Cold soil and root stress can contribute to nutrient uptake problems and may increase blossom end rot risk.
A soil thermometer is cheap, widely available, and worth every cent.
The safe window in Illinois is mid-May to early June. Central Illinois averages a last frost around May 1st, and soil temperatures trail behind by another two to three weeks.
Patience here is genuinely productive. If you just cannot wait, use black plastic mulch to warm the soil faster before planting.
Row covers or frost blankets can also protect transplants if a surprise cold snap rolls through after you plant. Getting the timing right is the single easiest way to give your tomato plants a strong, healthy start.
2. Not Hardening Off Transplants
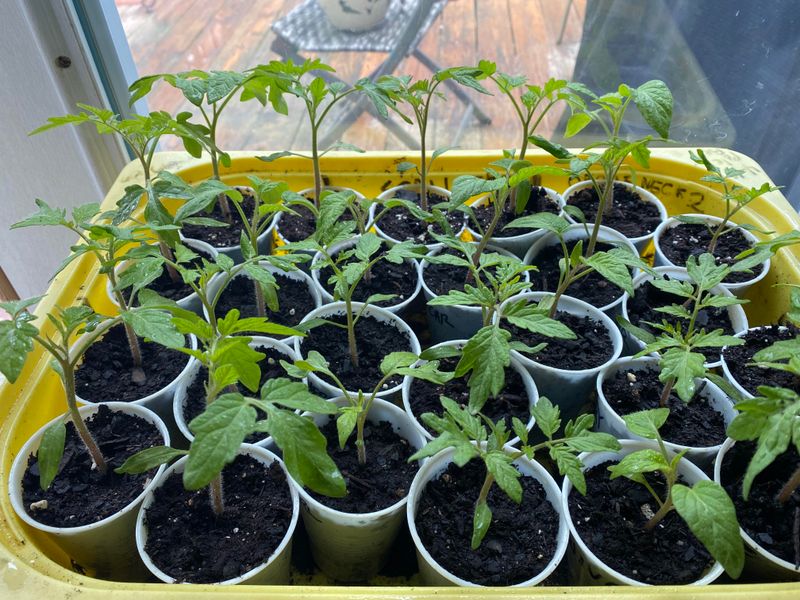
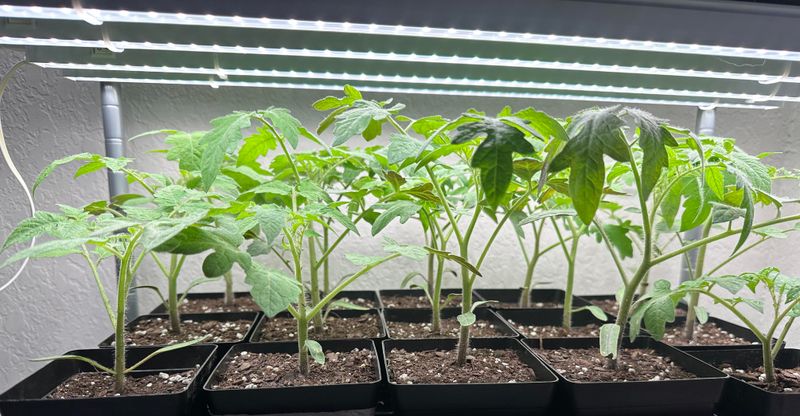
Picture a tomato seedling that has spent six weeks under grow lights in a warm basement.
It has never felt wind, direct sun, or a temperature below 65 degrees. Dropping that plant straight into an outdoor garden is like sending someone from a cozy office into a windstorm with no coat.
Hardening off is the process of slowly introducing indoor-grown transplants to outdoor conditions over seven to ten days. You start by setting plants outside in a shaded, sheltered spot for just two to three hours on the first day.
Each day, you gradually increase their time outside and their exposure to direct sunlight. Skipping this step causes a condition called transplant shock, where leaves turn pale, curl, or develop white patches from sun scald.
The plant does not grow for days or even weeks as it tries to recover. That lost time at the beginning of the season often means fewer tomatoes by late summer.
A cold frame or a sheltered patio table works perfectly for the hardening process. Watch the weather and bring plants back inside if temperatures drop below 50 degrees at night.
Your Illinois Garden Changes Every Week. Your Plan Should Too.
Gardening in Illinois changes quickly throughout the season. Every Friday you’ll receive a simple weekly plan showing exactly what to plant, prune, fertilize, harvest, and protect so you never miss the right timing.
Once they’ve handled a full day outside without flinching, they’re done being babied. Time to plant.
3. Planting Too Shallow
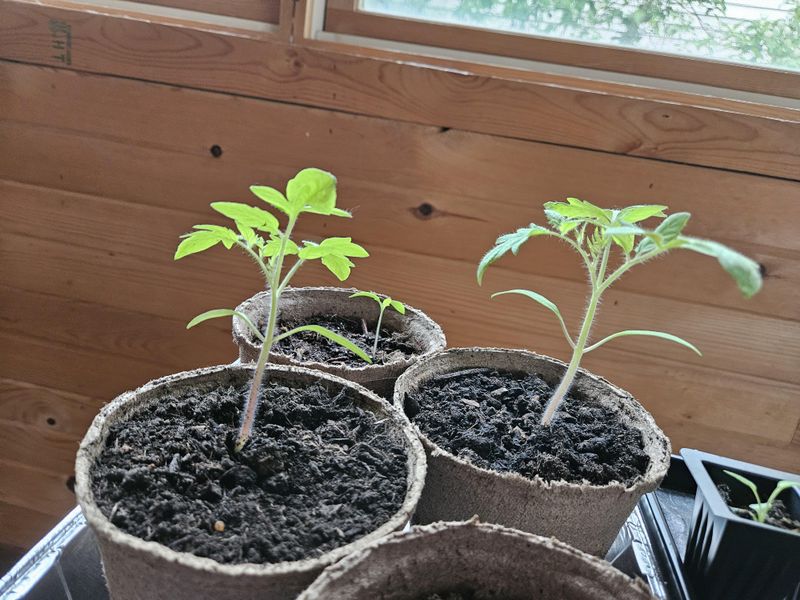
Here is something most beginners do not know: tomatoes can grow roots from their stems. Every tiny hair along a tomato stem is a potential root waiting for soil contact.
Planting deep gives those hairs a chance to become a powerful underground network. It anchors the plant and pulls in water and nutrients more efficiently.
Most gardeners plant at container depth. That leaves a tall, wobbly stem exposed above the soil.
That exposed stem is vulnerable to wind damage and does nothing to help the plant thrive. A shallow root system also dries out faster during Illinois heat waves.
The fix is straightforward: bury your transplant so that only the top two or three sets of leaves are visible above ground. Strip off any leaves that would end up underground to prevent rot.
For especially tall or leggy transplants, dig a trench and lay the stem at an angle so it curves upward toward the surface. Within a couple of weeks, the buried stem will sprout dozens of new roots along its length.
Those extra roots make the plant more drought-tolerant and better able to feed a heavy load of fruit. Deep planting is one of the easiest upgrades you can make to your tomato routine, and it costs absolutely nothing.
4. Inconsistent Watering
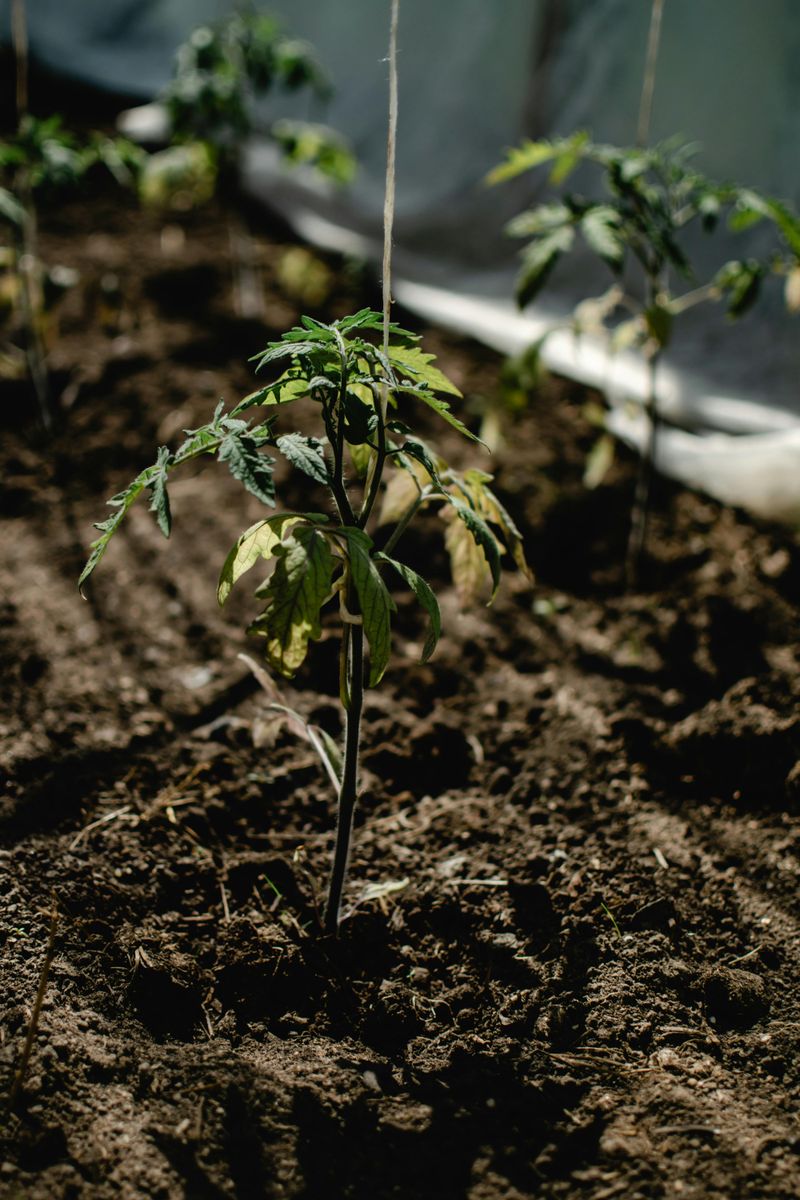
Blossom end rot, cracked fruit, and tough skin are not random bad luck. They are almost always the result of watering that swings between too dry and too wet.
Tomatoes need steady moisture. Illinois summers deliver anything but.
Dry spells, heavy downpours, repeat.
When soil swings between dry and soaked, the plant can’t absorb calcium fast enough to keep up with fruit growth. The result?
That leathery brown patch on the bottom of your tomatoes. The one that makes you want to quit entirely.
Consistent moisture is usually the real solution, calcium sprays rarely fix blossom end rot when watering is the root cause.
Aim to give tomato plants about one to two inches of water per week, delivered slowly and deeply at the base of the plant.
A drip irrigation system or a soaker hose makes this almost effortless and keeps the schedule steady even when you are busy. Watering in the morning gives the soil time to absorb moisture before afternoon heat kicks in.
Stick your finger two inches into the soil near the base of the plant to check moisture levels before watering. If the soil feels dry at that depth, it is time to water.
Building a simple watering routine, every two to three days during hot stretches, adjusted for your soil type, keeps your plants calm, productive, and crack-free all season long.
5. Skipping Mulch
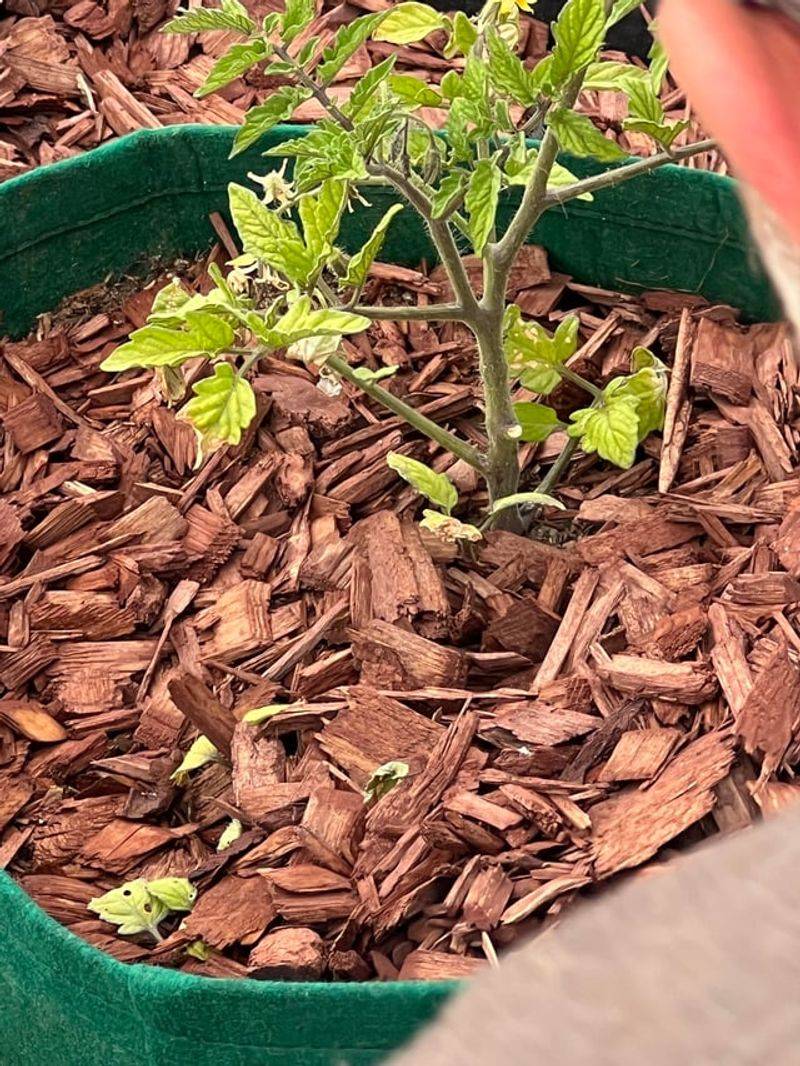
Bare soil around tomato plants is one of the most common and costly oversights in the summer garden.
Without mulch, soil loses moisture fast in the heat. Weeds move in and compete for nutrients.
Rain splashes soil onto lower leaves and spreads disease.
A simple layer of mulch solves all three problems at once. Straw is the most popular choice for tomatoes because it is affordable, light, and breaks down slowly over the growing season.
Wood chips, shredded leaves, and even grass clippings also work well. Apply a layer about three inches thick around the base of each plant, keeping the mulch a few inches away from the stem to prevent rot.
Mulch acts like a blanket for the soil. It holds in moisture so you water less often and plants stay consistently hydrated.
During Illinois heat waves, that matters. A stressed, thirsty plant drops blossoms before they ever set fruit.
Cooler soil also encourages stronger root activity throughout the season.
Beyond water retention, mulch suppresses weeds that would otherwise steal nutrients right out from under your plants. Fewer weeds mean less time on your knees pulling them out.
Try it once. The harvest numbers will do the convincing.
6. Ignoring Suckers On Indeterminate Varieties
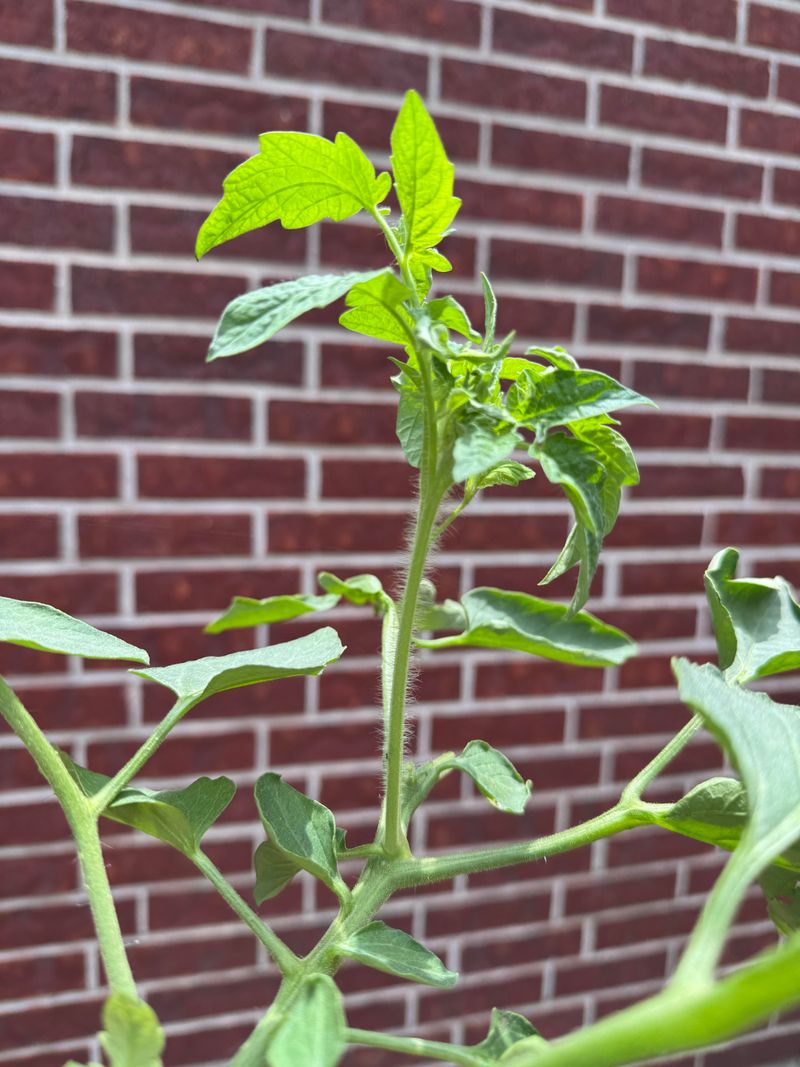
Suckers are the sneaky little shoots that sprout in the V-shaped joint between the main stem and a side branch. They look innocent, but they’re not.
Left alone, suckers grow into full branches. Those branches grow their own suckers.
Before long, your garden looks like a tomato jungle.
More leaves and branches sound productive, the opposite is true. They spread the plant’s energy too thin.
Less fruit. More chaos.
Indeterminate varieties like Better Boy, Cherokee Purple, and Brandywine need sucker removal. They grow all season and won’t stop on their own.
Determinate or bush varieties grow to a set size and stop, no pruning needed.
Pinch out suckers when they are small. No bigger than two inches.
Use your fingers or clean pruning shears. Small suckers snap off easily and the wound heals fast.
Wait too long and suckers become thick branches. Removing them leaves big wounds.
Big wounds invite disease. It snowballs fast.
Walk through your garden every five to seven days during peak season. Check for new suckers.
Make it a habit.
One or two main stems per plant. That’s the goal.
Cleaner growth, larger tomatoes, easier harvesting.
Stay consistent and your plants will do the rest, stronger stems, tidier growth, and fruit that actually tastes like the effort you put in.
7. Overhead Watering
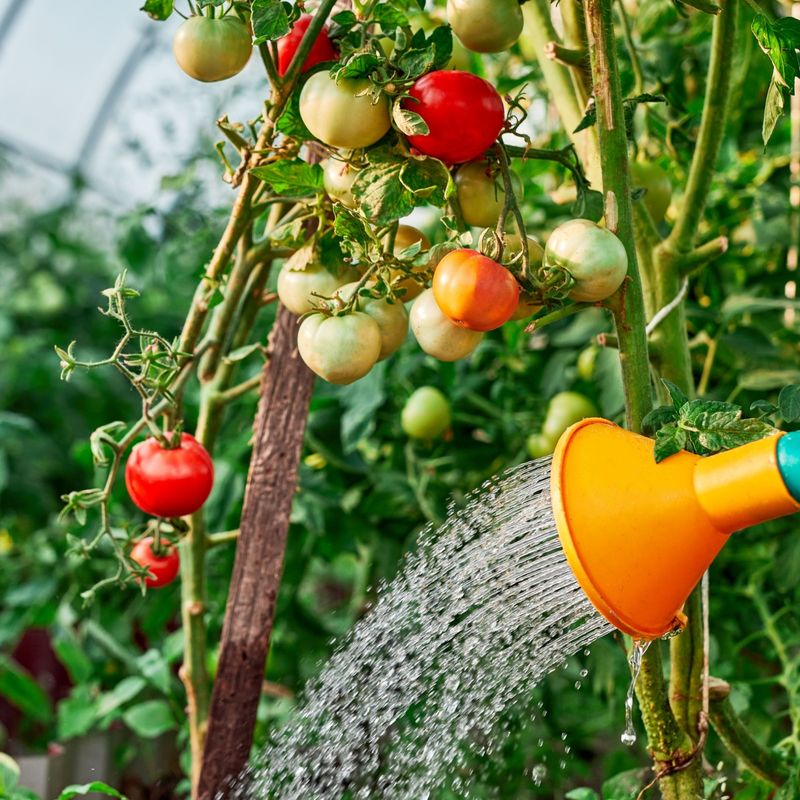
Your watering method might be quietly destroying your tomato plants, and you’d never know it until midsummer.
Wet leaves are an open invitation for fungal disease. Tomatoes are already prone to problems like early blight and septoria leaf spot.
Sprinklers and overhead watering make it worse. They coat foliage in moisture that doesn’t dry quickly, especially on cloudy days or in the evenings.
That standing moisture is exactly what fungal spores need to take hold and spread.
Many Illinois gardeners water with sprinklers out of habit. It’s convenient.
It feels thorough. But over a full growing season, the damage adds up.
By midsummer, lower leaves turn yellow and spotty. The problem creeps upward.
Most gardeners blame the weather or the variety, but the watering method is usually the real culprit.
Switching to drip irrigation or a soaker hose fixes this. Water goes directly to the root zone, leaves stay dry.
Fungal pressure drops. You use less water overall because none of it evaporates off foliage.
A basic soaker hose setup costs less than twenty dollars. For a single bed of tomatoes, that’s one of the best investments you’ll make all season.
If you must water by hand, aim at the base of the plant. Do it in the morning so any accidental splash has time to dry before nightfall.
Dry leaves, healthy plant. It really is that simple, and one soaker hose can prove it.
8. Not Rotating Crops
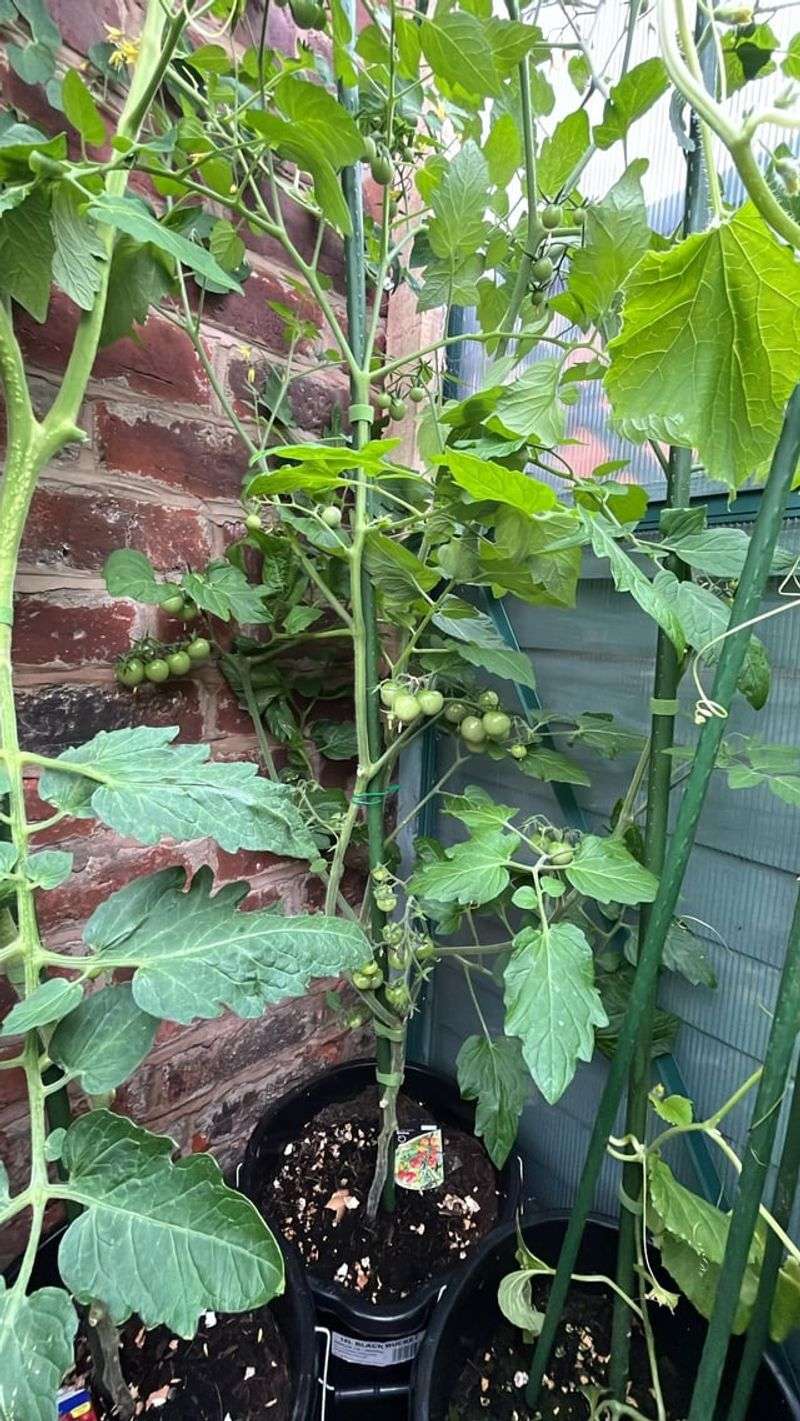
Planting tomatoes in the same spot year after year is one of the most reliable ways to guarantee a disappointing harvest.
Fusarium and verticillium wilt build up in soil when the same plant family returns to the same spot every season. Those pathogens do not go away on their own, and they get worse with each passing year.
Tomatoes belong to the nightshade family, which also includes peppers, eggplant, and potatoes. All of these crops share the same disease vulnerabilities, so rotating tomatoes into a spot where peppers grew last year does not actually help.
For rotation to work, you need to move tomatoes to a bed that has not grown any nightshade family plants for at least two to three years.
Small garden? Divide it into three or four zones and cycle crops through them year to year.
Draw a quick sketch at the end of each season showing what grew where, so you have a reference for next spring. This small habit protects your soil health for years into the future.
Crop rotation also helps break pest cycles, since insects that overwinter in the soil near their host plants get confused when the food source moves. Healthier soil, fewer pests, and stronger plants are the payoff for a little advance planning.
Tomato mistakes Illinois gardeners repeat most often are the ones that feel invisible until the damage is already done.
9. Letting Blight Go Untreated
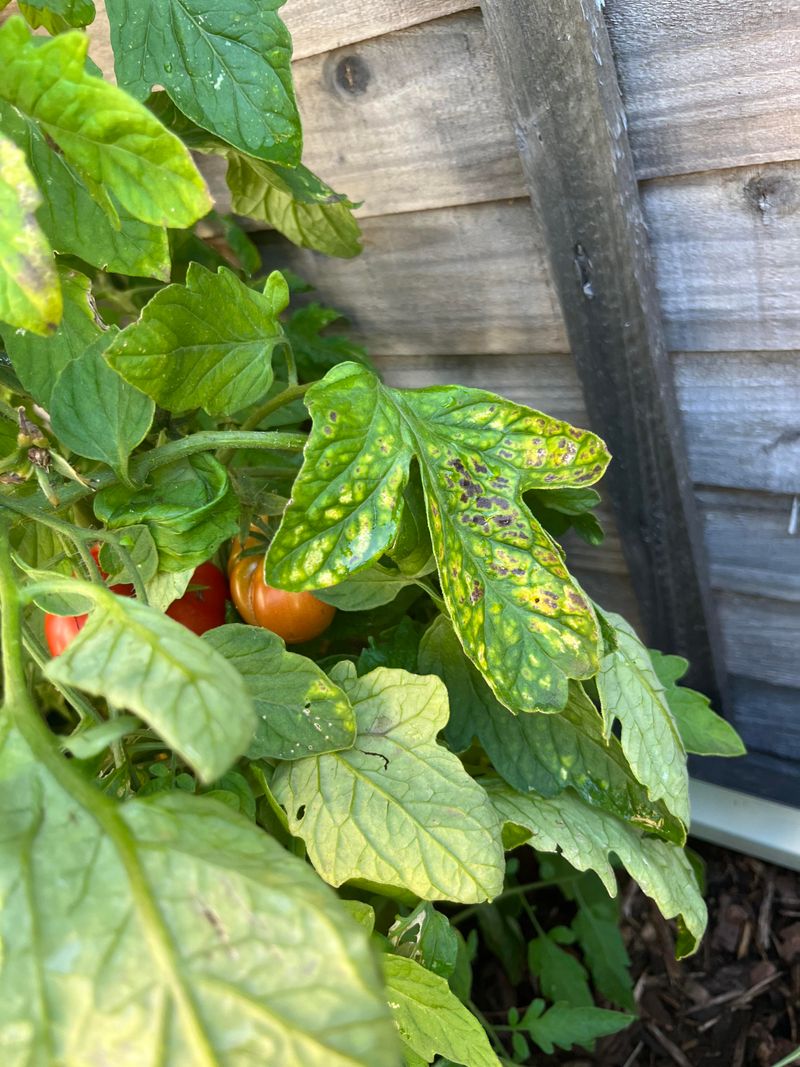
Blight moves fast, and waiting to see if it clears up on its own is a gamble you will almost always lose.
Early blight is the most common type in Illinois. It starts as dark brown spots ringed with yellow on the lower leaves.
Then it spreads upward through the plant, fast.
By the time the upper leaves are affected, the plant is already under serious stress. Many gardeners see the first spotted leaf and assume it is just normal aging or minor nutrient deficiency.
That delay in diagnosis gives the fungus time to colonize more of the plant and spread to neighboring tomatoes through splashing water or wind. Early action is the only thing that actually stops blight from taking over a whole garden bed.
Remove affected leaves the moment you spot them. Trash, not compost.
Use a labeled fungicide if needed, following directions carefully. Prevention and early leaf removal matter most.
Repeat the application every seven to ten days or after heavy rain. Prevention is even more powerful than treatment, so keep foliage dry, mulch your beds, and pull off the lowest leaves that touch the soil before the season gets going.
Blight is beatable. Catch it early, respond fast, and September harvests are well within reach.