What To Do With Garlic And Onions After Harvest In Arizona
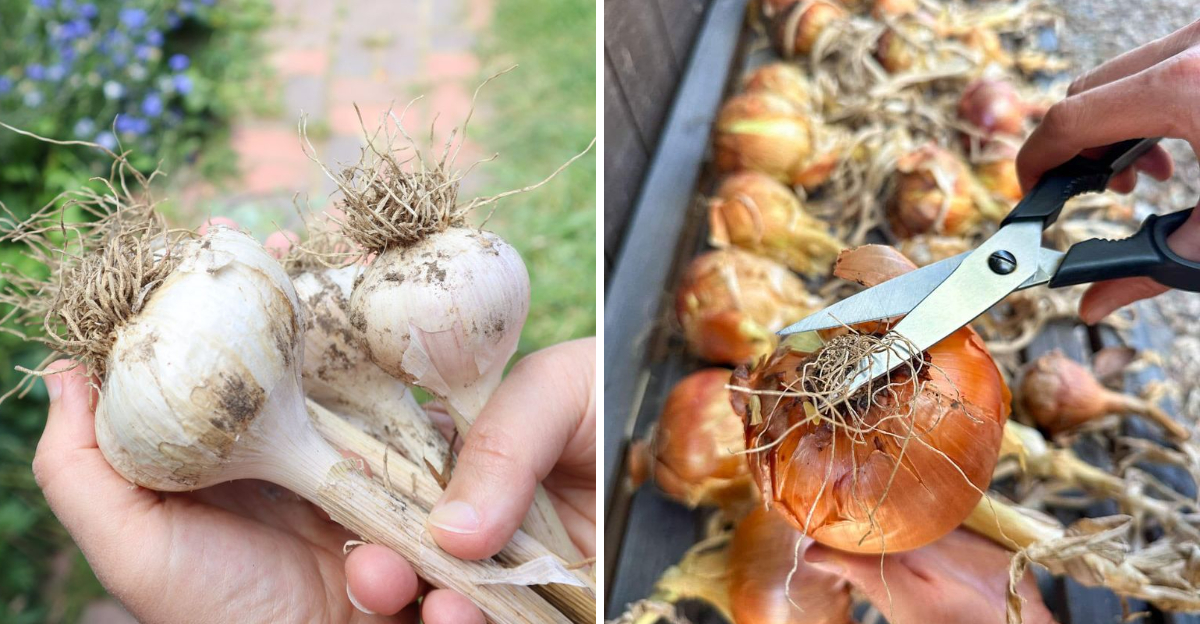
You’ve done the hard part. The garlic and onions are out of the ground, you’re holding a genuinely satisfying harvest in your hands, and for a brief moment everything feels right in the Arizona garden.
And then someone tells you that what happens next is just as important as everything you did to grow them. Slightly annoying news, but absolutely true.
Arizona’s intense heat and bone-dry air create a post-harvest environment that can work in your favor or completely against you depending on how you handle your bulbs in the hours and days that follow.
Rush the process, skip a step, or store them in the wrong spot and all that growing effort can fall apart faster than you’d expect.
Get it right though, and your garlic and onions can last impressively long. Let’s talk about how to actually get it right.
1. Harvest Only When Bulbs Are Mature Enough
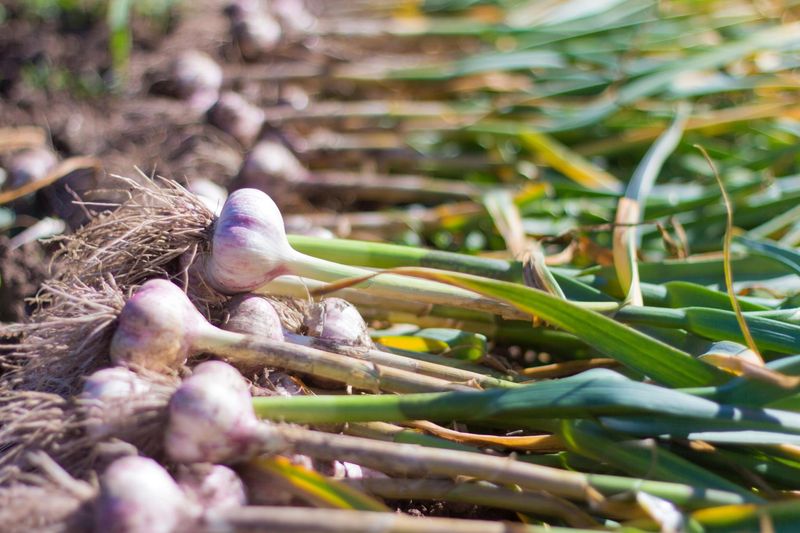
Yellowing tops flopped over in the garden bed are one of the most reliable signs that garlic and onions are getting close to ready. Pulling bulbs too early means the outer wrapper layers are still soft and thin, which makes them much harder to cure and store well.
Waiting for the right moment matters a great deal, especially in Arizona where the harvest window can be narrow as temperatures climb quickly in late spring.
For garlic, most gardeners watch for roughly half the leaves to yellow and dry before lifting. Onions typically signal readiness when their tops fall over naturally and the neck begins to feel thin and dry.
Checking a test bulb first by gently loosening the soil around it and inspecting the wrapper is a practical approach many experienced Arizona growers recommend.
Harvesting on the early side might feel tempting when warm weather arrives fast, but underdeveloped bulbs tend to have shorter shelf lives and are more prone to softening during storage.
Letting bulbs reach a good level of maturity before harvest gives them a stronger start for curing and long-term keeping.
Patience during those final weeks in the ground can make a real difference in your storage results later on.
2. Lift Bulbs Gently Instead Of Pulling Roughly
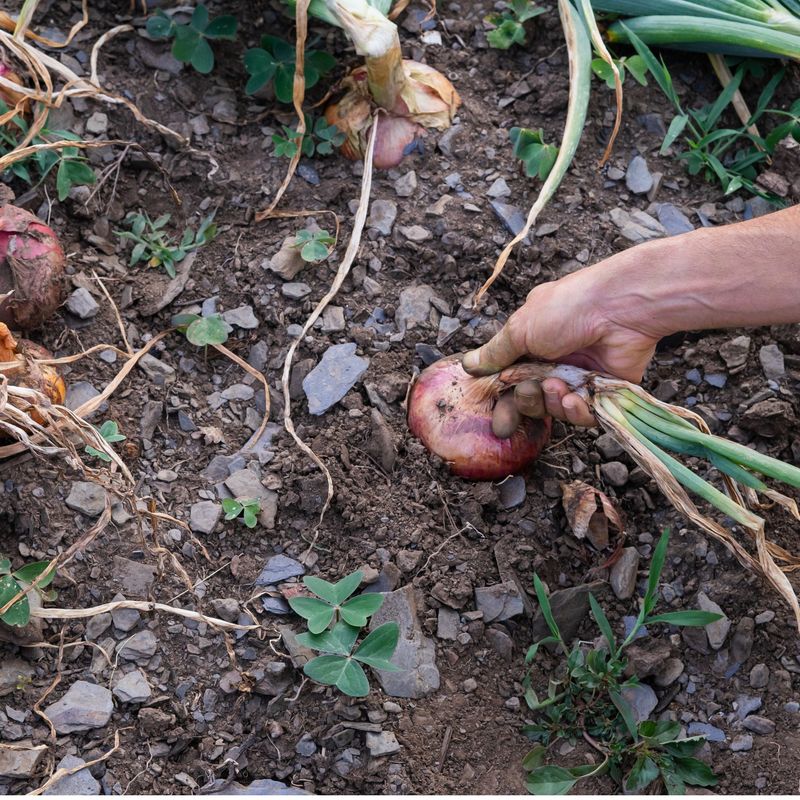
Dry Arizona soil can grip bulbs surprisingly tight, especially in raised beds or garden plots that have not been watered in the days leading up to harvest.
Reaching down and yanking a bulb straight up by its top might seem like the fastest approach, but it can snap the neck, bruise the outer layers, or tear away the papery skin that helps protect the bulb during curing and storage.
Using a garden fork or trowel to loosen the soil around each bulb before lifting is a much more storage-friendly method.
Sliding the tool in a few inches away from the bulb and gently prying upward lets the roots release without putting stress on the neck or wrapper.
Bulbs that come out of the ground intact and undamaged have a noticeably better chance of curing well and lasting longer in your pantry or storage area.
Your Arizona Garden Changes Every Week. Your Plan Should Too.
Gardening in Arizona changes quickly throughout the season. Every Friday you’ll receive a simple weekly plan showing exactly what to plant, prune, fertilize, harvest, and protect so you never miss the right timing.
Bruised or torn bulbs are not necessarily wasted right away, but they should be set aside for immediate use rather than added to your long-term storage group.
Even small nicks in the outer skin can create entry points for moisture or mold during the curing process.
Treating each bulb gently from the first moment it leaves the soil sets the stage for better results throughout the whole post-harvest process.
3. Shake Off Loose Dirt Instead Of Washing Bulbs
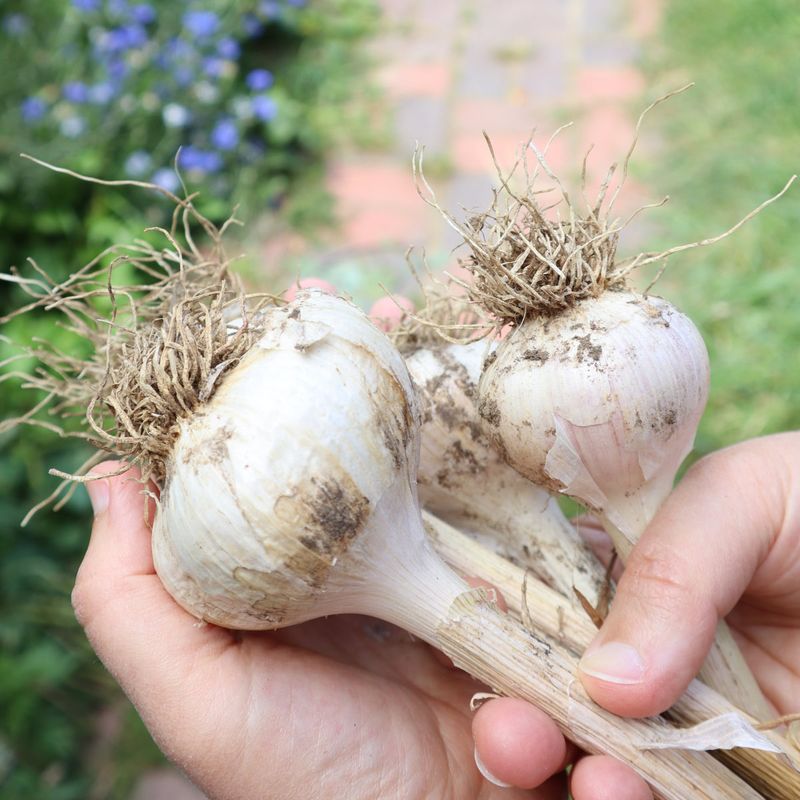
One of the most common mistakes new gardeners make right after harvest is heading straight for the hose.
Washing garlic and onions with water right after pulling them might seem like a logical cleanup step, but moisture is one of the biggest enemies of a bulb that needs to cure and store well.
Water trapped in the neck or between wrapper layers can encourage mold and softening, which shortens storage life considerably.
Arizona’s dry air is actually an advantage here. The low humidity means loose dirt brushes off easily without much effort.
A gentle shake or a light brush with a dry hand or soft cloth is usually enough to remove most of the surface soil from freshly harvested bulbs.
Leaving a thin layer of dried dirt on the outer skin causes no harm and tends to fall away naturally as the curing process continues.
If a bulb is heavily caked with wet soil, setting it out in a shaded, airy spot to dry briefly before brushing is a better approach than rinsing.
Keeping bulbs dry from the moment they leave the ground protects the wrapper layers and gives the curing process the best possible start.
Skipping the water at this stage is a small habit that can have a meaningful impact on how long your stored bulbs hold up.
4. Cure Onions At Room Temperature For Two To Four Weeks
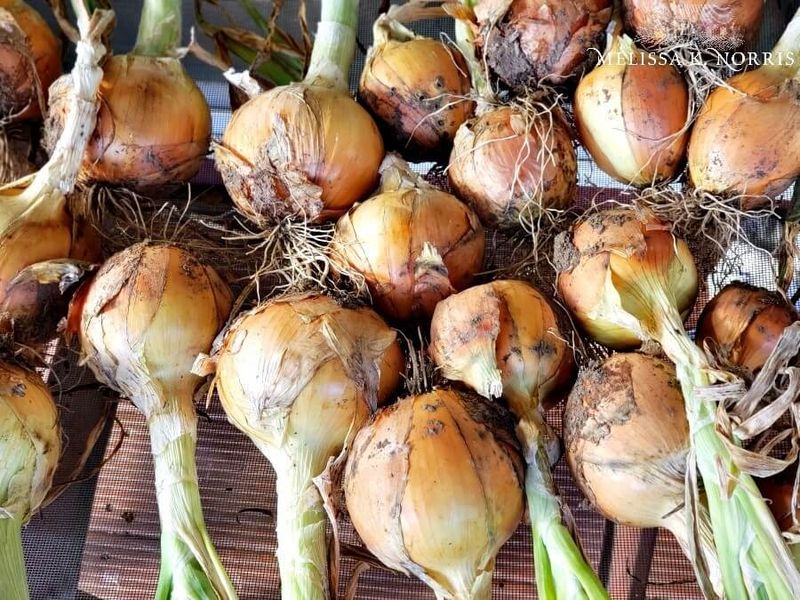
Curing onions is essentially a controlled drying process that allows the outer layers to tighten and harden into a protective papery skin. Without proper curing, even healthy onions tend to soften and spoil much sooner than they would otherwise.
In Arizona, where summer temperatures rise fast, finding the right indoor or covered outdoor space for curing is worth some thought before harvest day arrives.
A shaded garage, a screened porch, or a covered patio can work well for onion curing as long as the space stays reasonably ventilated and does not trap extreme heat.
Spreading bulbs in a single layer on a wire rack, screen, or old window screen frame allows air to move around all sides of each onion, which helps the drying process move along evenly.
Piling bulbs on top of each other slows drying and can trap moisture between layers.
The curing period for onions typically runs somewhere between two and four weeks, though actual timing can vary depending on the variety, the size of the bulbs, humidity levels, and airflow in your curing space.
Checking bulbs periodically during this time and removing any that show soft spots or unusual odors helps protect the rest.
When the neck feels completely dry and the outer skin crinkles and rustles, the onion is likely cured and ready for the next step.
5. Cure Garlic In A Dry Shaded Airy Spot
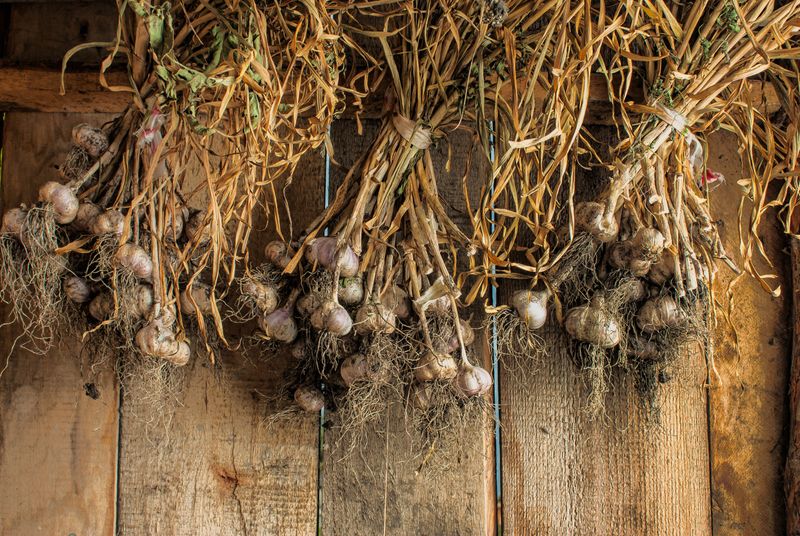
Garlic handles curing a little differently than onions, and the method you choose can affect how well the bulbs hold up over several months of storage.
Many gardeners find that hanging garlic in small bundles by the tops works beautifully, allowing air to circulate around each bulb while the stems and roots slowly dry down.
Others prefer spreading individual bulbs on a flat screen or rack in a single layer, which works just as well as long as airflow stays consistent.
The key ingredient for garlic curing in Arizona is shade combined with moving air. A dry shed, a covered patio wall, or even a cool corner of a garage can serve as a perfectly functional curing space.
Garlic needs several weeks to cure thoroughly, and the timeline can shift depending on the variety, the size of the bulbs, and conditions in your curing area.
Hardneck varieties and softneck varieties may cure at slightly different rates, so checking bulbs regularly rather than relying on a set number of days is a practical approach.
When the outer wrapper feels papery and dry, the neck is firm, and the roots look shriveled and stiff, the garlic has likely finished curing.
Rushing this step by moving bulbs into storage too early is one of the more common reasons homegrown garlic softens or molds before it gets used.
6. Keep Bulbs Out Of Direct Arizona Sun While Curing
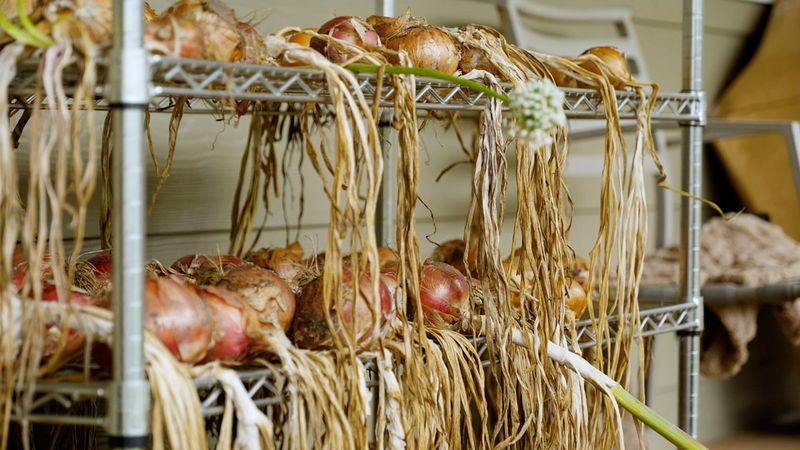
Shade feels like a simple concept, but it is easy to underestimate just how intense direct Arizona sun can be, especially during late spring and early summer when most garlic and onion harvests happen.
Setting freshly harvested bulbs out in full sun might seem like a fast way to dry them, but the heat and UV exposure can actually scorch the outer wrapper layers and heat the interior of the bulb more than is helpful for curing.
Bulbs that bake in direct sun during curing can develop tough, leathery skins that look dry on the outside while the inner layers remain softer than they should be. In some cases, overheating during curing can also reduce the storage life of the bulb.
Arizona gardeners working with a covered patio, a shaded side of the house, or even a well-ventilated garage have a natural advantage for keeping curing conditions consistent and protected.
Morning shade that gives way to indirect afternoon light is a reasonable setup in many Arizona backyards. The goal during curing is steady, gentle airflow and warmth rather than intense direct heat.
Keeping bulbs in a spot where temperatures stay warm but manageable and where direct sun does not hit them directly helps the outer layers dry down evenly without stress.
A little shade planning before harvest day makes the whole curing process smoother.
7. Spread Bulbs Out So Air Can Move Around Them
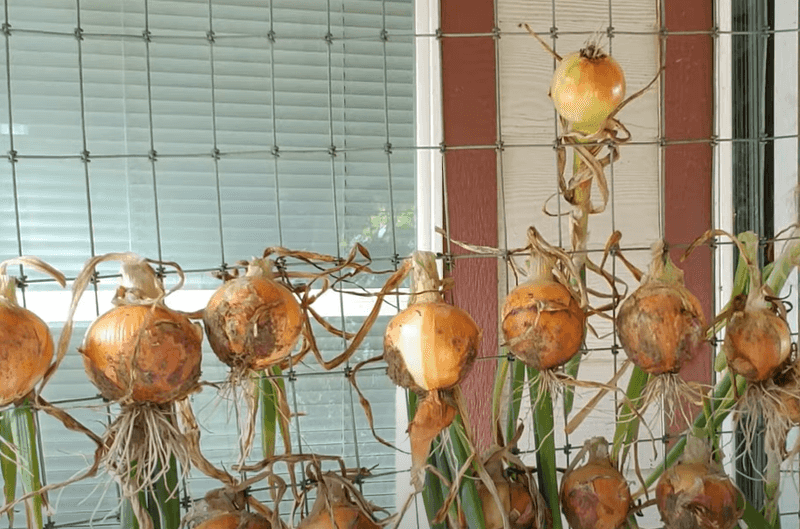
Walking into a curing shed or patio and finding bulbs stacked three deep in a box is a familiar sight for gardeners who are new to post-harvest care.
It feels efficient to pile them up, but stacking bulbs on top of each other during curing traps moisture between layers and slows down the drying process significantly.
In Arizona’s warm post-harvest season, that trapped moisture can encourage mold to develop before the outer skins have had a chance to tighten properly.
Spreading bulbs out in a single layer on a wire rack, an old window screen, or a mesh tray gives each one room to breathe. Air moving around all sides of a bulb helps moisture escape evenly, which is exactly what the curing process needs to work well.
Even a modest setup using a few old screens balanced on sawhorses or milk crates can handle a decent backyard harvest comfortably.
For gardeners working with a larger harvest, rotating or checking bulbs every few days and moving any that feel soft or damp to a separate spot helps protect the rest of the group.
Spacing does not need to be dramatic, but each bulb should have at least a little clearance on all sides.
Good airflow during curing is one of the most straightforward ways to improve how long homegrown garlic and onions hold up in storage.
8. Trim Tops And Roots Only After Curing
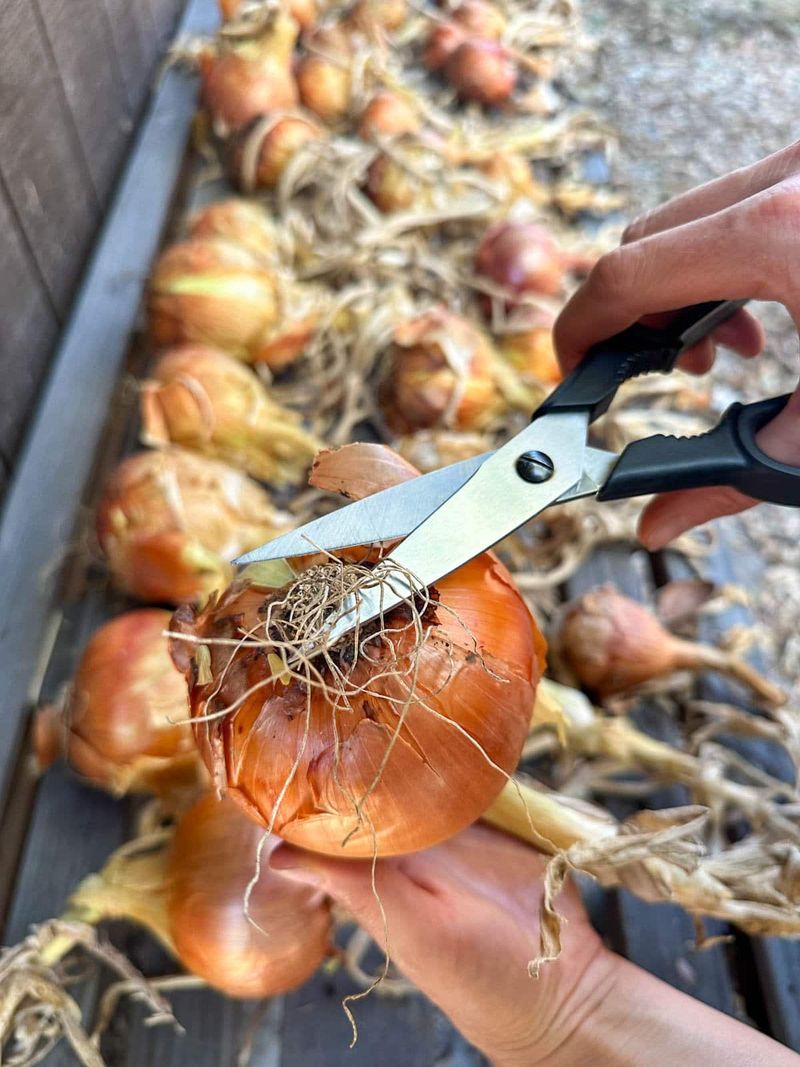
Freshly harvested garlic and onions still have their full tops and roots attached, and many gardeners feel an urge to tidy them up right away. Trimming too early, though, can interfere with the curing process in ways that are not immediately obvious.
The tops and roots of the plant continue to move moisture and nutrients back into the bulb during the early stages of curing, so cutting them off before the process finishes can leave bulbs less fully developed.
Waiting until curing is complete before reaching for the scissors gives each bulb the best chance to finish drying naturally. For garlic, the tops are typically trimmed down to about an inch or so above the bulb, and the roots are cut close to the base.
Softneck garlic intended for braiding is an exception, since the flexible tops need to stay long enough to work with.
Onion tops are usually trimmed down to about an inch above the neck once curing is finished and the neck feels completely dry and tight. Roots can be clipped close to the base as well.
Using clean, sharp scissors or pruning shears makes the job easier and leaves clean cuts that do not fray or damage the outer wrapper. Trimmed and cured bulbs are much easier to sort, inspect, and pack into storage containers than untrimmed ones.
9. Store Only Firm Undamaged Bulbs
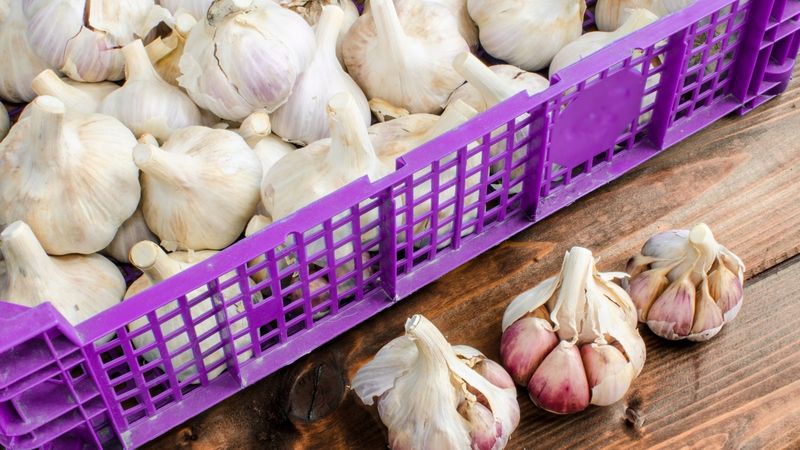
Not every bulb that comes out of an Arizona garden will be a good candidate for long-term storage, and that is completely normal. Some bulbs will have soft spots, thin or broken wrapper layers, signs of insect feeding, or damage from harvest tools.
Putting those bulbs into storage alongside firm, healthy ones can create problems, since a single compromised bulb can affect others nearby as conditions shift over weeks and months.
Sorting bulbs carefully after curing and before packing them away is a step that pays off in the long run. Firm bulbs with tight, papery outer skins, intact necks, and no visible damage or soft areas are the ones worth storing.
Bulbs that feel even slightly soft, show any discoloration, or have wrapper layers that look moldy or unusually damp should be used right away rather than set aside for later.
Some gardeners find it helpful to do a second sort a few weeks after initial storage, pulling out any bulbs that have developed issues since packing. Catching problems early prevents them from spreading to neighboring bulbs in the same basket or container.
Using damaged or imperfect bulbs first for cooking, soups, salsas, or dehydrating means nothing goes to waste, and your best bulbs get the storage time they deserve. Quality control at this stage is simple but genuinely useful.
10. Store Cured Garlic And Onions Cool Dry And Well Ventilated
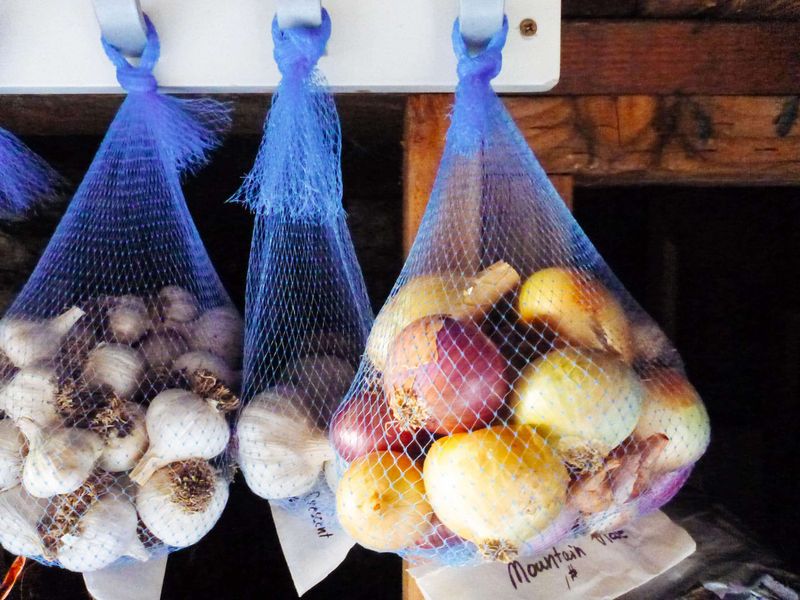
Finding a truly cool spot in an Arizona home for storing garlic and onions can take a bit of creativity, especially during summer months when indoor temperatures tend to stay warm.
A pantry away from the oven, a corner of a climate-controlled room, or a shaded garage shelf that does not get extreme heat are all reasonable options depending on your home setup.
The goal is a space that stays as consistently cool and dry as possible without swinging dramatically between temperature extremes.
Mesh bags, open baskets, wooden crates, or paper bags with ventilation holes all work reasonably well for storage because they allow air to keep moving around the bulbs.
Plastic bags or sealed containers trap humidity, which tends to shorten storage life and encourage softening or sprouting.
Garlic and onions should be stored separately from each other when possible, since onions can release moisture that affects nearby garlic over time.
Checking stored bulbs every couple of weeks and removing any that have softened or started to sprout helps extend the life of the remaining batch.
Storage life varies depending on variety, curing quality, bulb condition, and your specific storage environment, so results will differ from household to household.
Keeping conditions cool, dry, and well ventilated gives homegrown Arizona garlic and onions the best possible chance of lasting through the weeks and months ahead.