Florida Plants That Should Be Left Alone After A Spider Mite Infestation
Spider mites can make a Florida garden look worse almost overnight.
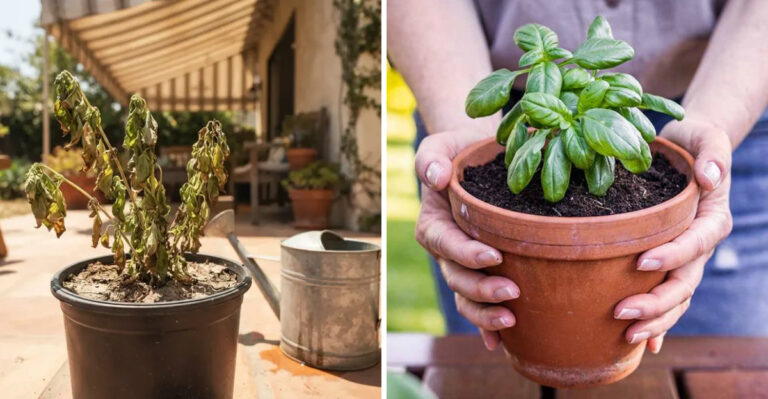
One week, the leaves look glossy and full. The next, they are dusty, bronzed, speckled, curled, or dropping faster than expected.
It is easy to look at that damage and assume the plant needs immediate rescue: a hard prune, a strong feeding, a fresh pot, or some other dramatic fix.
That is often the mistake.
Once spider mite pressure has dropped, many Florida ornamentals recover best when gardeners stop pushing them and start stabilizing them.
The damaged leaves may look alarming, but the plant may already be rebuilding from live stems, healthy nodes, green fronds, or swelling buds.
Cutting too soon can remove stored energy. Fertilizing too soon can force tender new growth that invites another pest wave. Repotting too soon can stress roots that are already working hard.
The key is patience with purpose.
Check leaf undersides. Confirm mites are no longer active. Keep moisture steady. Protect roots. Leave functional green tissue in place. Then wait for the plant to show you where recovery is already happening.
These Florida plants often need calm care after spider mites, not a dramatic reset.
1. Give Croton Time To Releaf
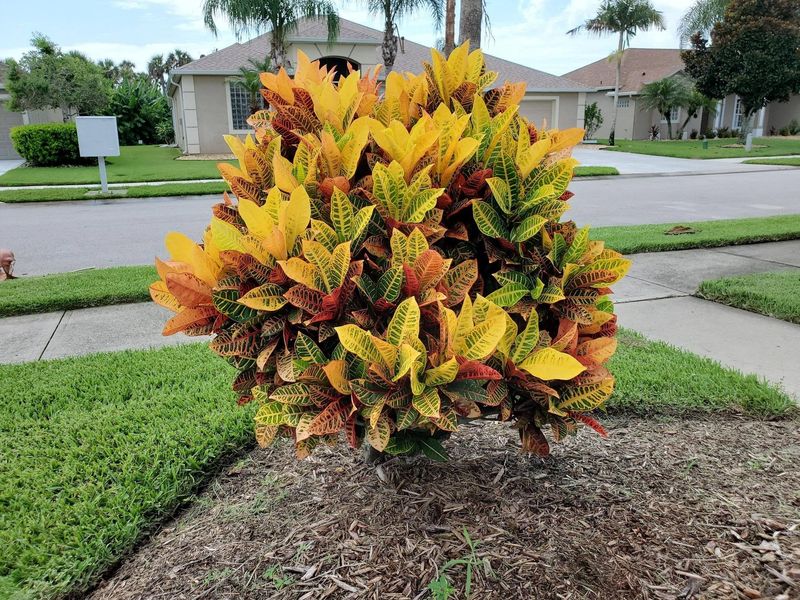
Croton can look heartbreaking after spider mites.
The bold red, orange, yellow, and green leaves that make the plant so valuable in Florida landscapes may turn dull, stippled, papery, or bronzed.
Some leaves drop quickly, leaving bare-looking stems that make the whole plant seem worse than it may actually be.
That bare look is exactly when gardeners often cut too hard.
Croton does not need an emergency haircut just because the older leaves look rough. If the stems are still flexible and the nodes are alive, the plant may be preparing to releaf.
Those small bumps along the stems are important. Tiny green buds near the nodes mean the plant is already building its comeback.
Before pruning, test the stems. Bend them gently. A live stem has some give. A truly spent stem feels brittle and snaps cleanly. Scratch a tiny section of bark if needed. Green tissue underneath means the stem should stay for now.
Hard pruning during Florida’s hottest stretch can set croton back. The plant has already lost leaf area from mite feeding.
Removing more tissue forces it to spend stored energy on emergency regrowth at the same time heat, humidity, and pest stress are still lingering.
Keep care steady instead. Water when the top layer of soil begins to dry, but do not let the root zone swing from soaked to bone dry. Crotons dislike both extremes. Add mulch around in-ground plants to buffer soil temperature, but keep it pulled away from stems.
Avoid heavy fertilizer until new leaves appear and begin to expand normally. A nitrogen push too early can create soft growth that attracts pests.
Once the plant clearly releafs, light shaping is fine.
Until then, leave the living stems alone and let croton rebuild leaf by leaf.
2. Let Tropical Hibiscus Push Fresh Growth
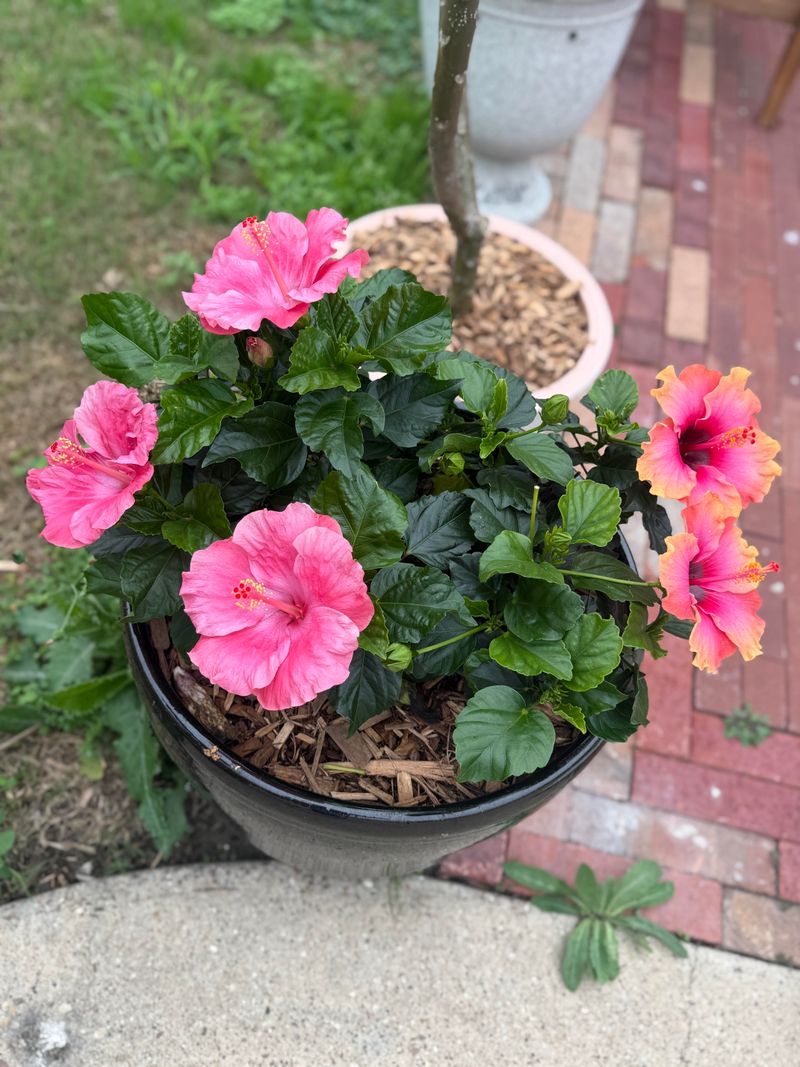
Tropical hibiscus is a spider mite favorite in hot, dry spells.
The large leaves create plenty of feeding space, and mites often hide on the undersides long before the damage becomes obvious from a distance.
By the time the canopy looks dull, grayish, or stippled, the plant may already have been feeding mites for days or weeks.
After control starts working, the worst move is to push the plant too fast.
A heavy nitrogen feeding may seem helpful because hibiscus is a vigorous bloomer, but soft new growth is exactly what mites and other piercing insects often favor.
A flush of tender leaves after a mite event can turn recovery into an invitation for the next problem.
Let the plant prove it is stable first.
Check the undersides of leaves once a week. A hand lens helps, but the white-paper test works too. Tap a branch over a sheet of white paper and watch for tiny moving specks.
If movement is low or absent, the infestation may be under control. If specks are still active, keep scouting and avoid stressing the plant further.
Water management matters more than feeding right now. Hibiscus roots need steady moisture, but they do not want waterlogged soil.
In containers, make sure drainage holes are open and saucers are emptied after watering. In the ground, water deeply enough to reach the root zone rather than giving quick surface splashes.
Leave green leaves in place, even if they are imperfect. They still make energy. Remove only leaves or stems that are fully brown, collapsed, or clearly no longer functioning.
Wait for healthy new leaves and fresh buds before resuming light, balanced feeding. That new growth tells you the plant has shifted from stress response into recovery.
Hibiscus can bounce back beautifully, but only if it is not forced to perform before it has recovered.
3. Watch Gardenia Before Cutting Back
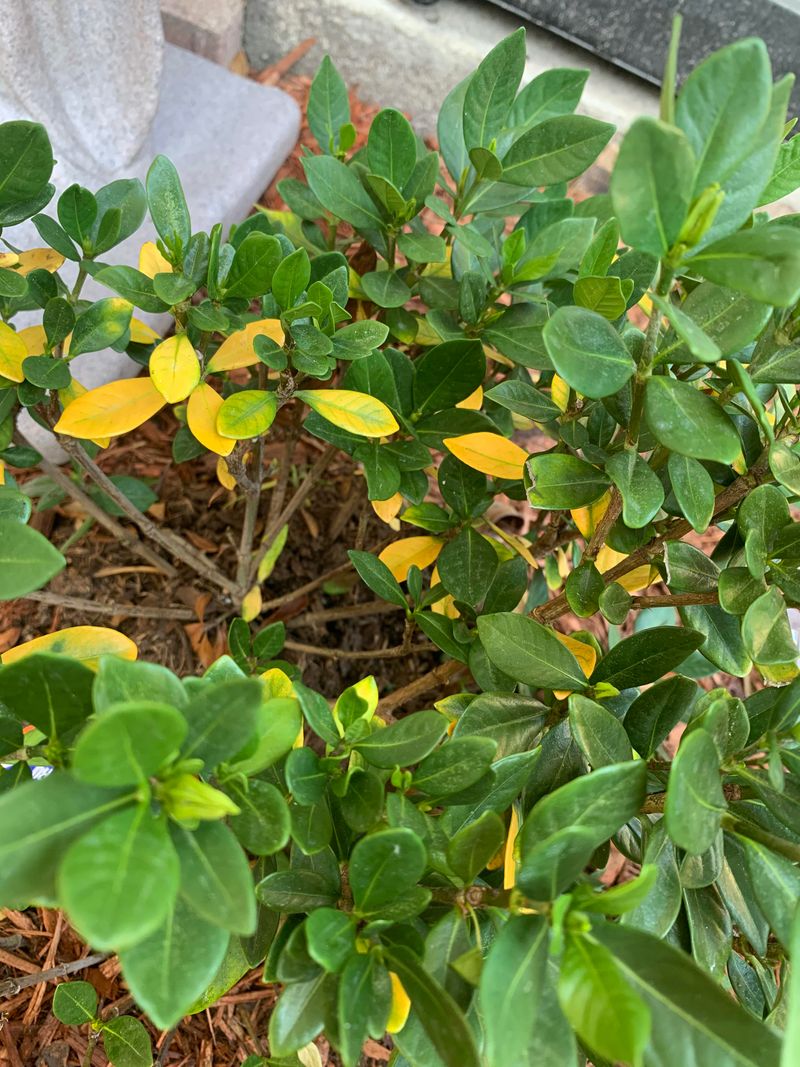
After a spider mite infestation, the leaves may look yellow, bronzed, speckled, or tired.
That damage can resemble other common gardenia problems in Florida, including high soil pH, iron or manganese issues, irrigation stress, root trouble, pesticide injury, and fungal leaf problems.
That is why gardenia should not be cut back too quickly.
Pruning before you understand the cause can remove healthy green stems the plant needs for recovery. It can also distract from the real problem. If mites were only part of the issue, cutting the plant will not fix soil pH, poor drainage, or root stress.
Start by checking the leaf undersides. Mite damage often comes with fine stippling, a dusty texture, and sometimes light webbing. The damage usually looks more speckled than evenly yellow.
Compare that with interveinal yellowing, where the leaf tissue turns pale while veins remain greener. That pattern can point toward nutrient availability problems, often linked to soil pH that is too high for gardenias.
Gardenias prefer acidic conditions, and Florida soils or irrigation water can work against them in some areas.
Also check the roots and site. Is the plant sitting in wet soil after rain? Is mulch piled against the stem? Does the bed dry out completely between waterings? Gardenia roots are sensitive, and recovery depends heavily on a stable root zone.
Remove only twigs that are clearly dry and brittle. Leave green stems, even if the leaves on them are damaged. Those stems may push new growth once stress eases.
Water at the base rather than soaking foliage late in the day. Keep mulch in place over the root zone, but pull it back from the main stem.
Gardenia rewards patience. Wait for visible bud break or fresh leaves before shaping.
After mites, the plant does not need guesswork. It needs a correct diagnosis and quiet support.
4. Hold Off On Hard Azalea Pruning

Azalea is one of the easiest Florida shrubs to punish by pruning at the wrong time.
After a spider mite problem, the leaves may look bronzed, dusty, or tired, and the plant can seem like it needs a strong cleanup.
But many azaleas set flower buds for the following spring during summer. A late cutback may remove those buds before you ever notice them.
The plant may look healthier later.
Then spring arrives with few flowers, and the real cost of pruning becomes obvious.
That is why azaleas should be left mostly alone after a summer mite event. The goal is to preserve living stems, protect shallow roots, and avoid sacrificing next season’s bloom.
Light cleanup is acceptable. Remove twigs that are clearly brittle, bare, and dry all the way through. If a stem snaps cleanly and shows no green tissue inside, it can come off.
But avoid broad shaping, size reduction, or hard pruning during the period when flower buds may already be forming.
Keep scouting leaf undersides. Azalea leaves are small and leathery, and mites can hide easily there. A plant near a hot wall, driveway, or dry foundation bed may be especially vulnerable because warm, dry microclimates help mite populations rebound.
Root-zone care matters. Azaleas have shallow roots, and Florida sandy soils can dry fast between rains. Mulch two to three inches deep helps protect those roots, but keep mulch away from the trunk and crown.
Water deeply when needed, but do not keep the bed soggy. Azaleas dislike extremes.
Skip heavy fertilizer until the plant shows steady recovery and the season is appropriate. Forcing soft growth after mite damage can increase stress.
The best pruning window for many azaleas is soon after spring bloom, not after a summer pest event.
If the plant is alive, stable, and holding buds, leave it alone and protect next year’s flowers.
5. Protect Green Areca Palm Fronds
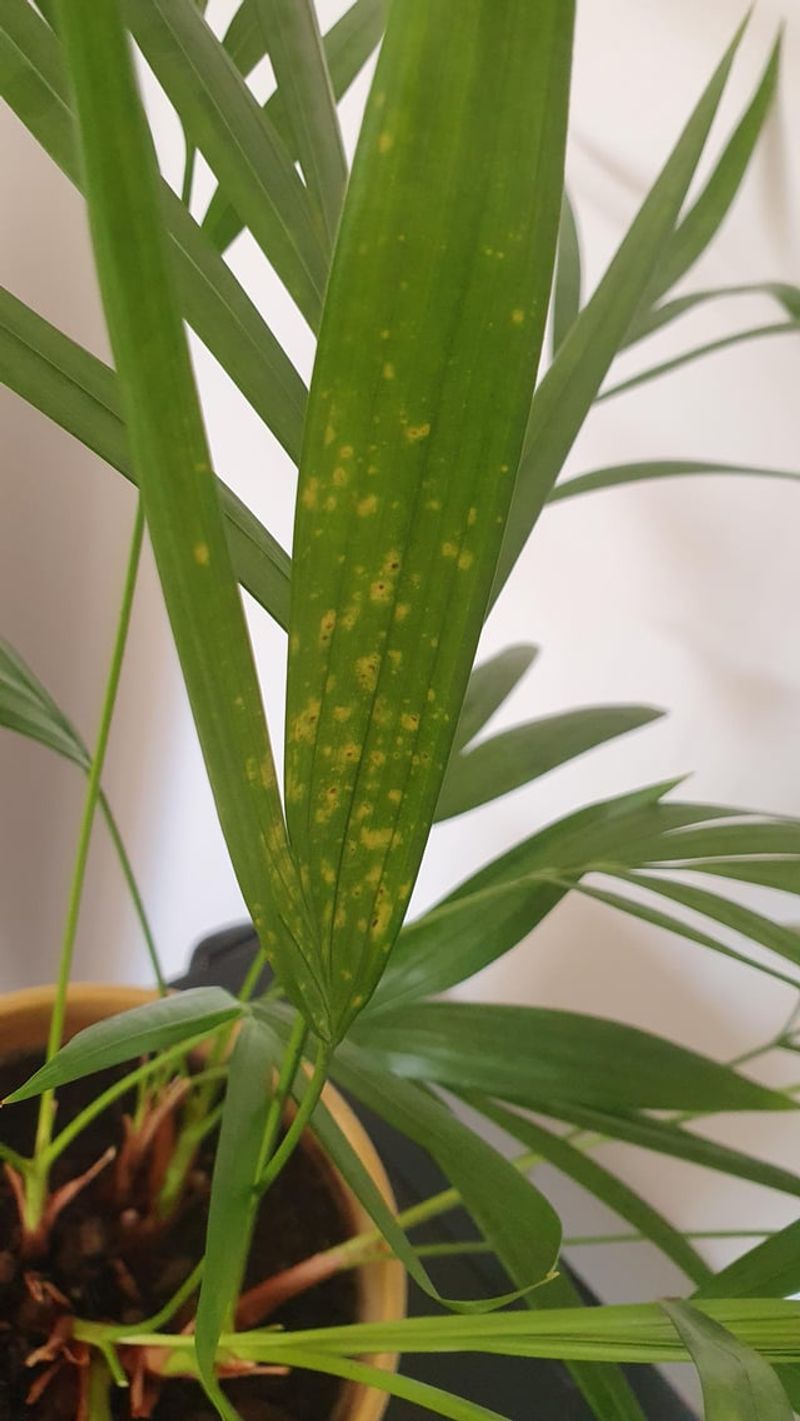
Palms have a different growth pattern, and they rely heavily on their green fronds to feed the plant. A frond that looks stippled, bronzed, or a little worn may still be photosynthesizing.
Removing it too early takes away energy the palm needs to recover.
That is why green fronds should stay.
Spider mites often hide along the undersides of the small leaflets that make up each areca frond. The damage may look like fine bronze dusting, silver speckling, or an overall dull cast.
It is easy to mistake that for nutrient stress, normal aging, or drought damage.
Check closely before cutting anything.
If the frond is still mostly green, leave it in place. Even imperfect green tissue is useful. Remove only fronds that are fully brown, dry, and no longer contributing.
Avoid the common habit of cutting palms into a tight, over-cleaned shape. That weakens the plant and reduces its ability to recover from pests, heat, and water stress.
A strong rinse can help after a mite event. Use a garden hose to spray the undersides of fronds, especially where leaflets meet the central stem. This can knock down lingering mites and dust without adding chemical stress.
Watering should be steady but not excessive. Areca palms like regular moisture, especially in Florida heat, but standing water can damage roots.
Check drainage in planting beds and containers. During dry periods, deep watering is better than frequent light splashes.
Do not fertilize aggressively right after mite damage. Wait until the palm is stable and producing normal new growth.
Areca palms recover slowly compared with fast shrubs. That slower pace is normal.
The most helpful thing you can do is keep every working green frond, support the roots, and give the palm time.
6. Keep Ti Plant Canes Intact
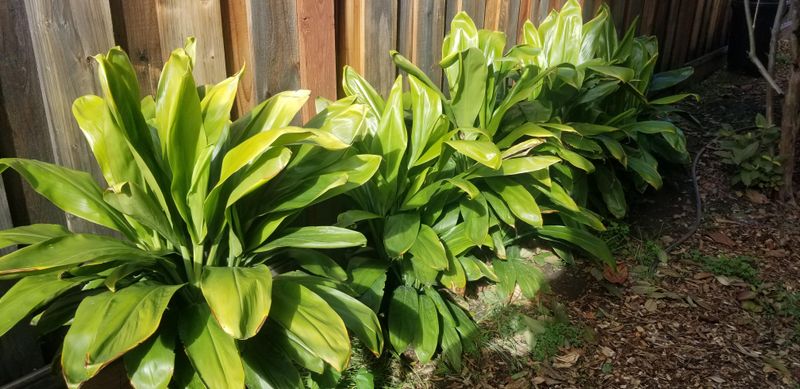
Ti plant leaves can look terrible after spider mites, but the canes may still be full of life.
That is the important part. Ti plants store energy in their thick, woody canes, and those canes can push new leaves from nodes once the plant stabilizes. Cutting them too soon removes the structure that recovery depends on.
The foliage may be bronzed, dull, papery, or partly dropped. On dark purple, burgundy, or variegated varieties, mite damage can be harder to read because the normal leaf color already has dramatic tones.
That makes it even more important to check the canes before pruning.
Use the scratch test. Lightly scrape a small section of cane with a thumbnail. Green tissue beneath the surface means the cane is alive.
Also look along the cane for swelling nodes or tiny buds. Those are signs that new growth may be coming.
Do not cut a live cane just because the leaves above it look rough.
Ti plants recover best in bright, indirect light after a mite event. Full afternoon sun can add scorch stress while the plant is trying to rebuild foliage.
Deep shade can slow growth too much. A protected spot with morning light, filtered shade, or bright porch light is often the best balance.
Water consistently, especially for container-grown plants, but make sure drainage is strong. A pot that stays soggy can damage roots and prevent bud break. A pot that dries completely can stress the canes further.
Remove leaves that are fully collapsed or brown, but leave partially functioning leaves if they still have green tissue. They may continue feeding the plant during recovery.
Once new leaves unfurl and active growth is clear, light shaping can begin.
Until then, keep the canes intact. They are not just stems. They are the plant’s recovery reserve.
7. Wait For Ixora Buds To Break
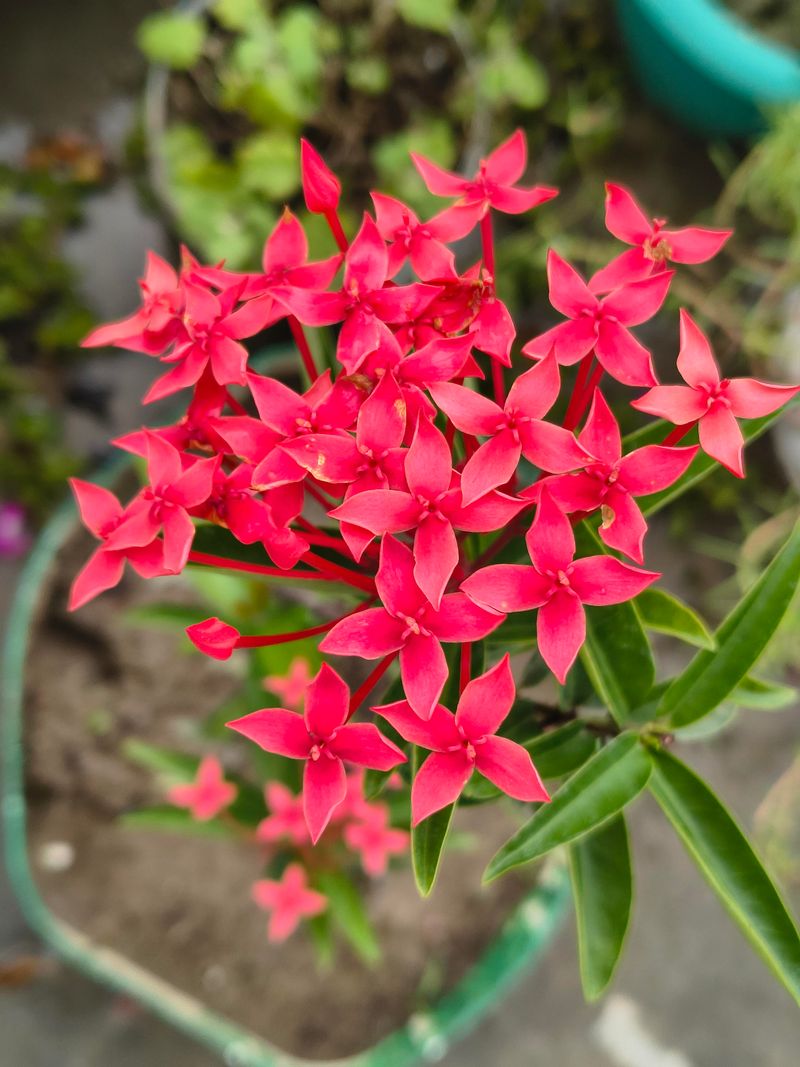
Ixora is easy to overreact to after spider mites.
The leaves may turn dull, bronze, yellowish, or stippled, and the plant can quickly look like it needs a hard reset. But ixora has another layer of complexity in Florida: soil pH.
High pH can cause nutrient problems that look similar to pest damage from a distance.
That means pruning is not the first answer.
Before shaping, confirm that mites were truly the main issue and that the plant is still viable. Check undersides of leaves for stippling, webbing, or mite movement.
Then check stems for live tissue. A small scratch near the branch tip should show green underneath if that stem is still alive.
Next, look for bud break.
New buds at branch tips or leaf axils are the clearest sign that ixora has started to recover. Until you see them, major shaping is mostly guesswork.
You may cut away stems that were about to push new growth or force the plant to spend energy it does not have.
Ixora prefers slightly acidic soil. In parts of Florida with alkaline soil, limestone influence, or alkaline irrigation water, leaves may show chlorosis that does not improve with pruning.
If the plant’s color problems persist after mites are controlled, consider soil pH and nutrient availability before reaching for the shears.
Water at the root zone and avoid letting the plant swing between dry stress and soggy soil. Mulch helps keep moisture steadier, but keep it off the main stems.
Do not rush fertilizer or soil amendments. Acidifying products can help in the right situation, but overapplication on a stressed plant can create more trouble. Follow label rates and adjust gradually.
Ixora blooms on new wood, so light pruning after recovery can encourage fuller growth and more flowers later.
The key word is after.
Wait for buds to break, then shape the plant with confidence.