Why Oregon Tomato Leaves Turn Yellow And What Gardeners Should Fix First
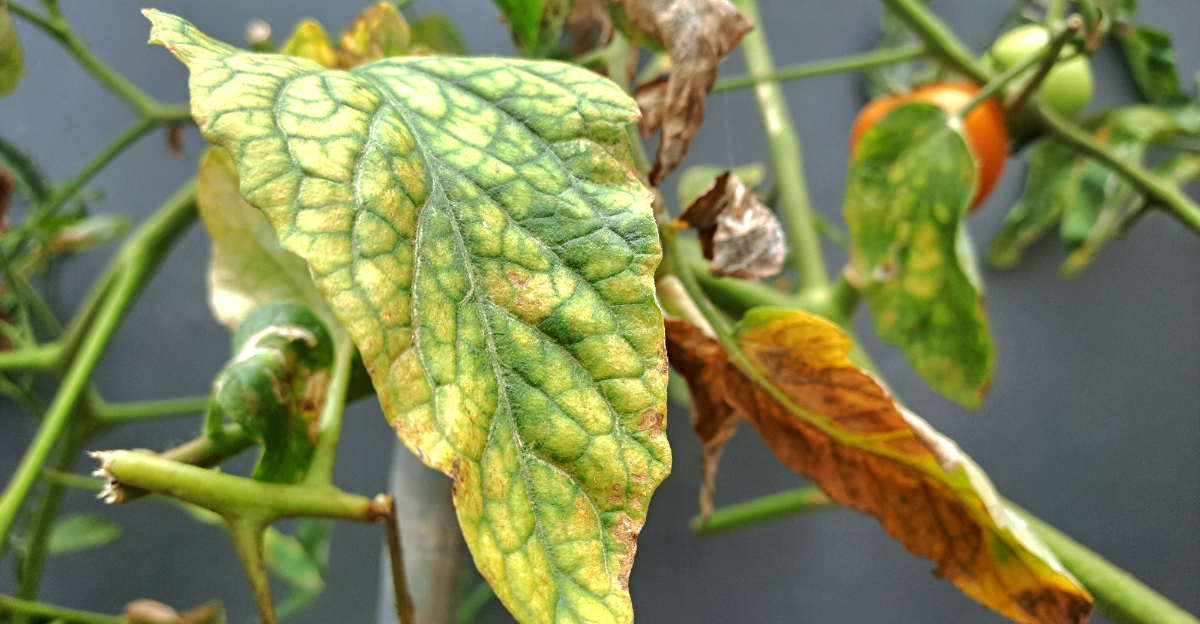
Yellow tomato leaves can be surprisingly hard to read because the same color change can point to very different problems. Sometimes the issue starts with watering.
Other times, the plant is reacting to depleted soil, root stress, or disease moving upward through the foliage. The position of the yellowing offers one of the best clues.
Lower leaves tell a different story than fresh growth near the top, and spotting that pattern early can save a plant before the decline spreads.
Oregon’s late-summer conditions can make diagnosis trickier as heat stress overlaps with cooler nights and changing soil moisture.
That is why the first fix should not be a random dose of fertilizer or extra water. A quick check of where the yellowing began, how the leaves look, and what changed recently can point you toward the real cause much faster.
1. Checking The Watering Before Blaming Anything Else
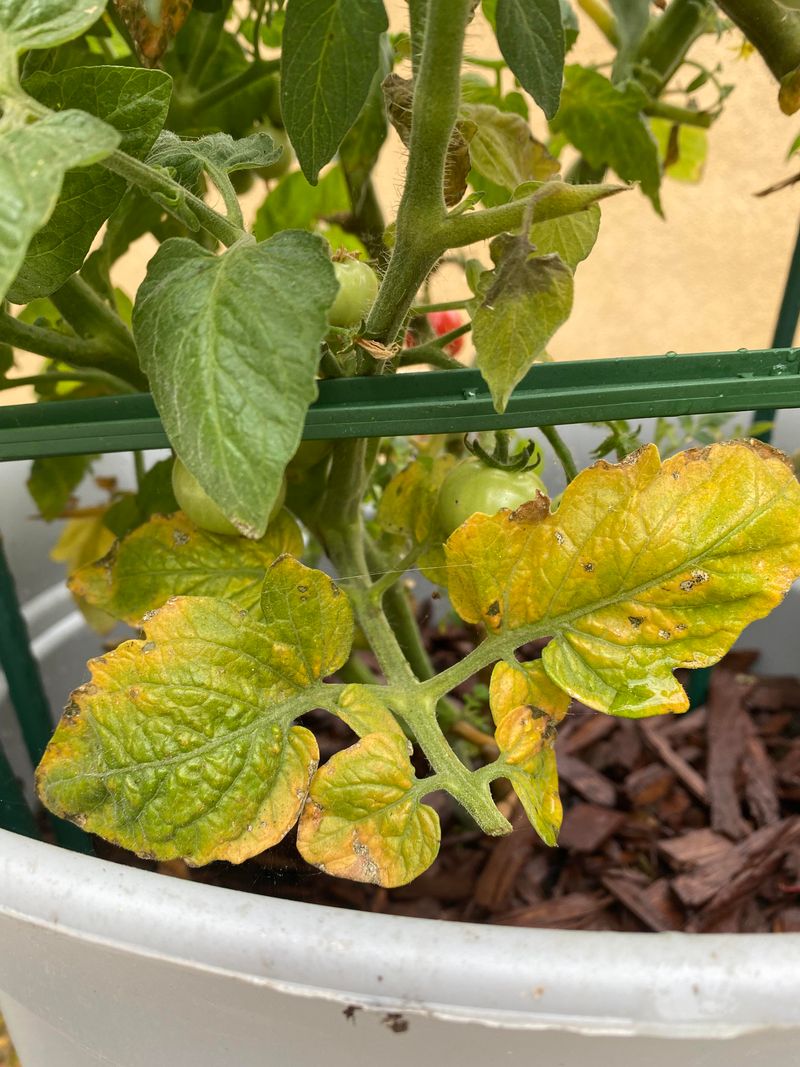
Before you start blaming bugs or disease, check your watering habits first. Overwatering and underwatering both cause yellow leaves, and they are two of the most common mistakes tomato growers make.
Getting the watering right is the single most important step you can take.
Too much water pushes oxygen out of the soil. Roots need air to stay healthy, and when they sit in wet soil for too long, they begin to struggle.
Yellow leaves, especially on the lower part of the plant, are often one of the first signs that something is wrong underground.
Too little water causes stress too. When a tomato plant does not get enough moisture, it starts to conserve energy.
Leaves lose their green color and may start to curl or droop before they turn yellow.
A simple test helps a lot here. Stick your finger about two inches into the soil near the base of the plant.
If it feels wet, hold off on watering. If it feels dry, water slowly and deeply so the roots can absorb what they need.
In Oregon, spring rains can fool gardeners into thinking the soil has enough moisture. But raised beds and containers dry out faster than garden beds.
Always check before watering, not just on a schedule. Tomatoes do best with consistent moisture, not too much and not too little.
2. Soggy Roots Turning Lower Leaves Yellow Fast
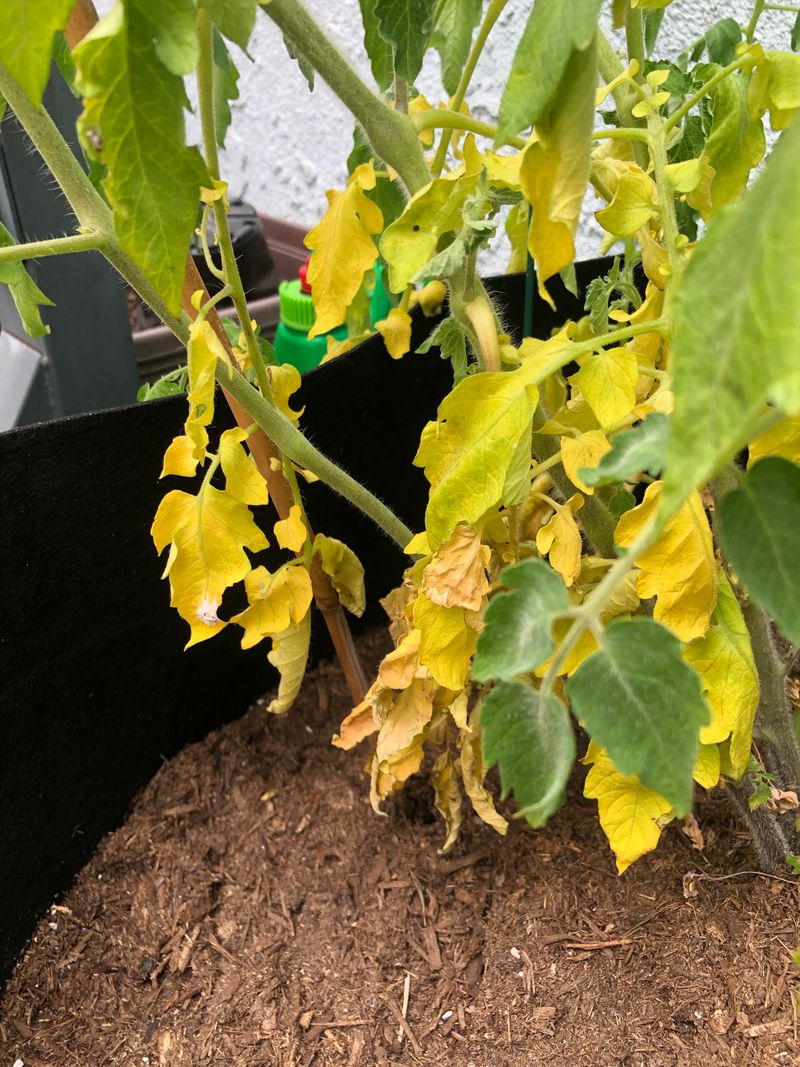
Wet feet are bad news for tomato plants. When roots stay soaked for too long, they lose the ability to take in nutrients and oxygen.
The result shows up quickly as yellow leaves on the lower part of the plant.
This problem is especially common in Oregon during cool, rainy spring weather. Gardeners often plant tomatoes in soil that has not fully drained from weeks of rain.
The roots never get a chance to breathe, and the plant shows stress almost right away.
Soggy roots also create the perfect environment for root rot. This is a fungal condition that spreads fast in waterlogged soil.
Once root rot sets in, the yellowing moves up the plant and becomes much harder to reverse.
Your Oregon Garden Changes Every Week. Your Plan Should Too.
Gardening in Oregon changes quickly throughout the season. Every Friday you’ll receive a simple weekly plan showing exactly what to plant, prune, fertilize, harvest, and protect so you never miss the right timing.
The fix starts with improving drainage. If your garden bed stays wet for more than a day after rain, you may need to add compost or coarse sand to loosen the soil.
Raised beds are a great option for tomatoes in areas with heavy rainfall.
Check the bottom of containers too. Pots without drainage holes trap water and cause the same soggy root problem.
Always use pots with holes and set them up so water can flow freely. Catching this issue early gives your plant a real chance to recover and keep growing strong through the rest of the season.
3. Dry Soil Making Plants Drop Their Green Color
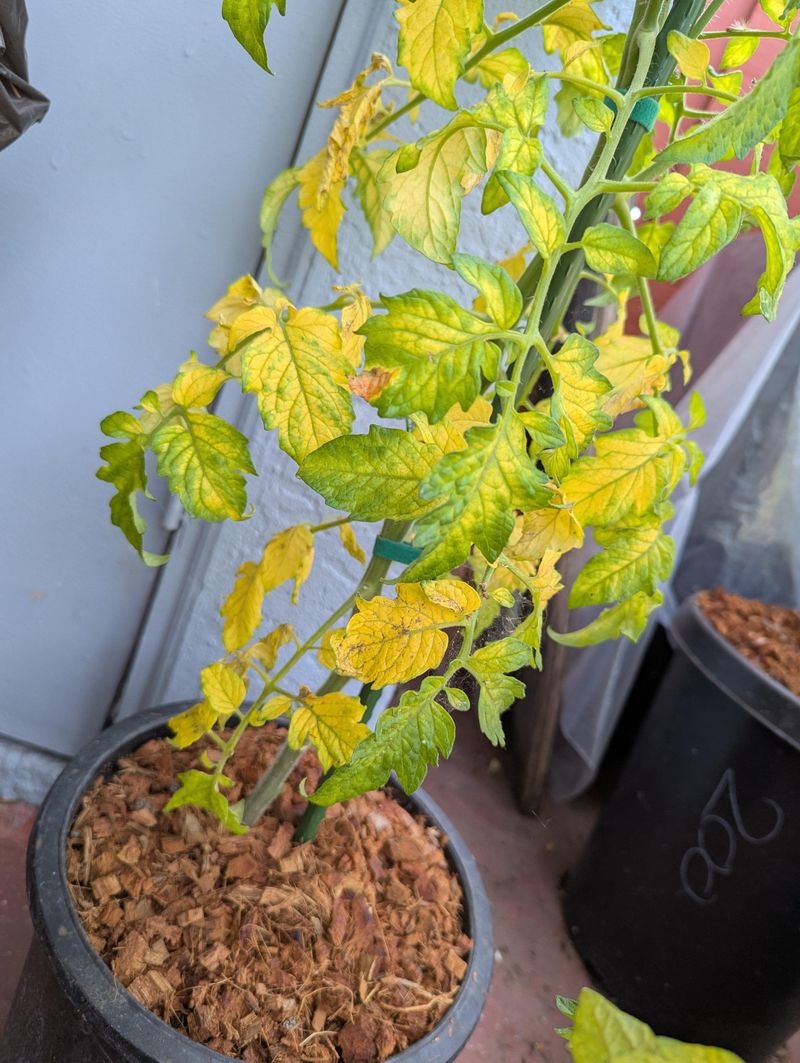
Not all yellowing comes from too much water. Sometimes the soil is simply too dry, and the plant reacts by dropping its green color fast.
Dry soil stress can sneak up on gardeners, especially during warm spells in July and August.
When a tomato plant does not get enough water, it cannot move nutrients from the soil into its leaves. Chlorophyll, the green pigment in leaves, breaks down without those nutrients.
Leaves start to look pale, then yellow, and eventually dry out at the edges.
Mulching is one of the best ways to prevent dry soil. A layer of straw, wood chips, or shredded leaves around the base of the plant helps hold moisture in the soil longer.
It also keeps the soil temperature steady, which tomatoes really like.
Drip irrigation works well for tomatoes in warm, dry periods. It delivers water slowly and directly to the root zone.
This reduces evaporation and makes sure the plant gets a steady supply without you having to guess.
The dry season can arrive suddenly after a wet spring. Gardeners who are used to relying on rain sometimes forget to switch to regular watering when the weather changes.
Setting a simple reminder to check the soil every two days during dry weather can make a big difference and keep your plants looking green and healthy all summer long.
4. Older Bottom Leaves Yellowing First For A Reason
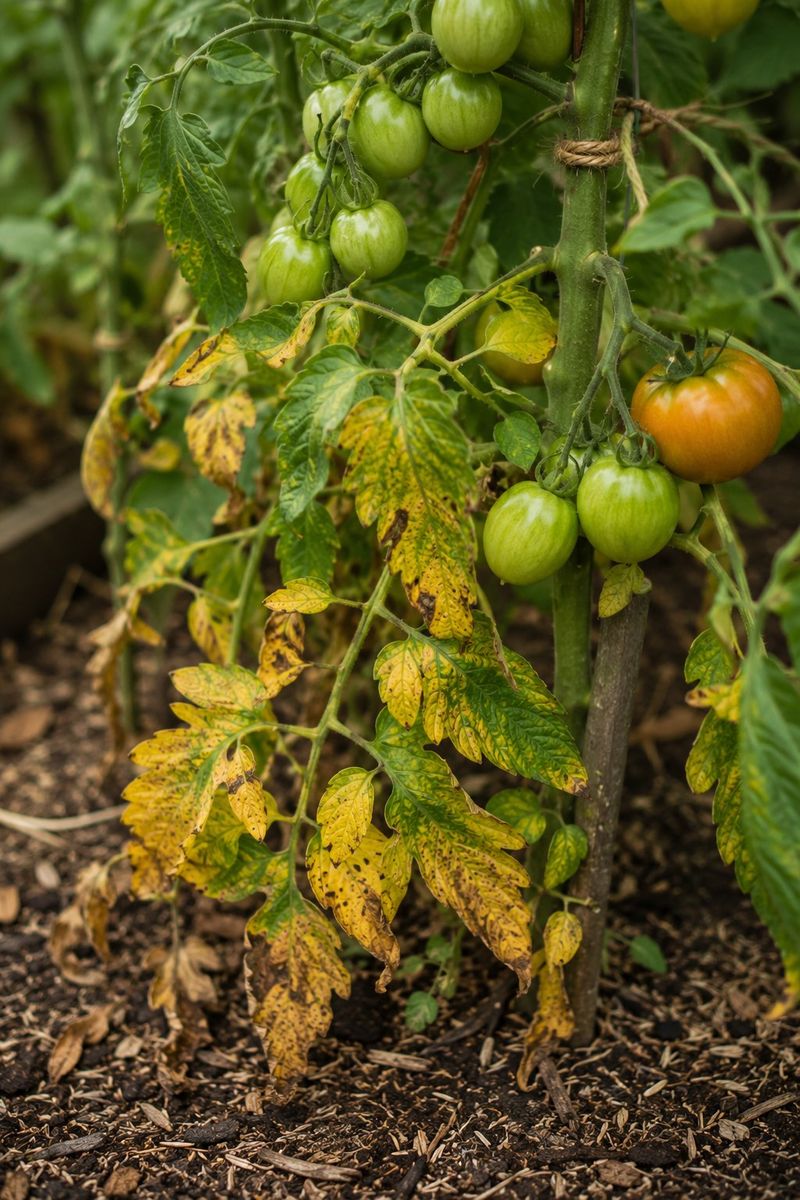
Here is something many gardeners do not realize: yellow leaves at the bottom of the plant are not always a problem. Tomatoes naturally shed their older, lower leaves as they grow taller.
It is a normal part of the plant’s life cycle.
As a tomato plant puts energy into growing fruit and new stems, it pulls resources away from older leaves. Those leaves served their purpose early in the season.
Once the plant no longer needs them, they turn yellow and fall off.
You can usually tell this is natural aging if only the very lowest leaves are affected. The rest of the plant should look healthy, green, and strong.
New growth at the top should be coming in well, and the plant should not look stressed overall.
Removing those lower yellow leaves is actually a good idea. It improves airflow around the base of the plant, which helps reduce the risk of fungal problems.
Good airflow is important for keeping tomato plants healthy, especially in areas with cool, damp mornings.
Pruning off the bottom few leaves also keeps soil from splashing up onto the leaves during rain or watering. Soil splash can carry fungal spores that cause diseases like early blight.
Keeping a clean base on your tomato plants is a simple habit that pays off big by the end of the growing season. Do not panic when you see a few yellow leaves near the bottom.
5. Nitrogen Shortages Showing Up Across The Plant
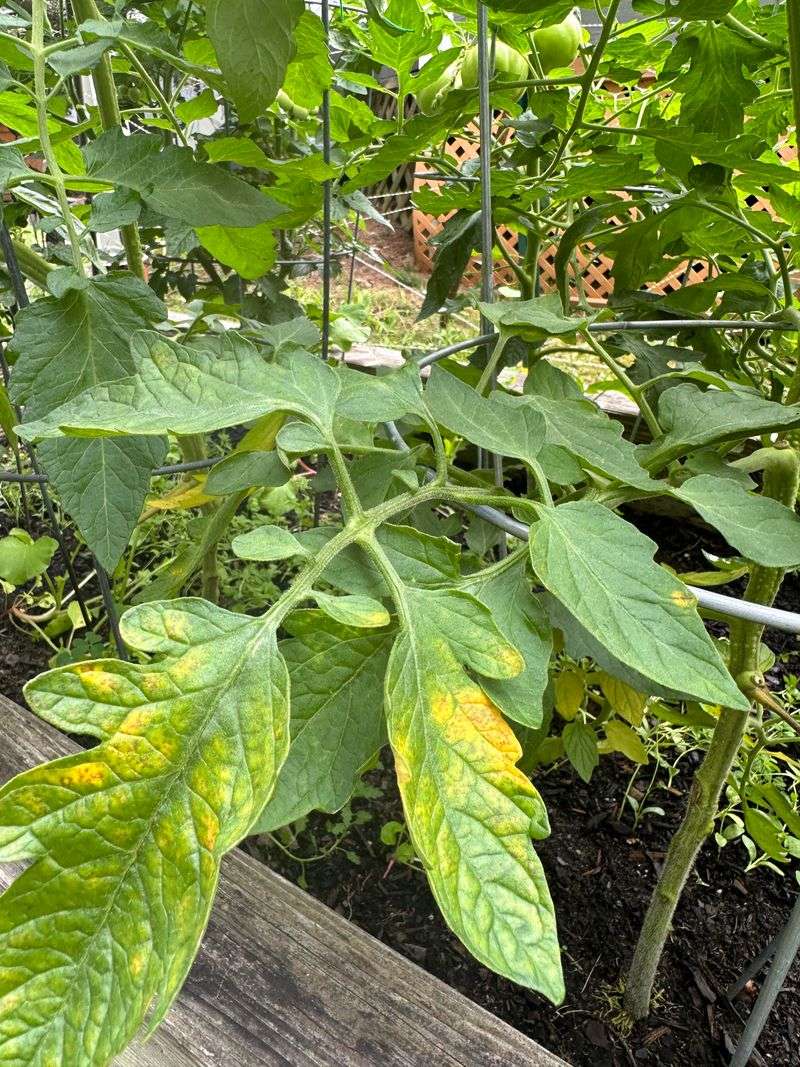
Nitrogen is one of the most important nutrients a tomato plant needs to stay green and grow strong. When the soil runs low on nitrogen, the whole plant starts to look pale and washed out.
Leaves turn yellow from the bottom up, and new growth may look smaller than usual.
Unlike some nutrient problems that only show up in one area, a nitrogen shortage affects the entire plant over time. The plant pulls nitrogen from older leaves to feed new growth.
So the lower leaves yellow first, but the problem keeps moving upward if you do not fix it.
Feeding your tomatoes regularly through the growing season helps prevent this. A balanced vegetable fertilizer with a good nitrogen level works well.
Fish emulsion and blood meal are popular organic options that release nitrogen into the soil steadily.
Be careful not to over-fertilize. Too much nitrogen early in the season pushes the plant to grow lots of leaves but fewer fruits.
The goal is balance. Follow the label directions and feed every two to three weeks during active growth.
Oregon heavy rains can wash nitrogen out of the soil faster than in drier regions. Gardeners who rely only on compost may find their plants hungry by midsummer.
A light feeding with a liquid fertilizer can give a quick boost when leaves start looking pale. Watch your plants closely and feed them before the yellowing spreads too far up the stem.
6. Poor Drainage Keeping Roots From Breathing
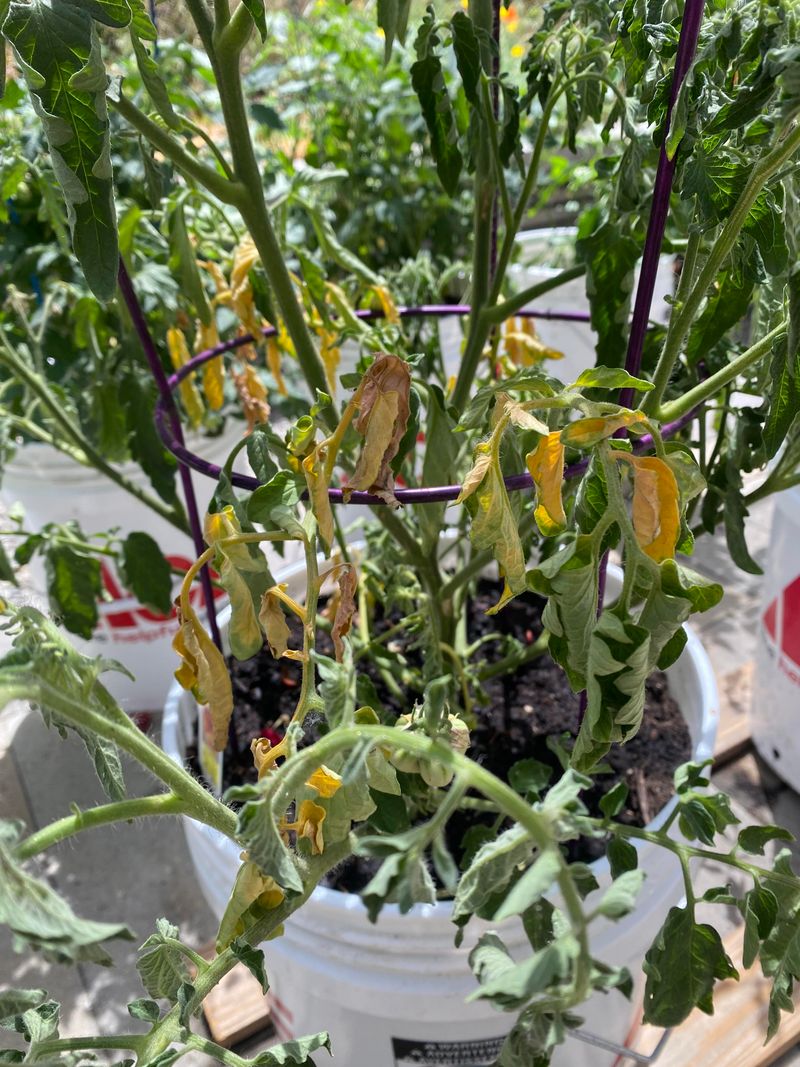
Poor drainage is one of those problems that hides underground until the damage shows up on the leaves. When water cannot move through the soil properly, it pools around the roots.
Roots that stay wet for too long lose their ability to absorb nutrients and oxygen.
Heavy clay soil is a major cause of drainage problems in many parts of our state. Clay holds water for a long time, which is great in dry climates but a real challenge for tomato growers in wetter regions.
Tomatoes need well-drained soil to thrive. Adding organic matter like compost helps break up clay soil over time. Working in perlite or coarse sand also improves drainage quickly.
These changes help water move through the soil faster and give roots the air they need to stay healthy.
Raised beds solve drainage problems almost immediately. Filling them with a mix of compost, topsoil, and perlite gives tomatoes a loose, well-draining growing environment.
Many gardeners in this region swear by raised beds for this exact reason.
If you are planting in the ground, try doing a simple drainage test before you plant. Dig a hole about one foot deep and fill it with water.
If the water is still sitting there after an hour, your drainage needs improvement. Fixing drainage before you plant is much easier than trying to correct it after your tomatoes are already in the ground and showing yellow leaves.
7. Spider Mites Hiding Under Fading Leaves
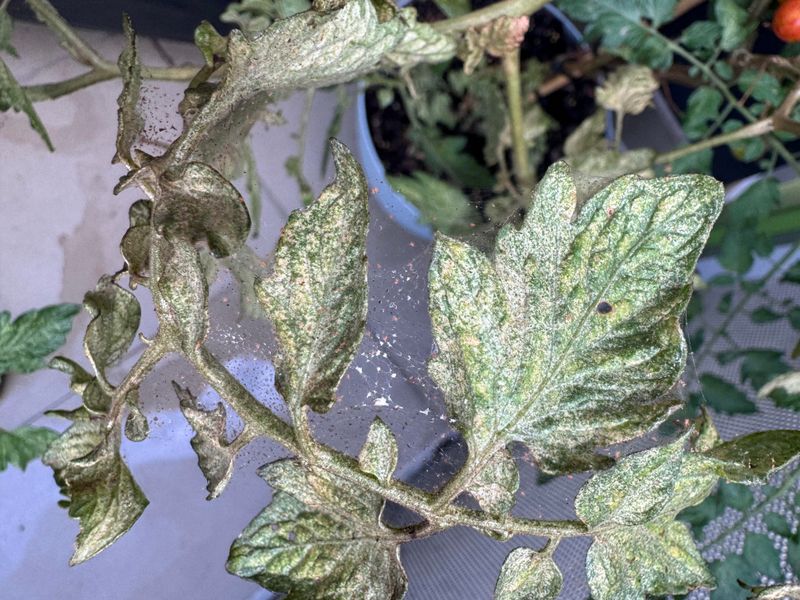
Spider mites are tiny, but they can cause a lot of trouble in a short amount of time. These pests are barely visible to the naked eye, and they like to hide on the underside of tomato leaves where you might not notice them right away.
They feed by piercing leaf tissue and sucking out the contents. Over time, this causes the leaf to look stippled, faded, and eventually yellow.
If you look closely at the underside of an affected leaf, you might see fine webbing or tiny moving dots.
Hot, dry conditions encourage spider mite populations to explode. In our state, late summer heat can trigger outbreaks fast.
Stressed, underwatered plants are especially vulnerable, so keeping plants well-watered is actually part of the prevention strategy.
A strong spray of water on the undersides of leaves can knock mites off and reduce their numbers quickly. This works best in the early morning so leaves have time to dry before evening.
Repeat every few days to keep populations down.
Insecticidal soap or neem oil are effective organic treatments for more serious infestations. Spray thoroughly on the undersides of all affected leaves.
Repeat the treatment every five to seven days for at least two or three rounds to catch any newly hatched mites.
Catching spider mites early is key because they reproduce fast, and a small problem can become a big one within just a couple of weeks.
8. Early Blight Starting With Yellowing Near The Bottom
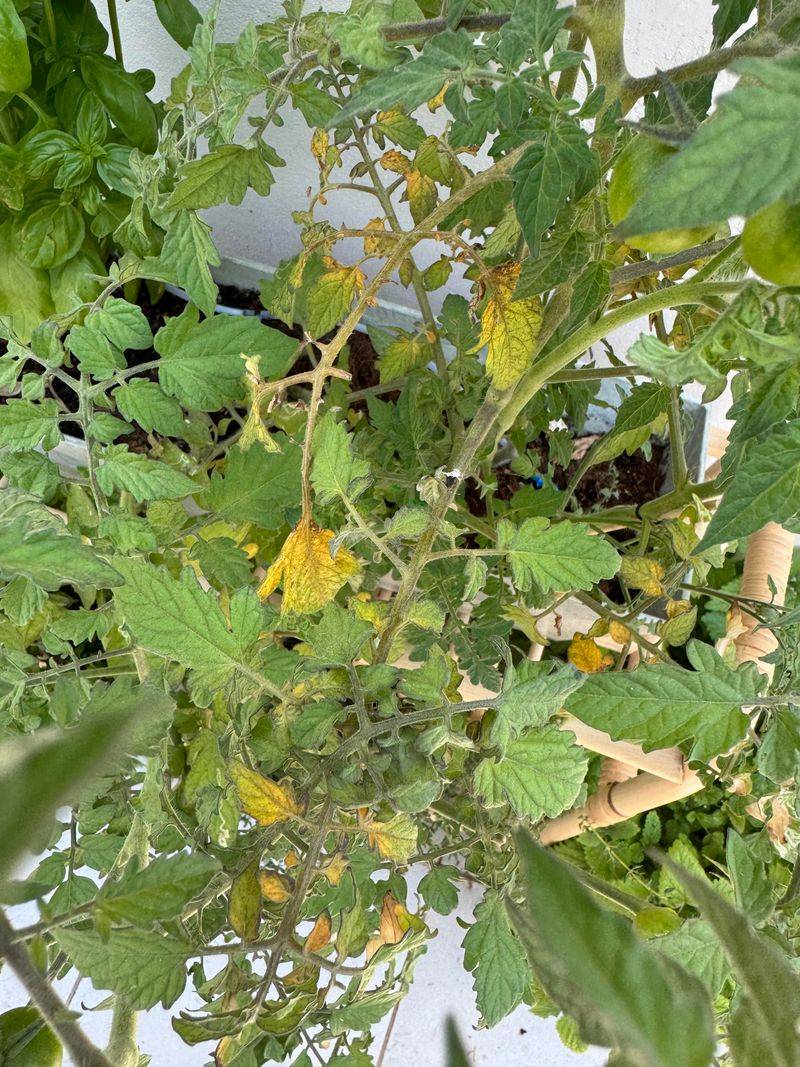
Early blight is one of the most common fungal diseases that affects tomatoes in our state. It shows up as dark brown or black spots on the lower leaves, usually with a yellow ring or halo around each spot.
The yellowing spreads as the disease progresses. The fungus that causes early blight loves cool, wet conditions followed by warm temperatures. That pattern describes a typical spring in this region almost perfectly.
Spores can survive in the soil from one season to the next, which is why rotating your crops every year is so important.
Leaves affected by early blight eventually turn fully yellow and fall off. As more leaves drop, the plant loses its ability to photosynthesize and produce energy.
Fruit quality can drop too if the disease is not managed.
Removing infected leaves as soon as you spot them slows the spread. Put them in the trash, not the compost pile, because compost may not get hot enough to destroy the fungal spores.
Wash your hands and tools after handling infected plants.
Copper-based fungicide sprays can help protect healthy leaves when applied early and consistently.
Start spraying at the first sign of trouble and continue every seven to ten days through the growing season.
Keeping leaves dry by watering at the base of the plant rather than overhead also reduces the risk of early blight spreading and keeps your plants producing longer into the fall harvest season.