How To Divide Crowded Georgia Irises Before The Soil Cools Down Too Much
There is a moment in a Georgia garden when the air finally loosens its grip. The cicadas quiet down, and the evening smells like damp pine instead of hot asphalt.
Something underground has been busy all summer, elbowing its neighbors and hogging every inch of space. You cannot see it from the porch, but you can feel that a garden bed is getting a little too full of itself.
The clock matters here, because soil temperature drops more slowly than air temperature does. Once that warmth fades, new roots slow down and the division goes into winter poorly anchored.
Whatever is happening down there, it isn’t going to fix itself before the ground hardens. The porch is quiet, but the bed underneath it is still crowded and running out of time.
Reading The Signs Of An Overcrowded Clump
Irises stay tidy for about three years, then the rhizomes begin competing for space. A clump that once bloomed generously will suddenly give you leaves and almost no flowers.
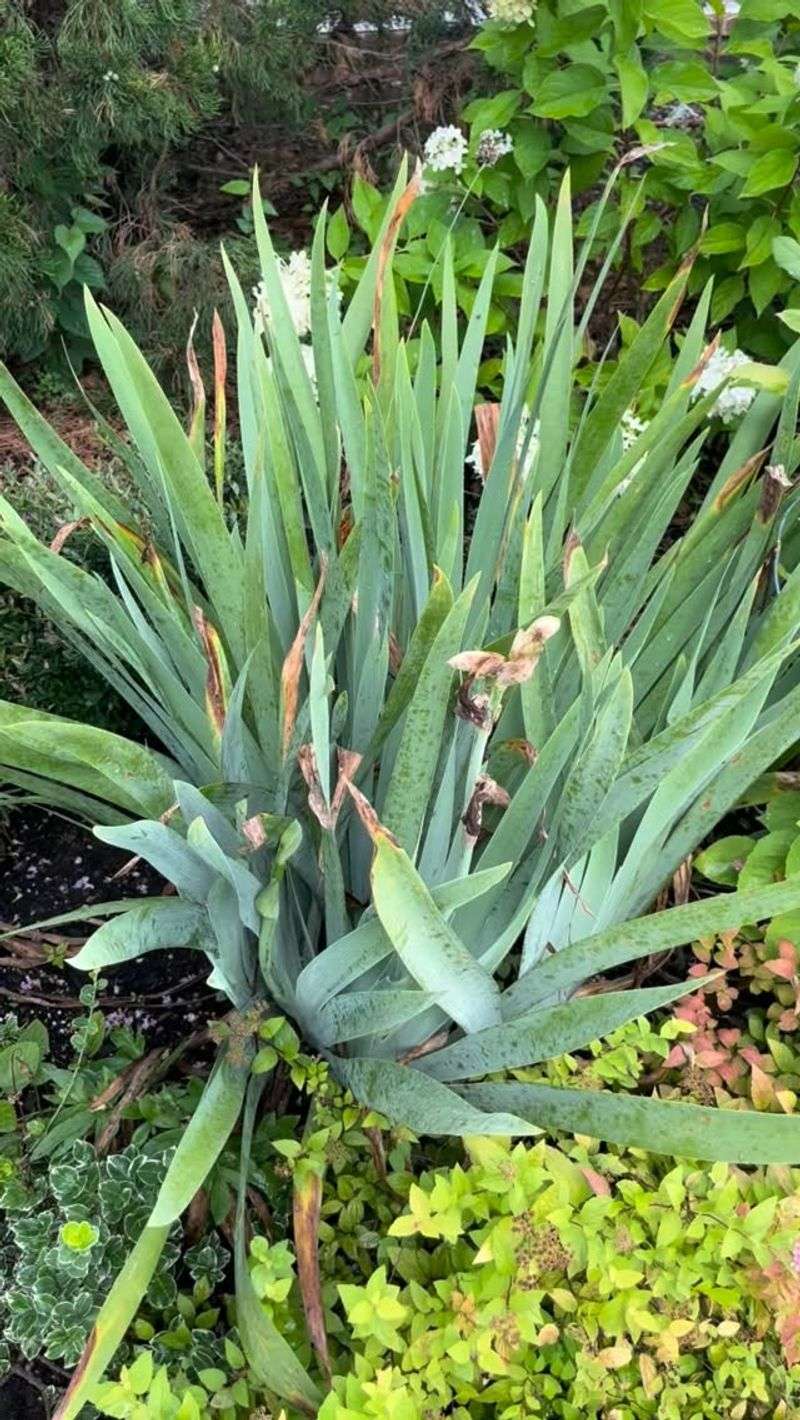
Look at the center of the planting first. Crowded groups often develop a bald spot in the middle, with all the healthy growth pushed out to the edges like a doughnut.
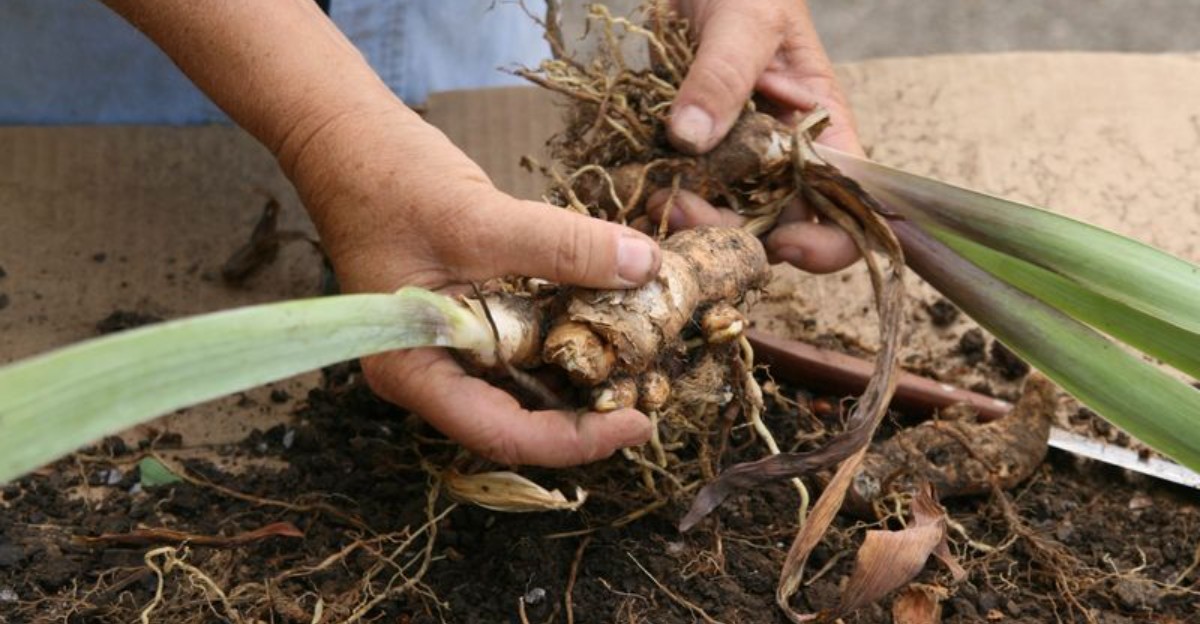
Another clue sits right on the surface. Rhizomes begin climbing over each other, stacking up in layers instead of resting flat in the soil.
Foliage tells its own story too. Fans get shorter, thinner, and floppier when too many plants compete for the same water and nutrients.
In Georgia, crowding also invites trouble because our humidity lingers. Packed leaves trap moisture against the rhizomes, which encourages soft spots and rot at the base.
Count back to your last division if you can remember it. Most bearded irises in the Southeast want attention every three to four years, sometimes sooner in rich beds.
Bloom quality matters more than bloom count. Smaller flowers on shorter stalks usually mean the roots have run out of elbow room underground.
Take a walk through the bed in late summer with a notepad. Marking the worst clumps now saves guessing once the foliage is trimmed and everything looks alike.
Do not panic if a clump looks rough. Crowding is a sign of vigor, not failure, and the fix is simply giving those rhizomes fresh territory. Your reward comes next spring in color you had almost forgotten.
Choosing The Right Window On The Georgia Calendar
Timing is the whole game with irises, and Georgia gives us a generous but not unlimited window. Late July through early September works well across most of the state, with the exact window shifting by region.
North Georgia gardeners near Blue Ridge or Dahlonega should lean earlier. Cooler mountain nights arrive sooner, so aim for late July into mid August.
Down through middle Georgia and into the coastal plain, from Macon to Albany, you have more room. Divisions there can go in through late September without much worry.
The reason behind the schedule is simple. Rhizomes need roughly four to six weeks of warm soil to push new roots before growth slows for winter.
Your Georgia Garden Changes Every Week. Your Plan Should Too.
Gardening in Georgia changes quickly throughout the season. Every Friday you’ll receive a simple weekly plan showing exactly what to plant, prune, fertilize, harvest, and protect so you never miss the right timing.
Soil temperature beats air temperature as your guide. When the ground sits above 60 degrees at a four inch depth, roots are still actively working.
A cheap soil thermometer takes the guesswork out of it. Push it in around mid morning for a reading that reflects the day fairly.
Waiting too long has a real cost. Late transplants sit loose in the ground, heave during freeze and thaw cycles, and skip their spring show.
Heat has its own risks, so avoid a stretch of triple digit afternoons. Work in early morning hours and keep lifted rhizomes shaded.
Rain patterns help too. Dividing a few days after a soaking storm makes digging far easier in stubborn red clay.
Mark your calendar now rather than trusting memory. Garden chores have a way of sliding until the window quietly closes on you.
Gathering Tools That Make The Job Easier
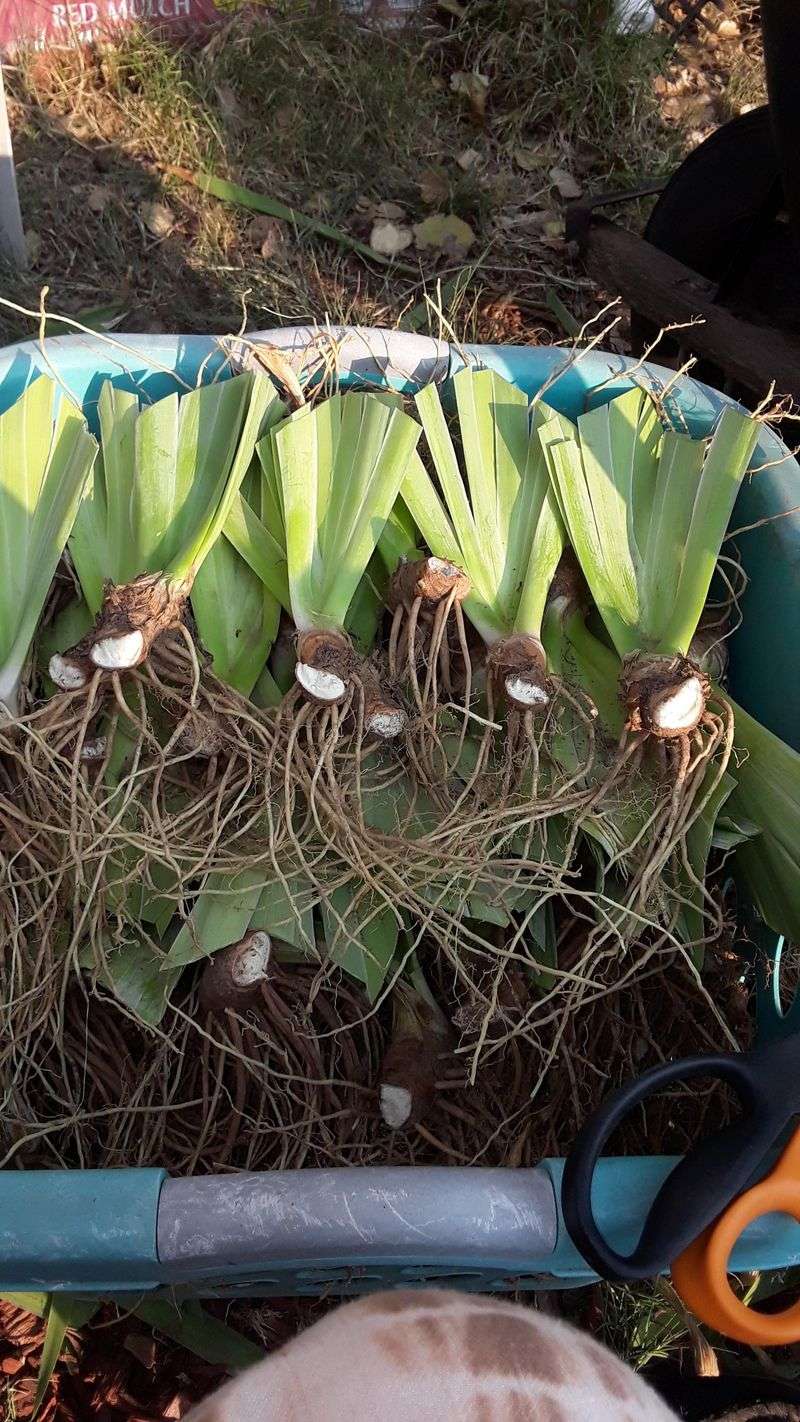
A dull blade and a bent trowel can turn an easy afternoon into a frustrating one. A little prep turns a two hour chore into a pleasant one.
Start with a spading fork rather than a shovel. Tines slide between rhizomes and lift clumps out with far less slicing damage.
Keep a sharp knife handy for separating individual pieces. A serrated bread knife from the thrift store works surprisingly well for this.
Bypass pruners handle the foliage trimming. Anvil style cutters crush the leaf tissue instead of making a clean cut.
Sanitizing supplies deserve a spot on the table. A jar with one part bleach to nine parts water lets you dip blades between clumps.
That small habit stops soft rot from hitching a ride. Rinse and dry your tools afterward so they do not pit or rust.
Bring a tarp or an old bedsheet. Piling soil on fabric keeps your lawn tidy and makes cleanup a simple drag to the bed.
Labels and a pencil matter more than people expect. Iris varieties look identical once trimmed, and marker ink fades by spring.
Gloves protect against the grit in Georgia clay, which wears at bare fingertips quickly. Choose a snug pair so you still feel what you are handling.
A garden hose within reach lets you rinse rhizomes for inspection. Clean roots reveal problems that mud happily hides from you. Set everything out the night before and thank yourself later.
Lifting Clumps Without Bruising The Rhizomes
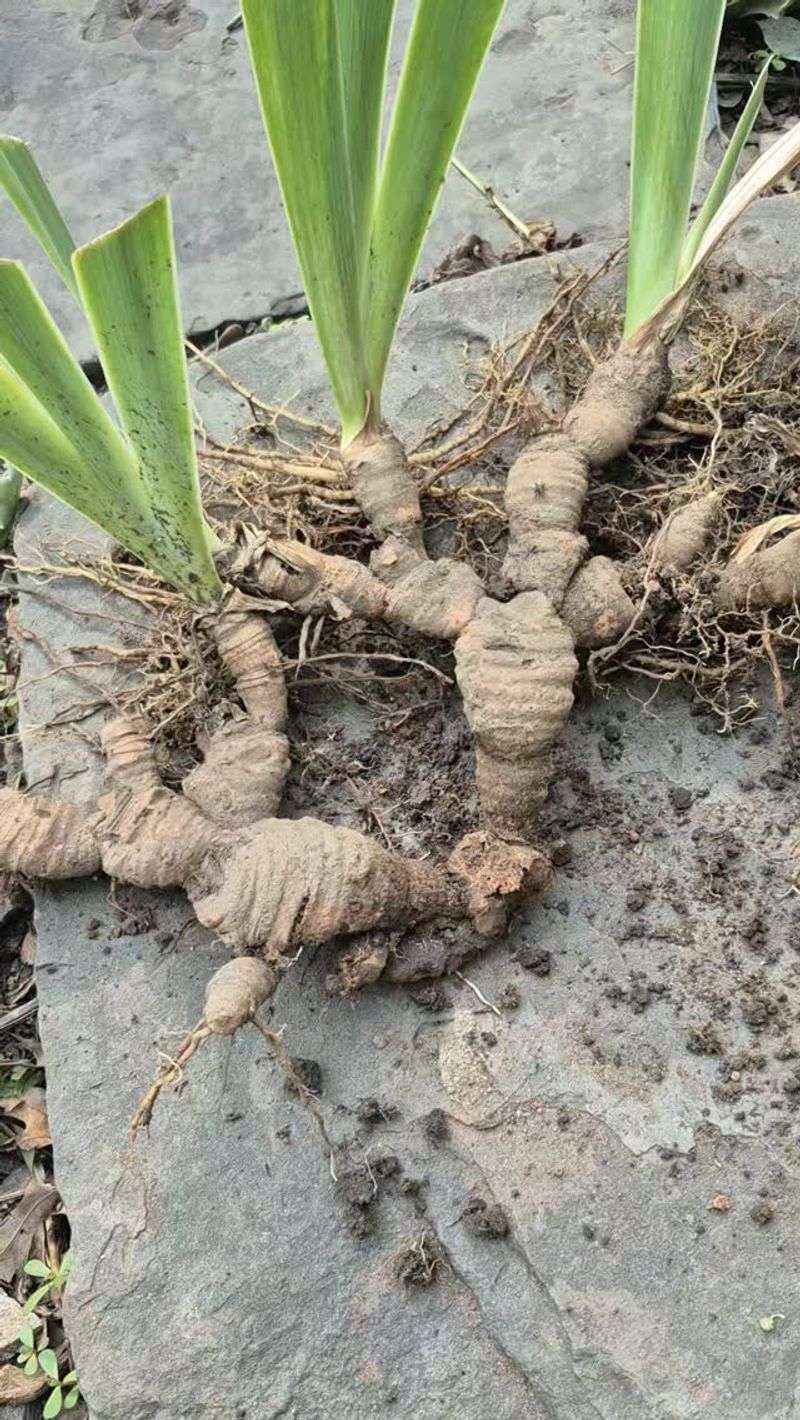
Think of a clump as a plate of stacked pancakes that would rather not be flipped. Rough handling leaves bruises that turn soft weeks later.
Begin by cutting a circle about eight inches out from the outer fans. Sink the fork straight down and rock it gently, working all the way around.
Resist the urge to pry from one side only. Leveraging too hard snaps rhizomes and tears the feeder roots you want to keep.
Once the circle is loose, slide the fork underneath and lift with your legs. Support the clump from below with your free hand as it rises.
Georgia clay clings stubbornly, so expect a heavy load. Setting the clump on a tarp saves your back and your patience.
Shake off the loose soil with a light bouncing motion. Whatever stays behind can be rinsed away with a gentle hose spray.
Water works better than force here. Blasting with a jet nozzle strips protective skin from the rhizome surface.
Let the clump sit in shade for twenty minutes after rinsing. Slightly dried surfaces separate more cleanly and show damage more clearly.
Keep the whole clump out of direct sun during the process. Rhizomes bake quickly on hot pavement or a metal wheelbarrow.
If you must pause, drape a damp towel over everything. That simple cover buys you several hours of safety. Handled kindly, a mature clump can yield several strong divisions.
Separating Healthy Fans From Tired Old Growth
Here is where the sorting instinct kicks in, and it feels a bit like organizing a junk drawer. Some pieces earn a spot in the bed, others do not.
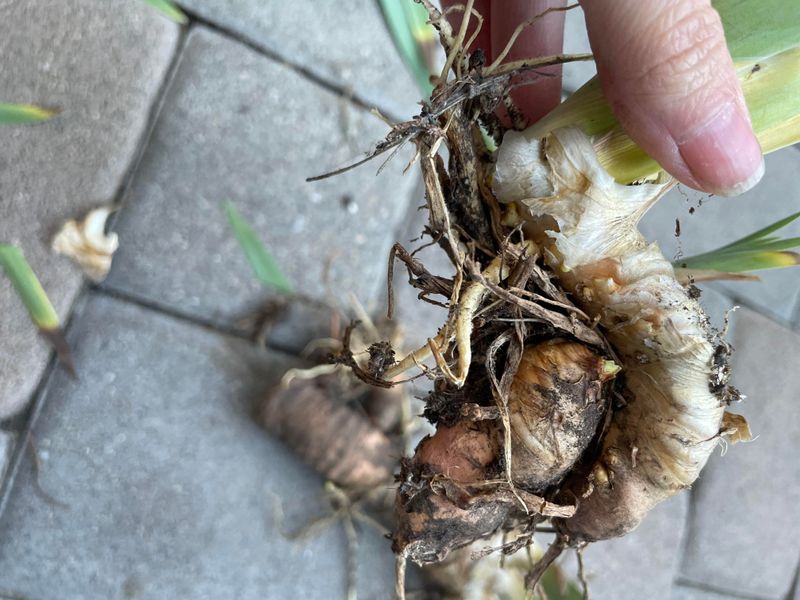
Look for firm rhizomes about the size of your thumb or larger. Each keeper should carry one healthy fan of leaves and a beard of white roots.
Young growth sits at the outer edges of the clump. Center pieces are usually spent, woody, and hollow feeling when pressed.
Snap divisions apart with your hands when possible. Natural breaking points separate cleanly and leave smaller wounds than knife cuts.
Use the blade only for stubborn connections. Dip it in your bleach solution before moving to a new variety.
Press each rhizome between your fingers as a quick test. Firm and heavy means good, while mushy or light means it belongs in the trash bag.
Watch for small holes and sawdust like debris. Borers tunnel through the interior, and the bacterial soft rot that follows their damage produces a distinct sour smell.
Trim away any soft brown areas with a clean cut. Scrape until you reach solid white tissue, then let the wound air dry.
Discard the questionable pieces rather than composting them. Problems travel easily in a home compost pile that never gets hot enough.
Lay your keepers on newspaper in a shaded spot for a few hours. Cured surfaces resist rot once they meet damp soil. Divisions with two fans often bloom sooner than single fans.
Trimming Foliage Into The Classic Fan Shape
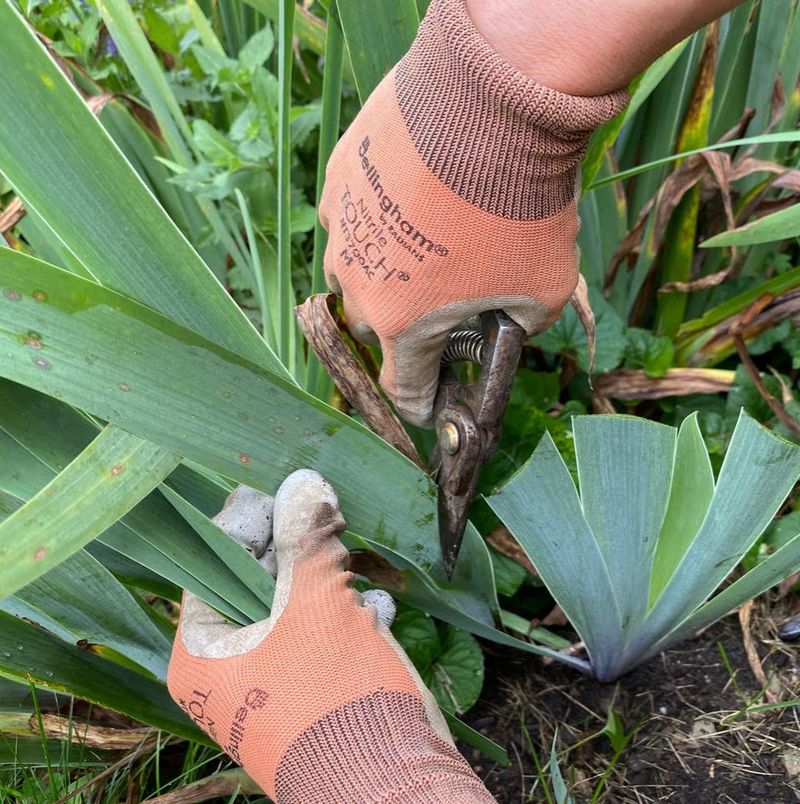
The chevron haircut every iris gets at transplant time is not just tradition. Shorter leaves stop wind from rocking new plants loose in soft ground.
Cut the foliage back to roughly six inches tall. Angle both sides so the fan ends in a peak rather than a flat line.
The pointed shape sheds rain instead of funneling water down into the center. In Georgia storms, that small detail counts for a lot.
Trimming also lowers water demand while roots are still getting established. Fewer leaves mean less moisture escaping on hot afternoons.
Peel off any browned or spotted outer leaves first. Leaf spot fungus overwinters happily on tissue left behind.
Rake up the trimmings rather than tossing them beside the bed. Clearing debris breaks the cycle that brings spots back each spring.
Do not shave the fans down to nubs. Some green tissue keeps photosynthesis going while roots rebuild underground.
Clean cuts heal faster than ragged tears. Sharpen your pruners with a few passes on a file before you start.
This is also the moment to attach labels. Write variety names on a plastic tag and tuck it beside each division.
Some gardeners photograph the trimmed fans with a note card in frame. That digital record outlasts a faded label.
Trimmed divisions look unremarkable in a pile. By April, those little green wedges turn into the showiest thing in the yard.
Preparing Beds That Drain Well In Red Clay
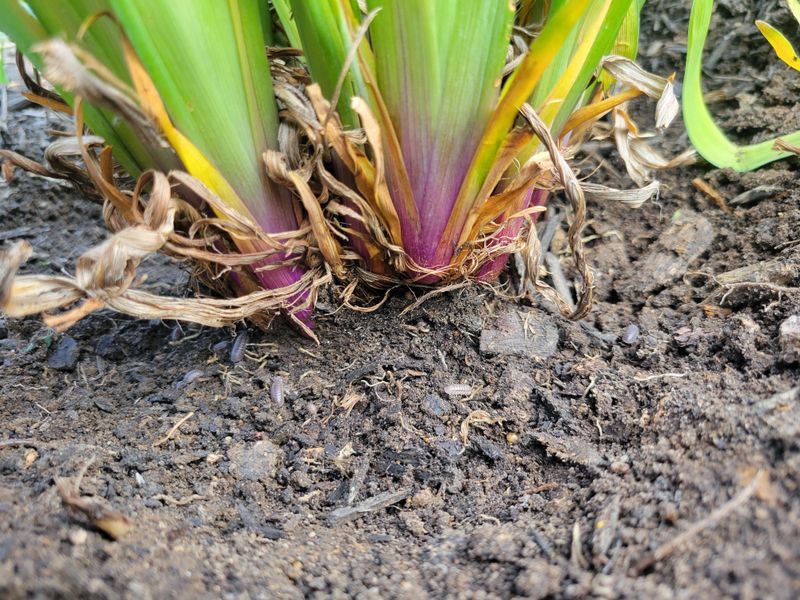
Georgia clay has a reputation, and irises have opinions about it. Water sits on top of that dense soil like it is waiting for permission to leave.
Raising the bed four to six inches solves most of the problem. Even a gentle mound moves rhizomes above the puddle line.
Work in pine bark fines and coarse compost as you build. Bark chunks create air pockets that clay cannot squeeze shut.
Skip heavy peat and fine sand. Both hold moisture or compact further, which is the opposite of what you need.
Choose a spot with at least six hours of direct sun. Morning light dries the foliage early and discourages fungal spots.
Avoid planting under oaks and maples where roots compete. Irises rarely win a wrestling match with an established shade tree.
Test your soil pH if you have not lately. Bearded irises prefer a range near 6.5, and Georgia soils often run more acidic.
Lime corrects that slowly, so apply it now rather than in spring. County extension offices handle testing for a small fee.
Mix a low nitrogen fertilizer into the bed before planting. Bone meal or a formula like 5-10-10 supports roots without pushing floppy leaf growth.
Rake the surface smooth and let it settle for a day. Freshly turned beds sink, and you want to know that before rhizomes go in. Good drainage heads off many common iris troubles before they begin.
Setting Divisions At The Correct Shallow Depth
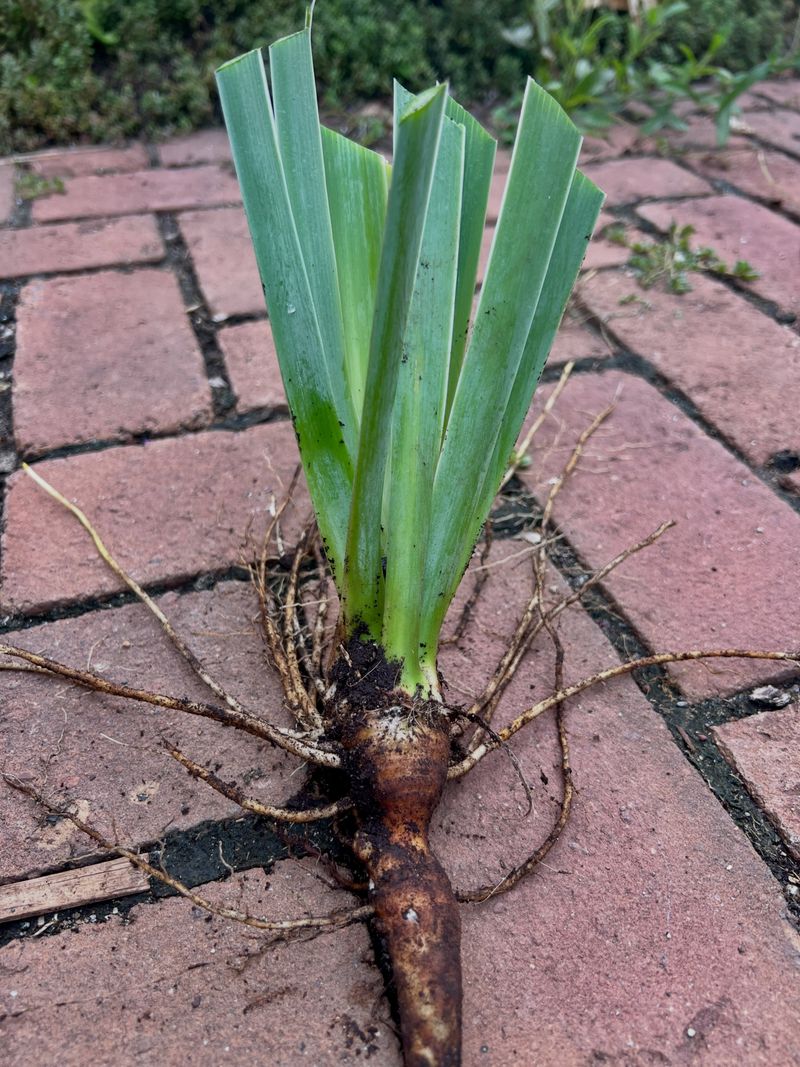
Burying an iris is one of the most common mistakes, and it is an easy one to make. Every instinct says deeper is safer, and every instinct is wrong here.
The top of each rhizome should stay barely visible at the surface. Think of a duck floating with its back above the water.
Dig a shallow hole and build a small ridge of soil in the middle. Straddle the rhizome across that ridge and spread the roots down both sides.
Firm the soil around the roots while leaving the top exposed. Sun and air on the rhizome keep it dry and help prevent the rot that costs you next year’s bloom.
Space divisions twelve to eighteen inches apart. Tight groupings look full at first, then crowd again within two seasons.
Point the fan outward and the cut end inward when planting groups of three. New growth marches in the direction the leaves face.
Water thoroughly once, then step back. Soggy conditions right after planting invite soft rot at the freshly cut ends.
Afterward, water only during dry stretches. A deep soak roughly every ten days is usually enough through autumn in most of Georgia.
Hold off on mulch over the rhizomes themselves. A light layer between plants is fine, but covered rhizomes tend to rot.
Check back after the first heavy rain and reseat anything that shifted. Clay settles and can swallow a shallow planting overnight. Come spring, those tidy rows pay you back in purple and gold.