How To Cure Winter Squash And Pumpkins After An Oregon September Harvest
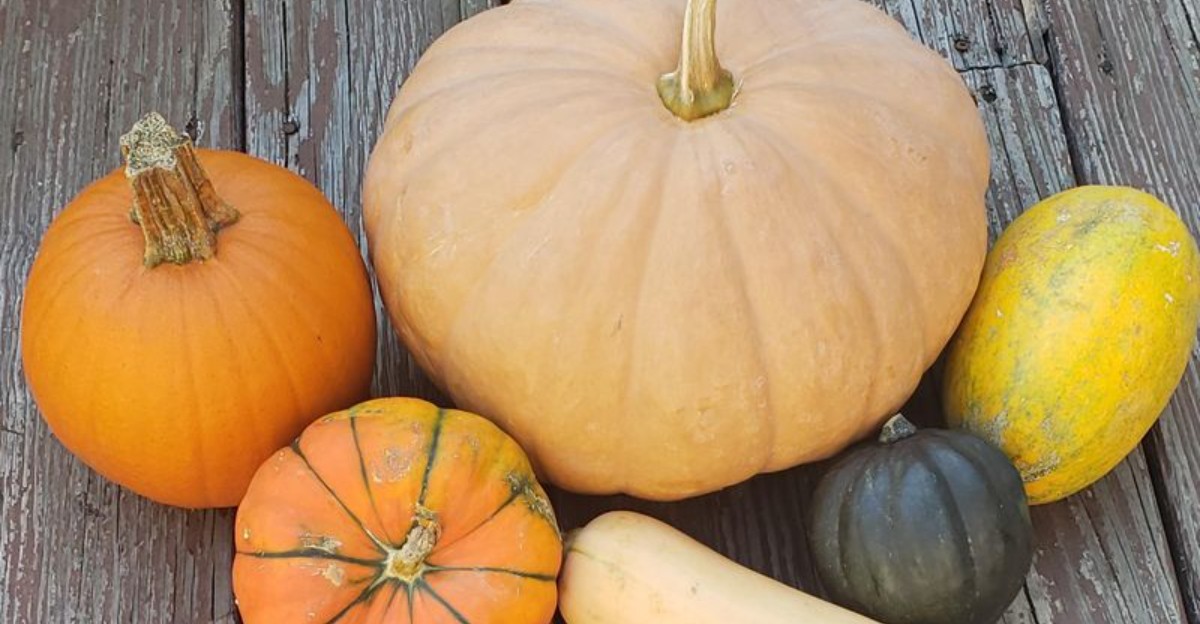
You pulled your pumpkins and winter squash off the vines, but the harvest is not quite finished yet.
Freshly picked squash needs time to develop a tougher skin and prepare for storage, and skipping that step can shorten how long your crop stays in good shape.
Curing does not require fancy equipment or a complicated setup. The right temperature, airflow, and a dry location can help your squash harden properly before you move it into long-term storage.
You also need to handle each pumpkin or squash carefully, since cuts and bruises can create weak spots that lead to rot later.
Give your harvest the right conditions after picking, and you can enjoy homegrown squash well beyond the end of the growing season instead of rushing to use everything at once.
1. Choose Fully Mature Squash For Curing
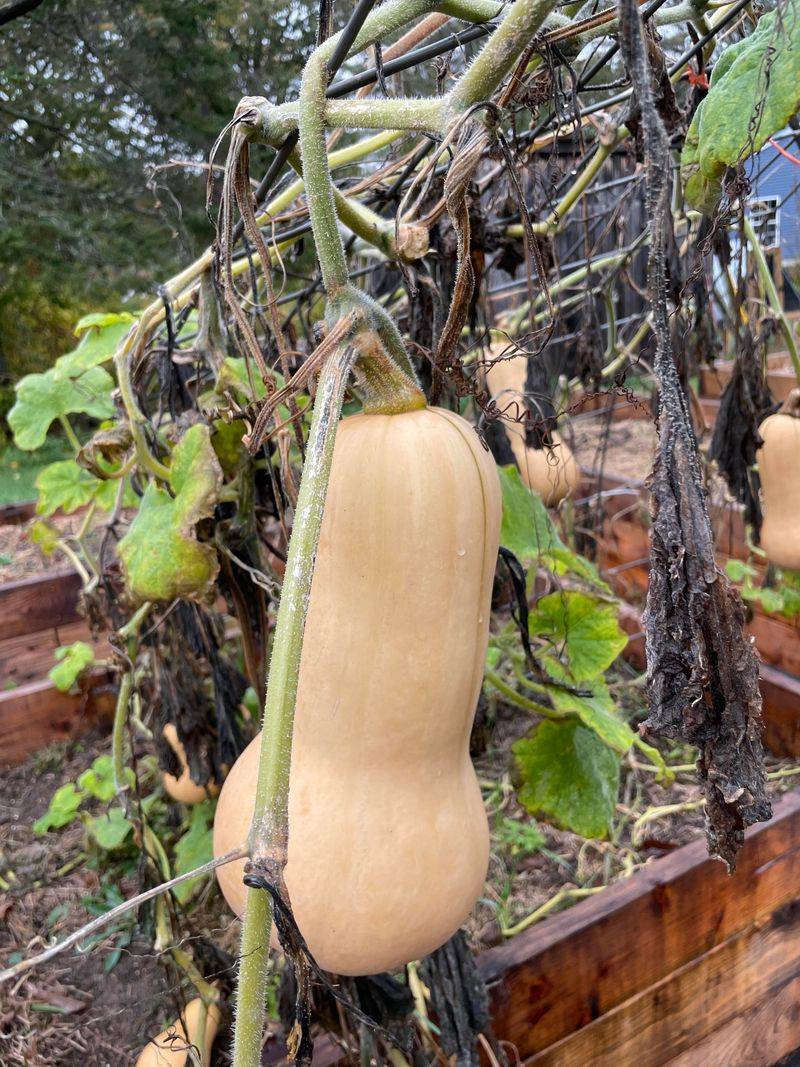
Ripeness matters more than anything else when it comes to storage. Only fully grown squash will cure well and last through winter.
Check the skin first. A mature squash has a hard, dull rind that you cannot dent with your thumbnail. If your nail leaves a mark, the fruit needs more time on the vine.
Color is another clue. Pumpkins should be deep orange, and butternut should turn a warm tan with no green streaks. Faded, dull skin usually means the squash is ready.
Listen for a hollow sound too. Give the squash a light knock with your knuckles. A deep, hollow tone often means it has matured inside.
In Oregon, September frost can arrive early in some areas. Try to pick before a hard frost hits, since cold-damaged fruit will not store well.
Leave a little slack in your timing. Squash picked too soon will be soft and watery, and it will not sweeten during curing.
When you cut the fruit, use clean, sharp shears. Ragged cuts invite rot and pests into the flesh.
Handle each one gently. Bruises may not show right away, but they turn into soft spots later. Start with the best fruit, and your curing job becomes much easier from the very beginning.
2. Leave A Short Stem On Each Pumpkin
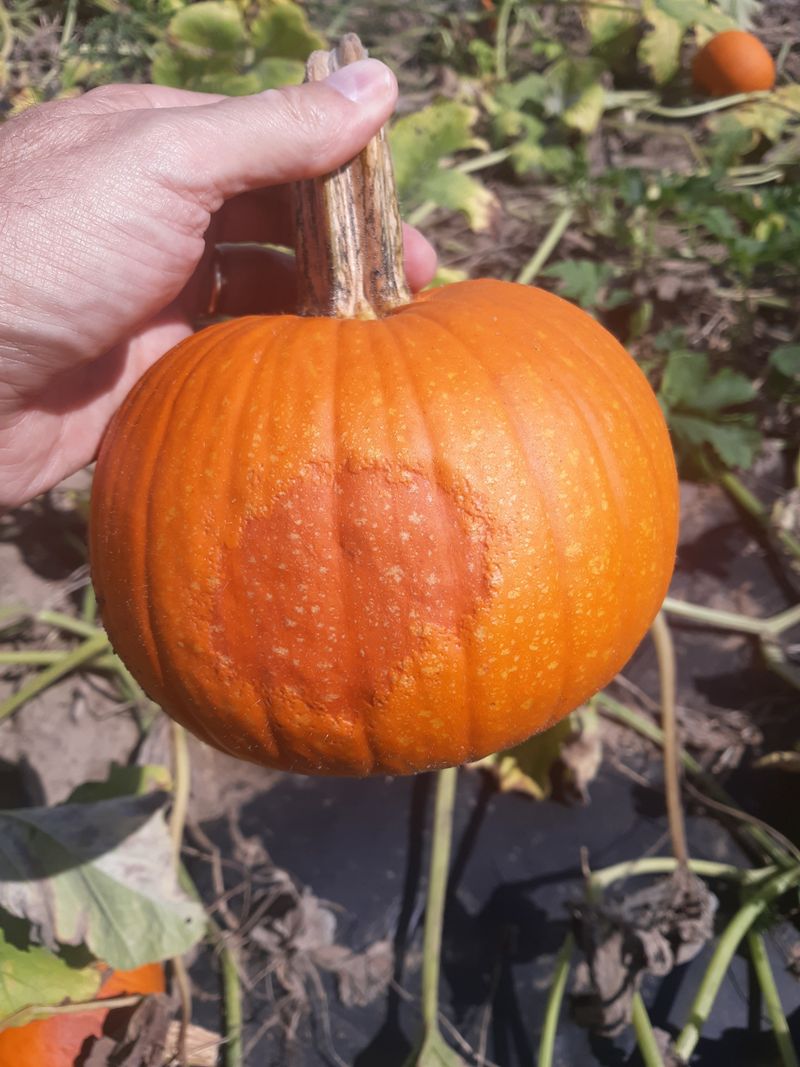
The stem acts like a little cap that protects your pumpkin. Snapping it off leaves an open wound where rot can sneak in.
Aim to leave about two to four inches of stem. That length seals the top and keeps moisture out of the fruit.
Never carry a pumpkin by its stem. If it breaks off, the fruit will spoil far faster than one with the stem intact.
Use pruning shears or a sharp knife to cut. A clean cut heals better than a twisted, torn one.
Different squash have different stems. Butternut and acorn types also keep longer when a bit of stem stays on.
You might notice sap around the cut. That is normal, and it will dry over during the curing days ahead.
Oregon’s damp fall air can push moisture into any open spot. A short, dry stem gives your fruit one more layer of defense.
Your Oregon Garden Changes Every Week. Your Plan Should Too.
Gardening in Oregon changes quickly throughout the season. Every Friday you’ll receive a simple weekly plan showing exactly what to plant, prune, fertilize, harvest, and protect so you never miss the right timing.
Check the stems as you gather your harvest. Any pumpkin missing its stem should go to the top of your eating list, since it will not store long.
Think of the stem as a natural cork. Keeping it in place is one of the simplest ways to help your squash reach the winter table in good shape.
3. Wipe Off Dirt Without Washing The Squash
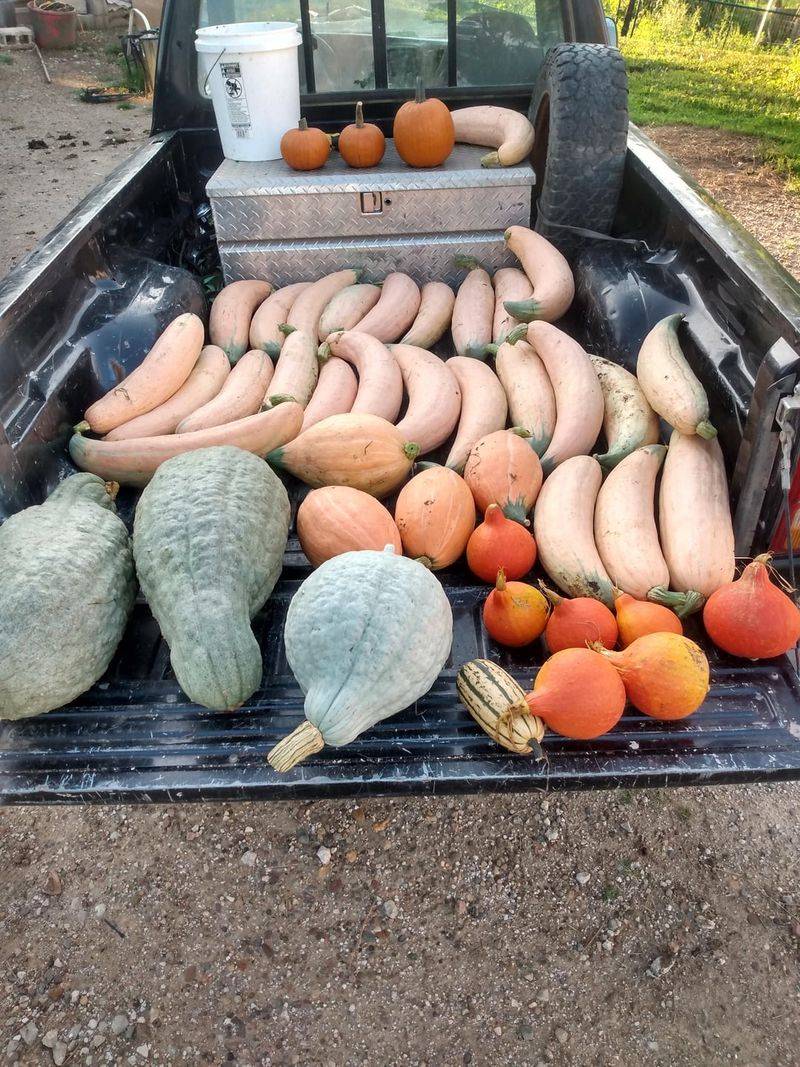
Fresh from the garden, your squash will likely have dirt clinging to the skin. It is tempting to rinse it, but water is not your friend here.
Washing adds moisture, and moisture feeds mold. Even a quick rinse can shorten how long your fruit stays firm.
Reach for a dry cloth or a soft brush instead. Gently wipe away soil, mud, and bits of vine.
For stubborn spots, let the dirt dry first. Once it hardens, it flakes off much easier with light brushing.
If you feel you must remove something sticky, use a barely damp rag on that one spot. Then dry it right away with a towel.
Oregon soil can be heavy and wet in fall. Wiping instead of washing keeps that dampness from soaking into the rind.
Handle the fruit carefully as you clean. Pressing too hard can bruise the flesh under the skin.
A thin layer of natural dust on the skin is fine. You do not need your squash to look shiny for it to store well.
Keep a cloth in your harvest basket. Wiping each one as you pick saves you time and helps every piece start the curing stage clean and dry.
4. Give The Skin Time To Harden
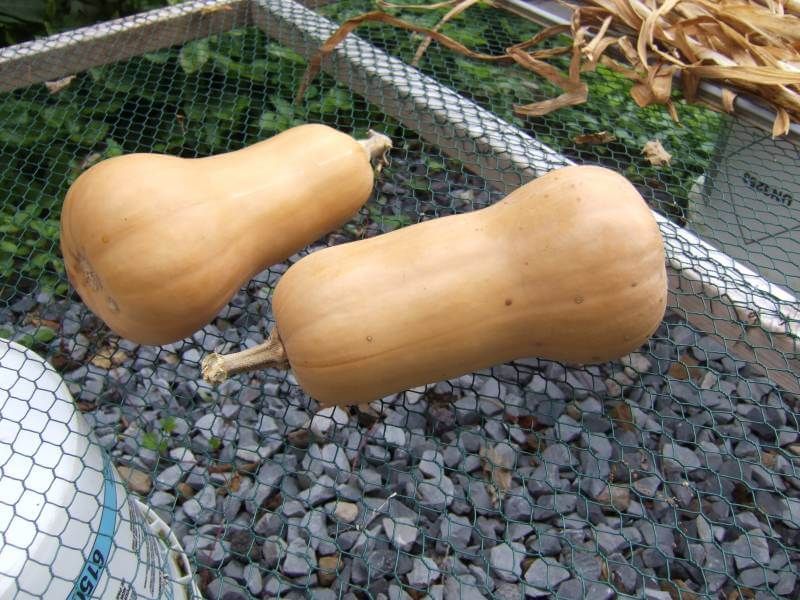
Patience is the secret ingredient of curing. The whole point is to let the outer skin toughen into a hard shell.
Most winter squash need about ten to fourteen days to cure. Pumpkins often finish within this window too.
During this time, the rind thickens and any small cuts seal over. A firm skin keeps bugs and rot from getting inside.
Warmth speeds the process along. A steady temperature around 80 to 85 degrees works best for hardening the shell.
You can tell it worked with a simple test. Press your thumbnail against the rind, and it should resist without denting.
The color often deepens as well. Pumpkins glow a richer orange, and the surface may look slightly glossy.
In Oregon, warm September days are perfect for this stage. A sunny porch or greenhouse can hold heat nicely.
Curing also boosts flavor. Starches turn to sugar, so your squash tastes sweeter after it rests.
Do not rush to store them too soon. Fruit that skips this step tends to spoil within weeks.
Mark your calendar when you start. Giving each piece its full curing time is the difference between squash that lasts days and squash that lasts months in your pantry.
5. Find A Warm Dry Spot For Curing
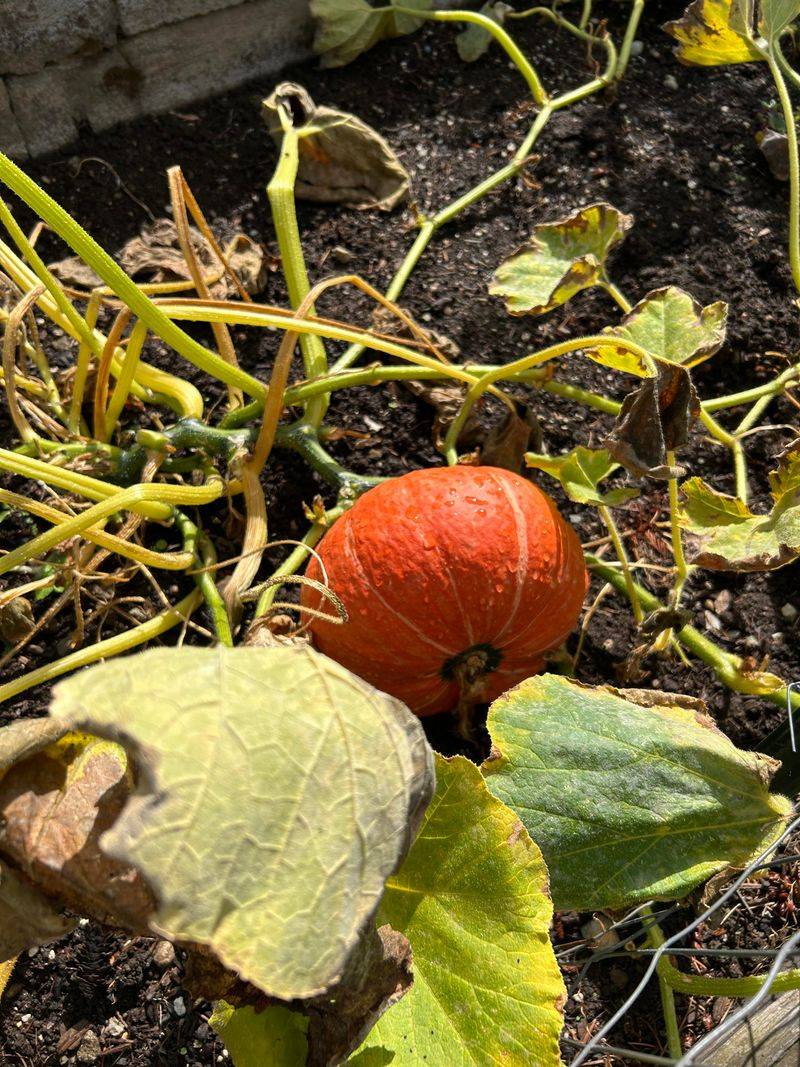
Location can make or break your curing success. You want a place that stays warm and free of dampness.
Sunny windowsills, greenhouses, and warm porches all work well. The goal is steady heat and good airflow.
Aim for temperatures near 80 degrees during the day. That warmth helps the skin cure faster and more evenly.
Dryness matters just as much as heat. High humidity slows curing and invites mold to grow.
Oregon falls can turn wet fast, so an indoor or covered spot is often safest. A sunroom or heated shed does the trick.
Avoid leaving squash out in the rain. Wet fruit will not cure, and it may spoil before it firms up.
Spread the pieces out so they are not touching. Crowding traps moisture and blocks the air they need.
Sunlight is a bonus during curing. A few hours of gentle sun each day helps deepen color and harden skin.
Check the spot for cold drafts. Sudden chills can stall the whole process.
If the weather stays warm and dry outside, a screened deck can work too. Just watch the forecast, and move your fruit indoors before any rainy night rolls into the valley.
6. Keep Squash Off Cold Concrete Floors
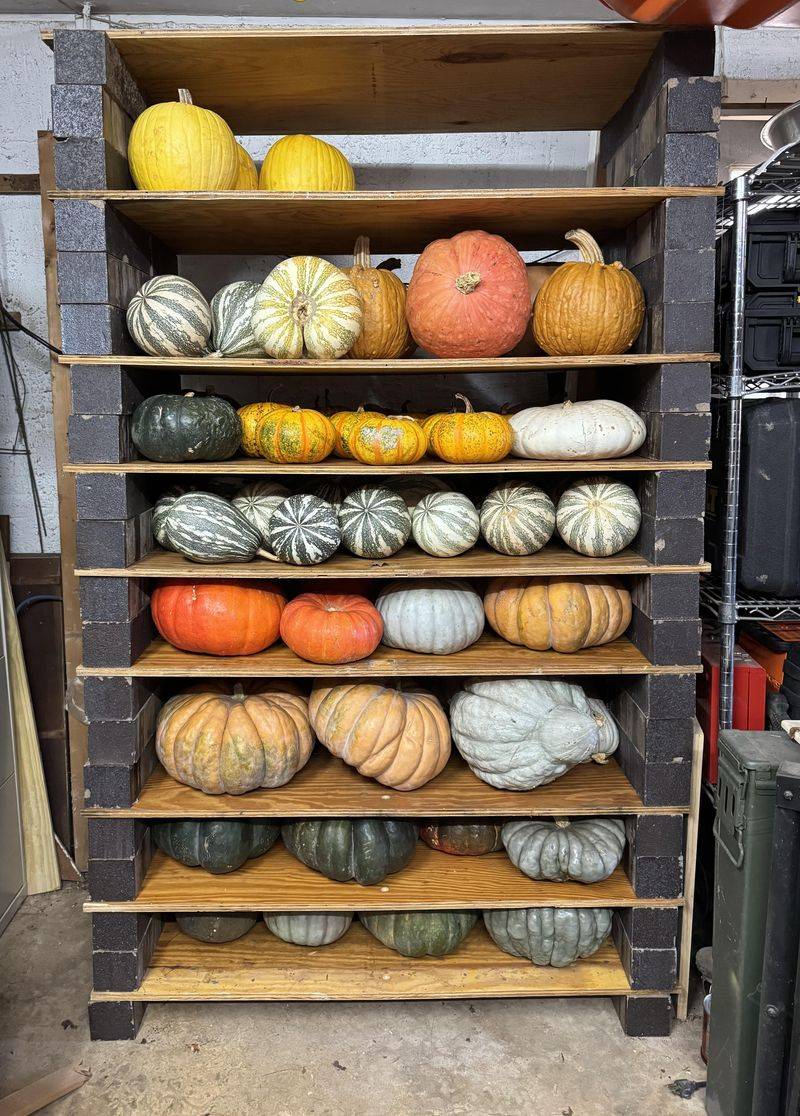
Where you set your squash down really counts. Cold, hard concrete can pull heat and moisture in ways that harm your fruit.
Concrete floors stay chilly and often feel damp. That cold seeps into the squash and can start soft spots.
Lift your fruit off the ground instead. Wooden pallets, shelves, or thick cardboard all make good bases.
Even a layer of straw or newspaper helps. It creates a buffer between the squash and the cold surface below.
Air needs to move underneath too. Raising the fruit lets air flow all around, which keeps it dry.
Oregon garages and basements can get cool and moist by late fall. A raised rack protects your harvest from that chill.
Spacing still matters here. Keep each piece slightly apart so they are not resting against one another.
Wood shelves are a favorite for storage. They breathe well and hold warmth better than stone or cement.
Check the base now and then. If cardboard gets damp, swap it out for a dry piece right away.
Treat your squash like it prefers cozy footing. Keeping it off cold floors is a small habit that adds weeks, sometimes months, to how long your harvest stays good.
7. Turn Them So Air Can Reach All Sides
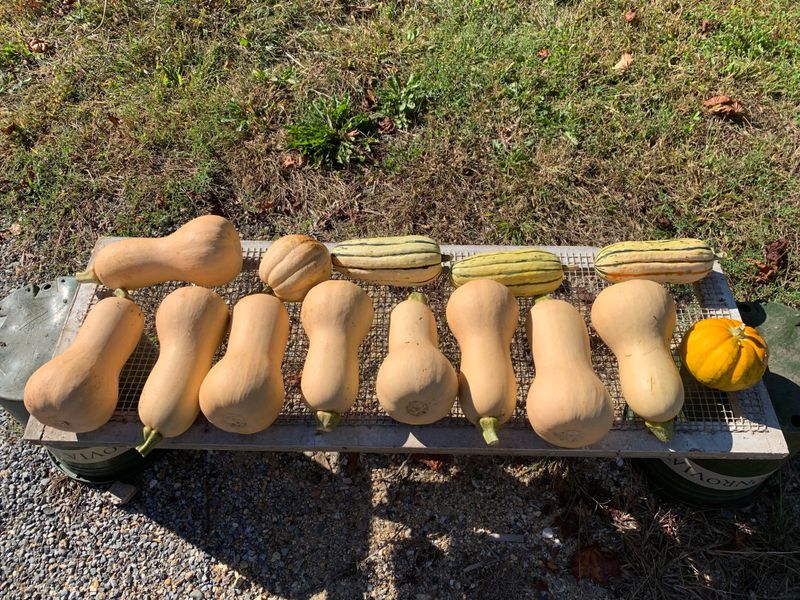
Air flow is a quiet helper during curing. When one side always faces down, that spot stays damp and can spoil.
Give each piece a gentle turn every few days. Rotating lets fresh air reach every part of the skin.
The bottom side is the risky one. Sitting still, it can trap moisture and start to soften.
Turning also helps the color cure evenly. You will notice fewer pale patches when every side gets sun and air.
Be gentle as you rotate. Rough handling can bruise the fruit, so cradle it instead of rolling it hard.
Space between pieces makes turning easier. Crowded squash cannot breathe, and it is harder to reach.
Oregon’s damp air makes airflow extra important. Good circulation fights the moisture that fall weather brings.
A little fan can help in a closed room. Moving air dries the surface and speeds the whole process.
Set a simple schedule so you remember. Turning them every two or three days keeps the routine easy.
Think of it like flipping food on a grill. A quarter turn now and then keeps every side firm, dry, and ready for long storage through the cold months ahead.
8. Check For Soft Spots During Curing
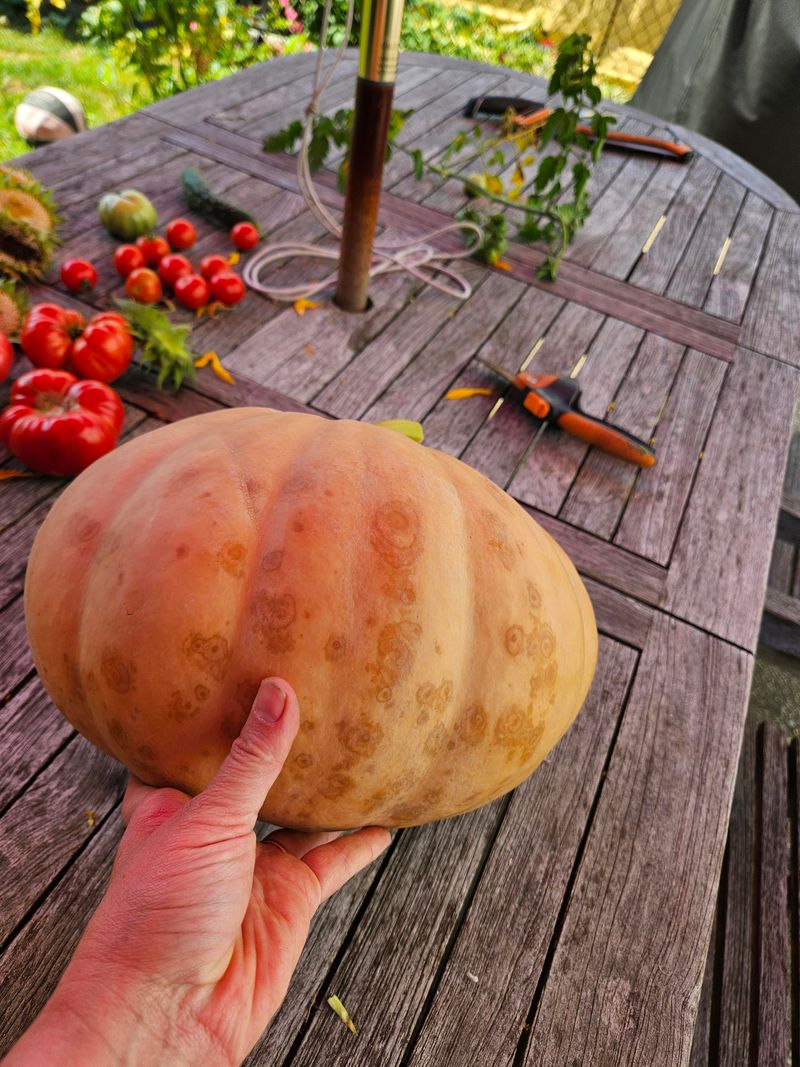
Regular checkups keep your whole batch safe. One bad piece can spread trouble to the others nearby.
Press gently on the skin as you look. Firm rind is good, but any spot that gives under light pressure is a warning sign.
Watch for changes in color too. Dark, mushy, or sunken areas mean that piece is starting to break down.
Smell can tell you a lot as well. A sour or off odor usually means rot has started inside.
Pull out any troubled fruit fast. Removing it keeps mold from jumping to healthy squash around it.
Soft squash is not wasted. If the spot is small, cut it away and cook the good part right away.
Oregon’s moist fall air raises the risk of soft spots. Frequent checks catch problems before they grow.
Look at the stem end and the bottom closely. Those two areas tend to fail first.
Keep a quick note of what you find. Tracking it helps you learn which pieces store best next year.
Make inspection part of your routine. A two-minute look every few days protects your hard work and keeps sweet, healthy squash on your table all winter long.