The Ohio Plants You’ll Need A Frost Plan For Before October Arrives
Frost doesn’t send a warning text. One clear, still night in early October and it’s already too late for anything left uncovered.
A lot of yards get caught off guard by this every year, not because the cold was a surprise, but because nobody sorted out ahead of time what actually needed protecting. Some plants handle a light frost fine, barely flinching.
Others collapse completely overnight, no gradual warning sign, just healthy one evening and blackened the next morning.
That gap matters more than most people realize until it’s too late to do anything but toss what’s left. Ohio’s growing season doesn’t give much room for procrastinating on this.
A short walk around the yard now, sorting out what stays exposed versus what needs moving or covering, saves a lot of regret once that first real cold night actually shows up.
1. Harvest Tomatoes Before Frost Arrives
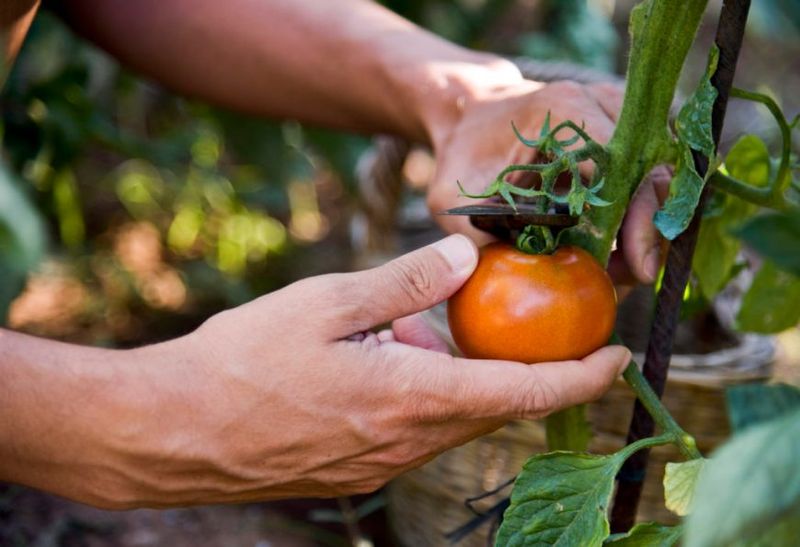
Late September in Ohio has a way of making tomato plants look tired, with leaves flopping and fruit coloring up slower each week. That slowdown is your cue to start picking with purpose instead of waiting for perfection.
Warm-season crops react quickly to a cold night, and tomato fruit can turn soft and mealy after a chill. Anything showing a blush of color will finish ripening indoors on a counter, out of direct sun.
Pick the solid green ones too, since they shine in fried green tomatoes, relish, or salsa verde. Wrap a few in newspaper inside a paper bag and check them every couple of days.
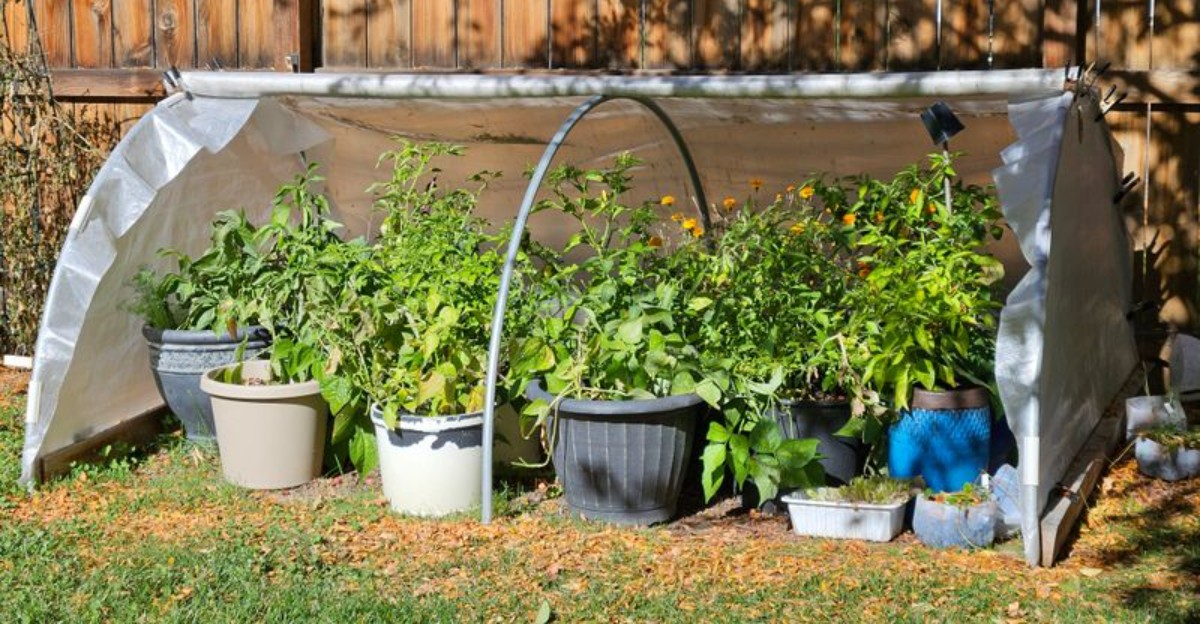
If a light frost is forecast but warm afternoons are still coming, drape old bed sheets or burlap over the plants in late afternoon. Skip plastic, which traps moisture and can cause more trouble than it prevents.
Pull covers off the next morning so the leaves can breathe and soak up sun.
A fun bit of history: tomatoes traveled from South America to Europe and back before American gardeners trusted them, and many people once grew the vines purely for looks.
Keep a harvest basket parked by the back door through early October. A surprise forecast at dinnertime then turns into a quick picking session rather than a frantic scramble in the dark.
2. Protect Peppers From Sudden Cold Snaps
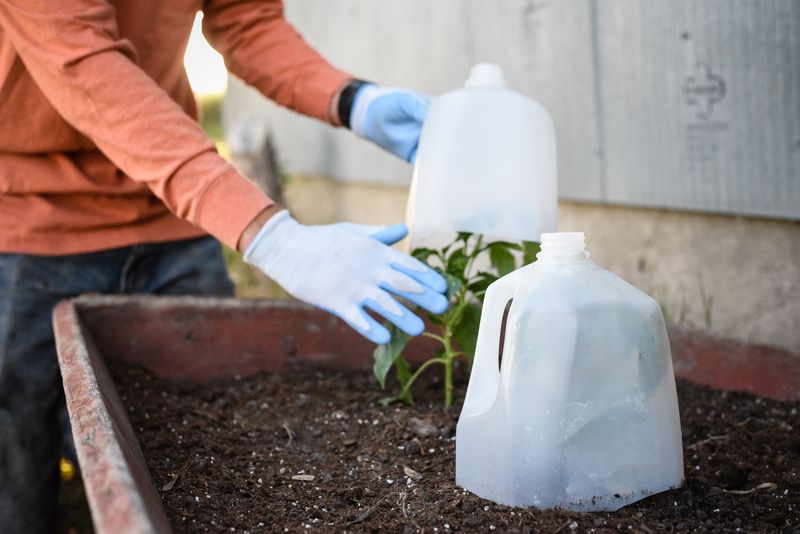
Peppers play a long game, often setting their sweetest fruit right as the nights start cooling off. That late flush is worth defending, because one cold snap can stall a plant with weeks of production left in it.
Ohio’s first chilly nights often show up well before any real freeze, especially in low spots where cold air pools. Watch the forecast for readings in the upper 30s and have covers staged before dark.
Breathable fabric works best here: a pillowcase, a bedsheet, or a square of burlap anchored with bricks or landscape staples. Cover early in the evening to hold the day’s warmth near the soil, then uncover by mid-morning.
Container peppers are even simpler. Roll or carry them into the garage, a shed, or under the porch overhang for the night, then move them back out once temperatures climb.
Your Ohio Garden Changes Every Week. Your Plan Should Too.
Gardening in Ohio changes quickly throughout the season. Every Friday you’ll receive a simple weekly plan showing exactly what to plant, prune, fertilize, harvest, and protect so you never miss the right timing.
Mulch around the roots steadies soil temperature, which keeps plants calmer during big swings. Straw, shredded leaves, or dried grass clippings all handle the job nicely.
When a hard freeze is heading your way, harvest everything, including small and half-colored pods. Peppers hold up in the fridge for a couple of weeks, and they freeze beautifully when sliced raw and sealed in bags for winter chili.
3. Bring Basil Indoors Or Take Cuttings
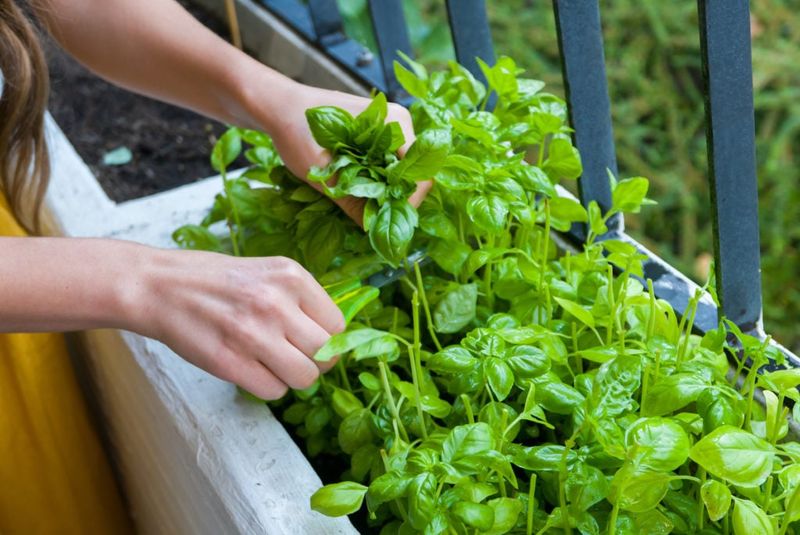
Few plants sulk at cold as dramatically as basil, which turns black and limp after a single light frost. Because of that thin skin, basil belongs at the top of your September to-do list.
Snip healthy stems four to six inches long, pinch off the lower leaves, and stand them in a glass of water on the windowsill. Roots usually appear within one to two weeks, and then the cuttings can shift into small pots of potting mix.
Indoors, basil wants at least six hours of direct sun, which makes a south-facing window prime real estate. Room temperatures of 70 degrees or warmer keep it cheerful, and an occasional misting adds humidity it misses from summer air.
Whole plants can come inside too, though garden-grown basil often resents the move and sheds leaves. Cuttings tend to settle in more gracefully, and one parent plant hands you several new ones.
Before any pot crosses your threshold, check leaf undersides for aphids and rinse the foliage in the sink. A two-minute inspection saves you from importing hitchhikers.
Harvest generously either way, because a big batch of pesto stashed in the freezer tastes like August in February. Ice cube trays make handy single-meal portions you can pop straight into pasta.
4. Save Coleus With Indoor Cuttings
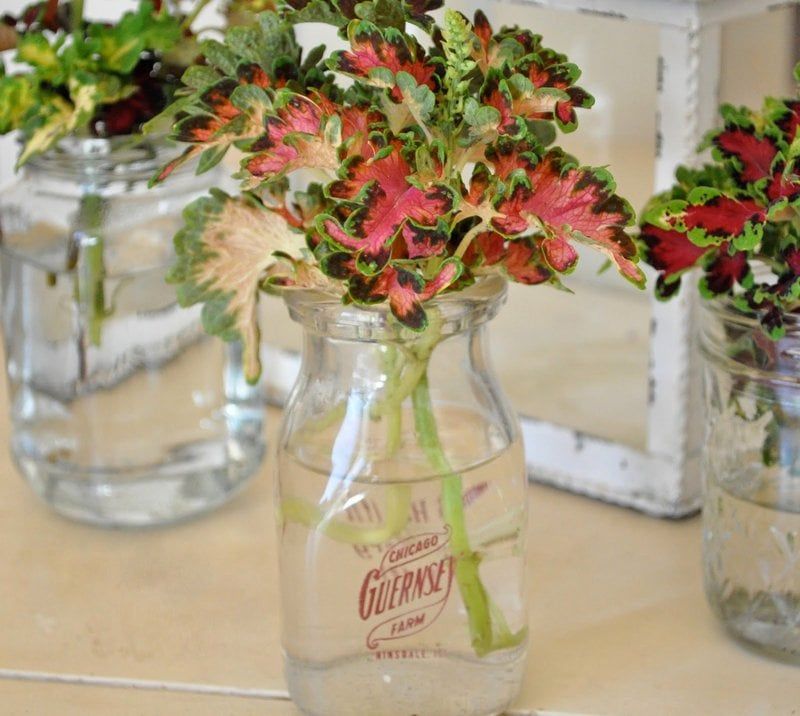
Those wild patterns – lime and burgundy, chartreuse splashed with pink – come from a plant that roots so easily it feels like cheating. Coleus cuttings are the thriftiest way to carry your favorite colors into next summer.
Cold makes coleus collapse in a hurry, so take cuttings while nights still sit comfortably in the 50s. Choose stems about four inches long, remove any flower spikes, and strip the bottom leaves.
Water rooting works fine on a bright counter, with roots often showing in a week or two. Potting mix works just as well; keep it damp and tent the pot loosely with a clear bag until new growth appears.
Once rooted, move the young plants to a window with bright, indirect light, since strong winter sun through glass can scorch those fancy leaves. Pinch the tips every few weeks to keep them bushy instead of leggy.
Water when the top inch of soil feels dry, and hold off on fertilizer until late winter. Overwatering in a dim room is the most common stumble gardeners make.
Did you know coleus belongs to the mint family? That relationship explains the square stems and the eagerness to sprout roots from nearly any node you tuck into water.
5. Move Tropical Hibiscus Inside Before Cold Nights
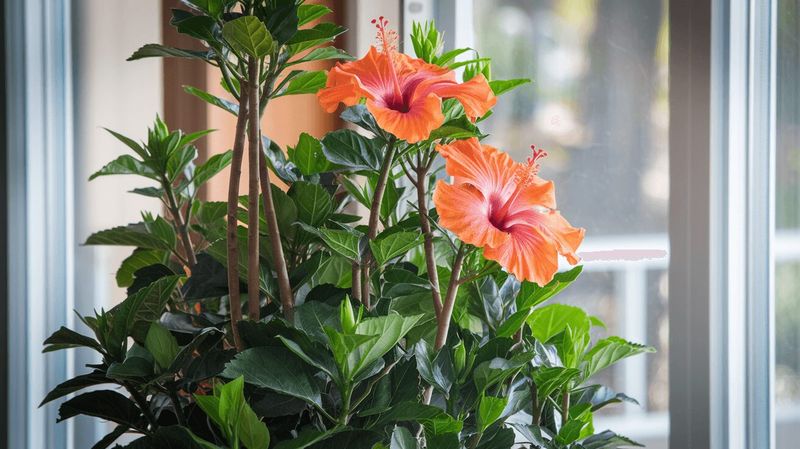
Dinner-plate blooms in tangerine and scarlet make tropical hibiscus the showoff of the patio, and it expects to be treated like one. Once nighttime temperatures start slipping below 50 degrees, usually September or October across Ohio, the pot needs a new address.
Trim first. Taking off a third to half of the growth shrinks the plant’s footprint and cuts down on the leaf drop that follows a move indoors.
Inspect every stem and leaf underside for whiteflies, spider mites, and scale. A strong spray from the hose plus a wipe-down with insecticidal soap keeps those problems out of your living room.
Inside, set the pot at a south or west window where it catches bright, direct light for several hours. Keep the soil evenly moist without letting it turn soggy, and use a pebble tray if the furnace dries your air.
Either approach works, as long as the plant comes in ahead of a hard freeze.
Expect a round of yellow leaves during the adjustment weeks, and try not to panic. Fresh growth usually follows once the plant settles into its quieter winter routine.
6. Bring Mandevilla In Before Cold Nights
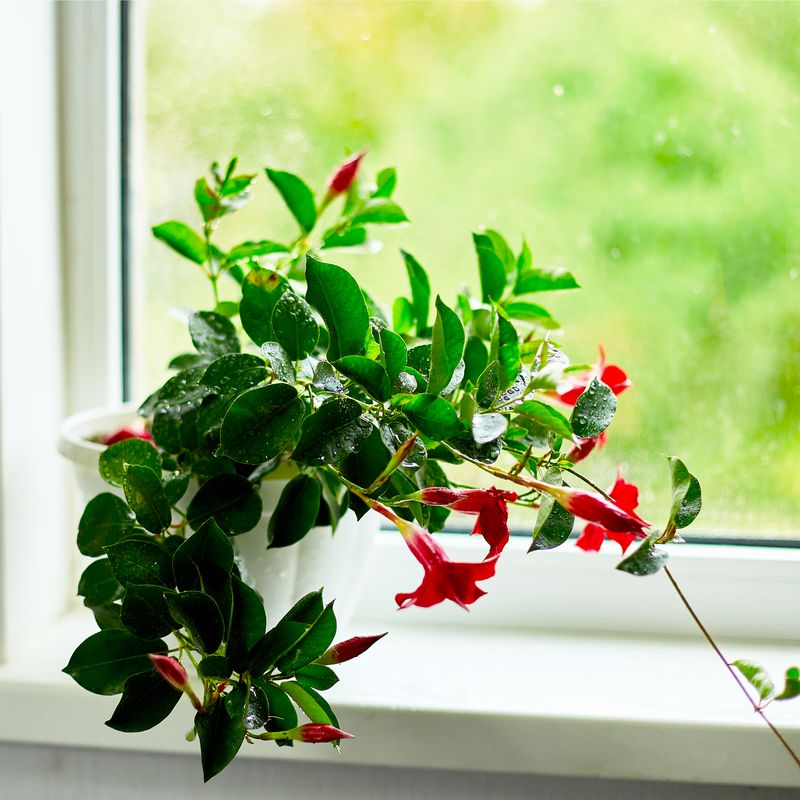
Climbing, trumpet-flowered, and unbothered by July heat, mandevilla earns its trellis every summer. Autumn is where the relationship needs negotiating, because this tropical vine has little patience for chilly nights.
Plan the move when evening temperatures approach the low 50s, which often happens by late September in northern Ohio. Waiting for the first cold snap leaves very little room for error.
Cut the vine back by roughly half so it fits through the door and onto a plant stand. Untangle it from the trellis gently, or carry the whole support inside if you have the space.
Two winter styles work well. Keep it growing in a sunny window with light watering, or let it rest in a cool basement near 50 to 60 degrees with just enough water to keep soil barely damp.
Either way, hose the foliage off outdoors and hunt for mealybugs tucked into leaf joints. Sticky residue on the leaves is a hint worth chasing down before the pot comes in.
Skip fertilizer until late winter, then begin feeding as days stretch longer and new shoots push out. Come May, once frost risk passes, reintroduce the vine to outdoor light slowly so its leaves adjust.
7. Prepare Cannas For Winter Storage

Cannas grow like they are auditioning for a jungle movie, then quit the moment real cold settles in. Cannas aren’t reliably hardy through Ohio winters, so gardeners generally lift their rhizomes for winter storage.
Timing is friendly here. Wait until the foliage yellows or a light frost blackens the leaves, a signal that the plant has pushed its energy down into the rhizome.
Cut stems back to about two to six inches, then loosen the soil with a garden fork and lift the clumps. Rinse off excess dirt and set them somewhere dry and frost-free to cure for several days up to a week.
Pack the cured rhizomes in peat moss, vermiculite, perlite, or shredded newspaper. Cardboard boxes and paper bags breathe nicely, while sealed plastic traps moisture you would rather avoid.
Store the boxes where temperatures hover between 40 and 55 degrees, in the dark, with decent air movement. An unheated basement corner or a cool closet often fits the description.
Look them over once a month, setting aside anything soft and misting the packing material lightly if rhizomes seem wrinkled. In spring, divide the clumps with a clean knife, leaving a plump growing point on each piece.
8. Dig And Store Gladiolus Corms
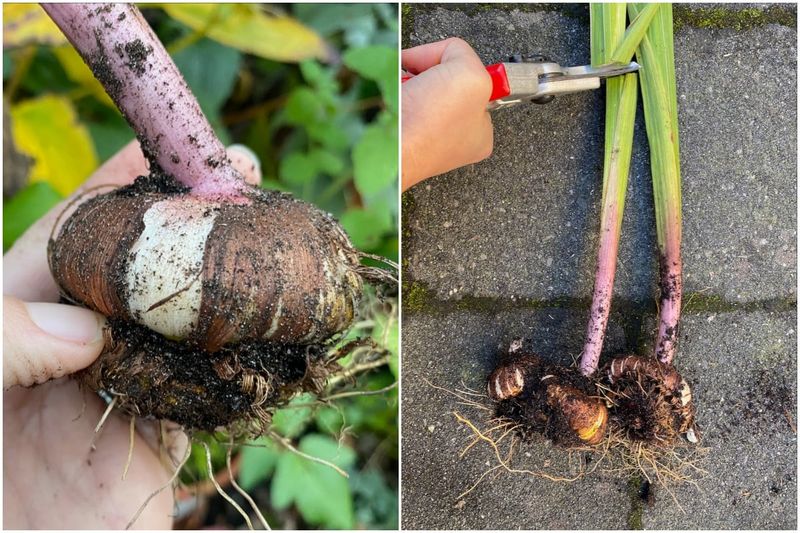
Gladiolus spikes bring a state fair flair to the garden, and gardeners who want that show again usually dig the corms each fall. Ohio ground freezes deeply enough to give most varieties real trouble.
Wait until the foliage has yellowed or been damaged by frost, then dig the corms before the ground freezes. That final stretch lets the plant bank energy in the corm for next season’s flowers.
Loosen the soil with a garden fork, lift the plants, and shake off whatever falls away easily. Trim leaves to about an inch above the corm, and resist the urge to wash them right away.
Curing comes next. Spread the corms in a single layer somewhere warm, dry, and airy for two to three weeks, until the husks feel papery to the touch.
Snap off the shriveled old corm underneath and set aside any that feel soft, moldy, or shrunken. Keepers go into paper bags, mesh sacks, or newspaper-lined boxes.
Aim for storage between 35 and 45 degrees in a dark, dry, breezy spot. Keep them far from ripening apples, since the ethylene gas fruit gives off can harm the corms.
One monthly peek is plenty. Pull out questionable corms promptly so trouble does not spread through the whole bag.
9. Plan To Lift Dahlias After Frost
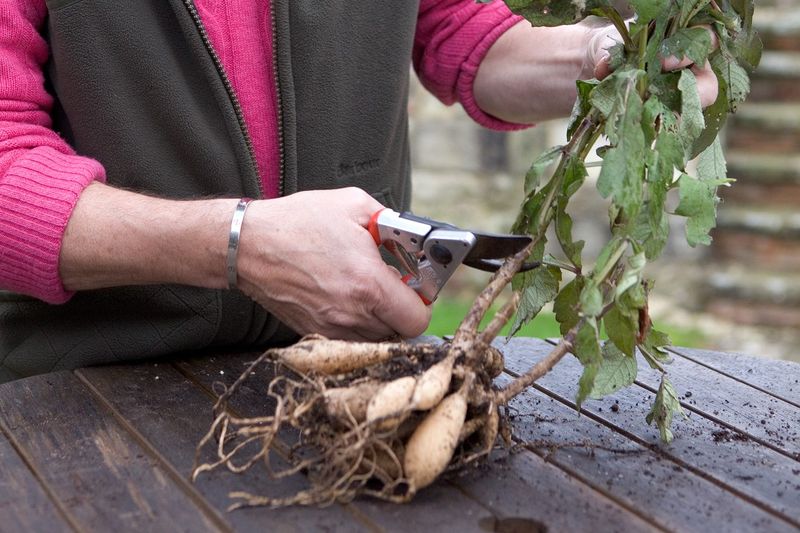
Dahlias reward patience twice: once with October blooms, and again when you unpack their tubers in spring. In Ohio’s colder zones, those tubers spend winter in a box instead of the flower border.
Wait until frost has blackened the foliage, then dig the tubers before the ground freezes solid. Some growers wait roughly two weeks after that frost for firmer, better-keeping tubers.
Cut stems back to four or six inches above the soil line. Work a spade or fork in a wide circle around the clump, well outside the stem, and lift slowly so the tuber necks stay intact.
Shake or rinse off soil, then let the clumps cure in a sheltered, airy spot for a few hours up to two days. Labeling each clump now saves a lot of guesswork in April.
Nest the tubers in slightly moist peat moss, vermiculite, or sawdust inside ventilated bins or boxes, layered so they are not touching. Aim for 40 to 50 degrees and about 50 percent humidity, and skip sealed plastic bags.
Peek in monthly for shriveling or soft spots. A light misting revives dry tubers, and trimming a bad section early protects the rest of the batch.