8 California Garden Plants That Can Benefit From A Fall Cutback
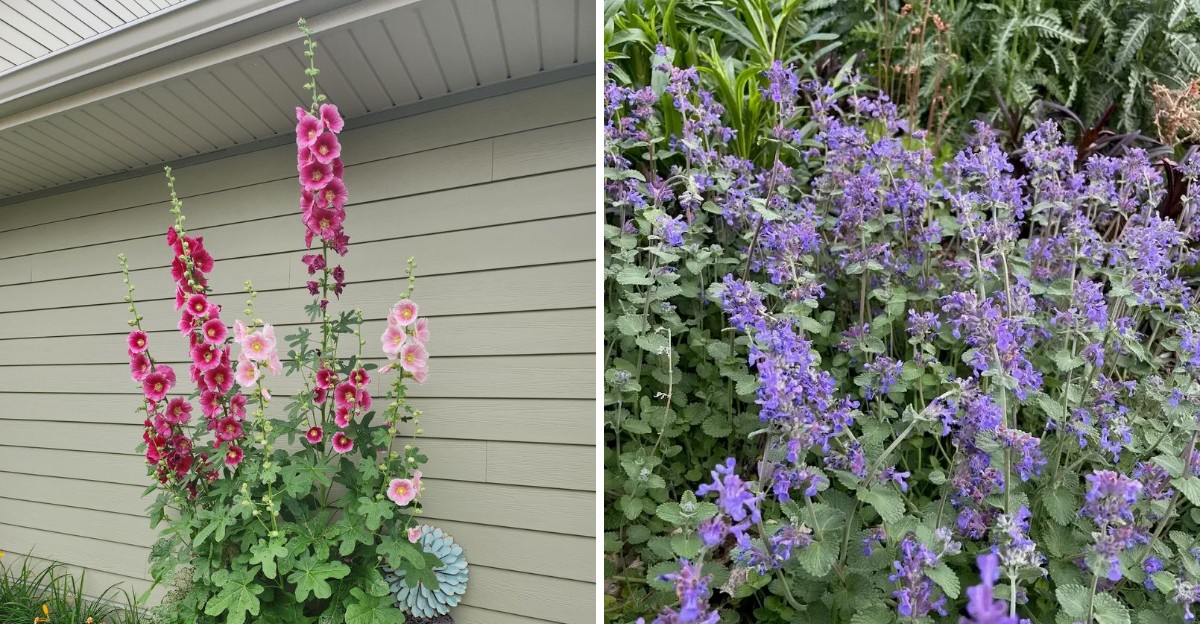
Every garden has two camps.
Team Tidy wants every bed neat by Thanksgiving. Team Wild says leave it all standing for the birds and bugs. Both sides feel very sure. Both sides have a point.
So which one gets your vote?
Plot twist: the smartest gardeners switch teams, plant by plant.
Some plants turn into winter snack bars for finches and cozy hotels for helpful insects.
Others? They carry a different kind of guest. The uninvited kind. The kind that waits patiently through the rainy months and throws a party the moment spring arrives.
You probably have a few of those in your yard right now. They might look innocent. A little floppy, a little spotty, a little tired.
That calm look can fool you.
A handful of popular garden favorites actually do better with a trim before winter. A few others need a much gentler touch than you might expect.
Curious which camp your plants belong to? Keep those pruners close. You may need them sooner than you think.
1. Bearded Iris Foliage Invites Rot If Left
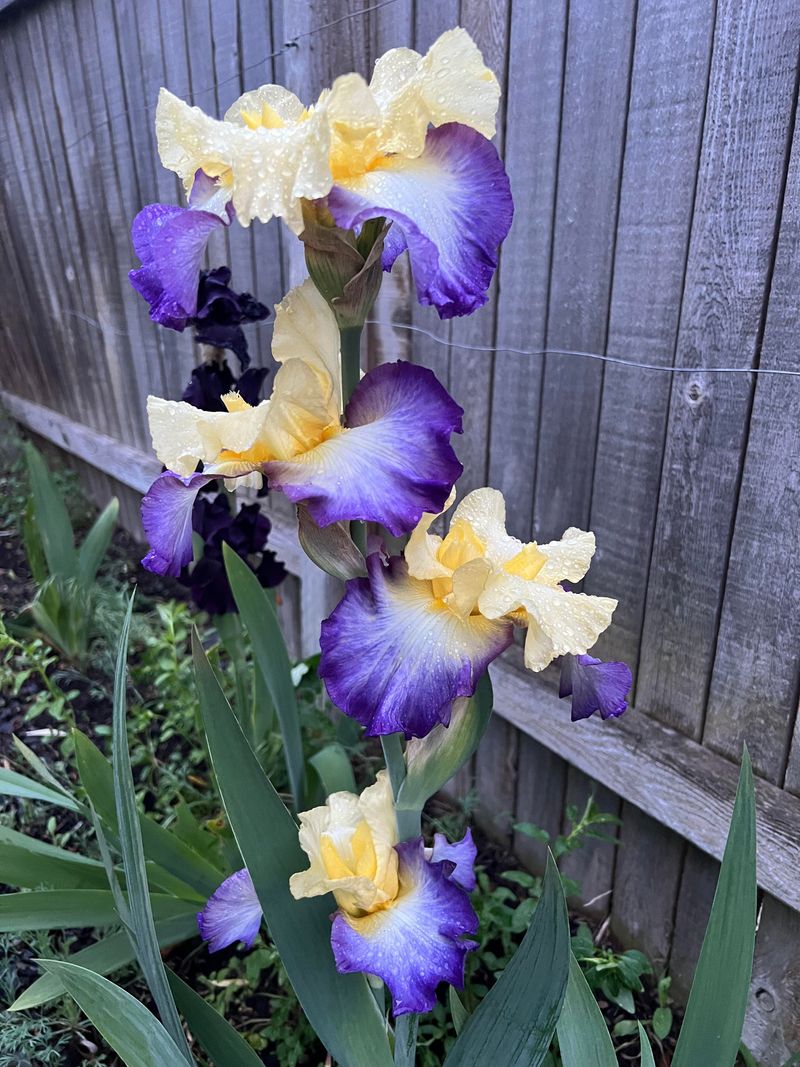
November can leave a clump of bearded iris looking rough. Leaves flop over. Tips turn brown. Dark spots dot the blades. That mess is more than an eyesore.
Bearded iris grow from thick, fleshy rhizomes. Those rhizomes like to sit near the soil surface and soak up sun. Soggy old leaves on top hold moisture right where the plant wants it least.
Winter rain makes things worse. Piles of old foliage trap water and give bacterial soft rot a head start. Soft rot turns rhizomes mushy and smelly. It can also spread through a whole clump.
Leaf spot fungus hangs around on old iris leaves too. Spring rain then splashes spores onto fresh growth.
Iris borers lay eggs on old foliage in some regions, though they rarely cause trouble in California. A cleanup still makes sense for gardeners who have spotted signs of them.
Now for the satisfying part, and yes, it feels a lot like a trip to the barber. Cut the leaves back into a short fan, about four to six inches tall, once they start to decline. Pull away any loose, brown leaves around the rhizome by hand.
Toss trimmings in green waste instead of home compost. Backyard piles may not get hot enough to clear out disease.
Iris seed pods offer little to wildlife, so this tidy-up costs nothing. Your irises get a fresh fan cut, and honestly, it is a very fashionable look for winter.
2. Peony Leaves Can Harbor Fall Fungal Spores
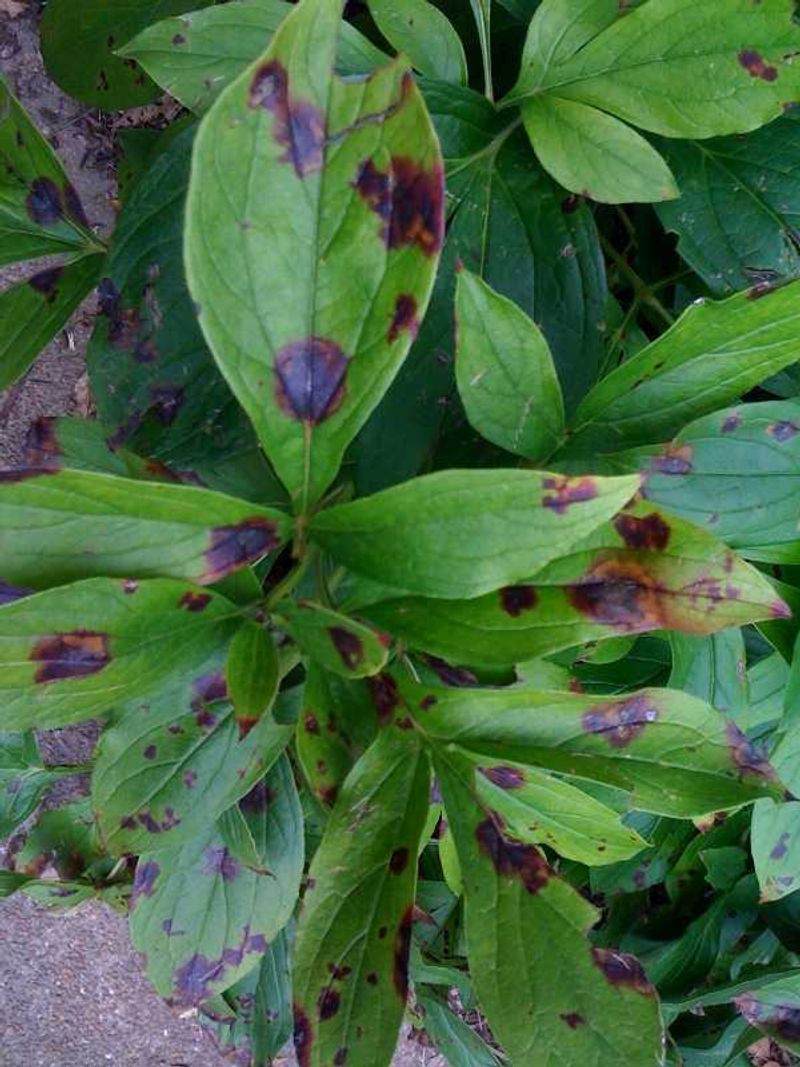
Gray fuzz on peony buds in spring usually has a backstory. It starts the fall before. The usual suspect is botrytis blight, a fungus that loves cool, damp weather. It rides out winter on old peony stems and leaves.
Botrytis forms tiny, hard resting bodies on infected tissue. Spring rain wakes those structures up. They release spores that land on fresh shoots and buds. Young stems can blacken and collapse, and flower buds may turn brown without a single bloom.
Your California Garden Changes Every Week. Your Plan Should Too.
Gardening in California changes quickly throughout the season. Every Friday you’ll receive a simple weekly plan showing exactly what to plant, prune, fertilize, harvest, and protect so you never miss the right timing.
A fall cutback on herbaceous peonies breaks that cycle. Wait until the foliage turns yellow or brown. Then snip each stem close to the soil, with an inch or so left behind.
Easy does it here, because hidden treasure sits just below the surface. The pink or red buds, called eyes, hold next year’s show. Treat them like the good china.
Clean up fallen leaves around the base too. Bag the debris or send it off with green waste. Wipe your pruners with rubbing alcohol before you move to another plant. That small step denies spores a free ride.
Peonies grow best in colder spots like the Sierra foothills and parts of Northern California, since they need winter chill.
Tree peonies, with their woody stems, should stay put. Only the soft, herbaceous types get the full fall trim. A mix-up there is a rookie move, and the tree peony will hold a grudge.
3. Phlox Benefits From Removing Mildew Prone Growth
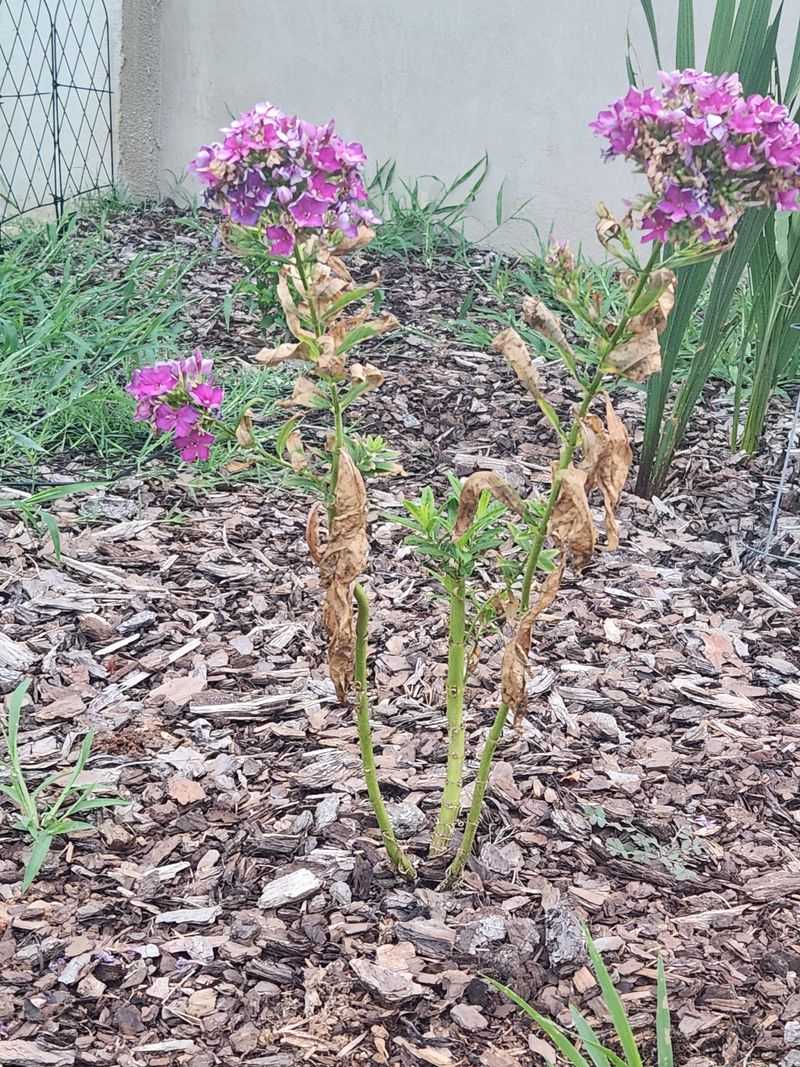
Garden phlox leaves sometimes look like someone dusted them with flour. That white coat is powdery mildew. Tall summer phlox is famous for it. By fall, the lower leaves may be curled, crispy, and pretty sad.
Powdery mildew can hang on in infected leaves and stems left in the garden. A cleanup lowers the number of spores that wait for new shoots next spring. Less disease pressure early in the season often means cleaner plants all summer.
The plan is simple. Let the flowers fade and the foliage decline. Then cut stems down to two or three inches above the ground. Rake up fallen leaves around the clump and toss them out instead of into compost.
This next part feels a lot like a spa day for your plants. No cucumber slices required.
Give phlox room to breathe. Divide crowded clumps every few years. Water the soil, not the leaves, and do it in the morning so plants dry quickly.
New plants deserve some thought too. Mildew-resistant varieties like ‘David’ or ‘Jeana’ earn frequent praise for better disease tolerance.
A fall cutback plus smarter plant picks gives you a real head start. Next year’s phlox should show brighter leaves and fewer ghostly patches. Fewer ghosts in the garden is a win, even with Halloween around the corner.
4. Bee Balm Foliage Often Needs The Same Treatment
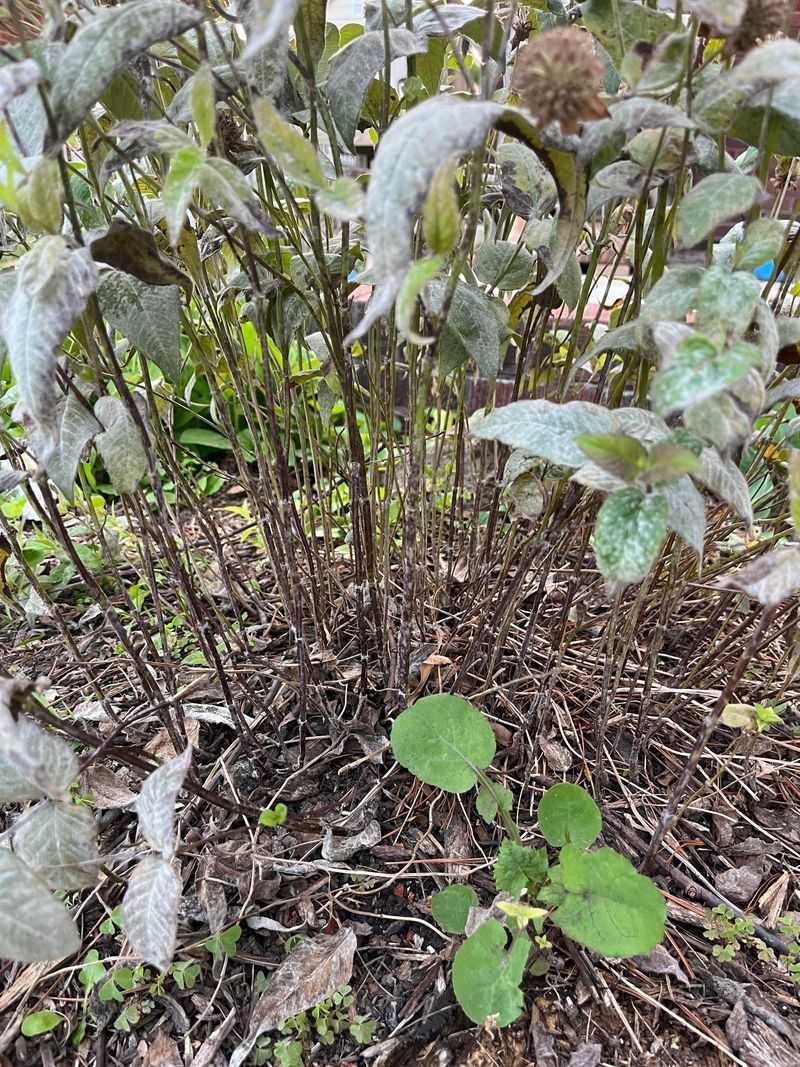
Hummingbirds adore bee balm all summer. They zip from one shaggy red bloom to the next. Sadly, powdery mildew seems to adore it just as much.
In the disease world, bee balm is a close cousin to phlox. It often ends the season looking just as rough.
By late summer, many clumps show grayish, blotchy leaves that drop early. The fungus can linger on those old stems and leaves. A fall cutback clears out much of that infected material before winter.
Wait until the flowers finish and the plant starts to look tired. Then cut stems down to a few inches and gather up fallen foliage. Some gardeners also thin out a few stems in spring for better airflow.
Now, the bird lovers in the crowd may raise an eyebrow. Bee balm seed heads can feed a few birds, so this one is a gentle judgment call. A clean, healthy plant can keep some stems standing. Mildew-covered clumps are better off trimmed.
Bee balm also spreads fast. Fall makes a handy time to pull out runners that wandered too far.
Resistant types like ‘Jacob Cline’ or ‘Marshall’s Delight’ can cut down on future trouble.
A little tidy-up now keeps the hummingbird buffet looking fresh next summer. After all, nobody wants to eat at a restaurant with fuzzy tablecloths.
5. Daylily Leaves Tidy Up Easily Once Faded
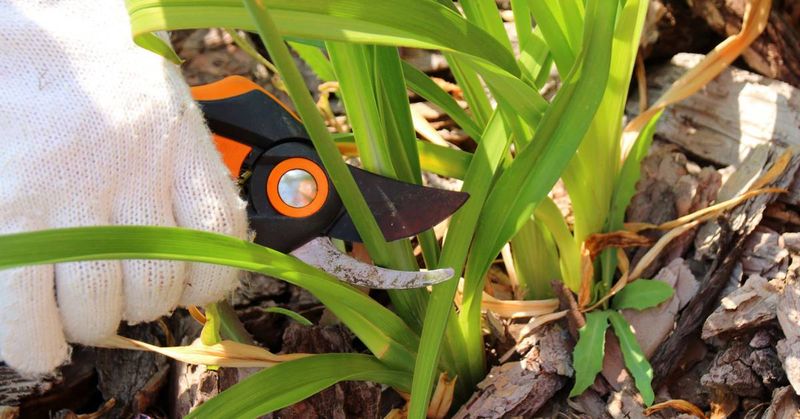
Daylilies are the easygoing friends of the flower bed. They handle heat, drought, and poor soil with barely a complaint. Still, their faded leaves deserve a little attention once the season winds down.
Patience matters most here. Wait until the leaves turn yellow or brown and flop over. Green leaves still feed the roots for next year. An early cut can weaken the plant, so let them finish their job.
Once the foliage fully fades, you get two easy options. Grab a handful of brown leaves and give a gentle tug. They often slip right off. Or trim them down to a few inches with clean shears.
The payoff goes beyond looks. Old daylily leaves can hold daylily rust and leaf streak. Those fungal problems show up as orange pustules or yellow streaks.
A cleanup takes away their winter hideout. It also evicts slugs and snails that like to camp there.
And now a fun twist for California gardeners. Many daylilies here are evergreen types. They stay green right through our mild winters.
For those, simply pull out the brown, spent leaves. Leave the healthy green ones alone.
The plant looks neater right away, and spring growth comes in clean. Daylilies may only show off each bloom for a day, but a good cleanup keeps them camera-ready all year.
6. Hosta Foliage Comes Away Clean After Frost
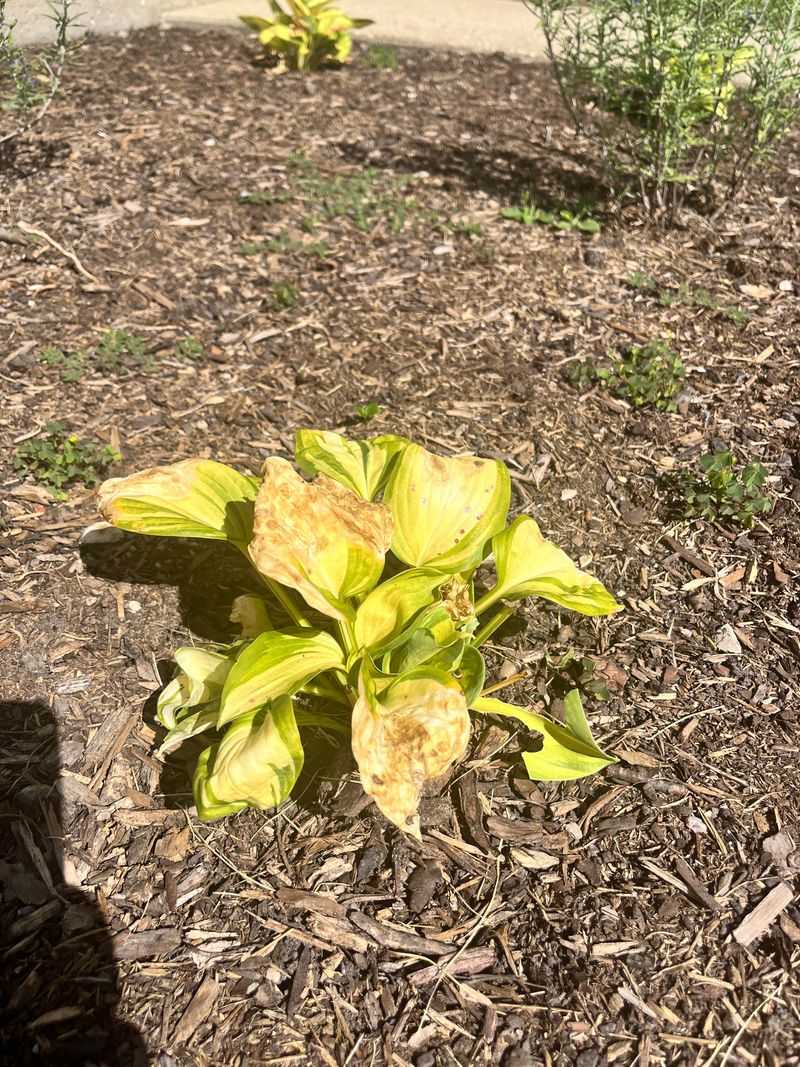
One frosty morning, your hostas may look like they melted overnight. The leaves slump into a limp, mushy heap. It looks alarming, yet it is actually your cue. Frost has wrapped up their season, and cleanup just got easy.
Hosta leaves naturally turn yellow in fall. The plant pulls energy down into its roots. After a hard frost, the leaves collapse and often lift away with a light pull. Wait for that moment instead of an early cut on healthy leaves.
The cleanup matters for a sneaky reason. Slugs and snails love to lay eggs under old hosta foliage. Those eggs hatch in spring, right when tender new shoots appear. Great news for them. Bad news for your hostas.
Old leaves can also carry fungal leaf spots and anthracnose into the next season.
Cut or pull the spent leaves and stems down to ground level. Toss them in green waste, especially after a year of holes, spots, or ragged edges. A thin layer of fresh mulch afterward keeps the crown tidy.
Many parts of California rarely see frost, of course. In mild coastal areas, hostas may simply yellow slowly without a collapse. In that case, trim leaves once they turn mostly brown, usually by late fall or early winter.
A clean bed means fewer slimy surprises when spring arrives. The slugs will have to find another nursery, and frankly, they can file a complaint with management.
7. Catmint Rewards A Light Shearing Now
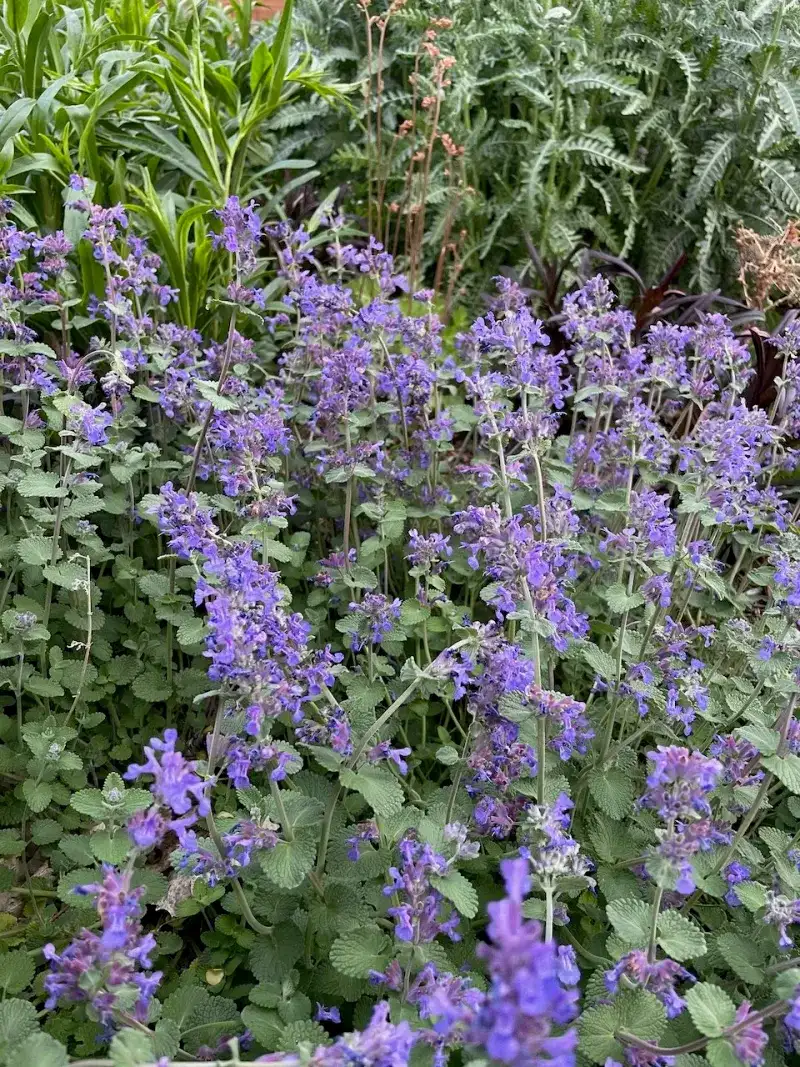
Talk about a forgiving plant. Catmint takes a haircut like a champ and bounces back better than before. Its silvery leaves and soft purple flowers make it a favorite in dry California gardens.
By fall, catmint can turn floppy and open in the middle. Brown stems hide under the fresh growth. That dense, tired center traps moisture and blocks airflow. Leaf spots and mildew can settle in there, especially after early rains.
A light trim fixes both problems. Cut the whole plant back by about one third. Remove spent flower stems along with any brown or spotted leaves.
Skip a full cut to the ground in fall, since new growth near the base helps it through winter.
Spring is the time for a harder cut, once fresh shoots appear. Catmint often reblooms after a trim, so your effort pays off in extra flowers.
Fair warning, though, for anyone who shares a home with a cat. Fresh trimmings may attract a very enthusiastic supervisor.
Catmint wraps up this list nicely because it shows the big idea. Each plant here benefits from a fall trim mainly to cut down on disease and pests. Seed-bearing plants like coneflowers or native sages tell a different story. Those are often best left standing for birds and insects.
Trim the trouble-prone ones and leave the wildlife-friendly ones. Team Tidy and Team Wild can finally shake hands.
8. Hollyhock Stalks Carry Rust Into Spring
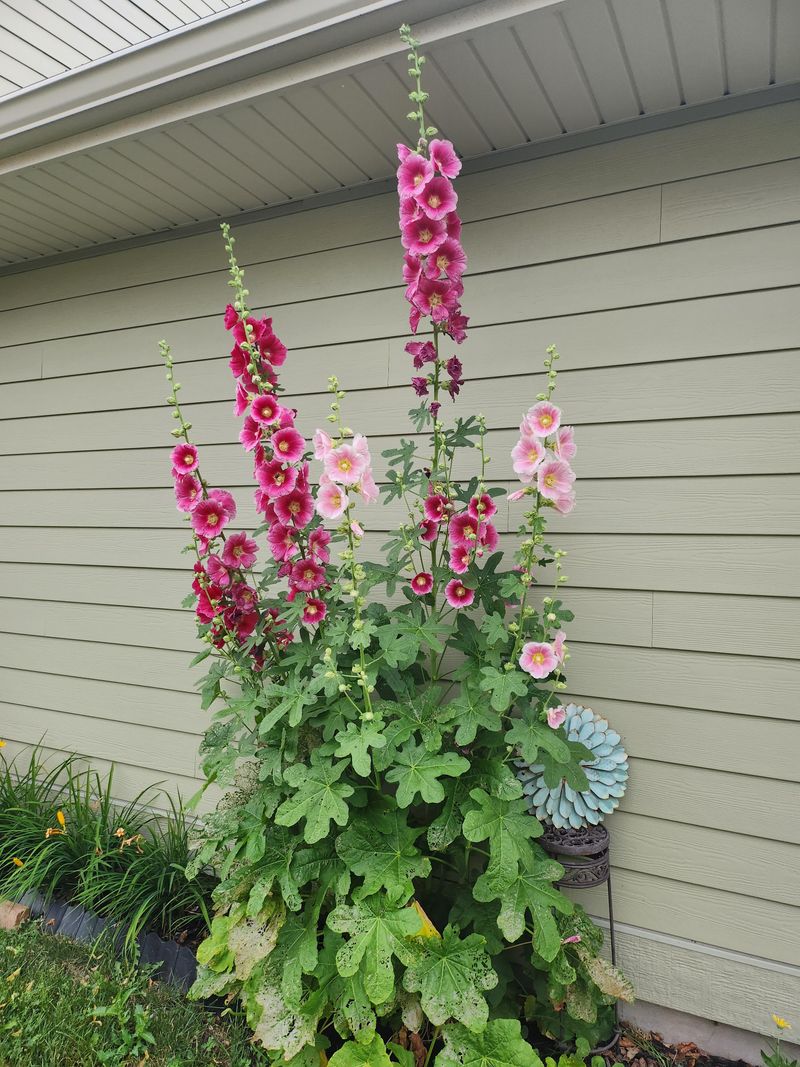
Hollyhocks bring serious cottage-garden charm. Those tall spires of ruffled blooms can tower over a fence and wave at the neighbors. By fall, though, many plants look more tired than towering.
The usual culprit is hollyhock rust. Flip a leaf over, and you may spot small orange-brown bumps on the underside. The top side often shows yellow spots to match. Badly infected leaves curl, brown, and drop early.
Rust spores can ride out winter on old leaves and stems. Spring then hands them a fresh buffet of new growth. A fall cutback breaks that chain.
Once flowers finish, cut the stalks down close to the ground. Strip off any spotted or crispy leaves at the base. Bag the debris or send it off with green waste rather than into compost.
Now take a quick stroll around the yard, because the rust may have a secret hideout. Cheeseweed, a common California mallow weed, can host the same fungus. Pull any clumps near your hollyhocks. Your future blooms will appreciate the eviction.
A few habits help too. Water the soil, not the leaves, and give each plant room for airflow.
Hollyhocks often reseed on their own, so one clean, rust-free stalk can stay for its seeds.
Keep the rusty ones out of next year’s lineup. Hollyhocks look best in red, pink, and yellow, not in shades of old bike chain.