How To Test Your Michigan Garden Soil pH At Home
Pale seedlings, yellowing leaves, and plants that refuse to thrive no matter how much fertilizer goes in are usually trying to say the same thing.
The soil pH is off, and until that number gets fixed, the nutrients sitting right there in the ground stay locked away where roots cannot reach them.
Most gardeners never test their soil and spend years wondering why certain beds just never perform the way they should.
The test itself takes about twenty minutes, costs very little, and delivers the kind of information that actually changes how a garden grows.
There are several ways to do it, ranging from a quick kitchen experiment to a proper lab report from Michigan State University Extension, and each one tells you something genuinely useful about what is happening underground.
1. Why Michigan Soil Acidity Matters For Your Plants
Think of soil pH like a door to a pantry. When the number sits in the right range, roots can open the door and grab the food they need.
The pH scale runs from 0 to 14, with 7 being neutral. Numbers below 7 are acidic, and numbers above 7 are alkaline, or sweet, as old farmers like to say.
Most vegetables and flowers grow best between 6.0 and 7.0. Blueberries, azaleas, and rhododendrons prefer things more sour, often around 4.5 to 5.5.
Soil across the Great Lakes State varies a lot. Sandy ground up north and near the lakeshore often leans acidic, especially under pine trees.
Heavy clay in the southeast and areas with limestone underneath can lean alkaline instead.
When pH drifts too far, plants show it. Leaves may turn yellow between the veins, growth can slow, and blooms might look weak even when you water and fertilize well.
Bigleaf hydrangeas are one of the most dramatic examples of pH at work in the garden. In acidic soil they bloom blue, while sweeter alkaline soil pushes them toward pink.
Not every hydrangea variety behaves this way, but the bigleaf types make that shift reliably and visibly enough to use as a rough yard indicator.
Knowing your number saves money too. Instead of guessing and dumping fertilizer that plants cannot use, you can fix the real problem first. A quick test now can mean a much happier garden all season long.
2. Collect A Good Soil Sample First
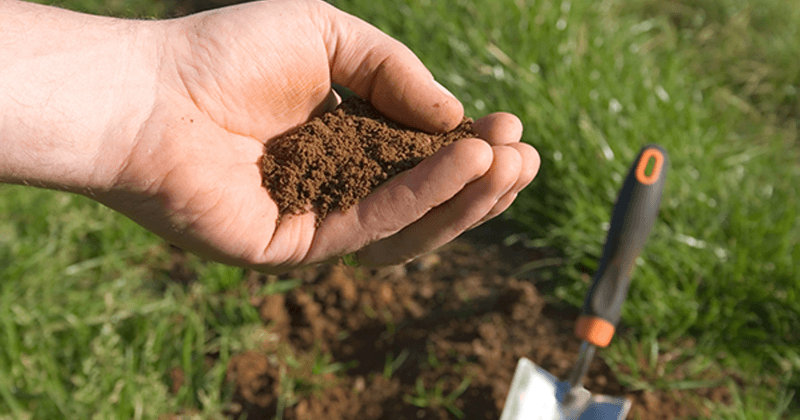
Garbage in, garbage out. Even the best test gives you a fuzzy answer if your sample does not truly represent your Michigan garden.
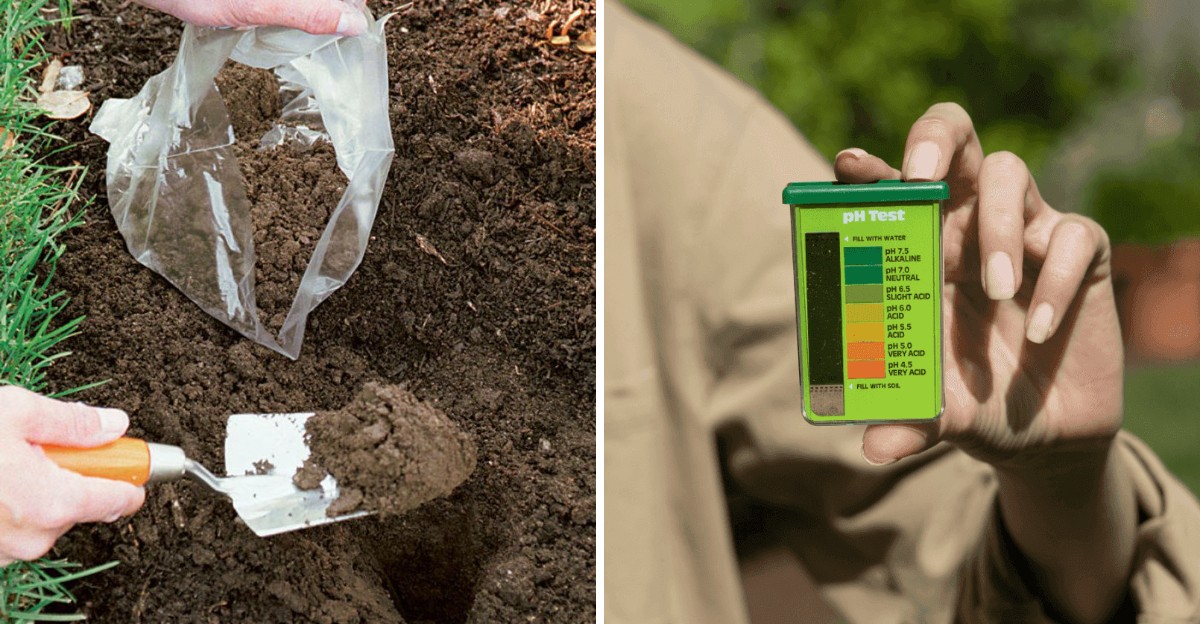
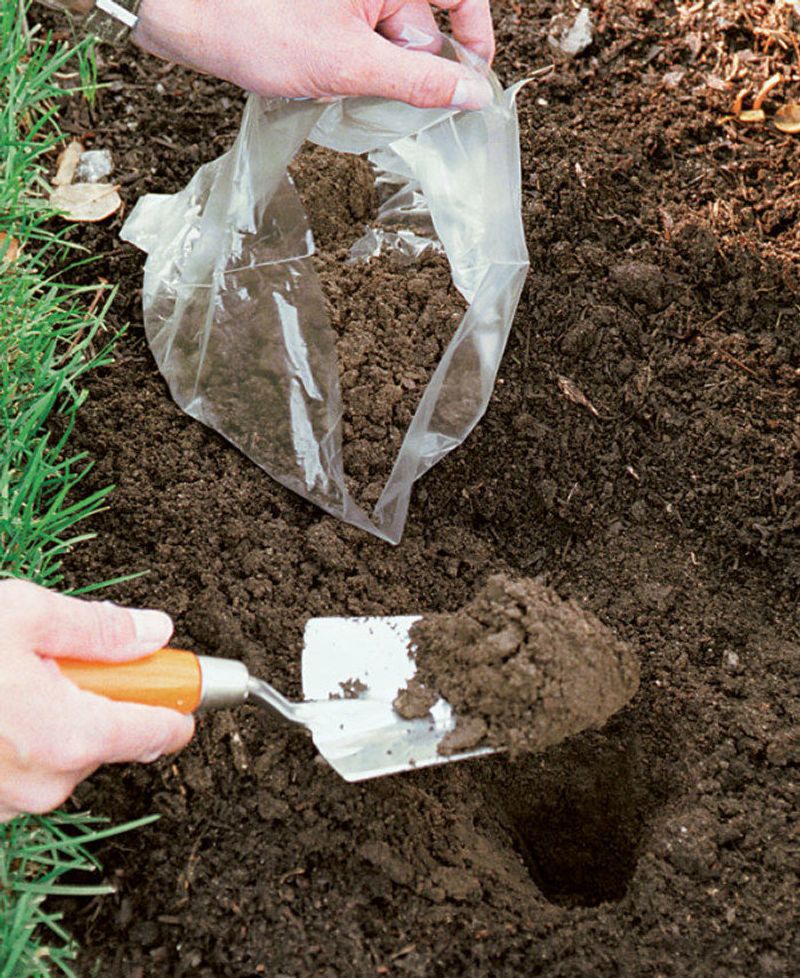
Start with a clean plastic bucket and a stainless steel trowel or spade. Avoid rusty or brass tools, since they can change the results a little.
Dig down about 6 inches for vegetable beds and lawns. Shrubs and trees with deeper roots may need samples closer to 8 inches deep.
Take small scoops from 8 to 10 different spots in the same bed. Zigzag across the area, then mix everything together in the bucket. That blend gives you an average reading instead of one odd corner.
Pull out rocks, roots, grass, and worms before testing. Let the soil air dry on newspaper for a day if it is soggy, which happens a lot after a wet spring around here.
Keep different areas separate. Your blueberry patch, front lawn, and veggie garden can each have their own numbers, so label each bag clearly.
Timing helps too. Many Great Lakes gardeners sample in early spring once the ground thaws, or in fall after harvest. Fall testing gives you time to add fixes that slowly work through winter.
Skip sampling right after fertilizing or liming. Wait a few weeks so those products do not throw off your reading.
3. Try The Kitchen Vinegar And Baking Soda Trick
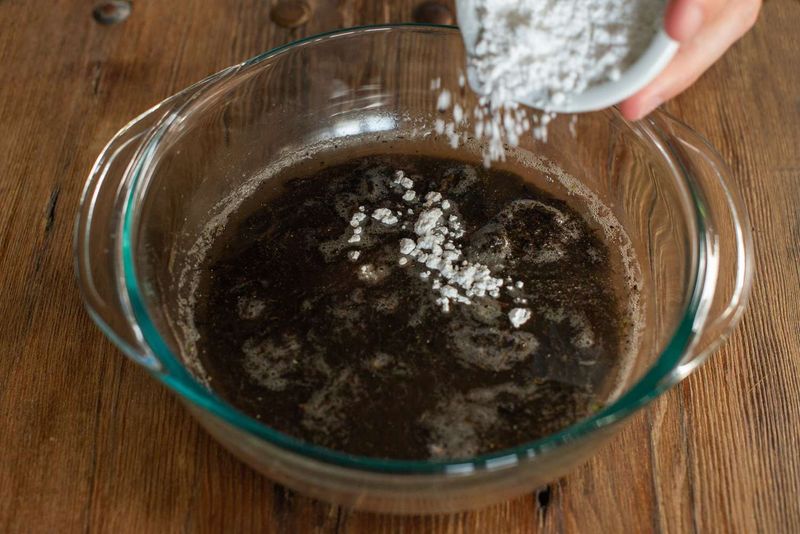
Remember the volcano project from science class? Your pantry can pull off a smaller version that hints at your soil type.
Place about two tablespoons of dry soil into two separate cups. In the first cup, pour in half a cup of white vinegar and watch closely.
If it fizzes or bubbles, your Michigan soil is likely alkaline, probably above 7. That reaction often shows up in spots with limestone or lots of old concrete nearby.
No fizz? Move to the second cup. Add a little distilled water to make mud, then sprinkle in half a cup of baking soda.
Bubbling here means your soil is probably acidic, likely below 6. Gardens under oaks and pines in the northern Lower Peninsula commonly show this.
If neither cup reacts, your soil is probably close to neutral. That is good news for most veggies and flowers.
Use distilled water if you can. Tap water in many towns carries minerals that can nudge results a bit.
Keep your expectations realistic, though. The trick only shows big swings and cannot give you an exact number.
Treat it like a fun first clue, then follow up with a more precise method before you add lime or sulfur. Kids love helping with this one, which makes it a great family garden activity.
4. Use A Color Strip Test Kit
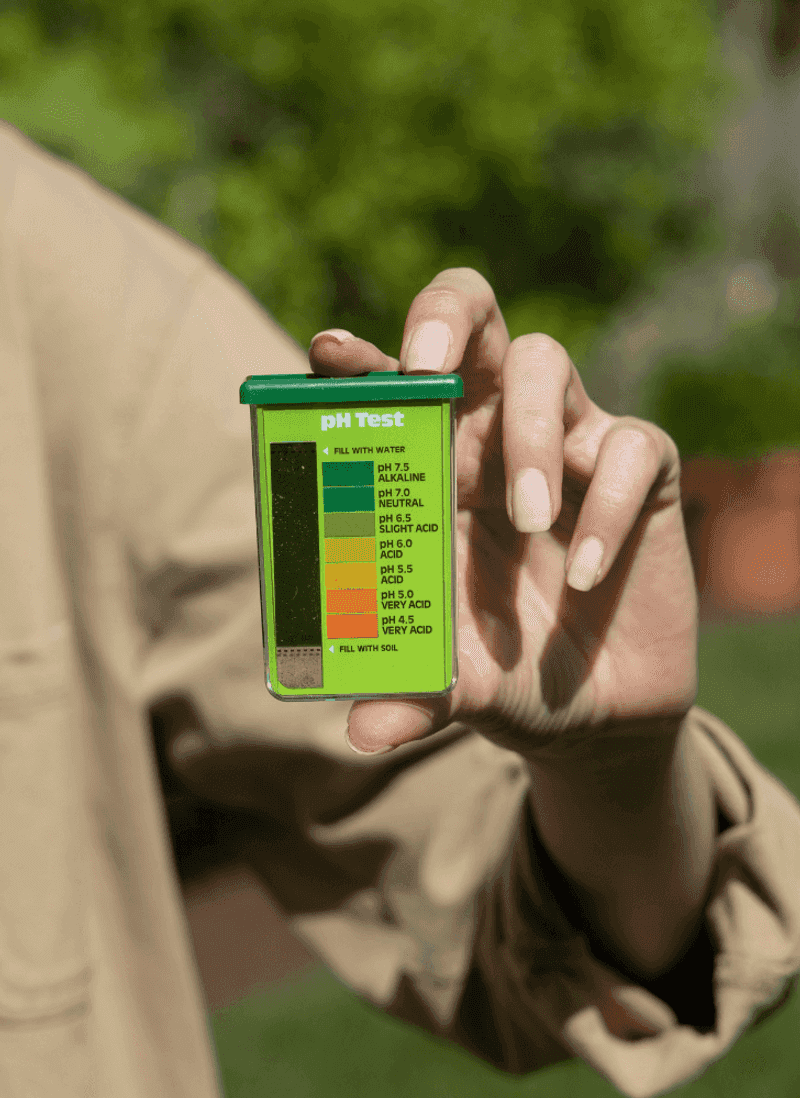
Matching colors feels a bit like solving a puzzle. Chemical test kits turn your soil sample into a shade you compare against a chart.
Most kits sold at Michigan garden centers cost between 10 and 25 dollars. They usually include small tubes, powder capsules or liquid drops, and a color guide.
The steps are simple. Fill the tube with soil to the marked line, add the powder, pour in distilled water, cap it, and shake well.
Let the mixture settle. Some kits are ready in a minute, while others need the soil to sink for 10 minutes or more.
Hold the tube against a white background in natural daylight. Compare the liquid color to the chart, which often runs from orange for acidic to dark green or blue for alkaline.
Here is a pro move. Run the test two or three times on the same sample and compare. If the readings match, you can trust the result more.
Many kits also check nitrogen, phosphorus, and potassium. That bonus helps when you plan spring feeding for tomatoes or sweet corn.
Store the kit somewhere cool and dry, not in a hot garage. Heat and moisture can weaken the chemicals over time.
Check the date on the box, because older kits may give faded, confusing colors.
5. Grab A Digital pH Meter For Quick Michigan Readings
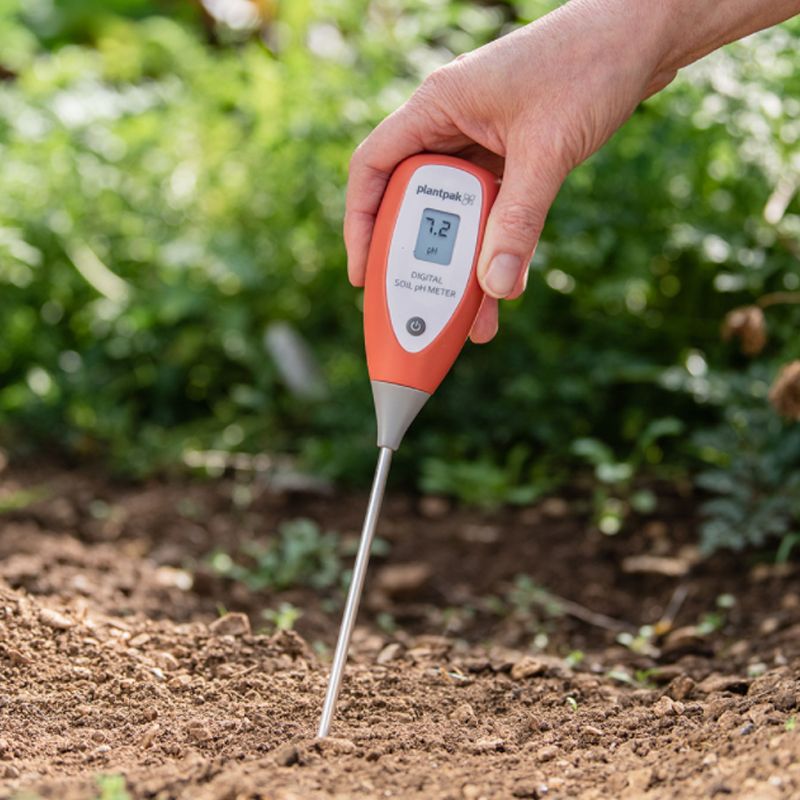
Some gardeners love gadgets, and honestly, who can blame them? A digital meter gives you a number in seconds without mixing anything.
Probe meters come in two main types. Cheap analog models with a needle cost under 20 dollars, while digital meters with a screen often run 30 to 80 dollars.
To use one, water the spot lightly if the ground is dry. Push the probe 4 to 6 inches into the soil and wait about a minute.
Clean the metal tip with a soft cloth or fine steel wool between readings. Dirt or residue on the probe can give odd numbers.
Better digital pens need calibration. That means dipping them into special buffer liquids, usually pH 4 and pH 7, so the meter knows what correct looks like.
A quick tip: take readings in several spots across one bed. If one patch shows 5.5 and another shows 7, you have learned something useful about where to focus.
Honest talk here. Budget probe meters are handy for spot checks but can be less accurate than kits or lab tests. Pair one with another method now and then to make sure it stays on track.
Meters shine during the busy season. You can check a raised bed in July while watering, which beats waiting for mailed results.
6. Make A Red Cabbage Test With Kitchen Scraps
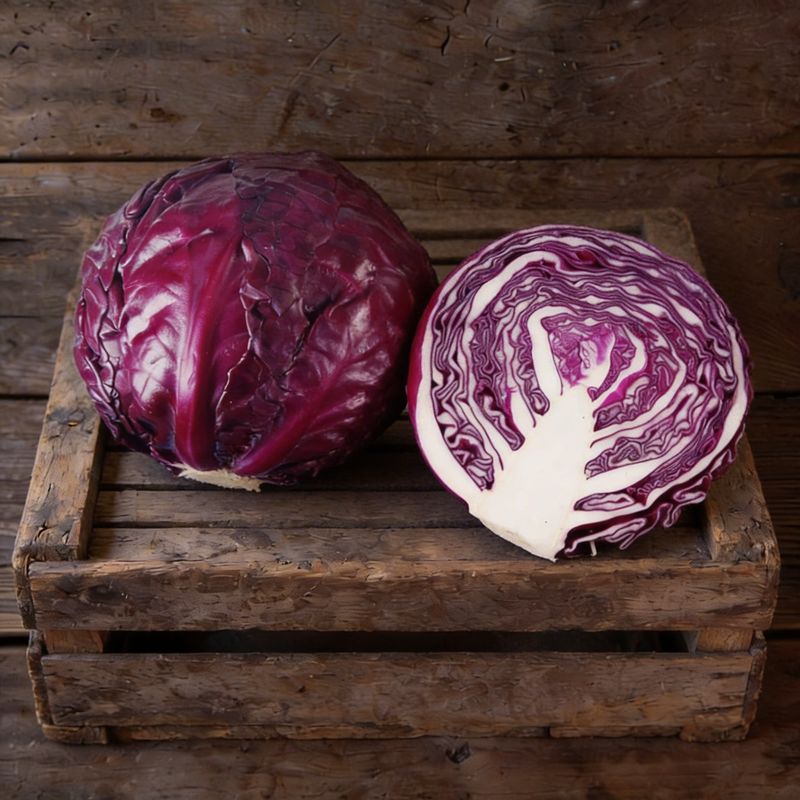
Who knew a humble head of cabbage could act like a science tool? Red cabbage holds natural pigments that change color depending on pH.
Chop about two cups of red cabbage and drop it into a pot with distilled water. Simmer for 10 minutes, then cool it and strain out the leaves.
The leftover liquid should look deep purple. That color sits right around neutral, so keep a little in a clear glass for comparison.
Now mix two spoonfuls of Michigan soil into a cup of the purple juice. Stir gently and wait 30 minutes for the color to settle.
Pink or red means acidic soil. Blue or greenish shades point toward alkaline ground, while purple tells you things are fairly neutral.
Fun fact: the pigment behind this trick is called anthocyanin. It also helps give blueberries, grapes, and fall maple leaves their rich colors.
Cabbage grows well across the state, so you might even use one from your own patch. Farmers markets in late summer usually have plenty for a dollar or two.
Like the vinegar method, the results are a rough guide, not an exact reading. Still, it is cheap, safe, and a memorable way to teach young gardeners how soil chemistry works. Snap photos to compare colors next year.
7. Send A Sample To MSU Extension
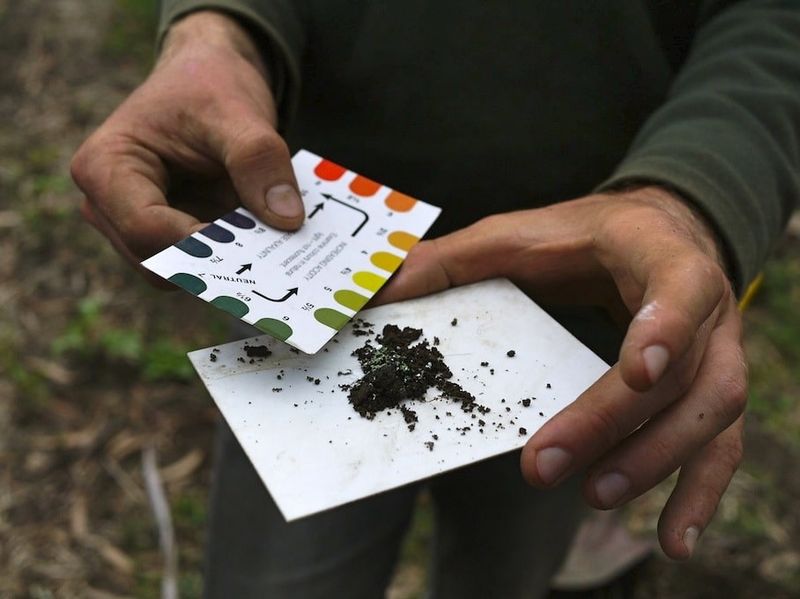
When you want the most trustworthy answer, the pros at the university lab are hard to beat. Michigan State University Extension runs a soil testing program open to home gardeners.
You can order a self-mailer kit online or pick one up at many county Extension offices and some garden centers. The Home Lawn and Garden Soil Test Self-Mailer costs $26, which includes shipping to the lab, results, and interpretation.
Follow the included steps for collecting and drying your sample. Fill the bag, complete the short form online, and mail it back.
Results usually arrive by email within ten to fourteen business days of the lab receiving your sample. You get your pH plus levels of phosphorus, potassium, calcium, and magnesium.
The best part is the advice. The report tells you exactly how much lime or sulfur to add, along with fertilizer suggestions for what you plan to grow, like lawns, roses, or vegetables.
A lab test is worth doing every three to four years. Use your cheaper home methods in between to watch for changes.
Many gardeners skip this step because home kits feel easier. Yet one detailed report can save you years of guessing and wasted bags of fertilizer.
Extension also offers free help lines and Master Gardener volunteers. They can explain confusing numbers on your report in plain language, so do not be shy about calling.
8. Adjust Your Michigan Soil pH After Testing
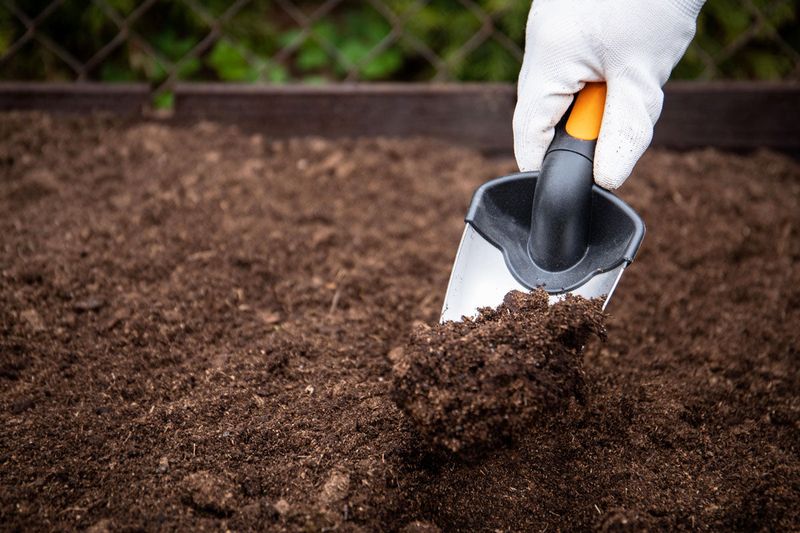
So you have your number. Now comes the satisfying part, nudging your soil toward what your plants crave.
To raise pH in sour soil, use garden lime. Pelletized limestone is easy to spread, and dolomitic lime adds magnesium, which many sandy northern soils lack.
To lower pH in sweet soil, add elemental sulfur. Soil bacteria slowly turn it into a mild acid, so give it a few months to work.
Go slow and steady. Changing pH by a full point can take a season or longer, and adding too much at once can stress roots.
Fall is a smart time to make changes. Freezing and thawing over winter helps work lime and sulfur deeper into the ground before spring planting.
Organic matter helps either way. Compost, shredded leaves, and aged manure buffer the soil, keeping pH steadier and making nutrients easier to reach.
Pine needles get credit for acidifying soil, but the effect is small. They work better as mulch around blueberries than as a quick fix.
Retest about six months after any adjustment. That way you can see what worked and avoid overshooting.
Keep a simple garden notebook with dates, readings, and what you added. Over a few years, you will learn your yard like an old friend and grow healthier plants with less effort.