The Caladium Lifting Deadline Every Virginia Gardener Should Beat This Month
Those painted caladium leaves have been the show-offs of your shady beds all summer, but autumn has other plans. Somewhere beneath the soil, a clock has started ticking.
Caladium tubers are tropical at heart, and they don’t care for chilly Virginia nights. Wait too long, and those pink, red, and white beauties can turn into mushy little surprises.
Act at the right moment, though, and you can tuck them away for a bright comeback next spring. Lifting caladiums is easier than raking the yard.
You only need a few clear signals, a gentle digging plan, and a warm storage spot. Unlike most bulbs, these tubers hate the cold, so a chilly garage won’t do.
The guide below covers the signs to watch and the steps to follow. It also includes an easy way out if you’d rather skip the chore.
Nights Below 60 Degrees Signal It’s Time
Picture a crisp October evening when you finally reach for a sweater. Your caladiums feel that chill too, and they dislike it far more than you do.
Caladiums come from warm tropical regions of South America. Their tubers prefer warm soil and steamy days to stay happy and active.
Once nighttime temperatures slip below 60 degrees, growth slows to a crawl. Cool spells also raise the risk of rot and other tuber trouble.
Many Virginia gardeners watch the soil, not just the air. When soil stays below 55 to 60 degrees, the lifting window is open.
A simple soil thermometer costs only a few dollars at most garden centers. Push it about two inches deep, right where the tubers rest.
Check the reading in the early morning for the most honest number. Soil is coolest at sunrise, so that reading shows the real story.
Across much of the state, these cool nights arrive in late September or October. Mountain areas cool down sooner, while coastal gardens often get extra weeks.
Keep an eye on your local forecast during early fall. A string of nights in the low 50s means your shovel should come out soon.
Here is a handy rule to remember. Lift before the first frost, not after, because frost can harm tubers quickly.
Mark a reminder on your calendar once evenings start feeling cool. A little planning now saves you from scrambling during a surprise cold snap.
Cold, Wet Soil Rots Tubers Fast
Ever squeezed a forgotten potato from the back of the pantry? A rotting caladium tuber feels much the same, soft and smelly.
Cold soil alone is bad enough for these tropical plants. Add steady fall rain, and the trouble grows much worse.
Tubers rest during their dormant season, and they want to stay dry. Soggy ground lets fungi and bacteria move in and start breaking them down.
Virginia clay soil makes the problem trickier for many gardeners. Clay holds water for days and drains slowly after heavy storms.
Compacted beds behave the same way, trapping moisture around the roots. Even good soil can turn soggy during a wet autumn stretch.
Your Virginia Garden Changes Every Week. Your Plan Should Too.
Gardening in Virginia changes quickly throughout the season. Every Friday you’ll receive a simple weekly plan showing exactly what to plant, prune, fertilize, harvest, and protect so you never miss the right timing.
Overwatering late in the season adds to the risk too. Once leaves start fading, ease off the hose and let rain handle things.
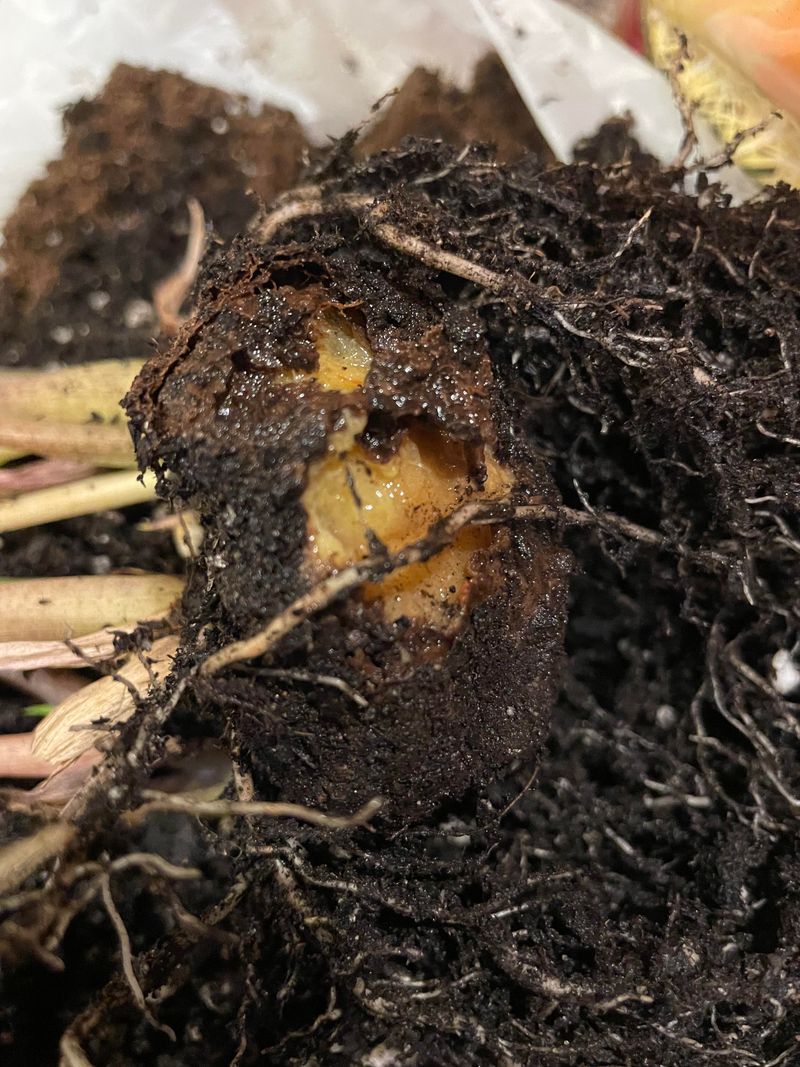
So how can you tell if rot has started? Healthy tubers feel firm, like a raw potato, with smooth skin.
Rotting ones turn squishy, dark, or slimy when you press them. Some give off a sour smell that is hard to miss.
Fall storms can come fast in the Mid-Atlantic. A few rainy, chilly days can undo a whole summer of growth beneath the surface.
If your beds stay soggy, consider lifting a little early. Raised beds or containers also help next year by improving drainage around the tubers.
Yellowing Leaves Mean They’re Winding Down
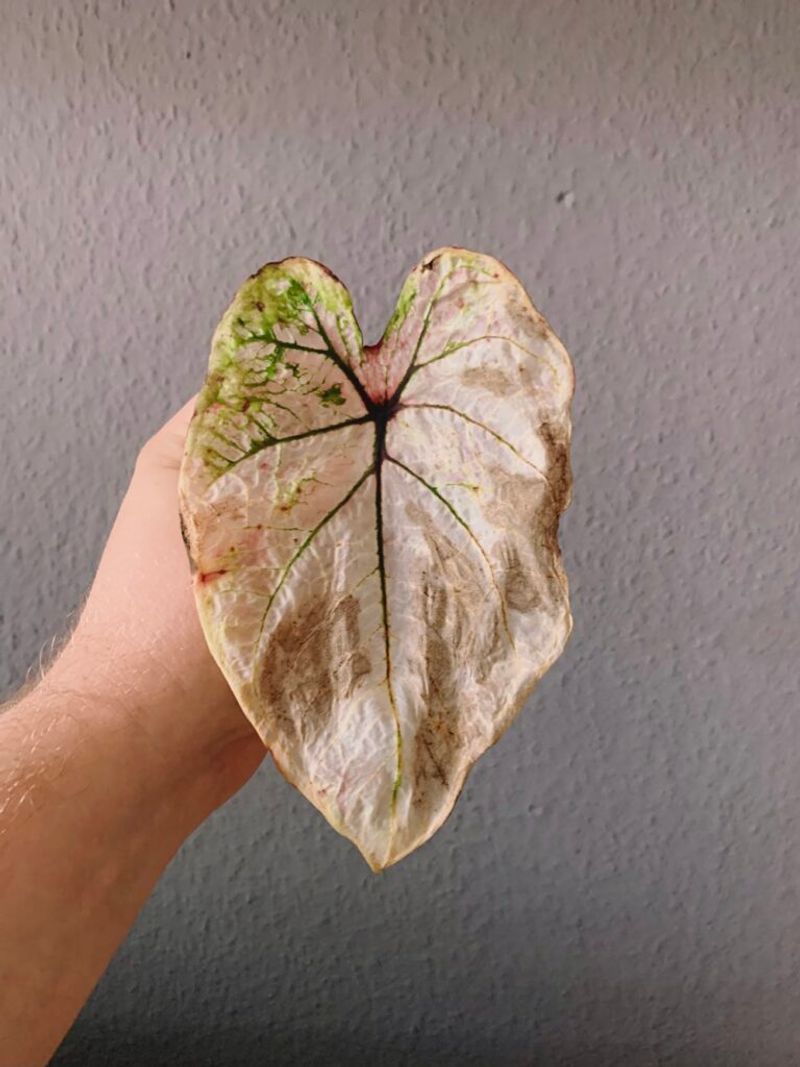
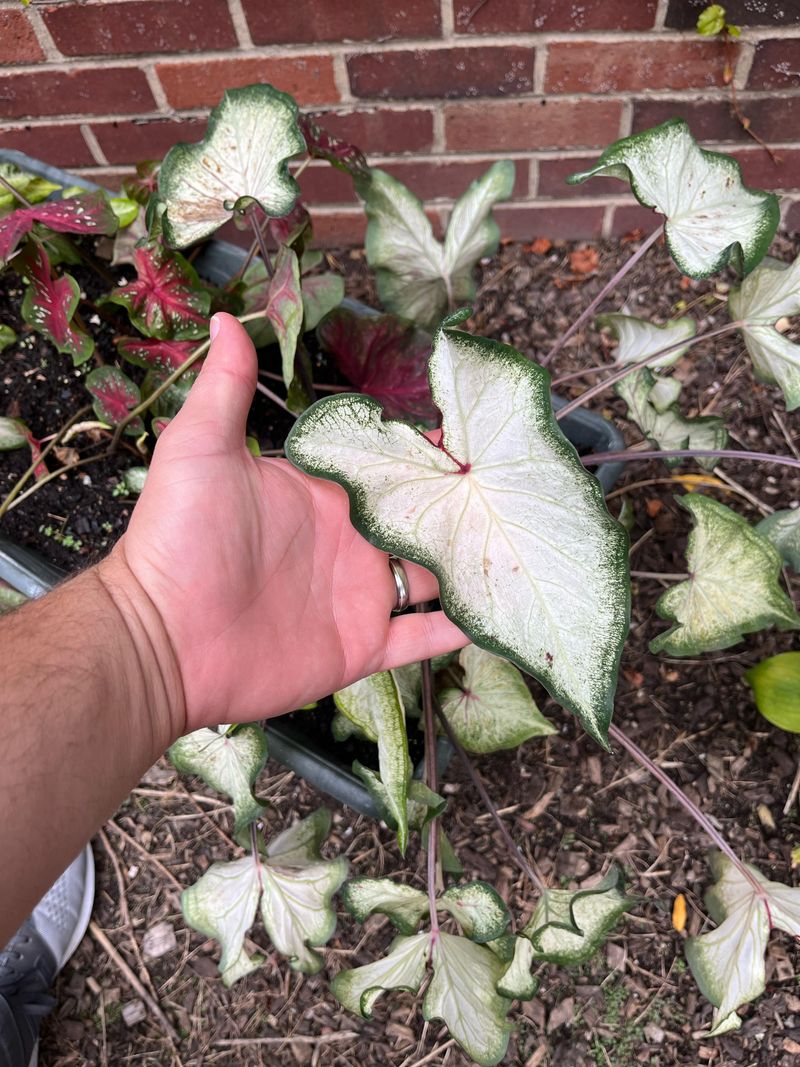
Nature has its own way of sending a memo. When caladium leaves start turning yellow and flopping over, the plant is getting ready to rest.
Gardeners sometimes panic at this sight. Fading foliage in fall is normal, though, and it is actually helpful.
Behind the scenes, the plant pulls energy from its leaves. All that stored food moves down into the tuber for next season.
Shorter days and cooler air trigger the change. Your plants are simply following a rhythm they have used for ages.
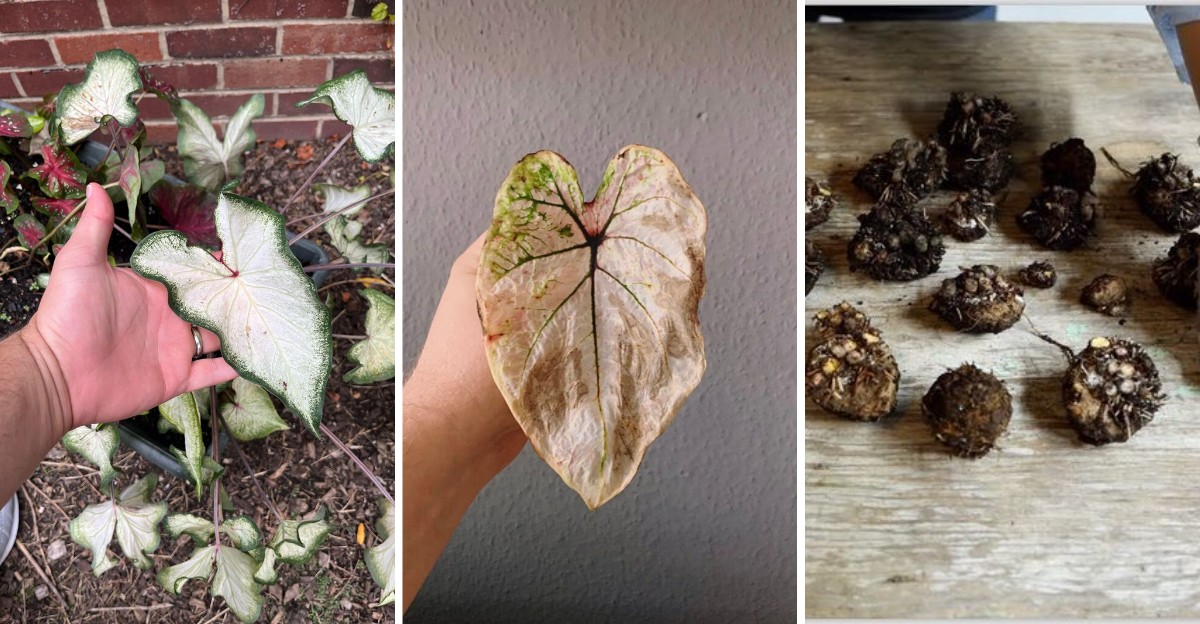
Watch for leaves that lose their bold colors first. Bright pinks may soften, and white patches can turn papery and pale.
Next, stems start leaning or falling flat against the soil. Once most leaves have yellowed or toppled, lifting time has arrived.
Want a fun fact? Caladiums are sometimes called angel wings or elephant ears because of their heart-shaped leaves.
Patience pays off at this stage. Letting leaves fade naturally gives the tuber its best chance to store plenty of energy.
Still, the weather gets the final vote. If frost is coming soon, dig your tubers even if some leaves look green.
Snap a quick photo of each bed before the foliage disappears. You will remember which colors grew where when spring planting arrives.
Dig Wide To Avoid Slicing Tubers
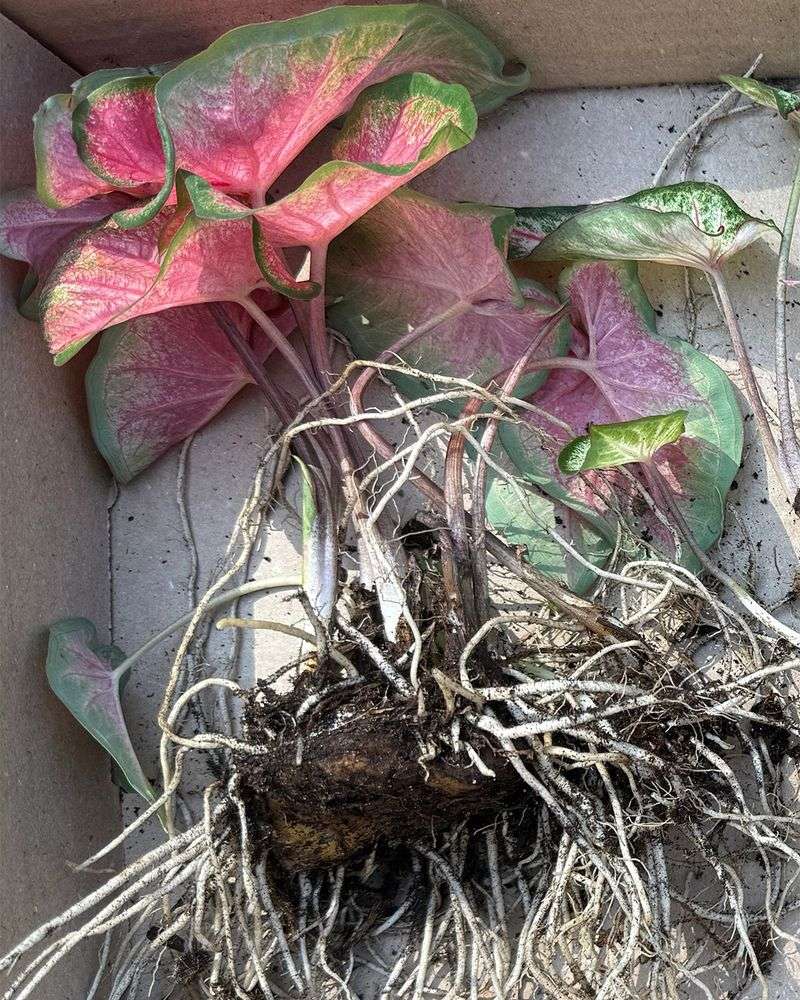
One careless jab with a shovel can split a perfect tuber in two. Ouch, and there goes next summer’s best leaf color.
Caladium tubers sit surprisingly close to the surface. Most rest only an inch or two under the soil.
Because they are so shallow, digging straight down near the stem is risky. A wide, gentle approach works much better.
Start about four to six inches away from the plant’s base. Push a garden fork or hand trowel into the soil at an angle.
Rock the tool slowly to loosen the earth around the clump. Then lift the whole bundle up from underneath, soil and all.
Garden forks are a favorite tool for many gardeners. Their thin tines slip between tubers instead of slicing through them.
Once the clump is up, shake off loose soil with care. Brushing with your fingers works fine, and there is no need to scrub.
Choose a dry day for digging if possible. Dry soil falls away easily, while wet clay clings stubbornly to everything.
Accidents happen, even to experienced growers. If a tuber gets nicked, set it aside and let the cut dry out.
A small wound often heals during curing. Larger breaks may not store well, so plant those pieces in pots indoors instead.
Let The Foliage Dry Before Trimming
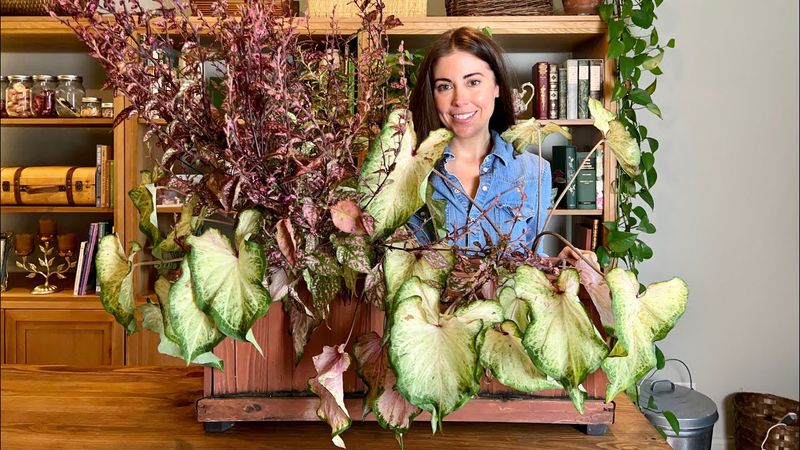
Patience is the secret ingredient here. Grabbing scissors right after digging feels natural, but it is better to wait.
Leave those leaves attached once the tubers come out of the ground. Even fading foliage still holds a bit of energy.
As the leaves dry, leftover nutrients keep moving into the tuber. Your future plants get a little extra boost from this simple step.
Lay the clumps out on newspaper, cardboard, or a screen. Pick a shaded spot with good airflow and no direct rain.
A garage, covered porch, or shed works nicely. Just keep the area warm and away from frosty drafts.
Most foliage takes one to two weeks to dry out fully. Leaves will turn brown, crisp, and brittle when they are ready.
At that point, trimming is quick and easy. Snip or twist off the dried stems close to the top of each tuber.
Gently brush away any remaining dirt as you go. Leave small roots alone if they refuse to come off easily.
Sort tubers by color as you trim them. A strip of masking tape and a marker make labeling quick work.
Toss the trimmed leaves into your compost pile only if they look healthy. Moldy or spotted foliage belongs in the trash instead.
Cure Tubers In A Warm, Dry Spot
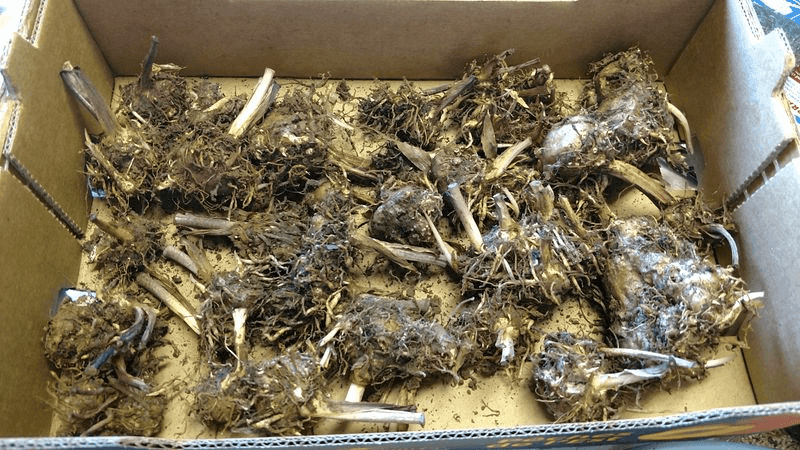
Think of curing as a spa day for your tubers. A little warmth and fresh air toughen their skins for winter.
Curing simply means letting tubers dry thoroughly before storage. The process usually takes about one to two weeks.
Aim for temperatures between 60 and 70 degrees. Good air circulation matters just as much as warmth during this stage.
Spread the tubers out in a single layer. Make sure they do not pile up or touch one another.
Wire racks, window screens, or shallow trays all work well. Air can reach every side, so moisture escapes evenly.
A small fan running nearby speeds things along. Keep it on low, since you only want a gentle breeze.
Skip sunny windowsills during this step. Direct sun can overheat tubers and dry them unevenly.
Many Virginia homes have a laundry room or spare closet that fits the bill. Basements can work too, if they stay dry and warm enough.
Why bother with all this? Properly cured tubers resist rot much better once they go into storage.
Skin should look dry and slightly firm when curing is done. Any lingering damp spots mean they need a few more days.
Store Them Above 50 Degrees
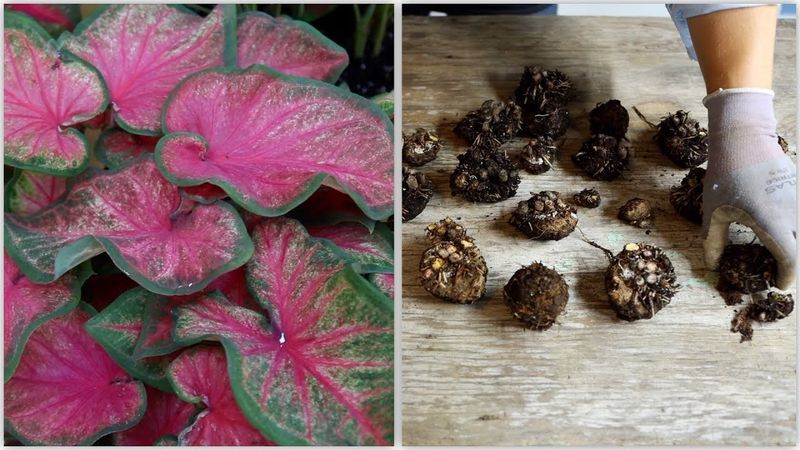
Here is where many good intentions go wrong. Caladiums want winter quarters that feel more like a cozy den than a chilly cellar.
Storage temperature makes a huge difference. Keep tubers somewhere that stays above 50 degrees all winter.
Many experts suggest a sweet spot of 55 to 60 degrees. That range keeps tubers calm, resting, and safe from chill.
Cold injury is sneaky and cannot be reversed. A tuber that gets too cold may look fine but fail to sprout in spring.
Please skip the refrigerator for these tubers. Unlike tulip bulbs, caladiums suffer badly from fridge temperatures.
Unheated garages are another common mistake. Winter nights often push garage temperatures well below 50 degrees.
Better choices sit inside your heated living space. A closet shelf, under a bed, or a spare room cabinet often works well.
Steer clear of spots near furnaces or heating vents. Too much heat can dry tubers out faster than you expect.
Placing a cheap indoor thermometer nearby gives peace of mind. Glance at it now and then during cold snaps.
Choose a place you will remember come spring. Out of sight sometimes means out of mind, especially by April.
Pack Them In Peat Moss Or Dry Sand
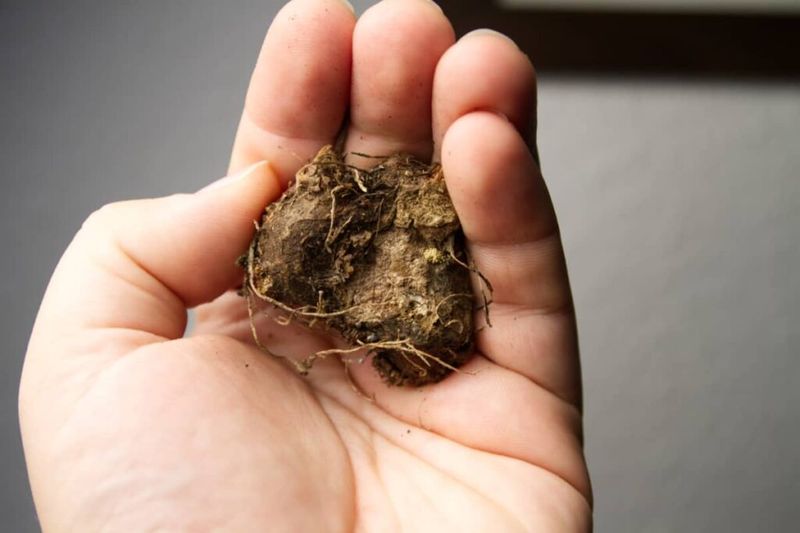
Tucking tubers in for winter is a little like packing fragile ornaments. Each one needs its own soft, dry cushion.
Choose a packing material that breathes and stays dry. Peat moss, dry sand, vermiculite, and perlite are all solid picks.
Each option helps in its own way. Peat moss cushions nicely, while sand holds steady and keeps tubers in place.
Containers matter just as much as the filling. Paper bags, cardboard boxes, and mesh sacks allow fresh air to flow.
Avoid sealed plastic bins or zip bags. Trapped moisture can turn your stored tubers moldy in a hurry.
Start with a layer of packing material on the bottom. Add tubers so they sit apart, then cover them completely.
Repeat the layers until your container is nearly full. Leave a little space at the top for easy checking later.
Keeping tubers from touching is a smart safety move. If one starts to rot, the trouble stays isolated instead of spreading.
Label each container with colors and varieties. Add the date you packed them for easy tracking.
Old shoeboxes make fun, budget-friendly storage. Poke a few small holes in the lid to boost airflow even more.
Check Monthly For Soft Or Shriveled Tubers
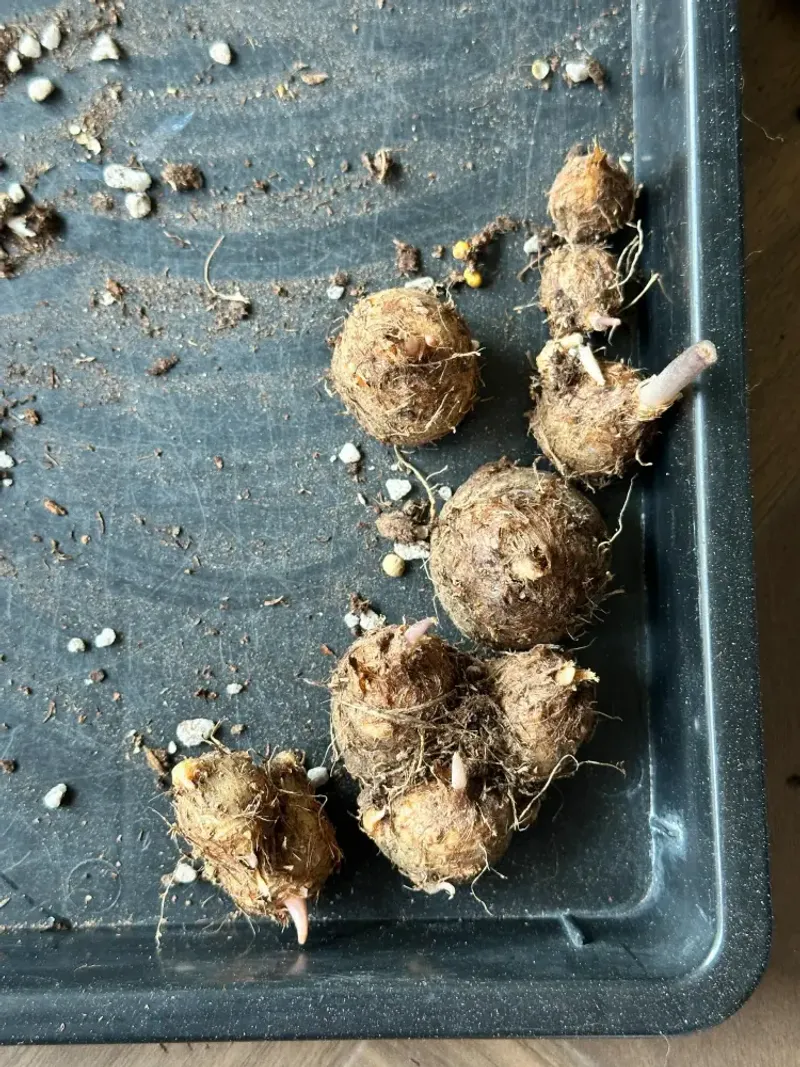
A quick winter check-in takes five minutes. It might save your entire collection from a quiet disaster.
Set a reminder to inspect tubers every four to six weeks. A recurring phone alert makes this easy to remember.
Gently dig through the packing material and examine each one. Healthy tubers feel firm and look plump.
Soft, squishy spots are warning signs of rot. Moldy patches or a sour smell also mean trouble.
Remove any problem tubers right away. Toss them out so the issue does not spread to neighbors.
Shriveled tubers tell a different story. They may be drying out too much in a warm, dry room.
A very light mist of water can help in that case. Use a spray bottle and go easy, since too much moisture invites rot.
Winter heating can make indoor air quite dry during cold snaps. Watching for wrinkles helps you adjust before damage sets in.
Keep a small notebook with each check. Writing down what you see helps you spot patterns year after year.
By late winter, you might notice tiny pink buds forming. Those little bumps mean your tubers are healthy and nearly ready for spring.