How To Keep Halloween Pumpkins From Rotting In The Florida Heat
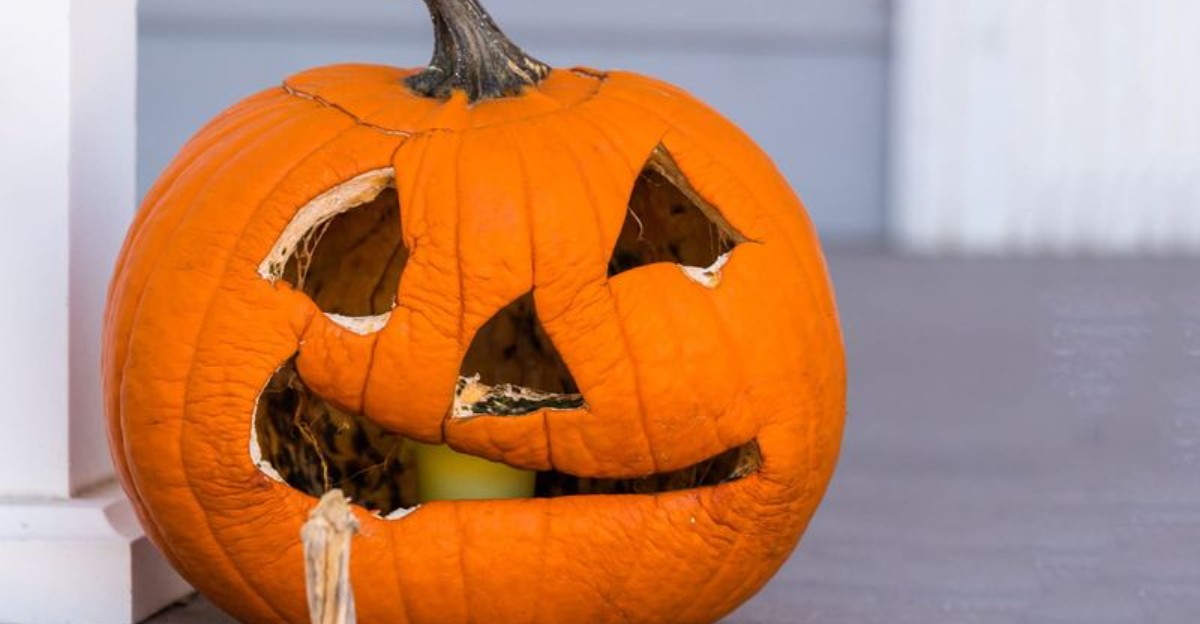
Nothing spoils a Halloween porch faster than a pumpkin that turns mushy before the trick-or-treaters arrive. In Florida, warm days and sticky humidity can send your jack-o’-lantern downhill in a hurry, even when Halloween is still days away.
The usual advice doesn’t always account for the Sunshine State’s weather. A pumpkin that lasts for weeks in a cooler climate may soften, grow mold, or collapse much sooner on a Florida doorstep.
The trick is to slow the rot without turning pumpkin care into a science project. From choosing the right pumpkin to finding a smarter spot for it, a few simple adjustments can help your fall decorations hold up longer.
And timing matters more than you might expect. Make the right moves, and your pumpkin has a much better shot at making it through Halloween without turning into a soggy mess.
1. Scrape Out Every Last Bit Of Pulp
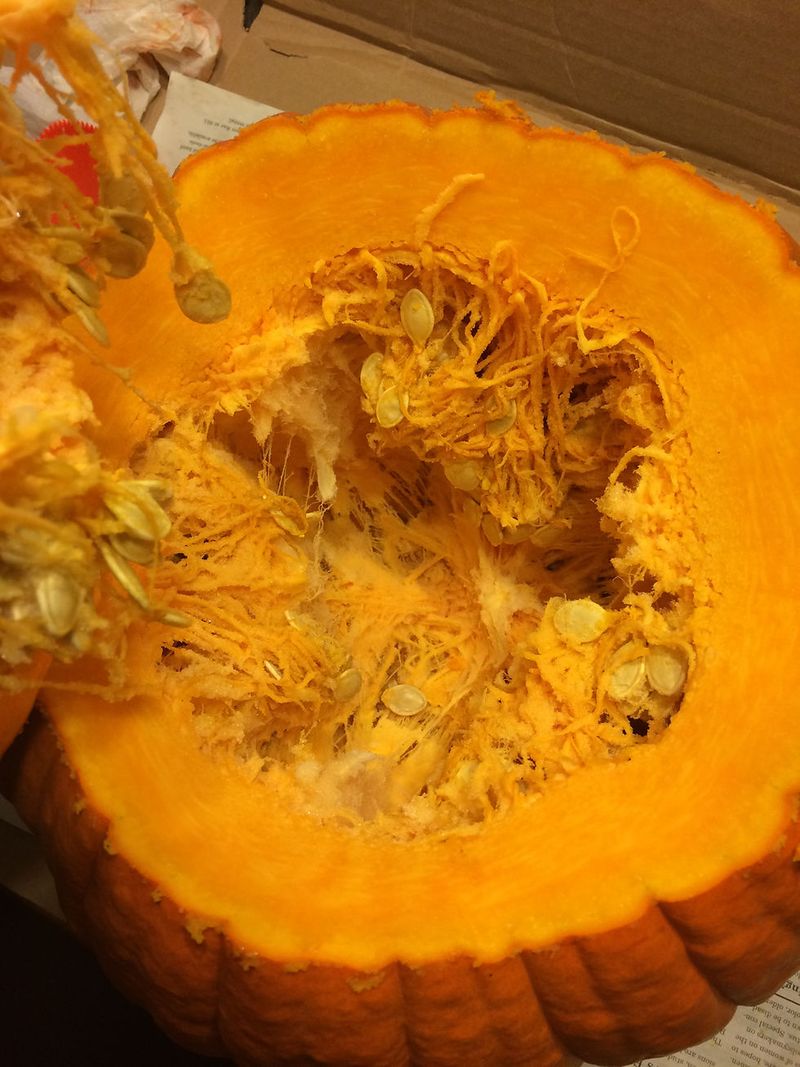
Picture a soggy towel left in a hot car for a week. That gooey mess inside your pumpkin acts the same way once Florida humidity gets hold of it.
Seeds and stringy fibers hold a lot of moisture. Mold and bacteria love that wet, sugary stuff, so it becomes a buffet for anything hungry.
Grab a big metal spoon or an ice cream scoop with a sharp edge. Scrape firmly in long strokes, working from the top down to the bottom.
Aim for walls about one inch thick all the way around. Thinner walls also make carving easier and let more light glow through your design.
Pay extra attention to the bottom, where juice tends to puddle. A few paper towels pressed inside will soak up leftover moisture before you move on.
Save the seeds if you like a crunchy snack. Rinse them, toss them with a little oil and salt, and roast them at 300 degrees until golden.
Kids can help with this part, and most of them love the slimy feeling. Just give them a sturdy spoon instead of anything sharp.
Once the inside looks smooth and clean, run your hand along the walls. If you feel loose strings, keep scraping, because every leftover bit invites trouble later.
2. Wash It In A Bleach Solution Before You Carve
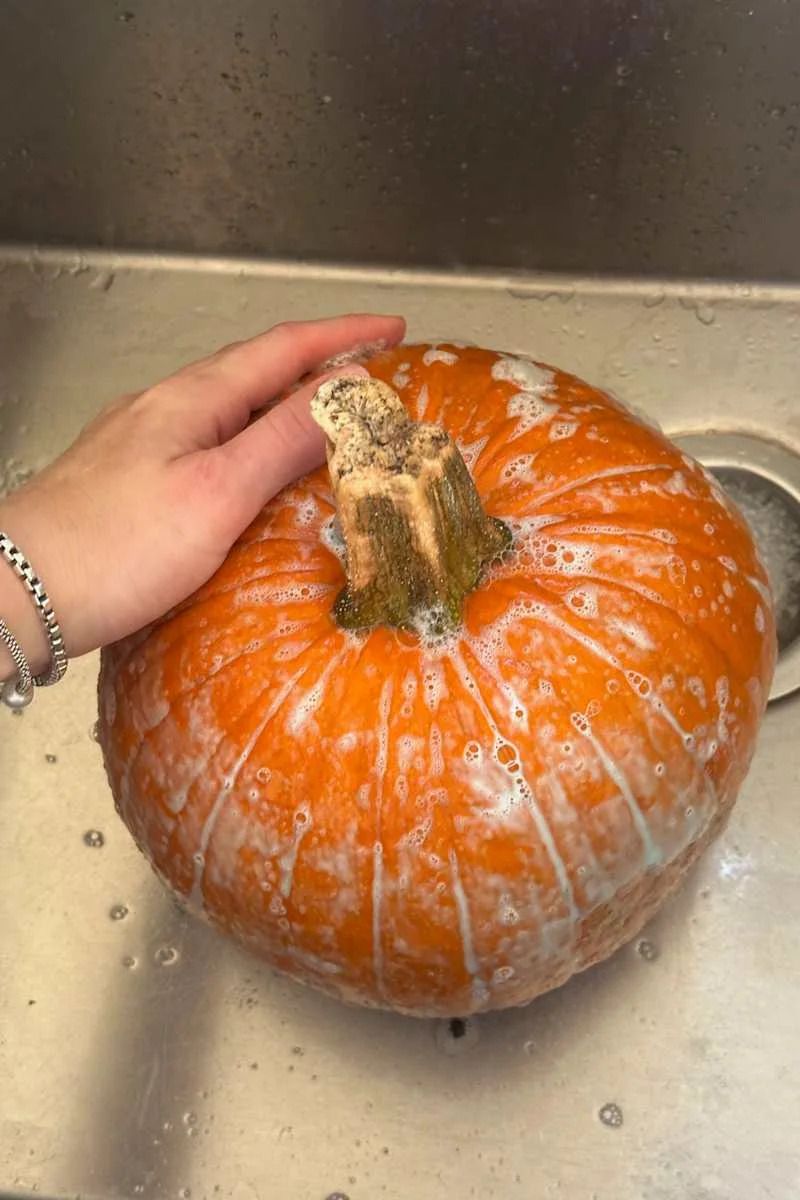
Every pumpkin arrives with tiny hitchhikers you cannot see. Mold spores and bacteria ride along on the skin from the farm, the truck, and the store shelf.
A good cleaning can help remove dirt and some of the mold and bacteria on the surface. Wash the pumpkin with mild soap and water, then rinse and dry it thoroughly.
If you choose to use bleach, follow a reputable pumpkin-preservation guide for the correct dilution and contact time, and keep the solution away from children and pets.
Put on rubber gloves before you start. Bleach can irritate skin and ruin your favorite shirt, so wear old clothes too.
Use a spray bottle or a soft cloth to wet the whole outside. Let the solution sit for 10 to 15 minutes, then rinse with plain water.
Your Florida Garden Changes Every Week. Your Plan Should Too.
Gardening in Florida changes quickly throughout the season. Every Friday you’ll receive a simple weekly plan showing exactly what to plant, prune, fertilize, harvest, and protect so you never miss the right timing.
Dry the pumpkin well with a clean towel before carving. A slippery pumpkin and a sharp knife are a risky combo.
After carving, remove the pulp thoroughly and dry the inside. If you use a disinfecting treatment, follow its directions carefully rather than leaving the pumpkin soaking overnight.
Florida’s sticky air makes this step extra helpful. Mold grows fast when the weather feels like a sauna, so cleaning first gives you a real head start.
Keep pets and little ones away from the bucket. Pour the leftover mix down the drain when you finish, and wash your tools afterward.
Think of it like washing your hands before dinner. A clean start makes everything that follows work better.
3. Coat The Cut Edges With Petroleum Jelly
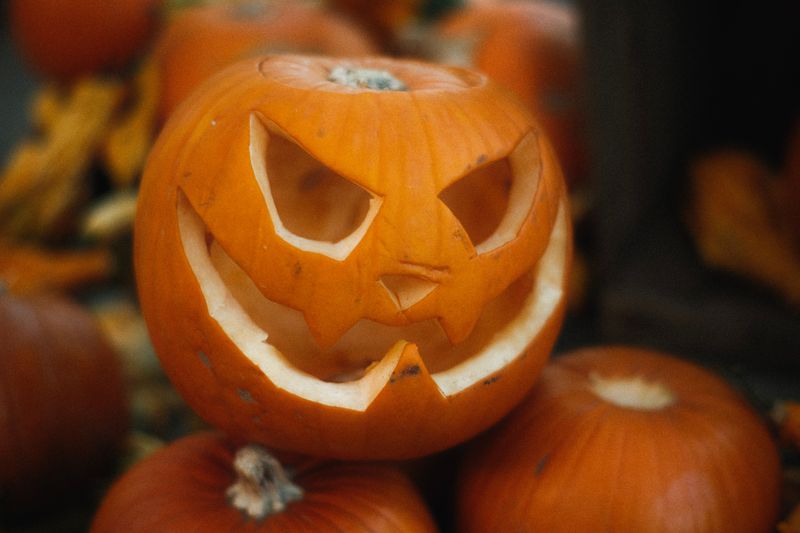
Ever notice how your lips crack less with a little lip balm? Your pumpkin’s freshly cut edges need the same kind of care.
Once you slice into the shell, the exposed flesh starts losing water. In a few days, the eyes droop and the smile shrivels into a sad frown.
Petroleum jelly forms a thin, waxy shield over those cuts. It can help slow moisture loss from the cut edges, although it won’t stop rot or mold completely.
Start with a dry pumpkin, since the jelly slides right off wet surfaces. Pat every cut with a paper towel first.
Use your fingers or a small paintbrush to spread a generous layer. Cover the eyes, nose, mouth, and the rim where you cut off the lid.
Get into the tiny corners of detailed designs too. Those thin spots dry out first and can collapse if you skip them.
Check the edges every couple of days. If they look dull or dry, wipe on a fresh coat to keep them plump.
A cheap jar from the drugstore covers several pumpkins. You will probably have plenty left for chapped hands later in the season.
Some folks swap in vegetable oil, but jelly usually lasts longer. Either way, the goal is the same, a sealed edge that stays crisp.
4. Never Use A Real Flame With Oily Coatings
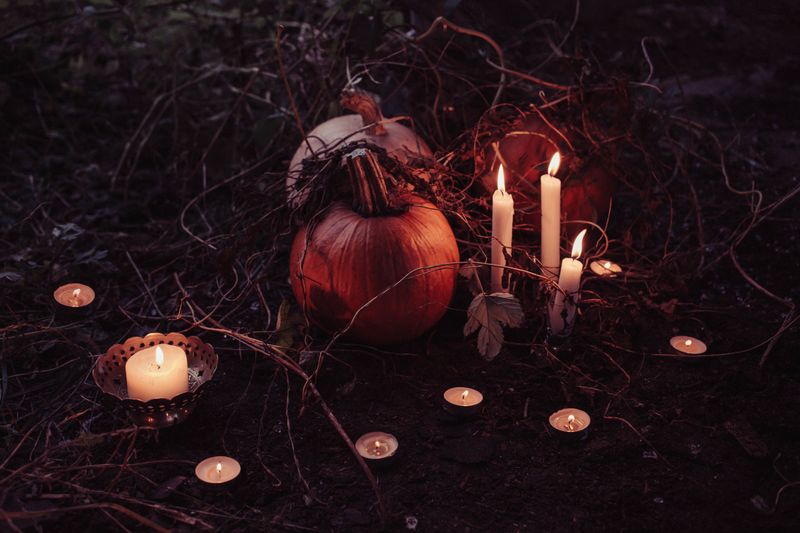
Here is a safety rule that matters more than any design tip. Petroleum jelly and cooking oils can catch fire.
Put a lit candle inside a greased pumpkin, and you have built a tiny torch. The flame can ignite the coating around the carved openings in seconds.
That risk grows on a crowded porch full of costumes. Capes, tutus, and fake fur go up fast, and trick-or-treaters rarely watch where they swish.
Fire also hurts the pumpkin itself. Heat from a flame slowly cooks the inside walls, turning them soft and mushy.
In Florida, the pumpkin already fights warm air all day. Adding a mini oven inside speeds up the slump even more.
Smoke and soot leave black stains on the lid as well. Those dark patches can trap moisture and give mold a cozy place to grow.
If you love the look of a flicker, pick a different coating. If you have coated the cut edges with petroleum jelly or oil, avoid using a real candle.
Choose an LED light instead, and never assume a pumpkin is safe for an open flame just because you have cleaned it.
Better yet, keep the oil and ditch the matches. The next section shares an easy swap that glows just as nicely.
Talk with your kids about this rule too. A quick chat now can prevent a scary moment later.
Safety first makes Halloween more fun for everyone. Your neighbors will thank you, even if they have no idea why.
5. Light It With LEDs Instead Of Candles
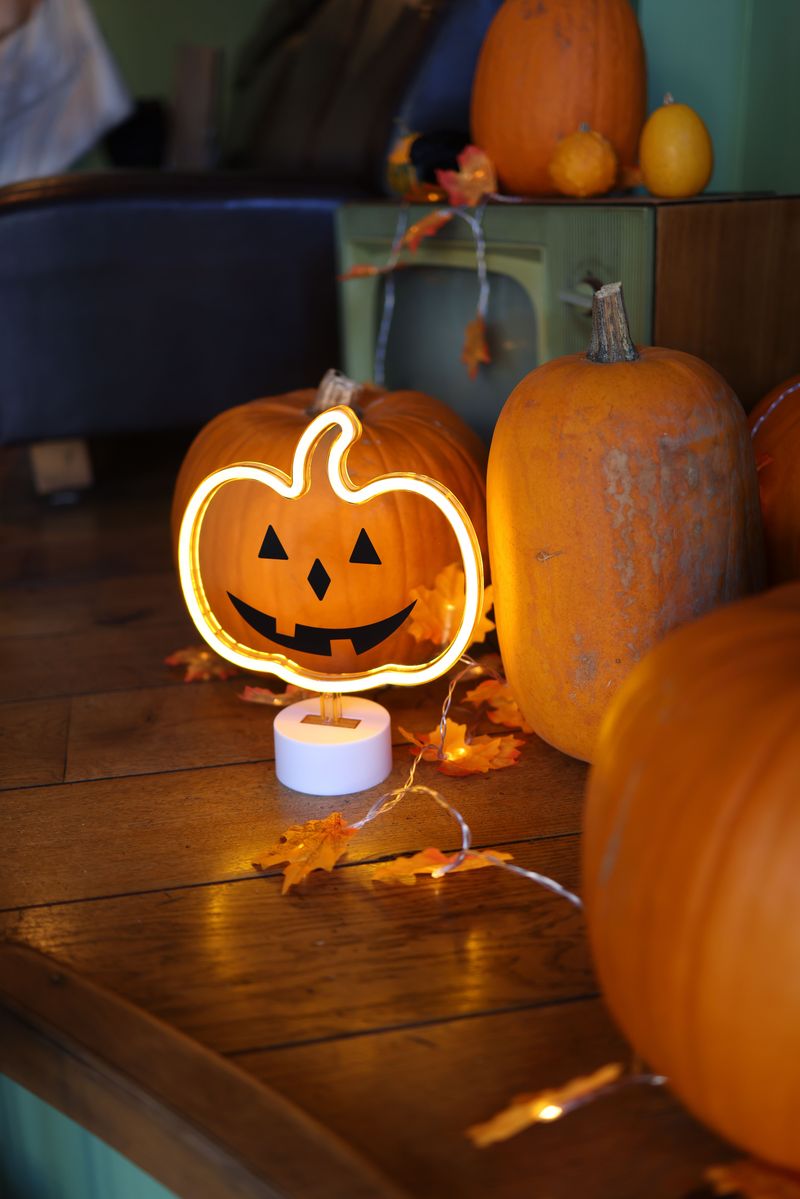
Walk down any Florida street on Halloween night, and you will spot glowing faces everywhere. Many of those cheerful grins run on batteries, not wax.
Battery-powered LED lights stay cool to the touch. They give off almost no heat, so the pumpkin’s insides stay firm much longer.
Real candles warm the air trapped inside the shell. That heat, plus soot, can shave days off your display.
You have lots of fun choices. Flameless tea lights, strings of fairy lights, and even a small flashlight all work well.
Color-changing LEDs add a spooky twist. Try purple or green for a witchy glow that wax candles cannot match.
Many flameless candles come with timers. Set them to turn on at dusk and switch off at bedtime, which saves batteries.
Place the light on a small lid or plastic cup inside. That keeps it off any damp spots at the bottom.
Fun fact: the first jack-o-lanterns in Ireland were carved from turnips and lit with glowing coals. Folks hoped the faces would scare off wandering spirits.
Today we have it much easier. A pack of LED tea lights costs only a few dollars and can be reused year after year.
Pop them back in a drawer after the holiday. Next October, your pumpkins will be glowing again in seconds.
6. Keep It Out Of Direct Sun
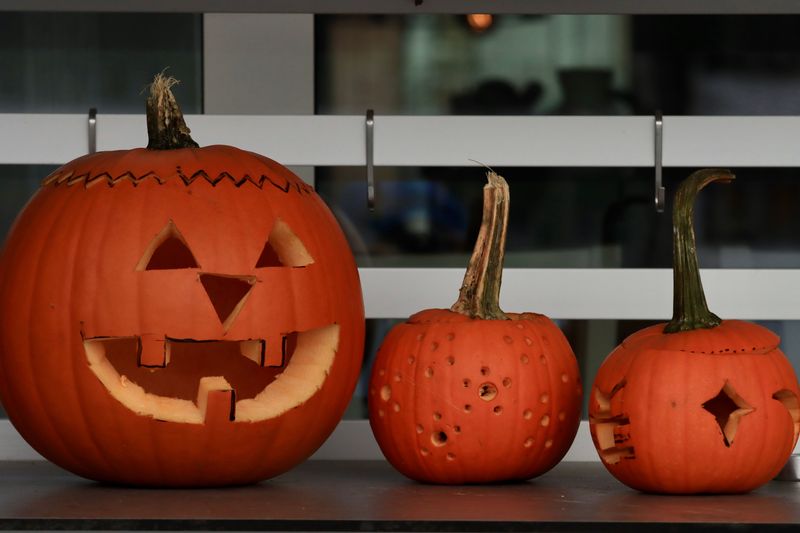
Florida sunshine is great for beach days and terrible for jack-o-lanterns. Even in late October, afternoon temperatures can climb into the 80s.
Direct sun bakes the pumpkin like a potato in foil. The skin softens, the flesh dries, and the whole thing can slump within a day or two.
Carved pumpkins do best between about 50 and 60 degrees. That is tough to find outdoors here, so shade becomes your best friend.
Look for a covered porch, a spot under an awning, or the shady side of the house. Morning light is gentler than the fierce afternoon glare.
Watch for rain as well. Afternoon storms can fill your pumpkin with water, and a soggy bottom rots fast.
Set the pumpkin on a piece of cardboard or a small tray. That lifts it off hot concrete and lets air move underneath.
Try moving it around during the day if your porch gets sun at different times. A wagon or a rolling plant stand makes this easy.
Pay attention to reflected heat too. White walls and light-colored driveways bounce sunlight right back at your display.
A little shade goes a long way. Your pumpkin will keep its shape and color far longer than one left sitting in the glare.
7. Bring It Into The Air Conditioning Overnight
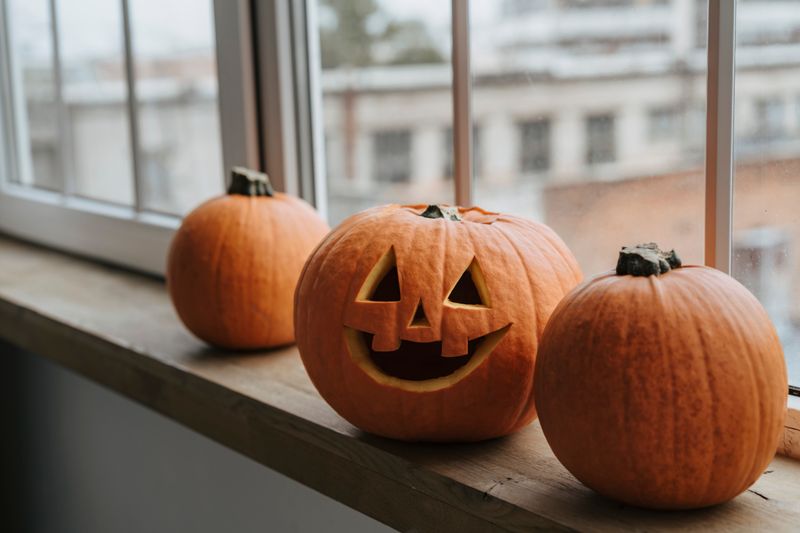
Think of it as a sleepover for your pumpkin. While you snooze in the cool air, your carved buddy can rest up too.
Florida nights often stay above 70 degrees in October. That warm, damp air keeps mold busy around the clock.
Bringing the pumpkin inside gives it a break. Air conditioning lowers the temperature and pulls extra moisture out of the air.
Set it on a baking sheet or an old towel. That catches drips and protects your floors or counters.
Got room in the fridge? A spot on the bottom shelf works wonders.
Wrap the pumpkin loosely in a plastic bag first. The bag keeps it from drying out while the cold slows everything down.
Take it out in the late afternoon and let it warm up a bit. Wipe away any water drops that form on the skin.
Bringing your pumpkin into a cool place when it isn’t on display may help slow deterioration. Results vary, especially in Florida’s warm weather, so check it daily for soft spots or mold.
Make it part of your bedtime checklist with the kids. Brush teeth, grab pajamas, and bring in the pumpkin.
Small habits like this add up. By Halloween night, your pumpkin should still be grinning wide.
Neighbors who skip this step may notice droopy faces on their porches by then. Yours will be the one that still looks freshly carved.
8. Wait Until A Few Days Before Halloween To Carve
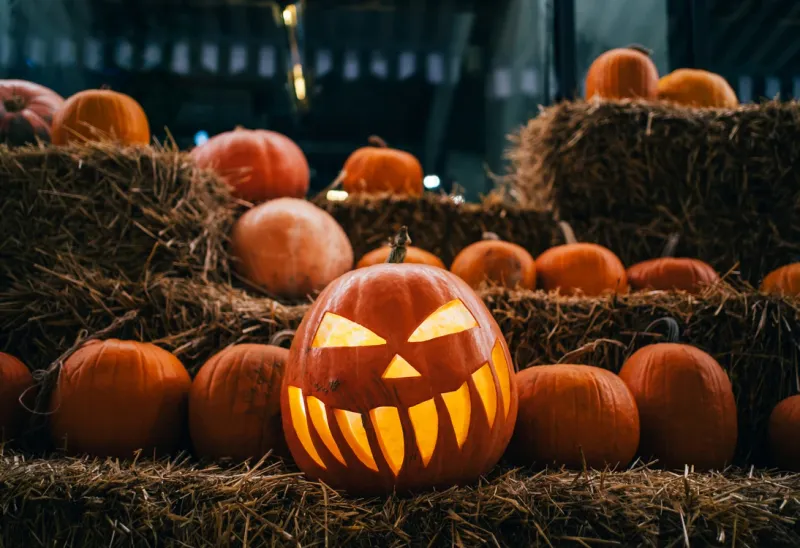
Patience might be the hardest trick on this list. Once those pumpkins hit the grocery store in September, the urge to carve feels impossible to ignore.
The trouble is that decay starts the moment your knife breaks the skin. That tough outer shell is the pumpkin’s natural armor.
Carved pumpkins can begin to soften or develop mold within a few days, especially in warm, humid weather. Some last close to a week, but the timing depends on the pumpkin’s condition and how it is stored.
So the smartest plan is to carve as late as you can. The day before Halloween or Halloween afternoon is ideal.
Want something to do in the meantime? Sketch your design on paper, or draw it lightly on the pumpkin with a washable marker.
Pick a pumpkin with a firm green stem and no soft spots. Store it whole in a cool place inside until carving day.
Gather your tools early too. Scoops, small saws, and stencils are easy to forget when you are rushing on the big day.
Hosting a party? A carving get-together on October 30 turns the wait into part of the fun.
Some families even make it a tradition. Pizza, music, and pumpkin guts on newspaper can become a favorite yearly memory.
Your reward for waiting is a crisp, bright jack-o-lantern on the night that counts. That beats a mushy one by a mile.
9. Skip Carving And Paint Your Pumpkin Instead
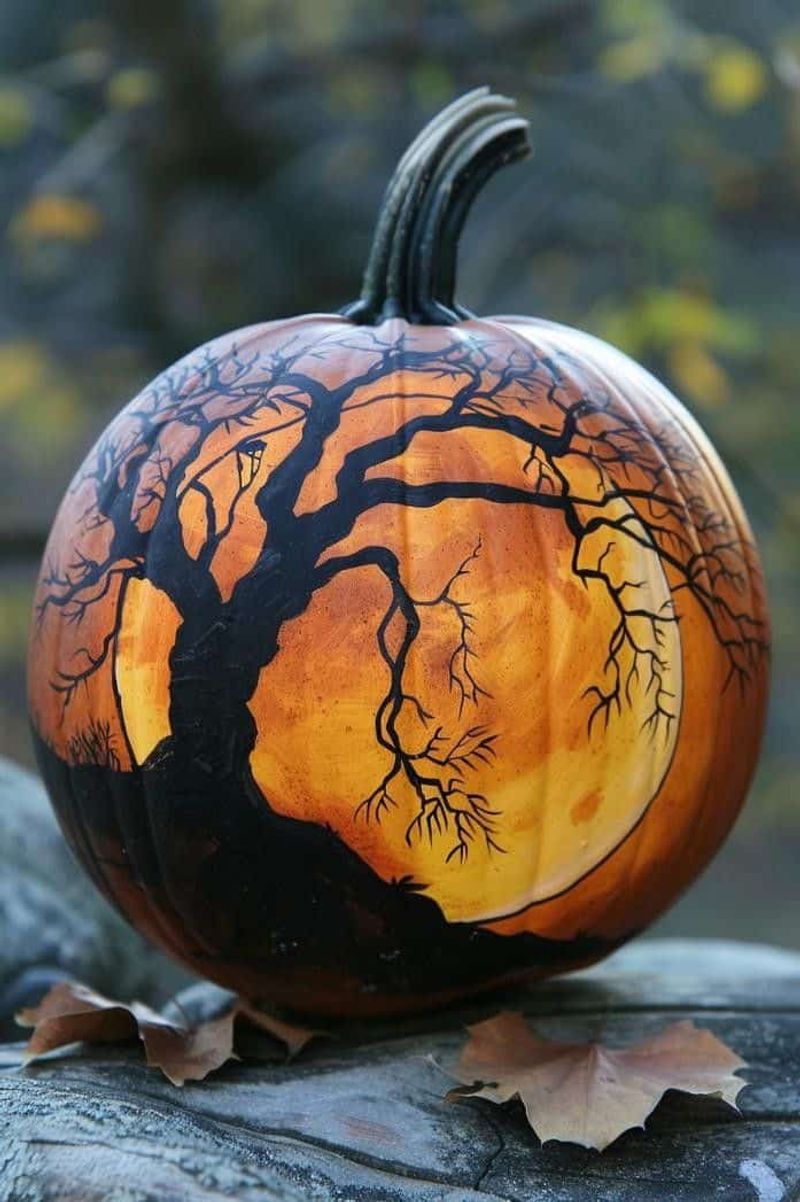
Who says a pumpkin needs a face cut into it? Some of the most eye-catching porch displays have no holes at all.
An uncarved pumpkin keeps its protective skin intact, so it generally lasts longer than a carved one. With a firm, undamaged rind and cool, dry storage, some pumpkins can last for several weeks or even months, though Florida’s heat and humidity can shorten that time.
Acrylic craft paint works well and dries fast. Wipe the pumpkin clean and let it dry before you grab a brush.
Try a spooky face, polka dots, or bold stripes. Metallic gold or matte black can look classy next to your front door.
Little kids can join in safely since no knives are involved. Washable paint and an old shirt keep cleanup simple.
You can also skip paint and get creative with stickers, ribbons, or glitter glue. Anything that leaves the skin unbroken helps the pumpkin last.
Bonus perk: once the season wraps up, a painted pumpkin can switch to fall decor. Repaint it in warm autumn colors for Thanksgiving.
Shade and good airflow still matter, even without cuts. Check the bottom now and then for soft spots.
Painting lets you decorate early without worry. You get the festive look all month long.