How To Build A Cold Frame Before Ohio’s Hard Freeze Arrives
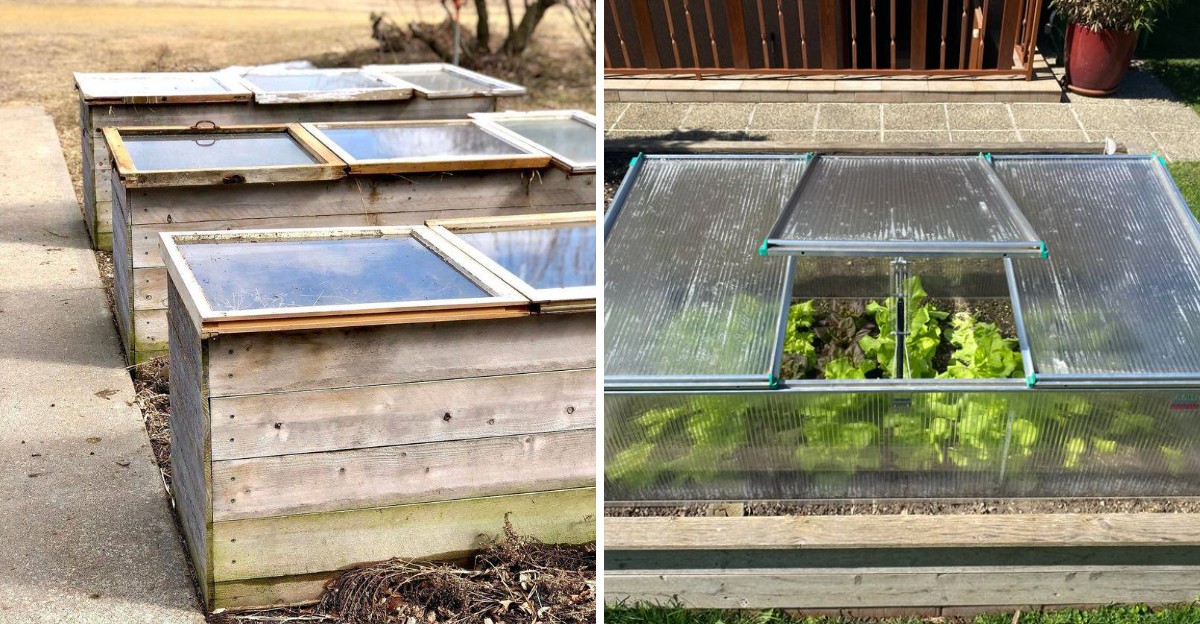
Salad greens in January, picked while snow sits on the lid of a box you built over a weekend. Sounds like a tall tale, but plenty of Ohio gardeners do it every year.
A cold frame is the cheapest greenhouse you’ll ever own. Old windows, a few boards, and an afternoon are often all it takes.
The payoff stretches your harvest months past the season everyone else calls over.
The catch is timing. Once the ground locks up, the project turns from fun to frustrating, and the best spot in your yard may not be the one you’d pick.
Where it sits, which way it faces, and what goes inside all change the outcome.
Plenty of first-timers build one and cook their plants on the first sunny day in February.
Pull together your materials this week. The hard freeze won’t wait for you to finish.
1. Pick A Sunny, South-Facing Spot
Think of your cold frame as a tiny solar oven for plants. It can only cook up warmth if the sun actually reaches it.
Walk around your yard on a fall afternoon and watch where the light lands. The spot that stays bright the longest is your winner.
In Ohio, the autumn sun rides low across the southern sky, so a south-facing location catches the most rays.
Here is why that matters so much. During the day, the soil, the wood, and even the air inside the box soak up heat.
After sunset, that stored warmth slowly drifts back out and keeps your plants cozy through the chilly night.
A gentle slope that tilts toward the south or southeast is a bonus. Water drains away better, and the angle helps the glass grab even more light.
Soggy ground can chill roots, so good drainage is a big deal.
Watch out for sneaky shade makers. A tree that seems harmless in summer can cast long shadows once the sun sinks lower in October and November.
Sheds, fences, and even tall compost bins can block light too.
Try a quick trick before you build. Set a lawn chair in your chosen spot and check on it at 10 a.m., noon, and 3 p.m.
If it stays sunny all three times, start digging.
2. Shelter It From Cold North Winds
Ever stood at a bus stop when the wind suddenly picked up? The air temperature stayed the same, yet you felt way colder.
Plants feel that same bite. Wind steals heat from your cold frame faster than you might guess, pulling warmth through cracks and chilling the glass.
In Ohio, the harshest gusts usually roar in from the north and northwest, with some nasty ones from the east too.
The easiest fix is to borrow a wall. Tucking your frame against the south side of your house, garage, or shed gives it a sturdy shield.
As a bonus, a building often leaks a little extra warmth that your plants will happily enjoy.
No wall handy? A solid fence works nicely.
Your Ohio Garden Changes Every Week. Your Plan Should Too.
Gardening in Ohio changes quickly throughout the season. Every Friday you’ll receive a simple weekly plan showing exactly what to plant, prune, fertilize, harvest, and protect so you never miss the right timing.
You can also line up a few straw bales along the north side to block the blast.
Just be careful with your windbreak. Anything tall placed on the wrong side can throw shade across the glass, and that cancels out your hard work.
Keep blockers to the north, and keep the south side wide open to the sky.
Here is a fun way to test your spot. Tie a ribbon to a stake near the frame on a breezy day.
If it flaps wildly, add more protection before the real cold shows up.
3. Use Untreated Lumber If You’re Growing Food
Picture a big bowl of fresh spinach on a snowy January night. Now imagine it came with a side of chemicals you never ordered.
That is the problem with pressure-treated lumber. The wood gets soaked in preservatives, often copper compounds, so it can stand up to rot and bugs for years.
That works great for a deck, but those chemicals were made for outdoor building projects, not for growing things you plan to eat.
Over time, bits of that treatment can seep into the soil. Your carrots and kale may then pull it up through their roots.
No salad is worth that worry.
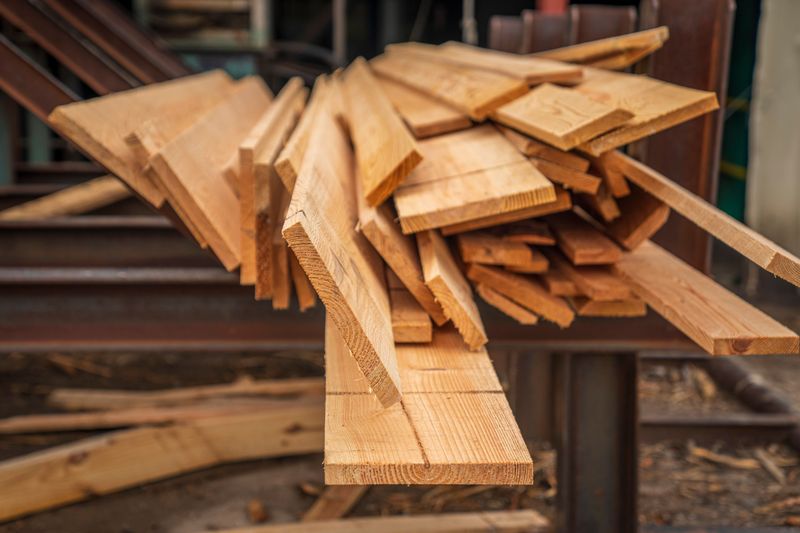
Instead, look for plain, untreated boards. Cedar and redwood are popular picks because they resist rot naturally and smell wonderful when you cut them.
They cost a bit more, but a well-built cedar frame can last many seasons.
On a tight budget? Regular untreated pine works fine too.
It may wear out sooner, so think of it as a starter frame you can replace later.
When you shop, check the tags carefully. Treated wood often has a greenish tint and a stamp on it.
If you are unsure, ask a store worker to point you toward the untreated stack. Your future dinners will thank you.
4. Size The Frame To Fit Your Window
Here is a lesson many gardeners learn the hard way. They build a perfect box, then discover their window is two inches too short.
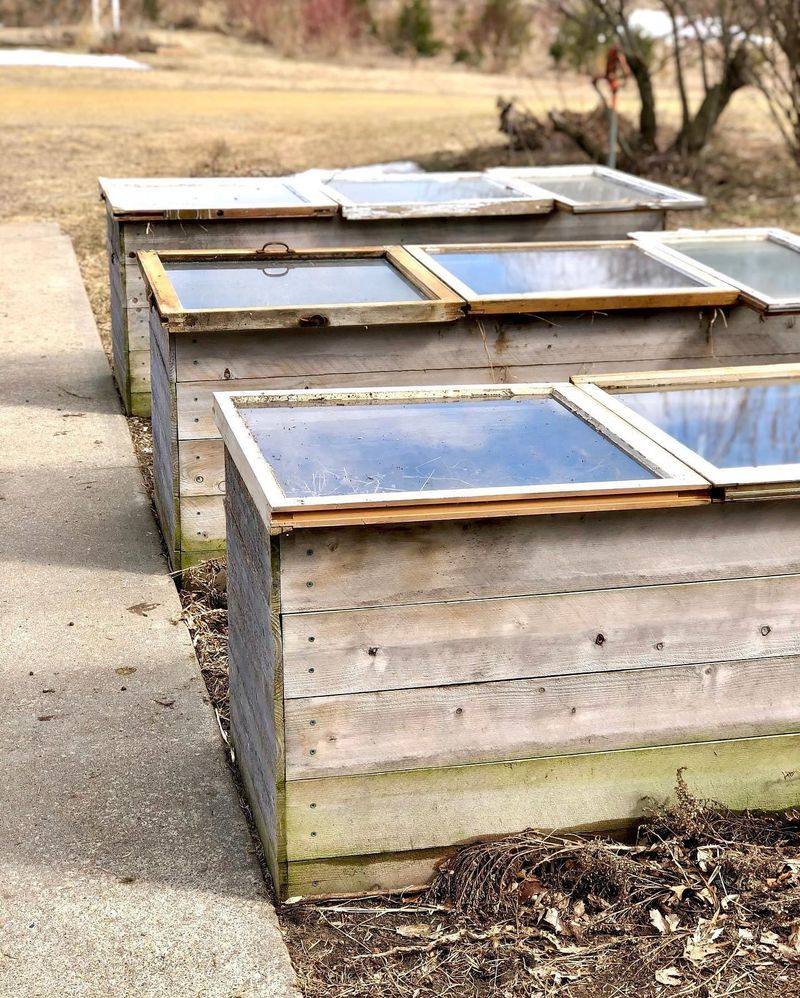
Save yourself the headache and find the lid first. An old window sash is the classic choice, and you can often score one at yard sales, salvage shops, or from a neighbor doing a remodel.
Once it is in your hands, measure it carefully and build the frame to match.
Width matters more than you might think. About 3 feet across is a sweet spot, because you can reach the back without climbing inside.
Weeding, watering, and picking get much easier when nothing is out of reach.
For most backyards, a frame around 3 by 6 feet or 4 by 2 feet works well. Small frames heat up faster, while bigger ones hold more plants.
Choose what fits your space and your appetite for greens.
Height deserves some thought too. Your box only needs to be a couple of inches taller than your plants will grow.
Extra empty air just means more space to heat on cold nights.
Fun fact for history fans: gardeners in 1800s Europe used glass-topped frames to grow lettuce all winter. Your salvaged window carries on a very old tradition.
5. Angle The Lid So Rain And Snow Slide Off
A flat roof in Ohio is basically an invitation for trouble. Snow piles up, rain puddles, and soon your poor plants are sitting in the dark.
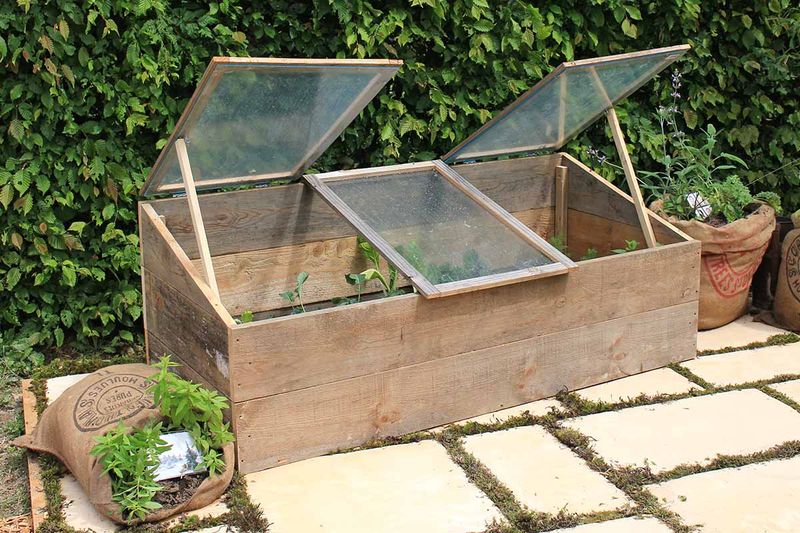
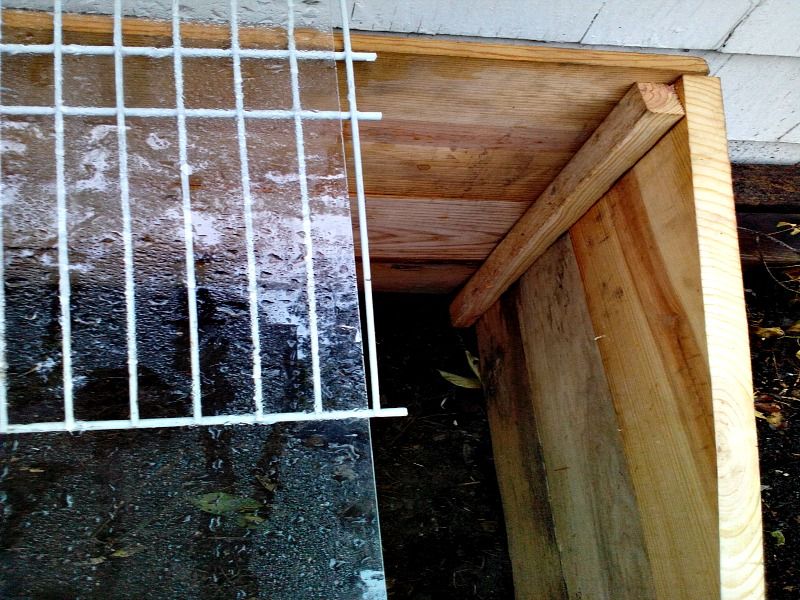
That is why smart cold frames have a slanted lid. Build the back wall taller than the front so the window tilts toward the south.
Rain trickles right off, and melting snow slides away instead of camping on the glass.
The slope has a second job, and it might be even more important. In fall and winter, the sun hangs low in the sky.
A tilted lid faces those slanting rays more directly, which means more light and more heat for your plants.
Most experts suggest an angle between 15 and 30 degrees. You do not need fancy math to get there.
A back wall that is roughly 6 to 12 inches taller than the front usually lands you in the right range.
Cut the side boards on a diagonal to connect the two heights. A simple handsaw and a straight line drawn with a pencil will do the trick.
The angle also helps with wind. Gusts tend to glide over a sloped top instead of slamming into it.
Fewer rattles, less heat loss, and a lid that stays put during those wild November storms.
6. Test Old Windows For Lead Paint
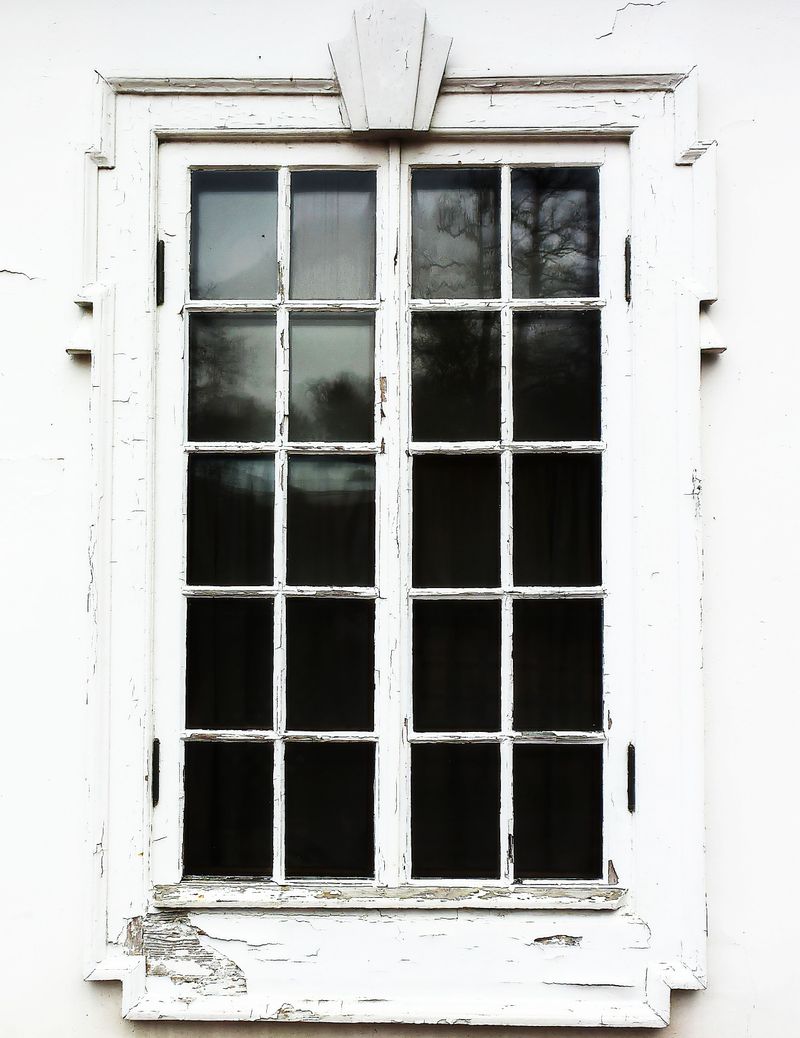
That charming old window from Grandma’s farmhouse might hide a secret. If it was made before 1978, it could be coated in lead paint.
Lead paint was banned for homes in 1978 because it can cause serious health problems. Kids and pregnant people face the biggest risks.
Danger grows when paint peels, chips, or turns to dust from sanding and scraping.
Since cold frames often hold food, testing is a smart move. Hardware stores sell simple DIY kits, and the EPA recognizes brands like 3M LeadCheck and D-Lead.
They are inexpensive and give results within minutes.
Gear up before you begin. Wear gloves, a mask, eye protection, long sleeves, and pants.
Then make a small cut about a quarter inch deep so the test reaches every layer of paint, not just the top coat.
Follow the kit directions closely. Most swabs change color if lead is present, often turning red or pink.
So what if the test comes back positive? Your safest bet is to skip that window and find another one.
Another option is to seal the lead under a fresh coat of safe paint, though skipping it is wiser for veggie beds.
A few minutes of testing gives you peace of mind for many winters of harvests.
7. Stack Straw Bales Around The Sides For Insulation
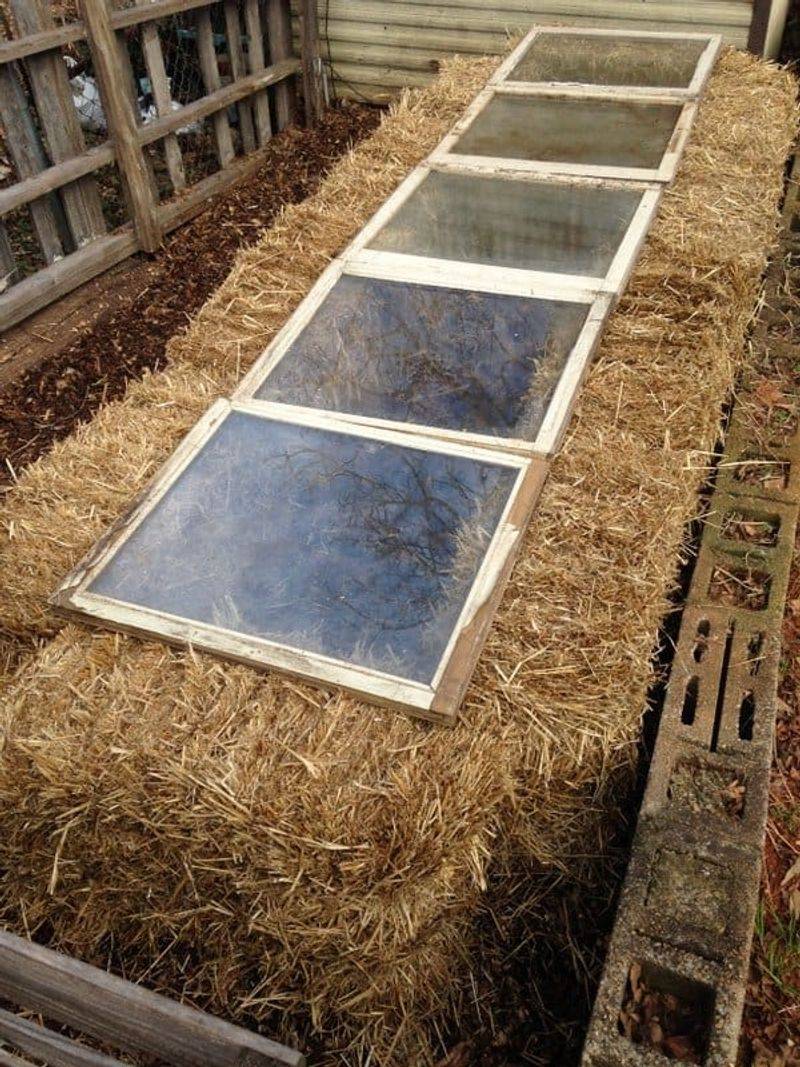
Frost in the forecast and no time to build? Straw bales might be your new best friend.
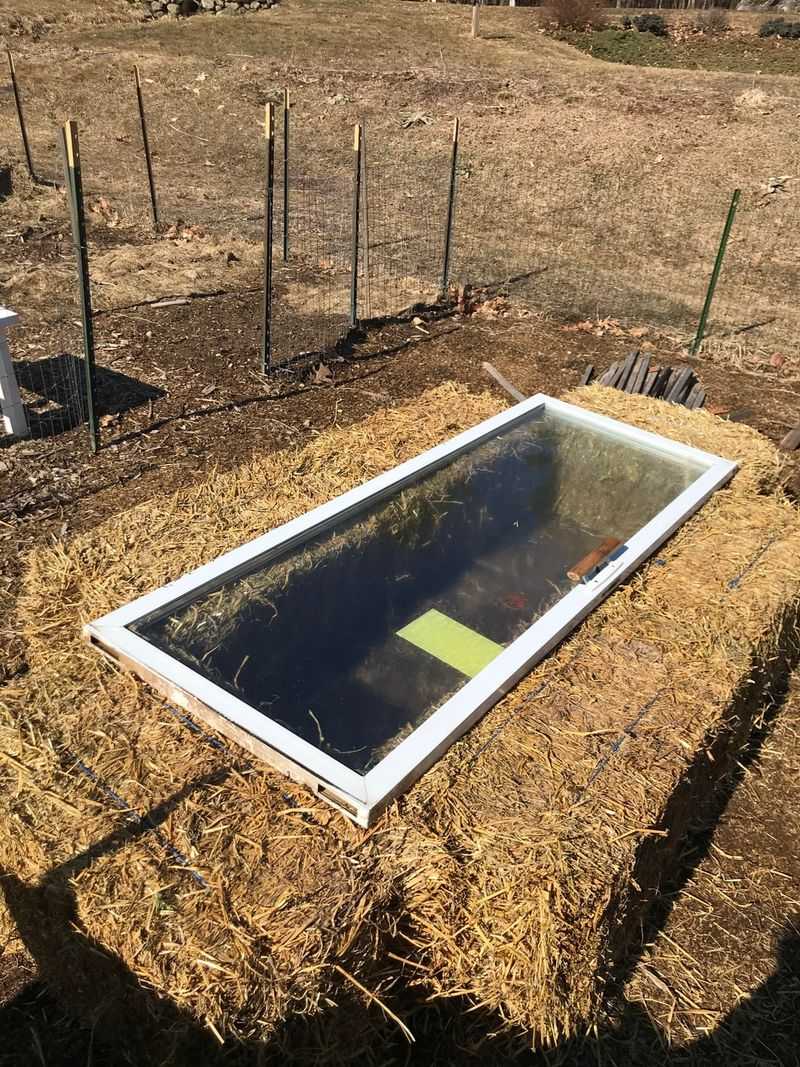
You can make an entire cold frame from them in about an hour. Arrange four or more bales in a rectangle around your plants, then lay a window or clear plastic sheet across the top.
That is it, and you have instant shelter.
Those thick, fluffy walls are packed with tiny air pockets. Trapped air is a fantastic insulator, so the bales hold warmth in and keep icy air out.
Many gardeners call this the quickest and cheapest cold frame around.
Already built a wooden frame? Stack bales snugly against its outside walls for an extra layer of coziness.
Placing them on the north side doubles as a windbreak, too.
One word of caution when you shop. Ask for straw, not hay.
They look alike, but hay is animal feed packed with seedheads, while straw is just the dry stalks left after harvest. Use hay, and you may grow a surprise crop of weeds next spring.
In Ohio, fall festivals and farm stores sell bales cheaply in October. When the season wraps up, break them apart and use the straw as mulch.
Nothing goes to waste.
8. Throw An Old Blanket Over The Top On Frigid Nights

Remember being tucked in on a freezing night as a kid? Your cold frame enjoys that same snuggly feeling.
When the thermometer dives toward a hard freeze, which means 28 degrees or lower, grab an old blanket. Toss it right over the glass.
Pieces of old carpet or burlap sacks work too.
That extra layer traps the warmth the soil collected during the day. Together with the frame, it can keep things 10 to 20 degrees warmer than the air outside.
For tender greens, that difference matters a lot.
Let the cover drape all the way to the ground. Then weigh down the edges with bricks or rocks so it does not flap around and let heat escape.
Keep the fabric dry if you can. A soggy blanket cools things down as the water evaporates, which works against you.
A tarp tossed over the top on wet nights can help.
Morning matters just as much. Pull the blanket off once the sun is up so light can reach your plants.
Leave it on, and they will sit in the dark or even overheat later.
Here in Ohio, keep a spare quilt in the garage from mid-October on. Hard freezes love to sneak in fast.
9. Keep A Thermometer Inside And Vent On Sunny Days
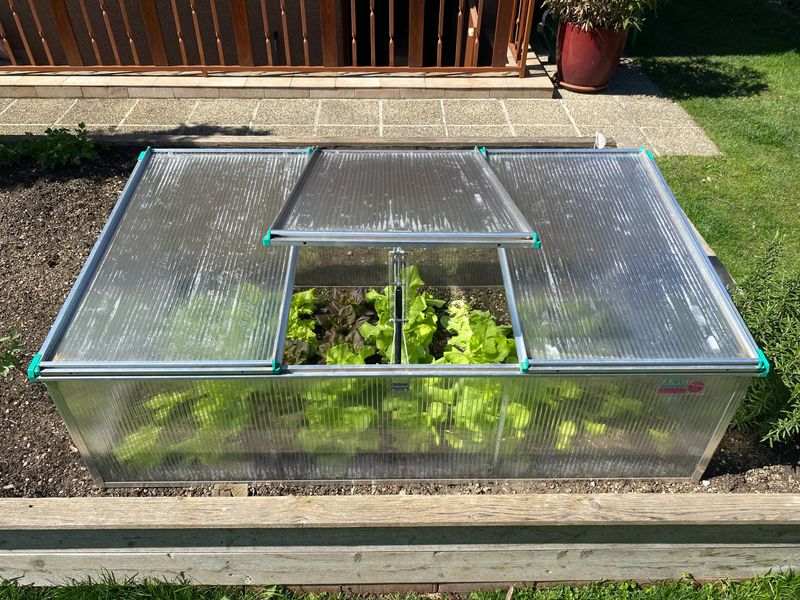
Believe it or not, the biggest threat in winter can be too much heat. On a bright day, a closed cold frame can climb 30 degrees or more above the outside air.
That can actually cook your plants. Lettuce, spinach, and other cool-season crops prefer life around 60 to 65 degrees.
Anything far hotter leaves them limp and stressed.
A thermometer is your secret spy. Grab a minimum and maximum model, which records the coldest night and the hottest afternoon.
Hang it at plant height, away from hot glass and direct midday sun, for honest readings.
Now for the venting rule. If the forecast calls for sun and temperatures above about 45 to 50 degrees, crack the lid open.
A block of wood or a sturdy stick makes a perfect prop.
Busy schedule? Automatic vent openers are a handy upgrade.
They use a wax-filled tube that expands in heat and lifts the lid on its own, with no batteries needed.
Close the lid again in late afternoon. That traps the day’s warmth before the evening chill rolls in.
Venting also lets out extra moisture. Damp air plus cool nights can lead to mold, so fresh air keeps your little garden healthy and happy all winter.