How To Collect And Store Garden Seeds In Virginia Before Winter Sets In
Your Virginia garden is hiding free money inside its crispiest, ugliest leftovers. Brittle pods rattling on the stalk are begging you to crack them open.
Faded blooms hold slim black needles that outlast the winter ahead. Frost arrives soon, and it ignores your calendar.
Cold snaps across Virginia can harm unripe seed heads and fruit. Grab paper bags, clean jars, and a marker before the temperature drops.
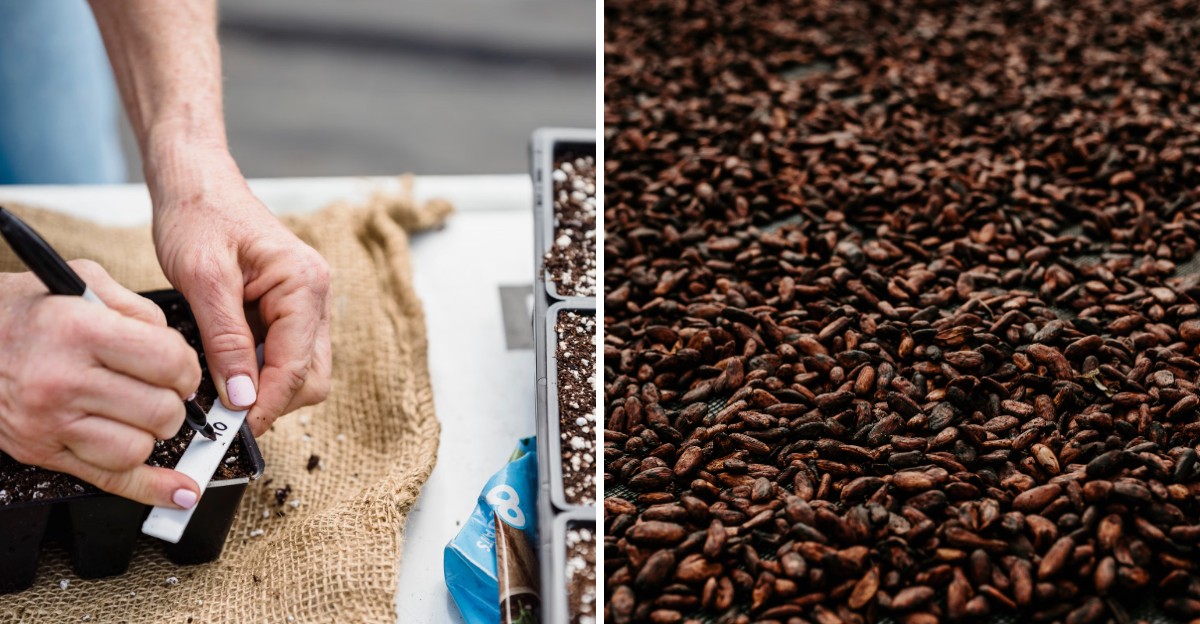
Plastic traps moisture around damp seeds, so skip it. Label each bag with the variety, the date, and the color.
You will trade a few dollars of packets for a shelf of heirlooms. Visitors will ask how your blooms climbed past the fence.
Seeds from your strongest plants pass along their best traits. Drying time decides whether your stash sprouts or spoils. Strange seeds demand a fermenting trick that turns slime into sprouts.
1. Choose Open-Pollinated Plants For Saving
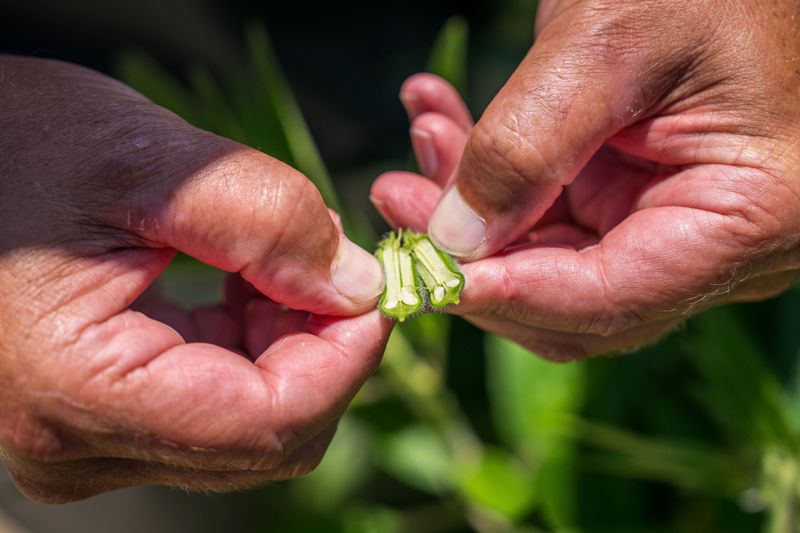
My grandmother in Roanoke grew the same pole beans for forty years from her own saved stash. Her secret was simple, because she picked plants that grow true to their parents with controlled pollination.
Gardeners call these open-pollinated varieties, and heirlooms are the best-known group, forming the backbone of seed saving. Their babies look and taste like the plant you loved this summer in your Virginia backyard.
Hybrid plants, often labeled F1 on the packet, work differently and can surprise you in odd ways. Seeds from a hybrid tomato might grow into a plant with tiny, sour, or oddly shaped fruit.
Check your old seed packets or plant tags before you start collecting anything this October. Words like heirloom, open-pollinated, or OP on the label mean you are in good shape for saving.
Beginners in Virginia have great luck with beans, peas, lettuce, and tomatoes. Beans, peas, and lettuce pollinate themselves, so they rarely mix.
Zinnias and marigolds cross readily, and peppers can too, so isolate varieties if you try them.
Squash, pumpkins, and cucumbers are trickier because bees carry pollen between varieties of one species. Squash only cross within the same species, so grow one variety of each kind if you want seeds that stay true.
Southern favorites like Cherokee Purple tomatoes carry real regional history worth passing along. Saving them keeps a little piece of Southern food history growing in your garden for decades.
Start with two or three easy crops this year and build your collection slowly over time. Small wins feel great and teach you more than a giant pile of confusing packets.
2. Watch For Ripe And Dry Seed Heads
Patience is a key tool in any seed saver’s shed, and it costs very little. Plants need time to finish the job before you swoop in with your scissors.
Bean and pea pods should turn brown, papery, and crispy before you pick them. Give one a shake, and you should hear the seeds rattle around inside like tiny dice.
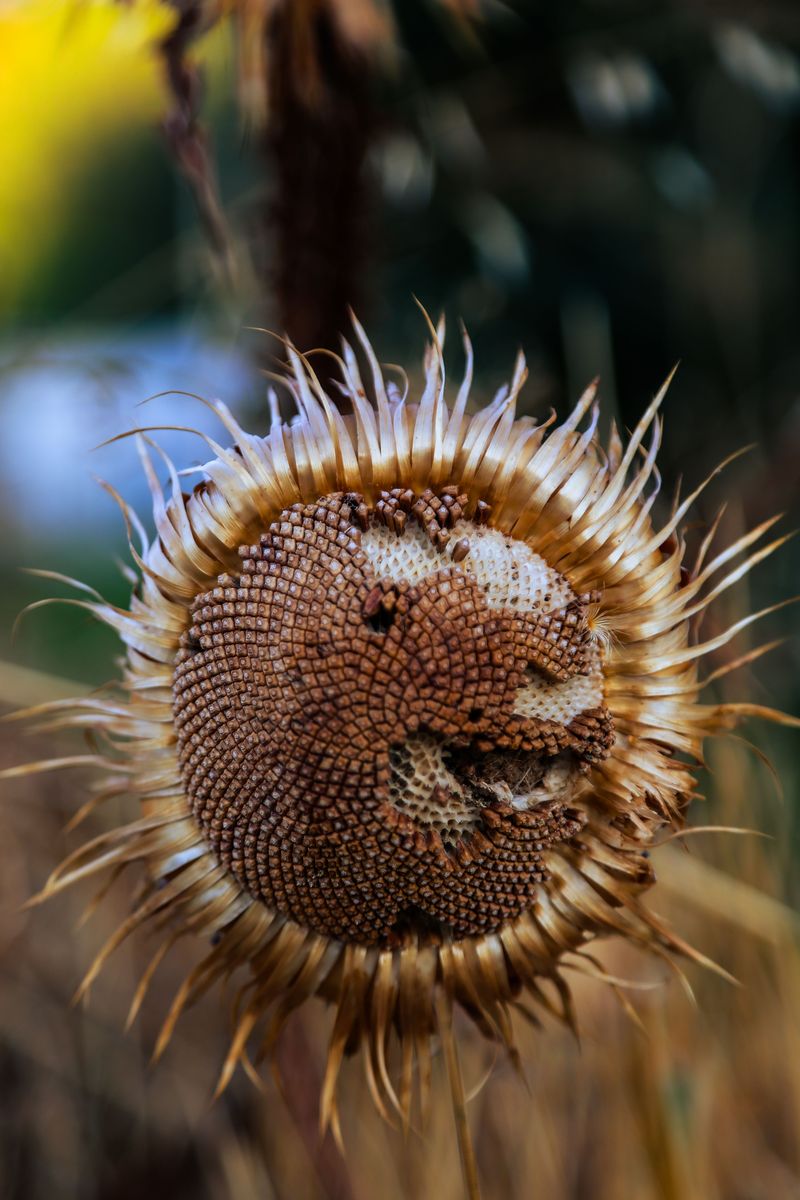
Flowers like zinnias, cosmos, and sunflowers tell you they are ready when the petals fade and drop. The heads turn brown and dry, and the seeds pull away easily with your fingers.
Your Virginia Garden Changes Every Week. Your Plan Should Too.
Gardening in Virginia changes quickly throughout the season. Every Friday you’ll receive a simple weekly plan showing exactly what to plant, prune, fertilize, harvest, and protect so you never miss the right timing.
Tomatoes, peppers, and melons work the opposite way, since their seeds hide inside juicy fruit. Let those fruits get fully ripe, or even a little overripe, before scooping out the goods.
Peppers are ready once they turn their final color, like deep red, orange, or bright yellow. Green peppers usually hold seeds that are too young to sprout next spring.
October weather in Virginia can swing from sunny and warm to frosty overnight with little warning. Watch local forecasts, because a hard freeze can damage fruit and unripe seeds outside.
Birds love dried seed heads too, especially goldfinches that treat sunflowers like a free buffet. Cover a few heads with paper bags or old pantyhose if you want to beat them to it.
Walk your garden every few days with a basket and a curious eye this month. Spotting the moment a pod turns crispy feels a little like finding hidden treasure.
3. Harvest On A Dry Sunny Afternoon
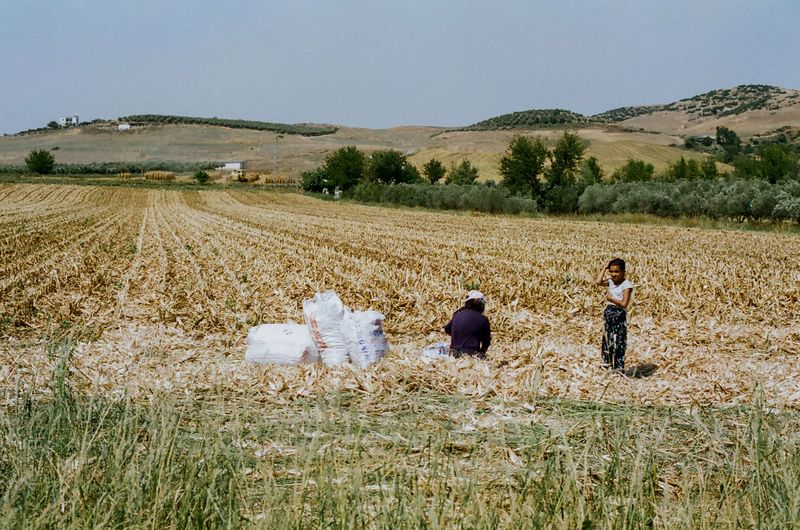
Picture a crisp October afternoon in the Shenandoah Valley, with sunshine warming your shoulders. Timing like that is perfect for collecting seeds, and your harvest will thank you for it.
Moisture is a main threat to stored seeds, since it invites mold and early sprouting. Morning dew and rainy days leave pods damp, even when they look dry from a distance.
Wait until the sun has burned off the dew, usually around noon or early afternoon. Plan your harvest for a stretch of two or three dry days in a row if possible.
Bring along paper bags, small envelopes, clean scissors, and a marker for quick notes. Paper lets moisture escape, while plastic bags can trap dampness and turn seeds moldy fast.
Snip whole seed heads or pods straight into the bag instead of shaking them over the ground. Many seeds jump out the second you touch them, especially from plants like impatiens and violas.
Pick seeds from your healthiest, strongest plants rather than the ones that struggled all summer. Strong parents tend to pass along good traits, like early fruit or better flavor.
Gather from several plants of the same variety instead of just one favorite. Mixing seeds from a group keeps your future crops sturdy and better at handling Virginia summers.
Write the plant name on each bag right away, before you forget what you picked. Brown pods look very similar after a long, busy afternoon outside.
4. Ferment Juicy Tomato Seeds Before Drying
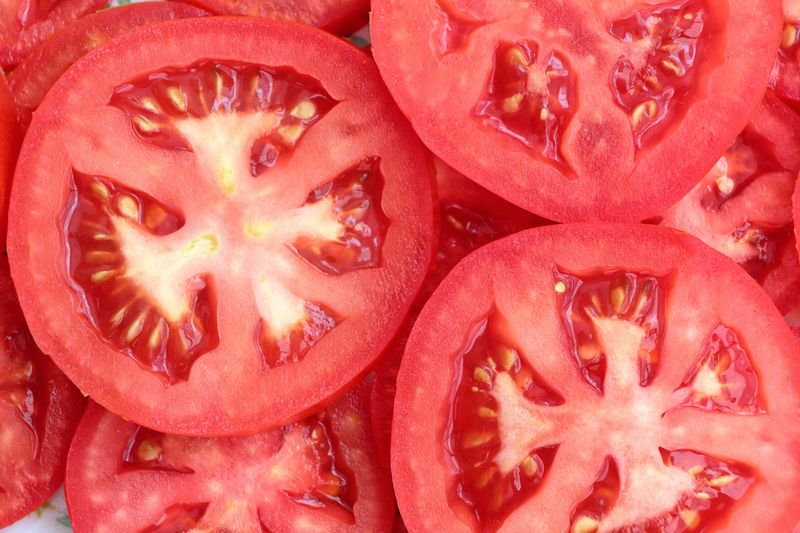
Fair warning, this step has a strong smell, but it works well for tomatoes. Gardeners have used this odd little trick for generations to get cleaner, healthier, stronger seeds.
Each tomato seed sits inside a slimy gel coat that stops it from sprouting too early. Fermenting breaks down that gel and can help reduce some seed-borne diseases too.
Slice a ripe tomato in half and squeeze the seeds and juice into a small jar. Add a splash of water, about the same amount as the pulp you scooped out.
Cover the jar loosely with a paper towel and set it somewhere warm, away from the kitchen table. Your family will appreciate the distance once the smell starts to build.
Over two to five days, a white or gray film will form on top. That layer looks unappealing, but it means the process is working. Rinse promptly, since long soaks can trigger sprouting.
Good seeds sink to the bottom, while weak or empty ones float near the surface. Pour off the floaters and the pulp, then rinse the good seeds in a fine strainer.
Cucumbers can be fermented the same way, while melon seeds usually need only rinsing and drying. Peppers skip this step, since their seeds are already dry and easy to scrape out.
Spread the rinsed seeds on a coffee filter or paper plate to dry next. Skip paper towels here, because wet seeds stick to them like glue and tear apart later.
5. Dry Seeds Indoors In A Single Layer
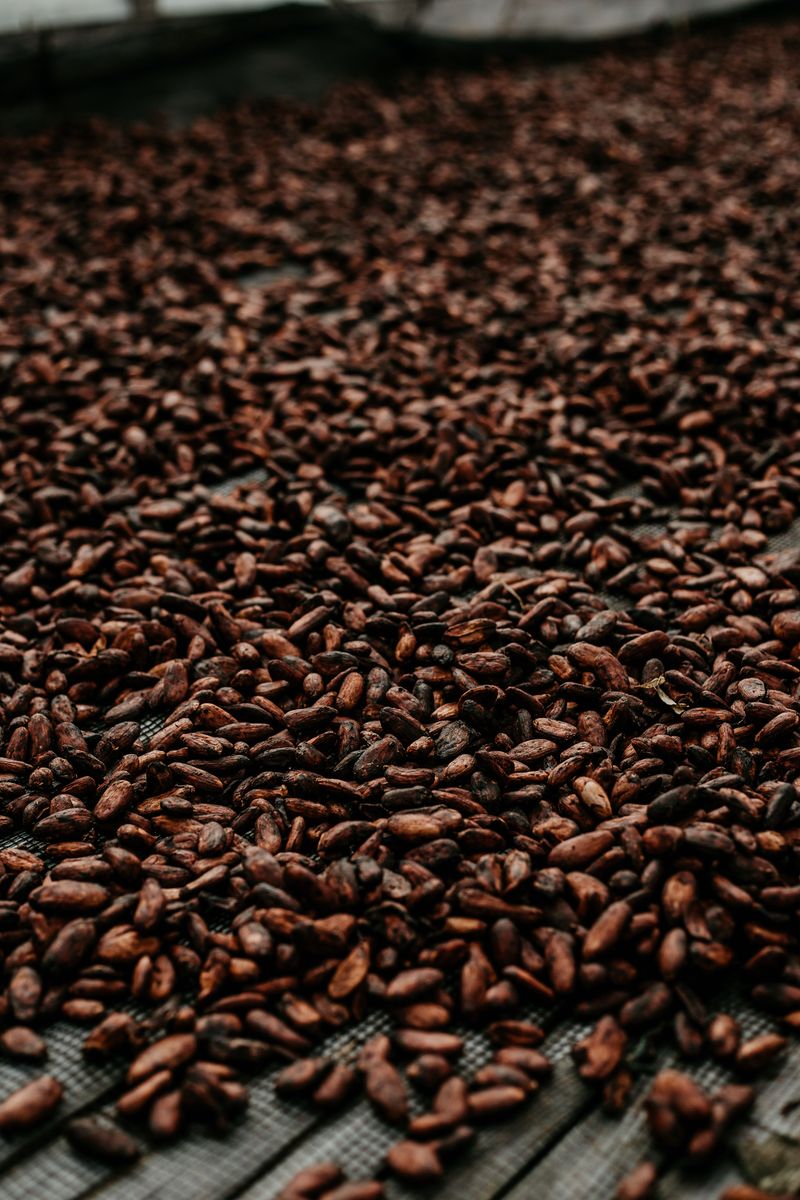
Ever bitten into a soggy cracker and felt instantly let down by the mushy texture? Damp seeds are just as disappointing, and they can spoil long before spring planting arrives.
Even pods that seem crispy still hold some moisture deep inside the seeds. Give them extra drying time indoors before you even think about storing them away.
Window screens, old cookie sheets, or paper plates work great as drying stations. Spread the seeds out in a single thin layer so air can move freely around each one.
Pick a spot with good airflow, like a spare room shelf or a dry garage. Keep them out of direct sun, which can overheat seeds and harm the tiny plant inside.
Virginia falls can feel humid, especially near the coast and the Chesapeake Bay. A small fan nearby helps speed things up when the air feels heavy and sticky.
Most seeds need one to three weeks to dry fully, depending on size and weather. Big seeds like beans and squash take longer than tiny lettuce or flower seeds.
Stir the seeds gently every day or two so all sides dry evenly. A quick toss also helps you spot any moldy ones that need to go.
Try the snap test to check if your seeds are ready for storage. Large seeds should crack cleanly instead of bending when you press them hard.
Skip the oven or microwave, even if you feel impatient on a chilly October night. High heat damages the seed and can end its chance to grow next year.
6. Clean Away Chaff And Debris
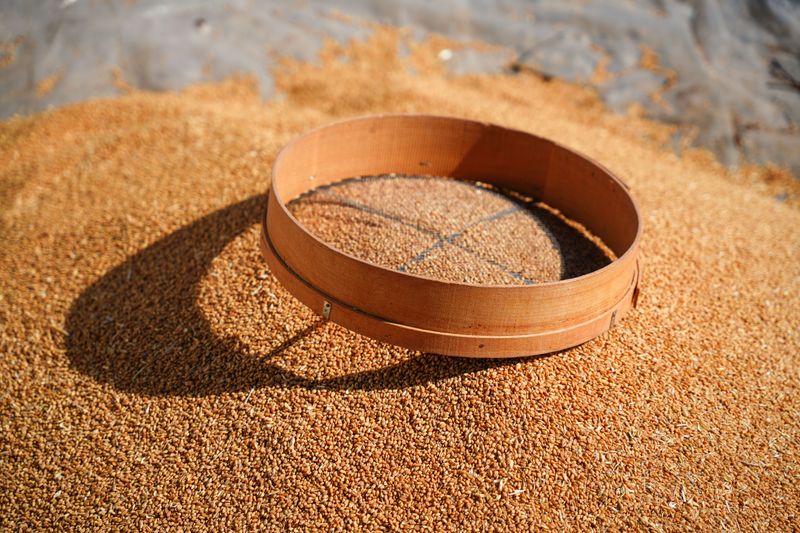
Picture a swirling cloud of dried leaves, stems, and fluff drifting across your kitchen table. Welcome to seed cleaning, a messy job that is oddly satisfying once you get going.
That leftover plant material is called chaff, and it can hold moisture or hide tiny bugs. Removing it helps your seeds stay fresh and makes them easier to plant in spring.
Start by crushing dry pods or flower heads gently inside a paper bag or bowl. Roll bean pods between your palms, and the seeds will pop right out.
Kitchen strainers and old window screens make handy sifters for separating seeds from bits. Pick a mesh size that lets the seeds fall through while catching bigger chunks.
Winnowing is an old farm trick that uses moving air to blow away light chaff. Pour seeds slowly from one bowl to another in front of a gentle fan outside.
Heavy, healthy seeds drop straight down, while dusty fluff floats off into the yard. Start with the fan on low, or your harvest may end up in the neighbor’s flowerbed.
Toss out any seeds that look cracked, shriveled, discolored, or have small holes. Holes often mean weevils or other insects got there first and enjoyed a snack.
Lettuce and carrot seeds are tiny, so work slowly over a white plate to see them. Tweezers help pick out stubborn pieces of stem.
Perfect cleaning is not required, so a few specks of chaff will not hurt anything. Aim for mostly clean seeds, and save your energy for the fun part of planting.
7. Label Each Packet With Key Details
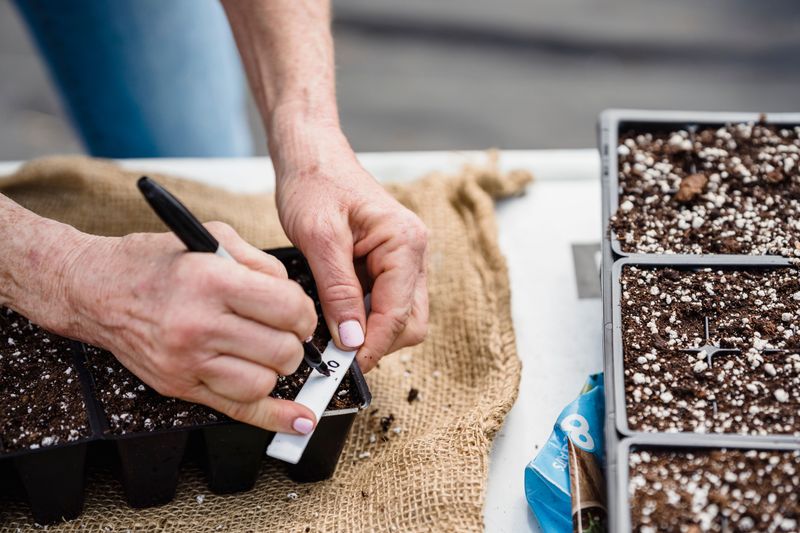
Many seed savers have a mystery envelope tucked away somewhere, filled with unnamed brown specks. Was it basil, zinnia, or fancy lettuce from the farmers market, and does anyone remember?
Good labels save you from that puzzle and make spring planting so much easier. Paper envelopes, small coin envelopes, and recycled jars all work well for holding seeds.
Write the plant name and the exact variety, like Brandywine tomato instead of just tomato. Add the harvest date, since most seeds slowly lose strength as the years pass.
Jot down where the seeds came from, such as your garden, a friend, or a swap. Notes about color, flavor, or how the plant handled the summer heat are helpful too.
Use a pencil or waterproof marker, because regular ink can smear if it gets damp. Drop a second label inside the jar in case the outside one peels off.
Some Virginia libraries run seed libraries where gardeners share local varieties. Check their rules first. Clear labels make extras easy to donate, and other gardeners will love the details.
Kids enjoy decorating seed packets with drawings, which turns a chore into a family craft. Homemade packets also make sweet holiday gifts for teachers, friends, and grandparents.
A small sticker with the year in big numbers makes old seeds easy to spot. Plant the oldest batches first, and save the fresh ones for later seasons.
Keep a simple notebook or phone list of every variety you saved this year. Next October, you can look back and see what grew best in your garden.
8. Store Jars In A Cool Dark Spot
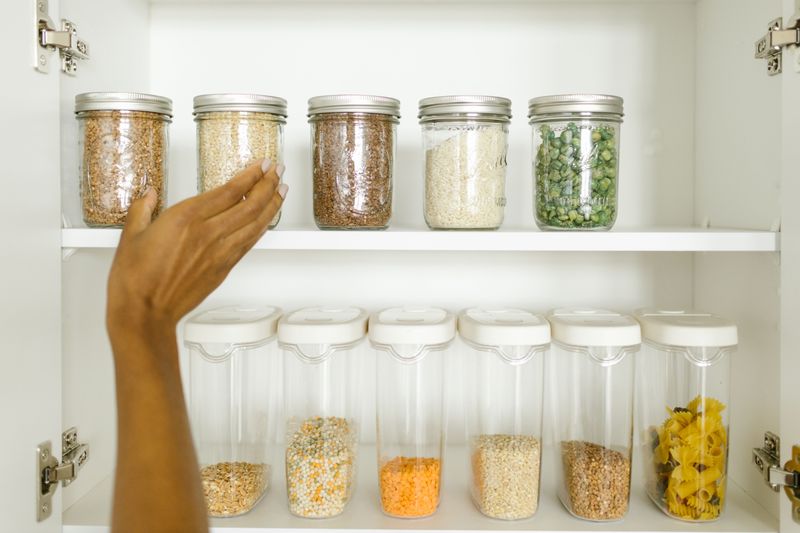
Seeds store best in a quiet, stable spot where they can rest all winter. Heat, light, and moisture can wake them too early or spoil them.
A cool, dark, dry place keeps seeds healthy for years in many cases. Closets and a back shelf in a spare room often work well in Virginia homes. Use a basement only if it stays dry.
Glass jars with tight lids are a favorite, since they block moisture and pesky critters. Mice love seeds as much as you do, so avoid flimsy paper bags in the garage.
Toss a silica gel packet into each jar. It soaks up stray moisture, which helps seeds stay crisp until planting time.
Many gardeners store seed jars in the refrigerator for even longer shelf life. Let a cold jar warm up before opening, or droplets can form on the seeds.
Skip the garden shed, since sheds get hot in early fall and damp in winter. Large swings in temperature and humidity shorten seed life compared with a steady, cool spot.
Most vegetable seeds stay strong for two to five years when stored properly. Onions and parsnips fade quickly, so plan to use those within a year.
Before spring, try a germination test by placing ten seeds on a damp paper towel. Count how many sprout over one to two weeks to see how lively your stash still is.
Seeds tucked away this October will be ready when the soil warms again. That small effort now means a garden full of old friends next spring.