What To Do With Leftover Halloween Pumpkins In Your North Carolina Garden
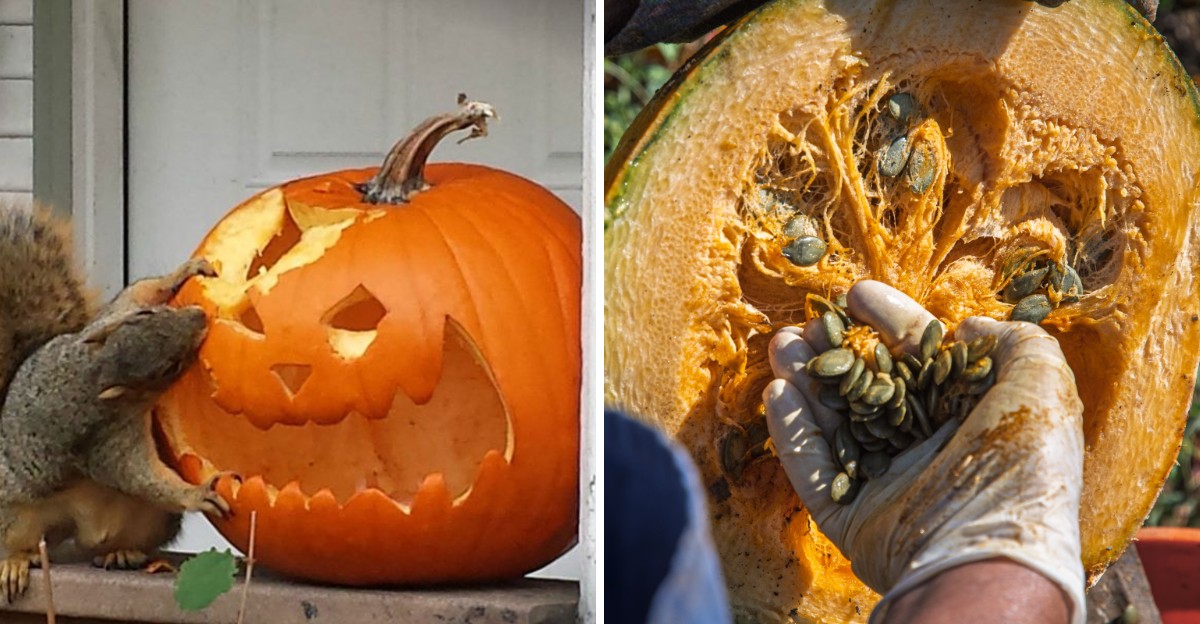
By November 1, the jack-o’-lantern has lost its smile. It is soft, a little moldy, and sitting on the porch like a reminder. Most people haul it to the curb. In the garden, that pumpkin is worth more than it looks.
Done the right way, it can feed birds and squirrels, enrich the soil, or even grow into something new in spring. Done the wrong way, it brings rats, mold, and a bed full of pumpkin seedlings no one planned.
A few details decide which outcome you get, including what the pumpkin has been through since carving. Candle wax, paint, and glitter change the rules. Before you move that pumpkin anywhere, a little planning turns a leftover decoration into a useful garden helper.
1. Remove Candles, Paint, And Decorations First
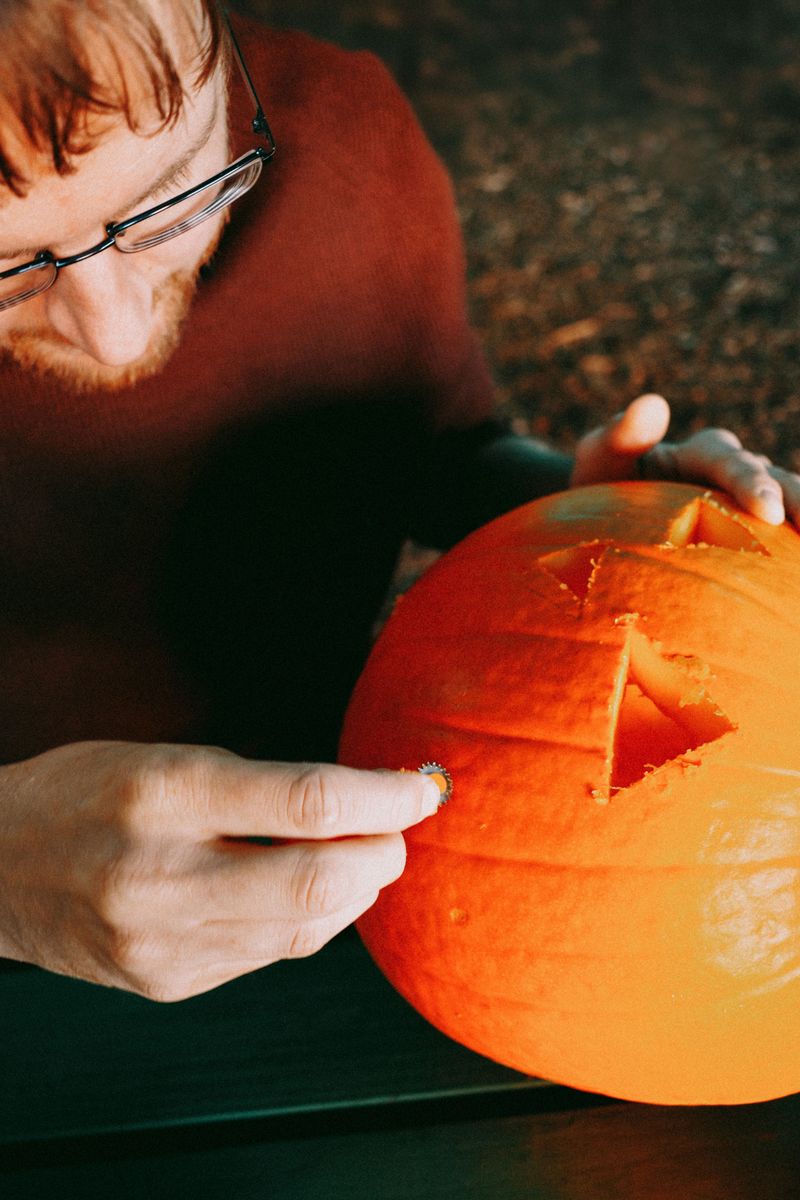
A pumpkin can only help your garden if it shows up clean. Before any jack-o-lantern goes near your soil, give it a careful once-over. A few minutes of prep now saves you from bigger messes later.
Start with the candle. Wax does not break down in soil or compost, so scrape out every drip with a spoon or butter knife. Pop out any tea light cups, too, since those little metal or plastic shells will sit in your garden for years.
Next, look for anything that is not pumpkin. Glitter, marker, paint, stickers, plastic eyes, wire, and pins all need to go.
Many of these items hold tiny bits of plastic or chemicals that can harm earthworms, helpful soil bugs, and the birds and animals that poke around your yard.
Some pumpkins just cannot be saved for the garden. If a pumpkin is painted all over or coated in glitter, set it aside for the trash.
The same goes for pumpkins that were sprayed with sealants, bleach, or preservatives to make them last longer, because those products can carry into your soil.
Why be so picky? North Carolina gardeners often work hard to build healthy soil, especially in areas with heavy red clay. Adding clean, natural plant material helps that soil grow richer over time.
Adding plastic or chemicals does the opposite. A simple rule works well here. If it grew on a vine, it can go in the garden.
If it came from a craft store, it belongs somewhere else. Sort your pumpkins into two piles, and you will be ready for the next step with confidence.
2. Chop And Add Them To The Compost Pile
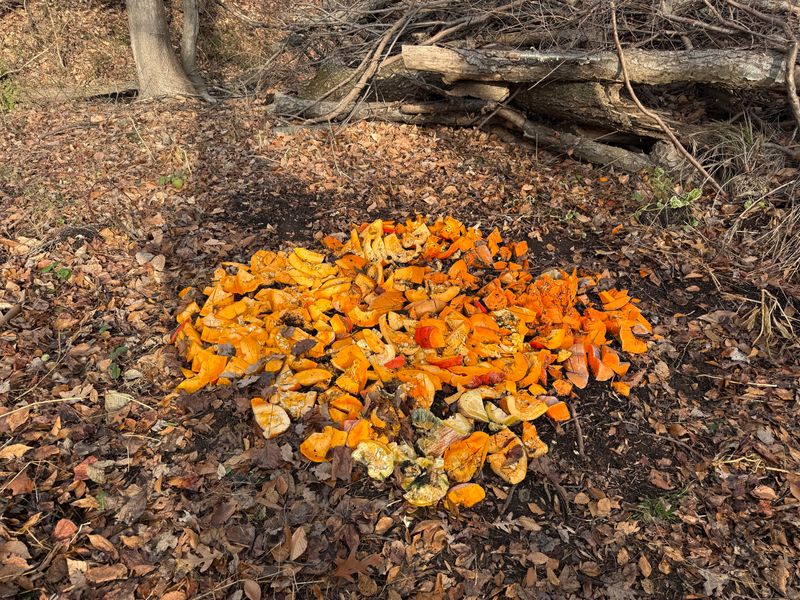
Compost piles love pumpkins. Their soft flesh is mostly water, so they break down fast and bring moisture and nutrients to the mix. Think of them as a quick snack for the tiny workers inside your bin.
Size matters, though. A whole pumpkin can sit in a pile for months because microbes only work on the outside surface. Break it into smaller chunks with a shovel, a sturdy knife, or even a good drop onto the driveway, which kids usually find very exciting.
Seeds deserve a quick thought before you toss everything in. Pumpkin seeds can survive the composting process, especially in piles that do not get very hot.
If you would rather not find surprise pumpkin vines sprouting next summer, scoop the seeds out first and save them for the birds or for planting.
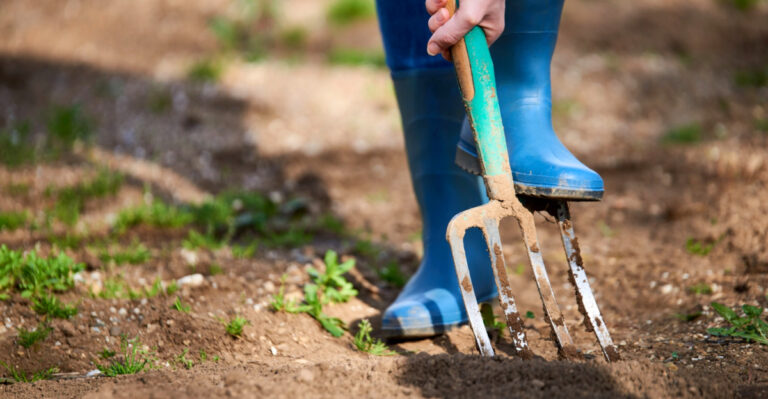
Once your pieces are ready, dig a hole in the center of the pile. That spot stays the warmest, so the pumpkin breaks down quicker there. Drop the chunks in and stir them around with a garden fork.
Balance is the secret to good compost. Pumpkins count as wet, green material, so they need dry, brown material to go with them.
Cover the pumpkin with a thick layer of shredded leaves to soak up extra moisture, cut down on smells, and keep flies away. Luckily, North Carolina has no shortage of fall leaves.
Oaks, maples, and sweetgums drop piles of them right when pumpkins are ready for the bin. Our mild fall and early winter weather also keeps compost working longer than in colder states, so by spring you may have dark, crumbly compost ready for your beds.
3. Bury Them Directly In Garden Beds
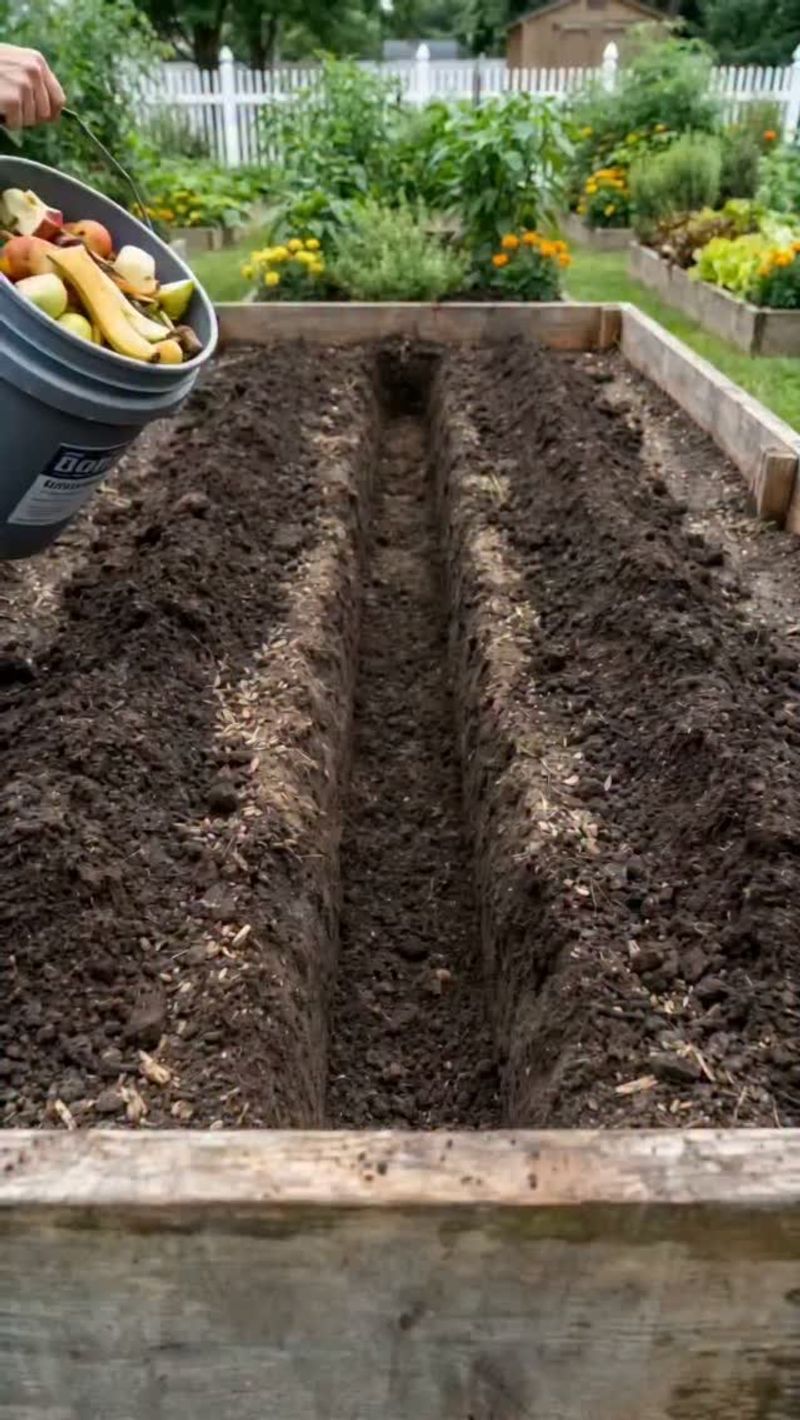
No compost bin? No problem. Your empty vegetable beds can do the job all on their own through a method called trench composting. It sounds fancy, but it is really just digging a hole and filling it with food scraps.
Here is how it works. Pick a bed that is resting for the winter, then dig a trench or hole about 8 to 12 inches deep. That depth keeps the pumpkin far enough down that curious raccoons, dogs, and squirrels are less likely to sniff it out.
Chop your clean pumpkins into small pieces and spread them along the bottom. Smaller chunks rot faster and mix into the soil more evenly. Then cover everything completely with the soil you dug out, and pat it down firmly.
Now comes the easy part, which is waiting. Over the winter, worms, fungi, and tiny soil creatures go to work underground. They break the pumpkin down and turn it into rich organic matter right where your future plants will grow.
Give the area a few months before planting. By spring, the pumpkin pieces should be mostly gone, leaving behind softer, darker soil. If you dig and still find chunks, plant around them or give the spot a little more time.
For North Carolina gardeners, this trick can make a real difference. Much of the state deals with hard clay or sandy soil that drains too fast, and both improve when you add organic matter.
Burying pumpkins in the beds you plan to plant next season gives your tomatoes, peppers, and beans a healthier home without any extra cost.
4. Roast The Seeds As A Treat For Birds
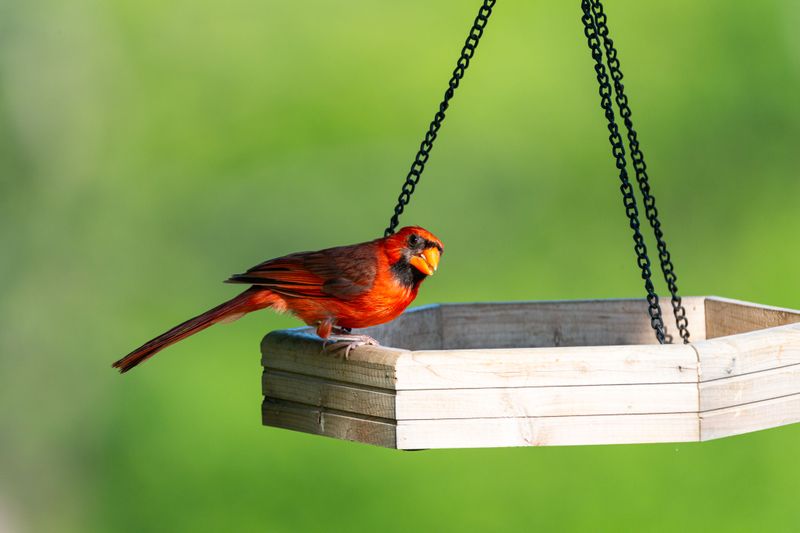
Cardinals have excellent taste, and plain pumpkin seeds rank high on their list. Those slippery seeds you scooped out of your jack-o-lantern are packed with fat and protein. For backyard birds getting ready for chilly nights, that kind of energy is a big deal.
Getting the seeds ready is simple. Only use seeds from clean pumpkins that were never painted, glittered, or sprayed. Rinse them in a bowl of water, rub off the stringy pulp, and pat them dry with a towel.
Next, spread the seeds in a single layer on a baking sheet. Roast them at a low temperature, around 250 degrees Fahrenheit, stirring now and then until they feel dry and crisp. Low heat dries them out without burning them.
One rule really matters here. Skip the salt, butter, oil, and seasonings completely. People love salty roasted pumpkin seeds, but salt and spices can harm birds, so keep a separate plain batch just for your feathered friends.
Once they cool, the seeds are ready to share. Scatter them in a tray feeder or on a flat platform where birds can easily grab them. You can also mix them into your regular birdseed for a seasonal treat.
North Carolina is a great place to try this. Northern cardinals, our state bird, stay all year and visit feeders through fall and winter.
Carolina chickadees, tufted titmice, and nuthatches often join them, and bigger birds like blue jays may swoop in too. Set up your feeder near a window, and you will have a front-row seat to a lively winter show.
5. Be Careful About Leaving Pumpkins Out For Wildlife
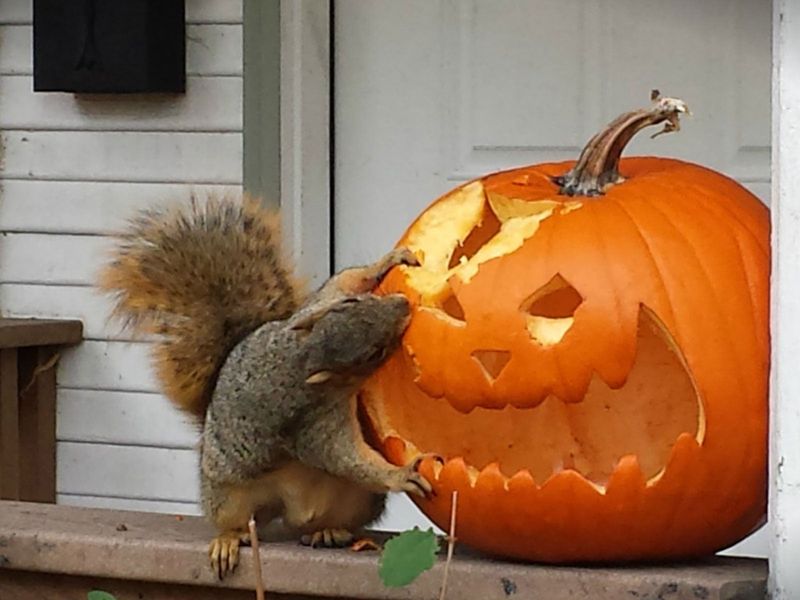
Leaving a whole pumpkin in the backyard for the animals sounds kind. Plenty of people share photos of squirrels munching on jack-o-lanterns every November. Still, this habit comes with a few surprises worth knowing about.
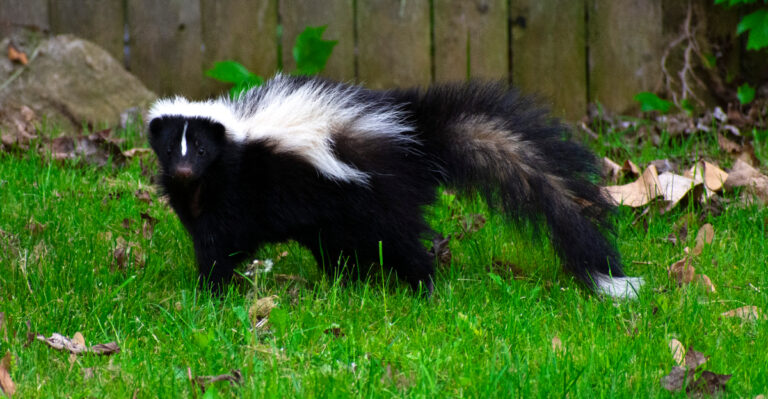
Rotting pumpkins sitting on the ground can attract more than cute squirrels. Rats, mice, raccoons, and opossums all enjoy an easy meal, and they may decide to stick around.
Once they find food near your house or garden, they often come back looking for more. Deer are another concern. Wildlife agencies, including the North Carolina Wildlife Resources Commission, generally discourage feeding deer.
Food piles pull many deer into one small spot, which can spread illness between them and change their natural habits.
Does that mean you can never share? Not exactly. If you really want to offer pumpkin to wildlife, keep the portions small and chopped.
Place them far from your home, shed, and vegetable beds, perhaps at the edge of a wooded area.
Check back after a day or two. Remove any leftovers that have not been eaten so they do not turn into a slimy, moldy mess. That simple habit helps keep pests from treating your yard like an open buffet.
For many homeowners, composting is simply the smarter choice. In North Carolina, deer already love snacking on hostas, azaleas, and vegetable gardens, and rodents can quickly move into garages and crawl spaces.
Turning pumpkins into compost gives you all the benefits without inviting hungry visitors closer to your plants. Your garden, and maybe your neighbors, will thank you.
6. Save Seeds For Next Year Thoughtfully
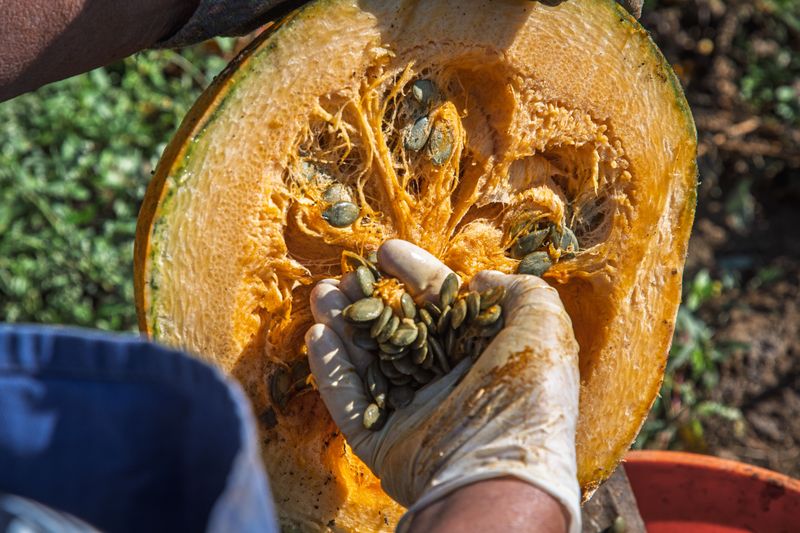
Every seed holds a little mystery inside. Plant one from your Halloween pumpkin, and you might grow the same round orange beauty, or something completely different. That surprise is part of the fun.
Many carving pumpkins are hybrids, which means they come from two different parent plants. Their seeds do not always grow true, so the new pumpkins may look different from the one on your porch.
Pumpkins can also cross with other squash in the field, which leads to some funny shapes and colors. Even so, saving seeds is easy and rewarding.
Pick a fully ripe pumpkin that is uncarved or freshly carved, since seeds from a pumpkin that has sat outside for weeks may be moldy. Scoop them out, rinse off the pulp, and toss any that look flat or thin.
Drying comes next, and patience pays off. Spread the seeds on a paper plate in a single layer and let them dry for one to two weeks, turning them now and then. Paper plates work better than paper towels, because seeds tend to stick to towels.
When they feel hard and dry, slip them into a paper envelope. Write the date and pumpkin type on the front, then store it in a cool, dry place like a closet.
Planting time arrives after the last spring frost, which usually falls in April for much of North Carolina. Our long, warm summers give pumpkin vines plenty of time to spread.
Kids love watching seeds sprout, vines crawl, and flowers turn into pumpkins, making it a summer project that ends right back at Halloween.
7. Cook Pie Pumpkins Before They Spoil
Your kitchen might be the best place for some of those leftover pumpkins. Small pie pumpkins, also called sugar pumpkins, have sweet, smooth flesh that tastes wonderful in pies, soups, muffins, and breads.
Even uncarved decorative pumpkins can be cooked if they are still in good shape. Carved jack-o-lanterns are a different story.
Once a pumpkin has been cut open and left outside, bacteria and mold can move in fast. Those belong in the compost, not on your dinner plate.
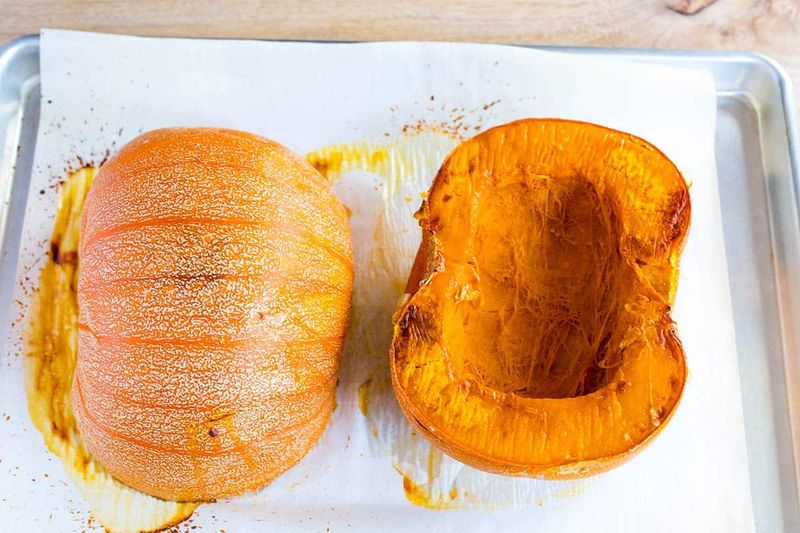
Start by checking each uncarved pumpkin closely. Look for firm skin with no soft spots, mold, or leaking areas. Give it a good wash, cut it in half, and scoop out the seeds and strings. Roasting brings out the best flavor.
Place the halves cut side down on a baking sheet and bake at about 375 degrees Fahrenheit until a fork slides in easily, usually 45 minutes to an hour. Let them cool, then scoop the soft flesh into a bowl and mash or blend it smooth.
Got more puree than you need? Freeze it in labeled containers or freezer bags with the date written on top.
Keep in mind that home canning pumpkin puree is not considered safe by food safety experts, since the thick texture makes it hard to heat evenly, so freezing is the way to go. Timing matters here in North Carolina.
Our fall days often stay warm well into November, and that mild weather can turn a firm porch pumpkin soft in a hurry. Cook them sooner rather than later, and you will enjoy homemade pumpkin bread long after Halloween fades.