Grow More Lomanto Grapes This Winter In Alabama With Surprisingly Little Effort
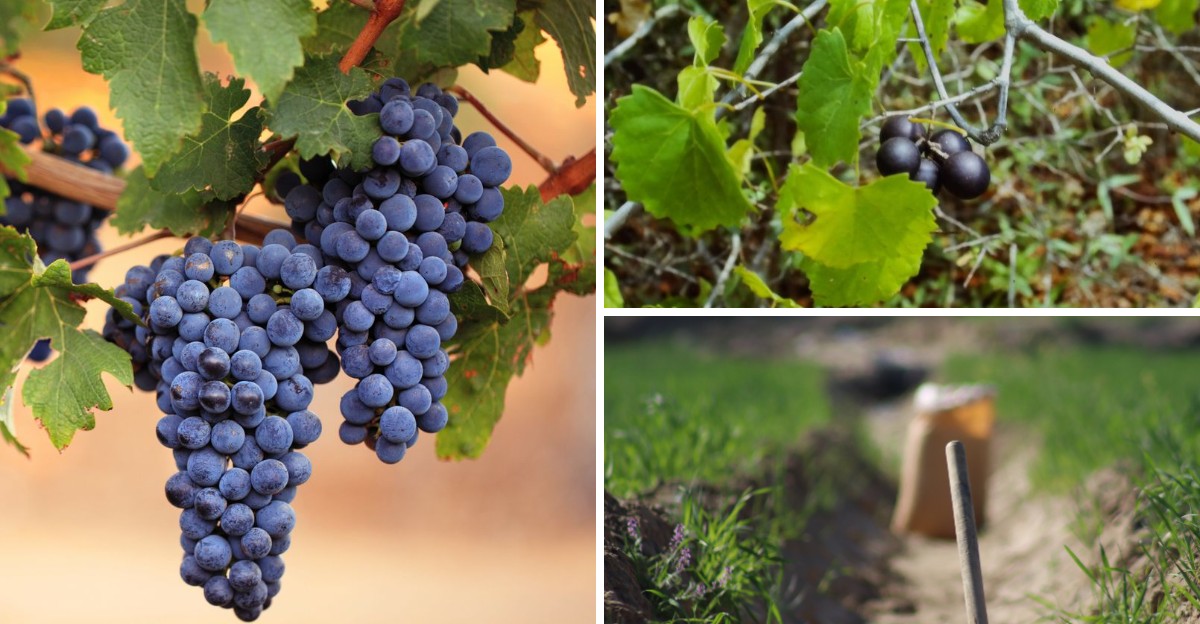
Your scruffiest grape vine is hiding a free duplicate. You, like other Alabama gardeners, tidy in October and stop there.
Bend a low, flexible cane toward the soil. Scrape a shallow strip of bark where it touches ground. Bury that scraped section in loose dirt, leaving the tip exposed. Pin it with a staple or rock.
Trim the tip afterward so energy flows toward the buried section. Check the rock after heavy storms, since shifting soil loosens pins.
Roots form while the parent vine rests, fed by stored sugars. Alabama winters leave roots undisturbed while spring warmth speeds growth.
Snip the new plant free when buds swell in spring. Forget rooting hormone, heated mats, and sterile trays.
Generations trusted this method long before garden centers sold plastic pots. Soon you hold a rooted twin fruiting within two or three years.
1. Choose A Low, Bendy Cane This October
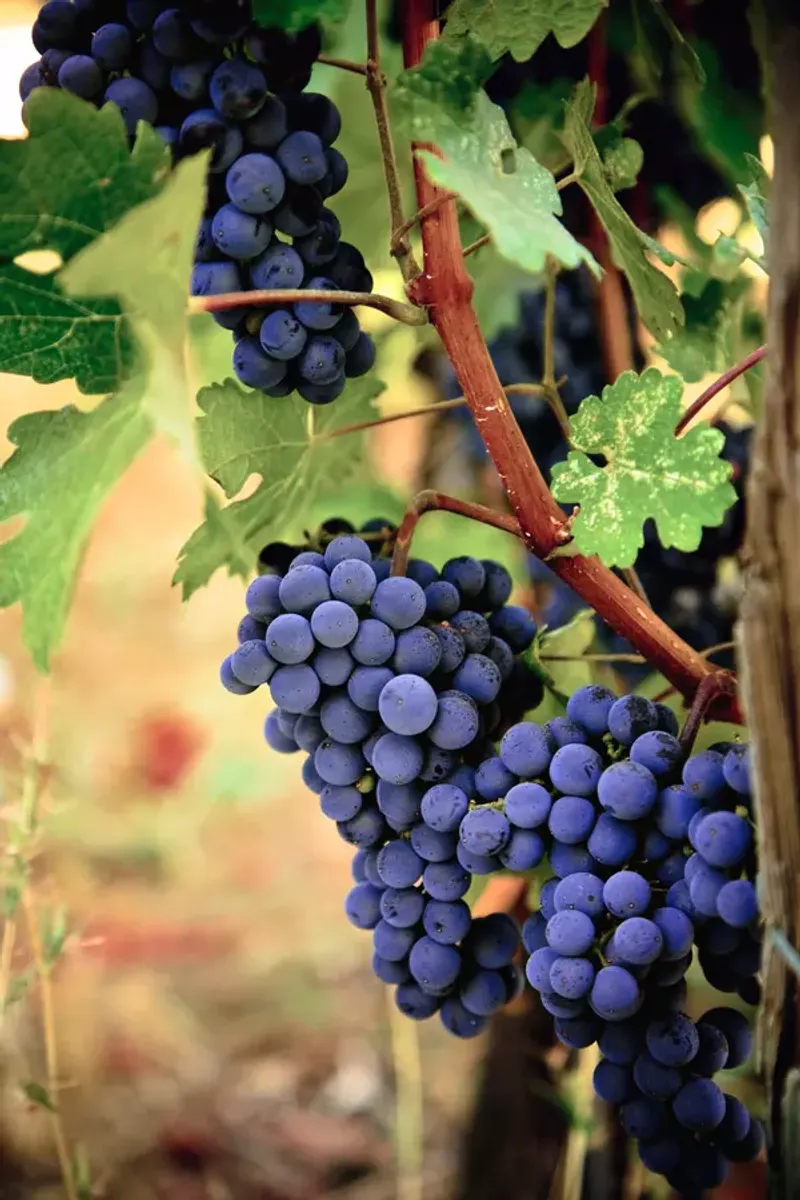
Picture your vine as a family tree with plenty of long, droopy arms. Your job this October is to find the one arm that loves the ground.
Look for a cane that grew this past summer and sits close to the soil. It should be about as thick as a pencil and bend easily without cracking.
Older brown wood with flaky bark tends to root slowly, so skip it. Young, smooth canes are packed with energy and wake up faster in spring.
Give the cane a gentle test bend toward the dirt before you commit. If it touches the ground about two feet from the trunk, you found a winner.
Lomanto is a hybrid grape bred in Texas by Thomas Volney Munson back in 1902. Its vigorous canes make it a happy candidate for this easy rooting method.
Early October can work, though spring layering is also common. The soil still holds summer warmth, which nudges roots to start before the cold settles in.
Try to pick a cane on the sunny side of the vine. Healthy leaves mean the cane has stored plenty of food for its winter project.
Mark your chosen cane with a twist tie or a strip of bright ribbon. That way, you will not lose track of it in the tangle later.
Avoid canes that show spotty leaves, cracks, or chewed bark. A diseased parent can pass problems to the new plant.
Feeling unsure between two options? Go with the longer one, since extra length gives you more room to work.
2. Dig A Shallow Trench Close To The Vine
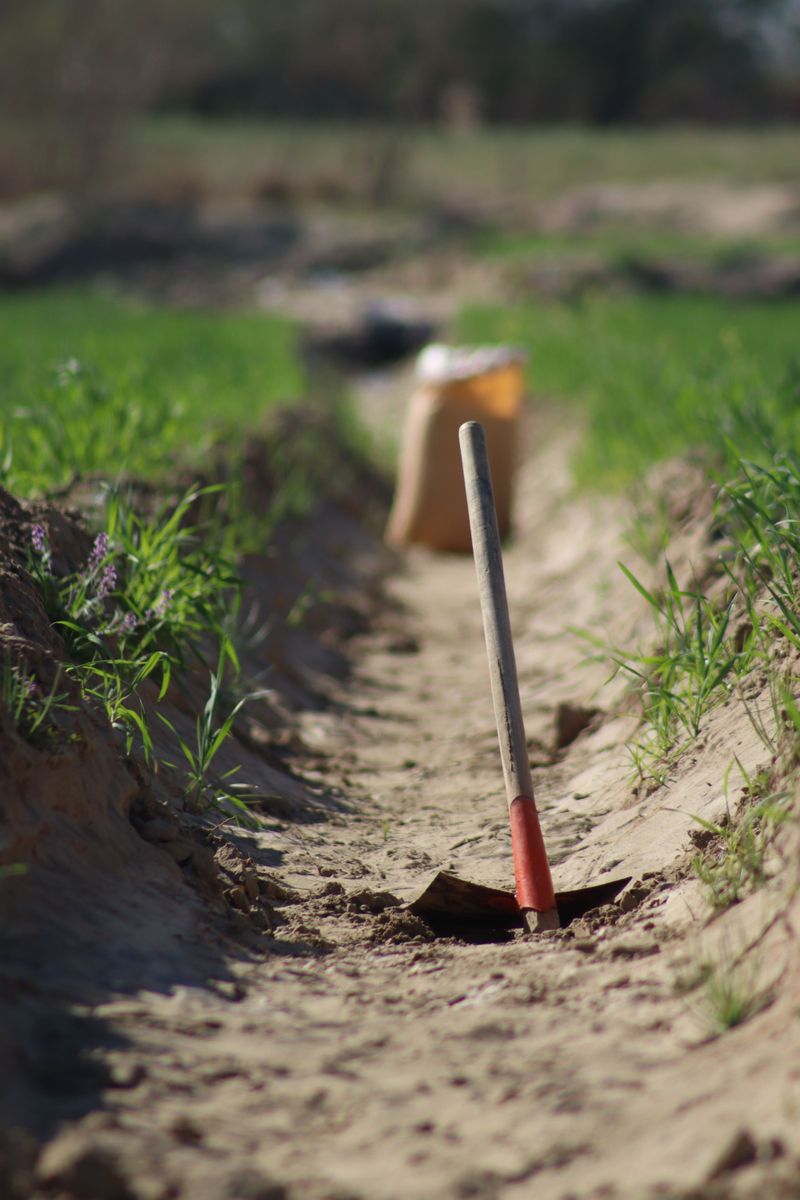
Grab a hand trowel, because a big shovel is excessive for this tiny job. You only need a small dip in the dirt, not a moat.
Start about 18 inches to two feet away from the main trunk. Dig a trench roughly four to six inches deep and about a foot long.
Line it up with the path your cane naturally wants to follow. Fighting the cane’s direction can snap it and waste your best candidate.
Alabama soil can swing from sticky red clay to sandy loam near the coast. Heavy clay holds water and can rot young roots over a wet winter.
Your Alabama Garden Changes Every Week. Your Plan Should Too.
Gardening in Alabama changes quickly throughout the season. Every Friday you’ll receive a simple weekly plan showing exactly what to plant, prune, fertilize, harvest, and protect so you never miss the right timing.
Loosen the bottom of the trench with your trowel if the ground feels hard. Mix in a scoop of compost or potting soil to lighten things up.
Sandy soil drains fast, which is helpful in rainy months. A little compost there helps hold just enough moisture for new roots.
Pull out any weeds, rocks, or old roots from the trench. Clean soil gives the cane a cozy, roomy bed for the winter.
Many gardeners water the trench lightly before laying the cane down. Damp soil, not soggy soil, is the sweet spot you want.
Your whole digging session should take about five minutes. That is shorter than most commercial breaks, so no excuses here.
Keep the soil you removed in a small pile right next to the trench. You will need it soon to tuck the cane in.
Got a slope in your yard? Dig on the uphill side so rainwater drains away from the buried section.
3. Scratch The Bark Where Roots Should Form
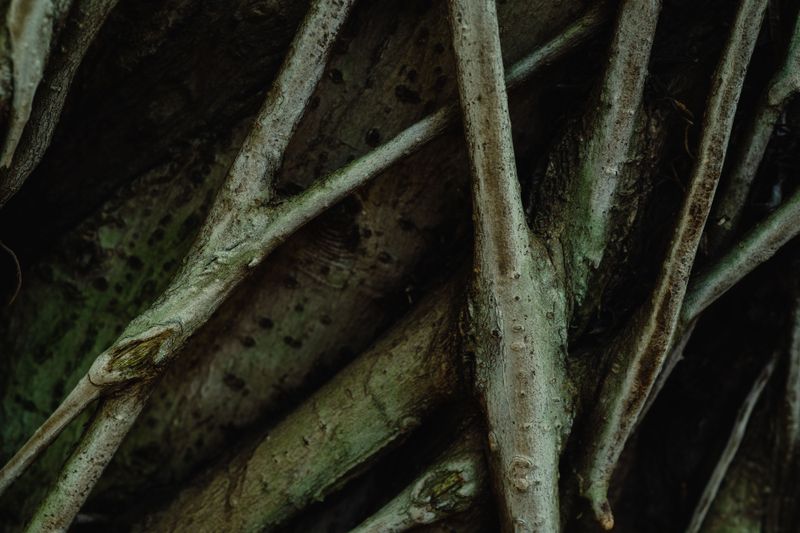
Here is a little secret old-time grape growers swear by. A tiny wound on the cane tells the plant to grow roots right there.
Find the spot on the cane that will sit at the bottom of your trench. It is usually near a bud, which is a small bump along the stem.
Use a clean pocketknife to scrape away a thin strip of outer bark. Aim for a patch about one inch long on the underside of the cane.
Go easy, since you only want to scratch the surface. Cutting too deep can weaken the cane or snap it in half.
Underneath, you should see a hint of green tissue. That green layer is living tissue, and new roots can begin to form there.
Wipe your blade with rubbing alcohol before and after the cut. Clean tools help keep fungus and bacteria from sneaking into the wound.
Some folks dust the scratch with rooting hormone powder from the garden store. Lomanto canes often root well without it, so this step is optional.
Another trick is a gentle twist at the bend, just enough to crack the bark slightly. Pick one method instead of doing both on the same cane.
Plants respond to injury by sending energy to heal the area. Buried in moist soil, that healing energy turns into fresh roots.
The whole scratching step takes less than a minute. Think of it as giving your vine a tiny nudge in the right direction. Rushed? A thumbnail scrape can work in a pinch.
4. Pin The Cane Down With A Simple Wire Staple
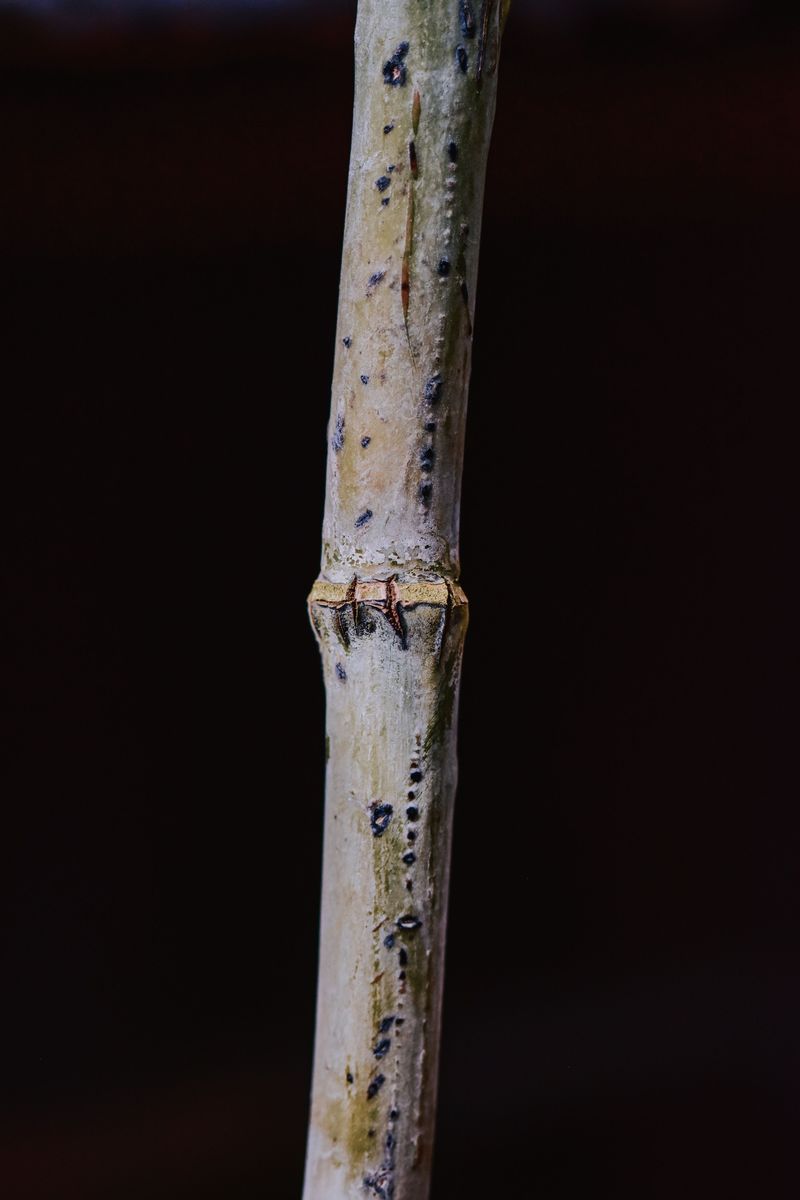
Canes are springy little rebels that love to pop back up. A sturdy pin keeps yours flat in the trench all winter long.
Make a staple by bending a wire coat hanger into a U shape. Each leg should be around eight inches long for good grip in the soil.
Landscape fabric pins from the hardware store work great too. They cost very little and save you from wrestling with a hanger.
Lay the scratched part of the cane into the bottom of the trench. Press the staple over the cane, right next to the wound.
Push the staple straight down until it feels firm and snug. The cane should stay put without being squeezed or crushed. No wire handy? A flat rock or a brick on top of the cane does the same job.
Grandparents across the South used rocks for generations with plenty of success. Sometimes the simplest tools in the yard are the smartest ones.
Make sure the cane stays connected to the mother vine the whole time. That attachment is the lifeline feeding your future plant water and nutrients.
Check that the bend is smooth and not kinked sharply. A gentle curve lets sap flow without trouble through the winter months.
Use two pins if your cane is extra long or stubborn. One goes at the buried bend, and another holds the cane closer to the trunk.
Give the setup a light tug when you finish. If nothing shifts, you are ready for the next easy step.
Stray dogs and curious raccoons love digging, too. A firmly pinned cane survives their nosy visits much better.
5. Cover The Bend With Loose Soil And Mulch
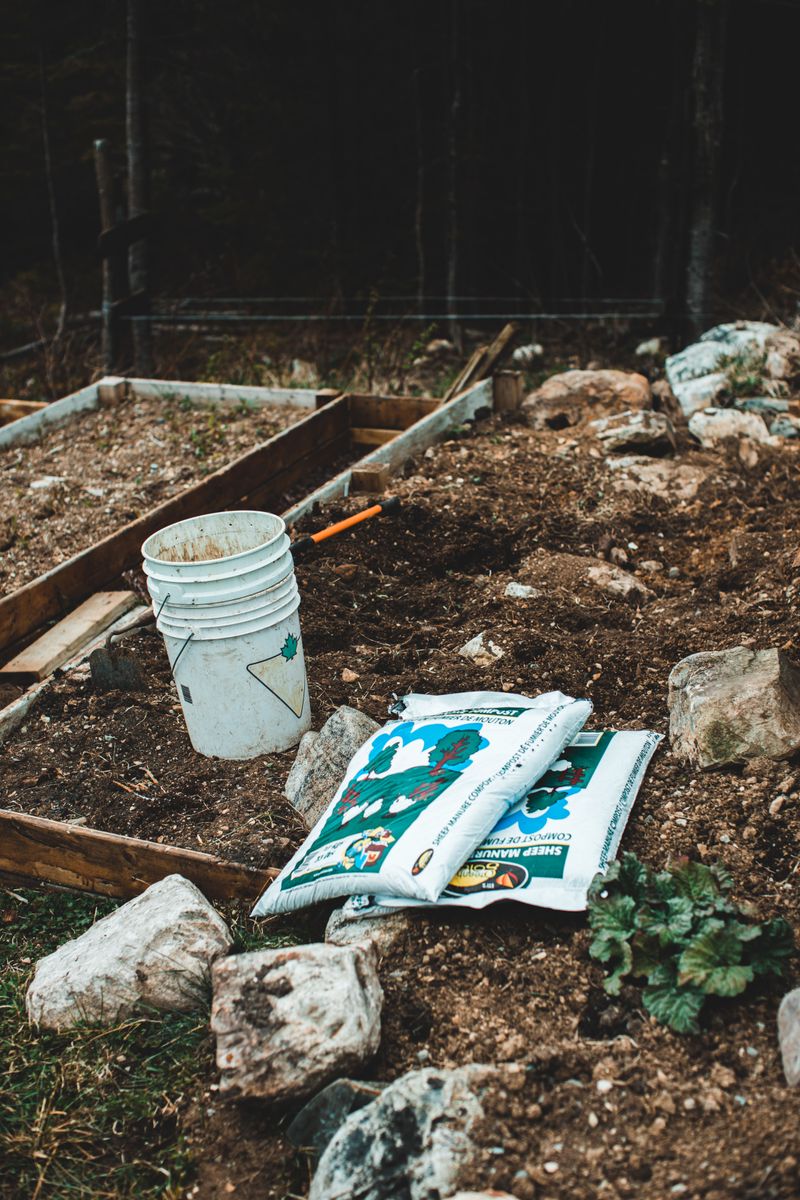
Tucking a cane into bed feels a lot like tucking in a sleepy kid. You want it snug, warm, and not buried under a heavy pile.
Scoop the soil you saved back into the trench over the pinned section. Cover it with about four to six inches of loose dirt.
Press down lightly with your hands to remove big air pockets. Stomping with boots packs clay too tightly, so skip the tap dance.
Water the spot gently until the soil looks dark and settled. Moist dirt makes good contact with the scratched bark, which helps roots form.
Next, spread a layer of mulch over the buried area. Pine straw, shredded leaves, or wood chips about three inches deep work nicely.
Mulch acts like a fuzzy blanket during chilly Alabama nights. It keeps the soil temperature steady when frosts arrive in late fall.
Mulch also slows down weeds that would compete for water. Fewer weeds mean less work for you, which fits the lazy plan perfectly.
North Alabama sees colder snaps than Mobile or Dothan. Gardeners up near Huntsville might add an extra inch of mulch for safety.
Keep the mulch a few inches away from the main trunk. Piling it against the trunk can invite rot and hungry critters.
Drop a marker stake beside the buried spot so you remember it. A painted stick or old plant tag works just fine.
After that, your hands-on work is basically finished. Go wash up and grab a glass of sweet tea. Leftover soil can go around nearby flowers. Nothing goes to waste in a smart garden.
6. Point The Tip Up Toward The Sky
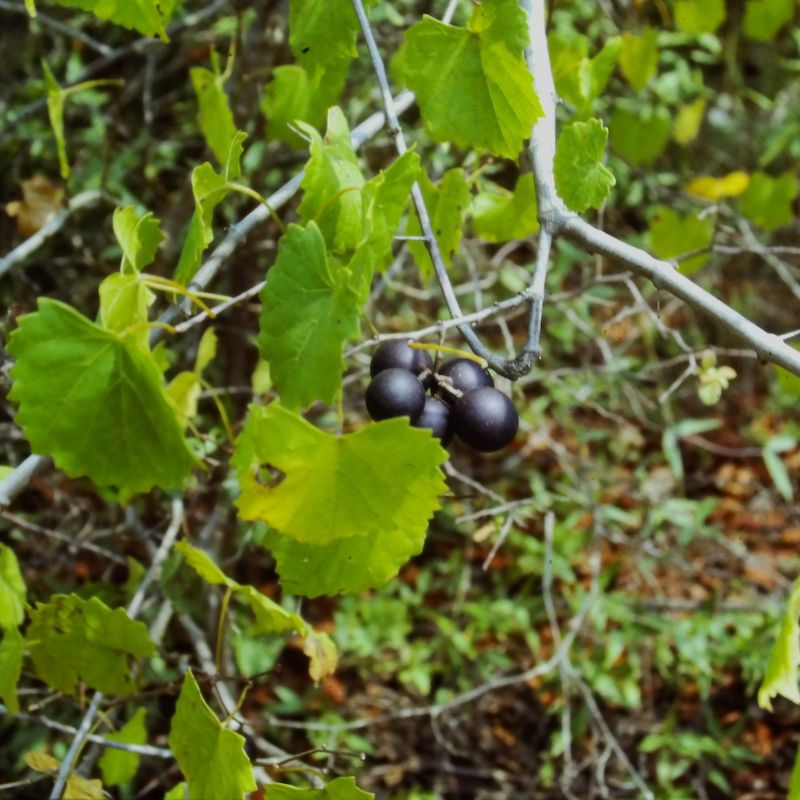
Every buried cane needs a periscope peeking above the ground. The leafy tip plays that role and becomes the top of your new vine.
Gently bend the end of the cane upward where it leaves the trench. About six to twelve inches of tip should stick out of the soil.
Tie the tip loosely to a small bamboo stake or a sturdy stick. Soft garden twine or strips of old t-shirt work without cutting the bark.
Keeping the tip vertical sends a clear signal to the plant. Upward growth above ground and roots below ground create a balanced little vine.
Make sure at least two buds sit above the soil line. Those buds will push out fresh leaves once spring warms things up.
Trim off any extra length beyond about a foot. A shorter tip can direct energy toward root growth during the cool months.
Leaves on the tip will turn yellow and drop this fall. That is normal behavior for grapes heading into winter rest.
A tip that looks like a bare twig by Thanksgiving is normal. The real action is happening quietly underground where you can’t see it.
Lomanto grows fast once spring arrives in the Deep South. Strong buds on that tip may stretch several feet by midsummer.
Check the tie once or twice over winter after big storms. Loosen it if it seems tight so the stem can thicken freely.
Ever seen a stake win an argument with the wind? A staked tip holds up better in strong wind than a floppy one.
7. Mostly Walk Away, Letting Alabama Winter Do The Work

Congratulations, you have officially reached the laziest part of gardening. Now you get to do very little for several months.
Alabama winters are mild enough for roots to keep forming slowly. Deep soil freezes are uncommon across most of the state, so buried canes stay fairly cozy.
Winter rain usually handles the watering for you. Only add water if you go three or four weeks without a decent shower.
Resist the urge to dig up the cane to check progress. Disturbing the soil can tear tiny new roots right off.
Think of it like baking bread with the oven door closed. Peeking too often ruins the rise, and the same idea applies here.
Feel free to prune the main vine in late winter like normal. Just leave the layered cane and its connection alone.
February in Alabama often brings a few surprising warm days. Your buried cane notices, and root growth picks up speed underground.
Pull any weeds that pop through the mulch on nice afternoons. A quick five-minute stroll through the garden is plenty.
Top off the mulch if heavy rains wash it thin. Otherwise, sit back and enjoy the quiet season.
Folks have used this method, called layering, for many centuries. Ancient farmers multiplied their vines using only dirt and patience.
Use this downtime to plan where your new vine will live. Sunny spots with good airflow and room for a trellis work best.
Grab a gardening catalog and a warm blanket. Dreaming about next summer’s harvest counts as productive work, right?
8. Snip And Move Your New Vine In Spring
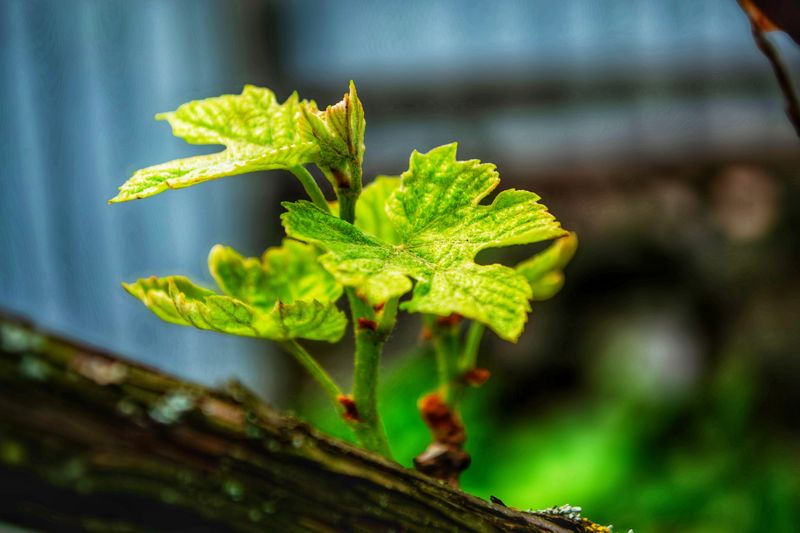
Spring morning, coffee in hand, and a fresh green shoot waving from your stake. That little shoot is your reward for doing very little.
Wait until March or April, when new leaves look healthy on the tip. Gently brush away mulch and dig around the buried section with a trowel.
You should spot white or tan roots growing from the scratched area. A healthy clump of roots means your baby vine is ready.
Few roots? Cover it back up and give it until next fall to grow stronger.
Use clean pruning shears to cut the cane between the mother vine and the buried roots. Make the cut a few inches from the new root zone.
Dig up the new plant with a big ball of soil around its roots. Keeping the soil intact protects those delicate roots from drying out.
Plant it in a sunny spot with well-drained soil and space for a trellis. Water deeply right away, then weekly through the first hot summer.
Some gardeners leave the new vine in place and simply grow it there. That works if you want to fill a gap along the same row.
Expect your new Lomanto to start producing grapes in about two to three years. Its deep, dark fruit makes tasty wine, juice, and backyard snacking.
Repeat the process every October to keep expanding your vines. One plant can multiply to fill a whole fence line before you know it.
Share extras with neighbors or swap them at garden clubs. Homegrown vines make thoughtful gifts with no price tag.