10 Clever Ways To Give Your Garlic A Head Start This Fall
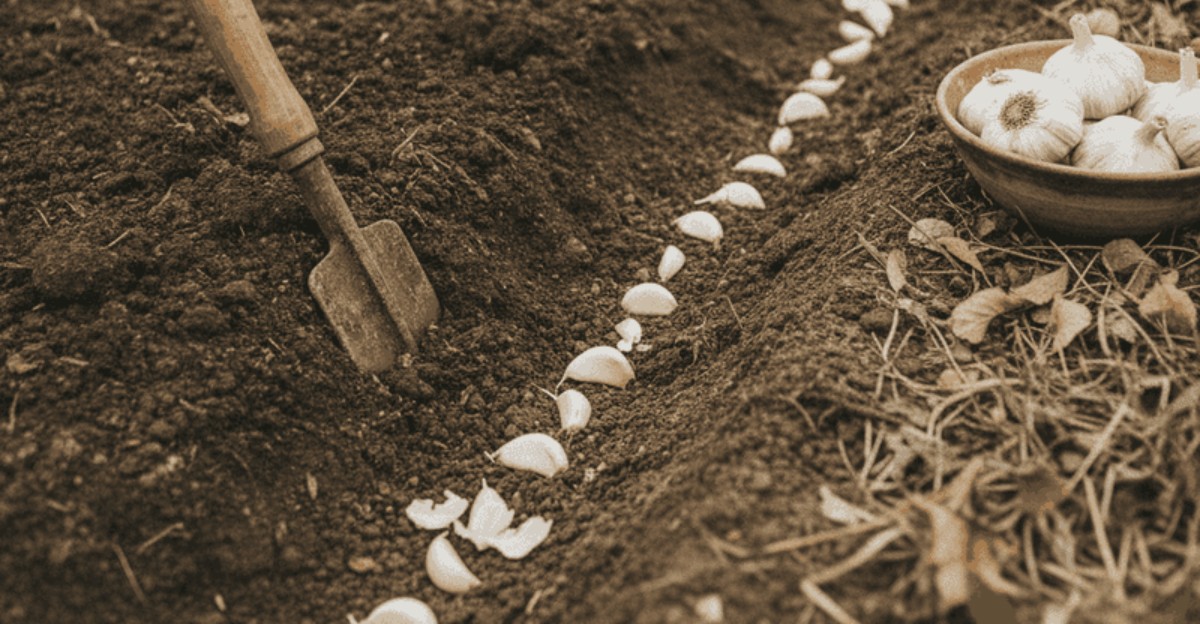
One small clove tucked into autumn soil can multiply into a whole bulb of eight or more cloves by summer. That quiet trick happens underground while most gardeners are raking leaves and packing away their garden tools.
Roots start growing within weeks of planting, even as nights turn frosty and the days grow short. By the time snow melts, those roots are anchored deep and ready to push up bright green shoots.
I skipped fall planting one year and paid for it with tiny, disappointing bulbs the following July. You might notice the same thing, because spring-planted cloves simply miss out on that long, chilly warmup.
A few clever moves this season can turn modest cloves into plump, fragrant bulbs truly worth bragging about. So which small tweaks make the biggest difference for you before the ground freezes solid this year?
1. Plant When Nights Settle Into The Cool Forties
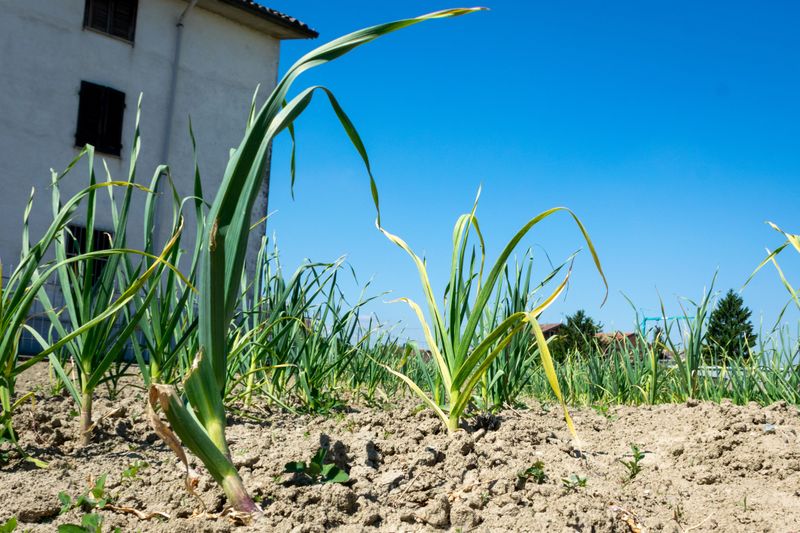
Garlic cloves are oddly picky about timing, and catching the right window feels a bit like catching a bus. Plant too early and leaves sprout before winter, but plant too late and roots barely form at all.
Most extension guides suggest planting about three to six weeks before your ground usually freezes solid. That gap gives roots enough time to settle in while the top growth stays mostly tucked underground.
I watch nighttime temperatures closely, and steady readings in the forties tell me the moment has arrived. In many northern gardens that means late September or early October, while warmer regions wait until November.
Southern gardeners sometimes plant as late as December, since their soil stays workable much longer than up north. Checking your local average first frost date gives you a reliable anchor for planning the whole job.
You can also use the autumn equinox as a loose starting signal, then adjust for your own weather. A quick visit to your county extension website often provides dates tailored to your exact area.
Write your planting date on a garden calendar so next year you can compare results and fine-tune. Little notes like that turn guesswork into a personal playbook that gets smarter every single season.
2. Loosen The Bed With Rich Compost Before Planting
Garlic roots are surprisingly shallow and fussy, so heavy clay feels like a brick wall to them. I learned this when my first bulbs came up lopsided and small after a season in packed soil.
Aim for loose, well-drained ground in full sun with a pH somewhere between 6.0 and 7.0. A simple soil test kit or extension lab report tells you exactly where your bed currently stands.
Work a few inches of finished compost or well-rotted manure about eight inches deep into the soil. That organic matter improves drainage while feeding the busy microbes that help roots find nutrients later.
Preparing the bed a few weeks early lets everything settle and gives soil life time to wake up. You can rake the surface smooth right before planting, which makes measuring rows and spacing much easier.
Crop rotation matters too, since onions and garlic share many of the same troublesome soil-borne diseases. Skip any spot where onion relatives grew during the past two or three years for healthier plants.
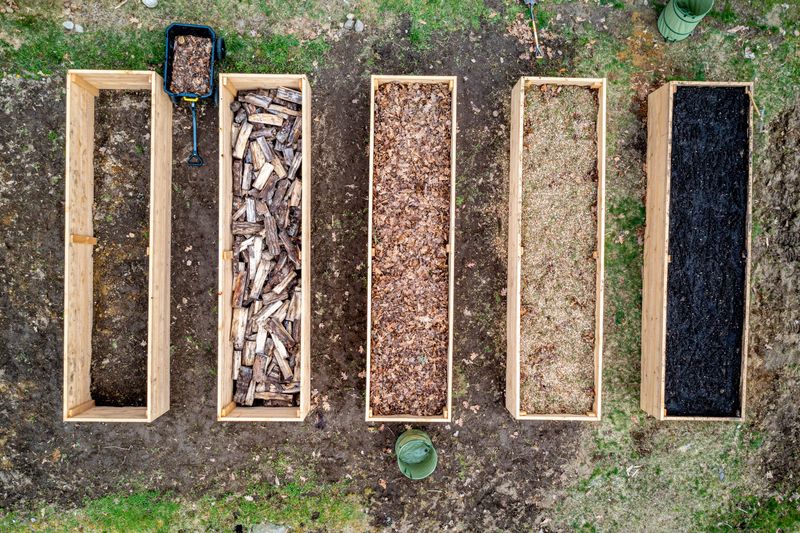
Raised beds work beautifully if your yard stays soggy, because extra height helps water drain away faster. Your future bulbs will thank you with smoother skins and bigger, rounder shapes next summer at harvest.
3. Pick Plump Seed Garlic Cloves From A Trusted Grower
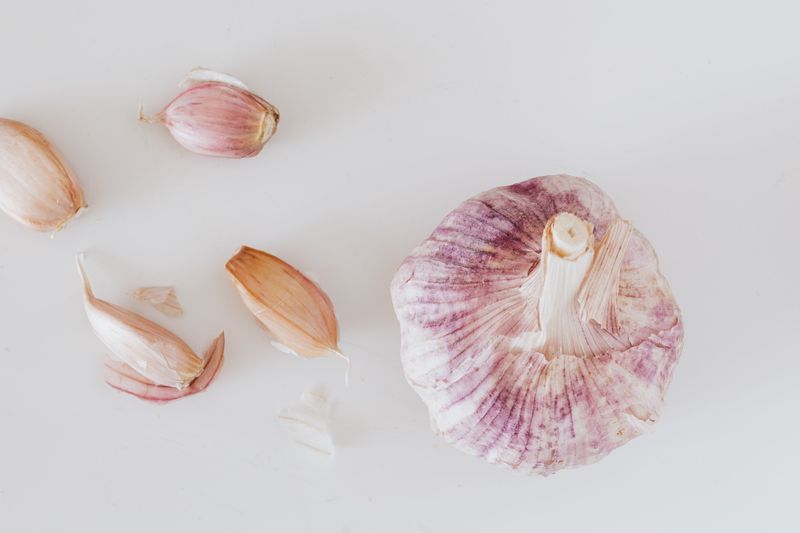
Bigger cloves really do grow bigger bulbs, which feels like the rare garden rule that plays fair. When I sort seed garlic, chunky outer cloves go in the ground while tiny ones hit the kitchen.
Grocery store garlic is tempting, but some is treated to slow sprouting or grown for different climates. Buying from a reputable seed company or local farmer gives you varieties proven to handle your winters.
Local growers at farmers markets often share tips about which types thrive best in your particular region. Those conversations are half the fun, and you might walk away with a story behind every bulb.
Wait to separate the cloves until a day or so before planting to keep them fresh and firm. Leave the papery wrapper on each clove, since that thin skin helps guard against mold and soil diseases.
Inspect every clove carefully and toss any that feel soft or show patches of mold near the base. One sickly clove can introduce problems to an otherwise healthy bed, so being choosy really pays off.
Save your best homegrown bulbs each summer, and over time you build a strain suited to your garden. That slow, patient selection is one of the quiet joys of growing garlic year after year.
4. Set Each Clove Pointy Side Up At The Right Depth
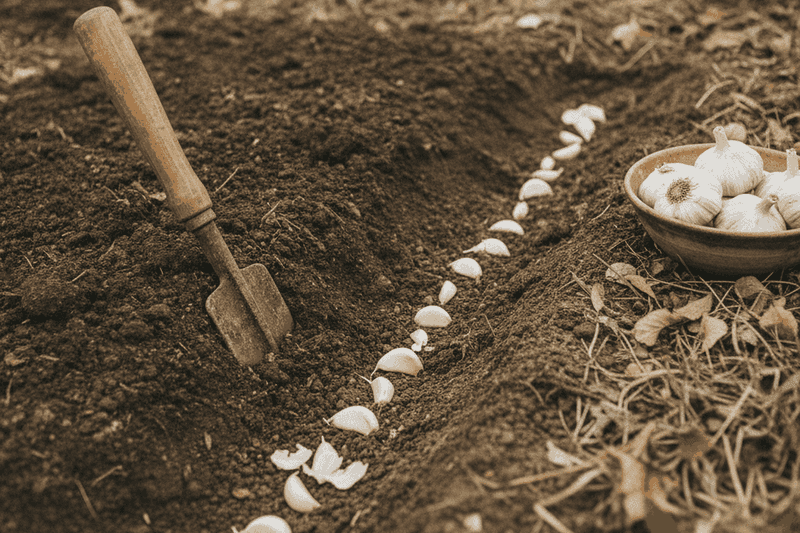
Every clove has a flat bottom and pointy tip, and that detail decides which way it grows. Roots sprout from the flat root plate, so placing it downward saves the plant from wasting precious energy.
Most guides suggest setting cloves two to three inches deep, measured from soil surface to tip. In colder areas with frequent freeze and thaw cycles, going three to four inches deep offers extra protection.
I use a dibber or an old broom handle marked with tape to keep my holes consistent. It sounds fussy, but even depth helps plants emerge together and makes spring weeding much simpler.
Spacing matters just as much, so give each clove roughly four to six inches of room within the row. Rows usually sit twelve to eighteen inches apart, leaving enough space for your hoe and wandering feet.
Crowded cloves compete for water and nutrients, which often leads to smaller bulbs come harvest time next summer. Wider spacing lets each bulb swell freely, and you might be amazed at how much the size improves.
After placing cloves, gently firm the soil over them with your palm or the back of a rake. That light pressure removes air pockets and keeps cloves snug while their first roots start reaching outward.
5. Tuck Garlic Beds Under A Thick Straw Blanket

A fluffy layer of golden straw over a garlic bed looks almost cozy, like tucking kids into bed. That blanket does real work, keeping soil temperatures steadier through the wild swings of winter weather.
Frost heaving happens when soil freezes and thaws repeatedly, which can push shallow cloves right out of the ground. Mulch slows those swings, so your cloves stay put and keep growing roots in peace all winter.
Spread about three to six inches of clean straw or shredded leaves over the planted rows. Choose straw rather than hay whenever possible, since hay often carries weed seeds that sprout next spring.
Timing helps too, so many gardeners wait until the soil cools but before it freezes hard. Mulching too early can trap warmth and coax tender shoots up before the coldest weeks arrive.
Beyond insulation, that layer holds moisture in the soil and smothers many weeds that would compete for food. I love how little weeding my mulched beds need compared to the bare patch I tried once.
In spring, pull the mulch back slightly if the soil stays cold and wet for too long. Most garlic shoots push right through the straw anyway, and the leftover layer keeps summer moisture steady.
6. Mix Slow Feeding Fertilizer Into The Planting Rows
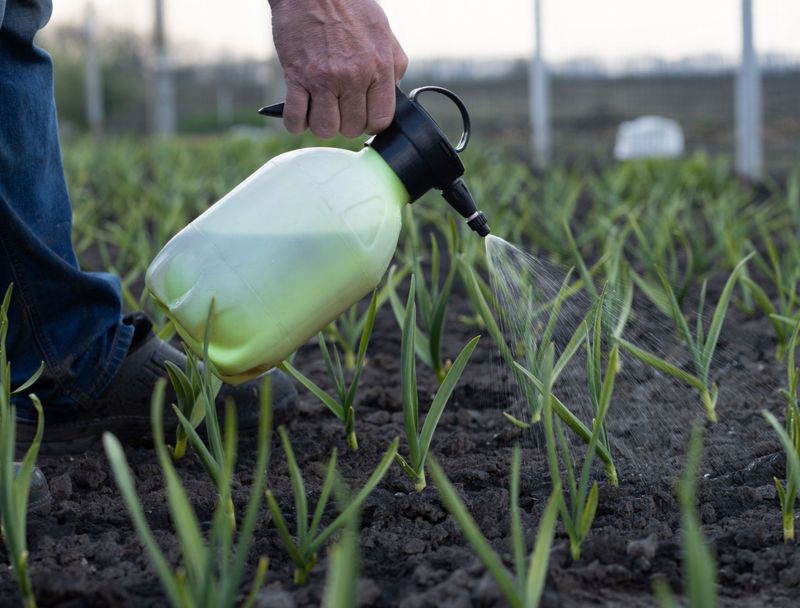
Garlic is a hungry crop, and it starts building its underground pantry long before you see leaves. Feeding the soil at planting gives those new roots the nutrients they need to settle in strongly.
Before planting, work a balanced fertilizer or well-composted organic matter into the top few inches of soil. Some gardeners sprinkle a small spoonful of all-purpose fertilizer into each hole, which works nicely too.
Phosphorus and potassium support root growth, so fall is the right moment to add them to your bed. Both nutrients move slowly through soil, so mixing them in ahead of time makes them easier to reach.
Nitrogen behaves differently because it moves easily with water and can wash away during rainy winter months. That is why most growers save the bigger nitrogen feeding for early spring when leaves start growing fast.
After I tested both approaches, my spring-fed beds produced noticeably taller plants with greener, healthier leaves. Your results may vary with soil type, so a soil test helps you avoid adding more than needed.
Too much fertilizer can burn tender roots or lead to soft bulbs that store poorly after harvest. Steady, moderate feeding usually beats one heavy dose, giving your garlic patient fuel through the long season.
7. Water Freshly Planted Garlic Then Let Rain Help
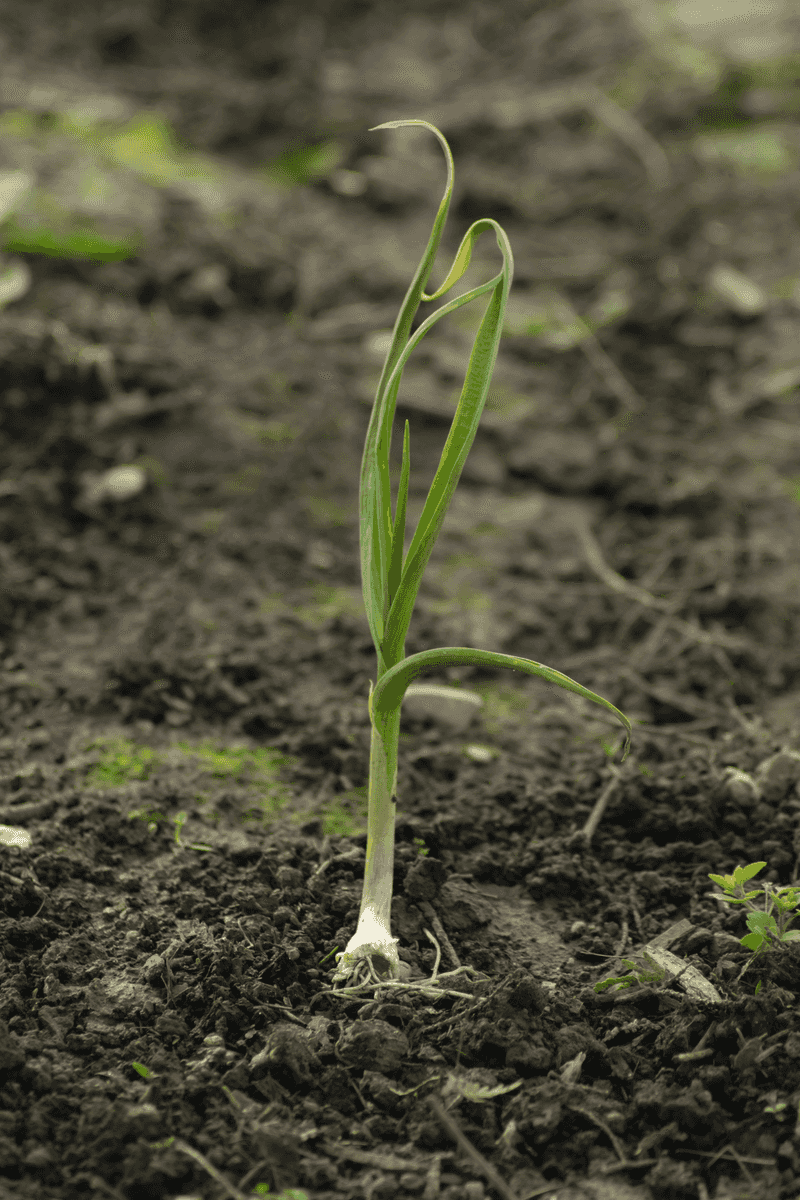
Cloves fresh in the ground appreciate one good soak, like a welcome drink after moving into a new home. That first watering settles soil around each clove and closes air pockets where roots might struggle to grip.
After that, fall weather usually handles much of the work thanks to cooler temperatures and regular rainfall. Check the soil with your finger, and water only if the top couple of inches feel dry.
The goal is soil that stays evenly moist without turning soggy, because waterlogged cloves often begin to rot. I keep a cheap rain gauge near my beds, which saves me from guessing after storms.
Drainage becomes even more important once the garlic slows down for winter and stops drinking much water. Puddles that linger around your rows are a sign the bed needs more compost or a raised edge.
Dry fall regions may need occasional deep watering until the ground freezes, especially during long rainless stretches. Watering deeply but less often encourages roots to grow downward, which helps plants handle stress later.
You might notice garlic looks unbothered during winter, but those roots are quietly using stored moisture below. Keeping that balance right now means stronger plants when warm spring days finally call them back to work.
8. Choose Hardneck Or Softneck Garlic For Your Climate
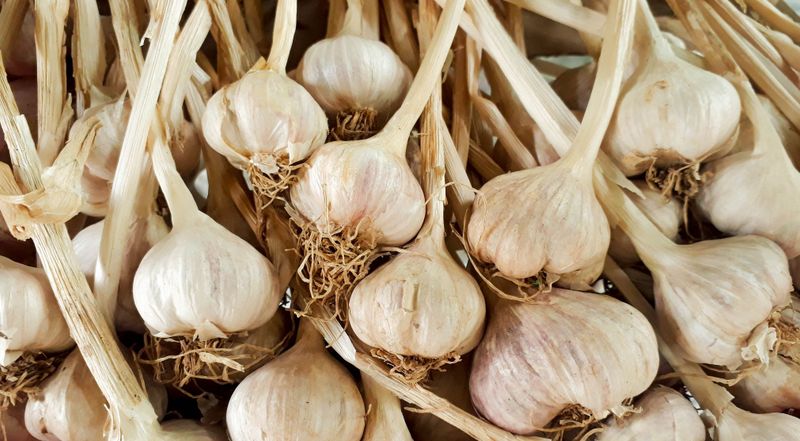
Garlic comes in two main personalities, and matching the right one to your winters is a sneaky head start. Hardneck types grow a stiff central stalk, while softneck types keep flexible necks perfect for braiding.
Hardneck garlic generally shines in colder climates, roughly USDA zones 4 through 8, where winters get properly chilly. Many hardneck varieties need that cold period to form well-divided bulbs, so frosty winters work in their favor.
As a bonus, hardnecks send up curly flower stalks called scapes, which taste wonderful in pesto or stir-fries. Their cloves are larger and fewer, though they usually store about four to six months after harvest.
Softneck garlic handles milder winters better, which makes it a favorite for gardeners in warmer southern regions. Those bulbs often pack more cloves and can store for eight months to a year in good conditions.
I grow some of each, and I am surprised every year by how different their flavors turn out. Hardnecks lean bold and complex, while softnecks often taste milder and keep my kitchen stocked much longer.
Ask local growers which varieties perform best near you before you order seed garlic this season. Picking the right type for your region sets up success before a single clove touches the soil.
9. Give Garlic Cloves A Quick Soak Before Planting
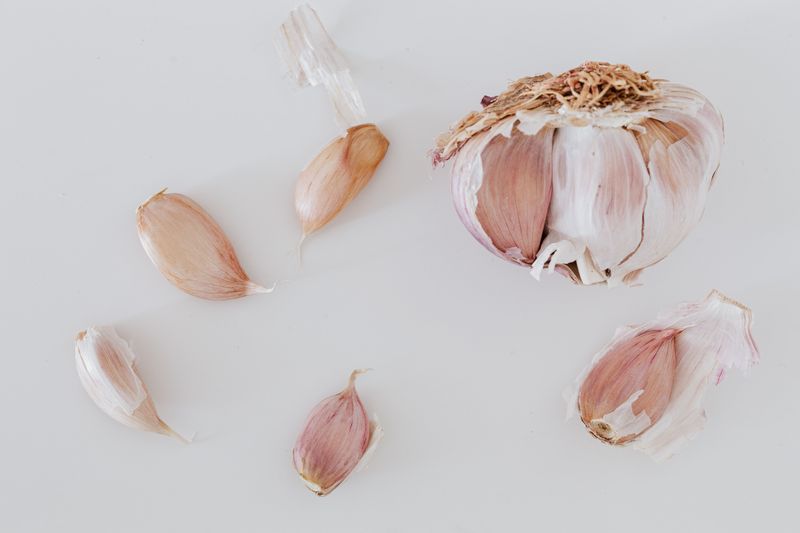
Some growers swear by a short bath for their cloves, and the ritual feels a bit like spa day. Soaking is optional, yet many gardeners use it to clean cloves and possibly encourage quicker root growth.
Common soaks include plain water with a little baking soda, sometimes paired with a liquid seaweed solution. Commercial pre-planting garlic soaks also exist, so read labels carefully and follow the directions on the package.
Evidence for faster rooting is mostly from gardener experience, so treat the claims as helpful but not guaranteed. I tried a simple overnight soak one fall, and my soaked rows did seem to emerge slightly earlier.
Soak cloves only for the recommended time, since leaving them submerged too long can invite rot instead. Afterward, drain them well and rinse if the product suggests it, then plant them right away while damp.
A soak cannot rescue diseased cloves, so careful sorting before the bath still matters more than any solution. Clean, firm cloves plus a quick soak make a nice combination for gardeners who love little experiments.
You can split a bed and soak only half, then compare sprouting dates and bulb sizes next summer. Those side-by-side trials are surprisingly fun and teach you what truly works in your own soil.
10. Plant Sprouted Kitchen Garlic Instead Of Tossing It
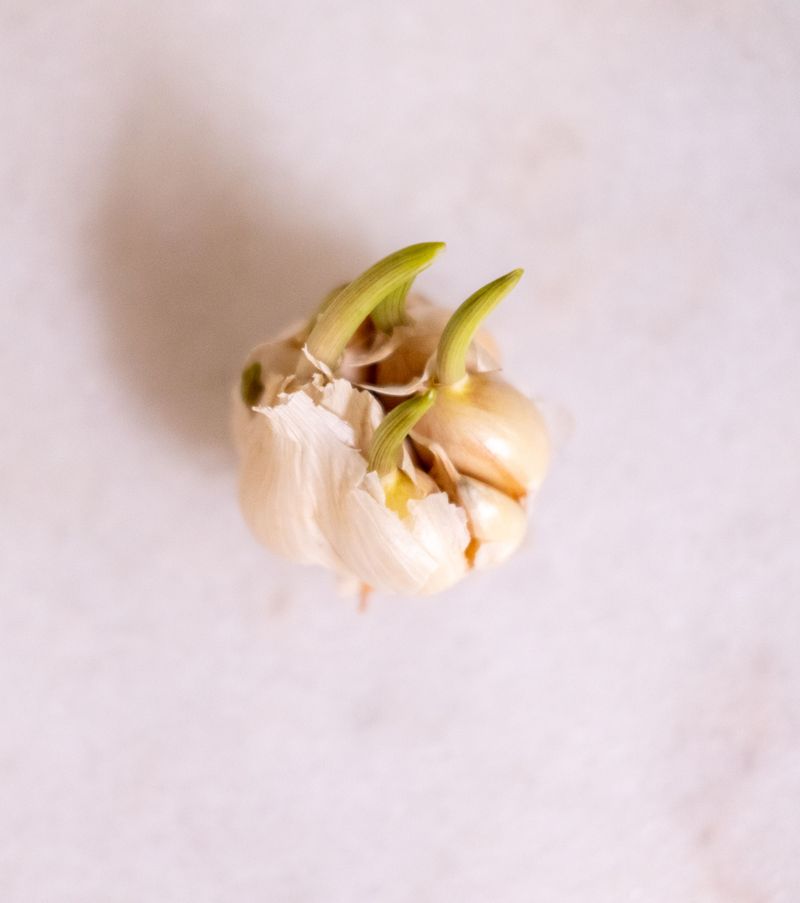
Green shoots poking out of forgotten pantry garlic are not a failure, they are an invitation to garden. Those cloves have already broken dormancy, so they are eager to start growing roots once they hit soil.
Each sprouted clove can still grow into a full bulb when planted in fall with the green tip up. Set them at the same depth and spacing you use for regular seed garlic, then water them in.
Keep expectations realistic, since grocery garlic may not suit your climate and results vary quite a bit. Many store bulbs are softneck types grown in mild regions, so they sometimes struggle through very harsh winters.
I tucked a handful of sprouted cloves into a spare corner once, and several grew into respectable bulbs. It felt like getting free food from scraps, which made the experiment far more satisfying than expected.
If shoots are long, plant carefully so the green growth sits just above or near the soil surface. A layer of mulch afterward protects those tender shoots from harsh cold snaps during the darkest winter weeks.
Even if bulbs stay smaller, the leaves make tasty green garlic you can harvest early in spring. Nothing from that forgotten pantry corner goes to waste, and your garden gains a fun bonus row.