8 Easy Pruning Steps To Protect Your Roses From Disease This Winter
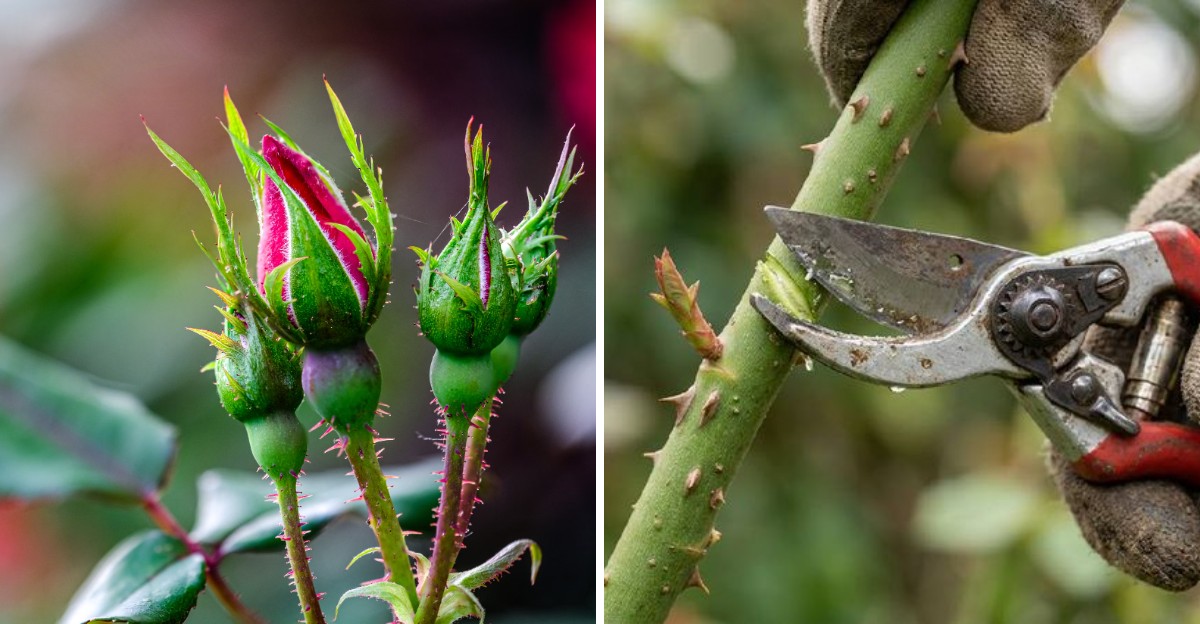
A mite smaller than a speck of dust can hide on bare winter canes and carry a serious plant virus. It tucks itself near buds until warm weather wakes it up.
Fungal spores play the same waiting game inside fallen leaves and old stems scattered across sleepy garden beds. When spring rain arrives, those tiny hitchhikers splash right back onto fresh green growth within days.
I skipped my winter cleanup one year and paid for it with spotted, yellow leaves by early June. After that lesson, I started treating my pruners like a doctor treats a stethoscope, with real respect.
Cut early, cut clean, and clear the debris, because the snips you make before buds swell decide whether your garden thrives or fights disease all season.
1. Sharp Bypass Pruners Make Clean Rose Cuts
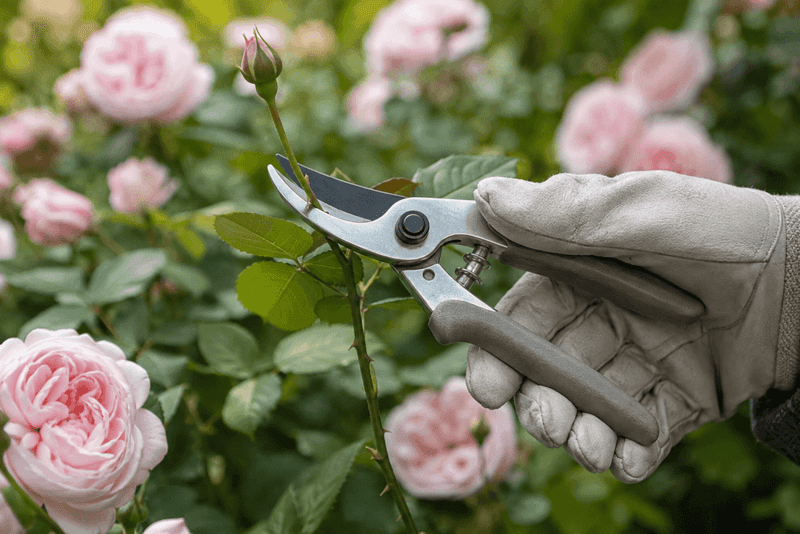
Dull pruners do not slice a rose cane; they crush it, and crushed tissue makes a cozy doorway for fungi. My cheap anvil pruners taught me that lesson after ragged stubs turned brown and stayed that way for weeks.
Bypass pruners work like scissors, with two curved blades sliding past each other for a smooth, clean finish. University extension experts recommend them for most rose canes up to about half an inch thick.
Thicker, woody canes on older shrubs call for long-handled loppers or a small folding pruning saw instead. Forcing hand pruners through big wood often twists the blades and leaves a splintered wound behind.
Before the first cut, I spend ten minutes sharpening edges with a simple file or whetstone at the kitchen table. You can feel the difference right away when the blade glides through a cane without any fight.
Thorns deserve respect too, so grab thick leather gloves that reach past your wrists before tackling any bush. Gauntlet-style gloves saved my forearms from countless scratches during one memorable afternoon with a climbing rose.
Safety glasses are a smart extra, because springy canes can snap back toward your face without warning. Long sleeves made from heavy canvas or denim add another layer between your skin and those hooked prickles.
Gathering everything in one bucket before you start keeps you from wandering off midway through a job. A tidy toolkit also means you are ready to act fast when the weather finally cooperates in late winter.
2. Disinfect Pruning Blades Between Every Rose Bush
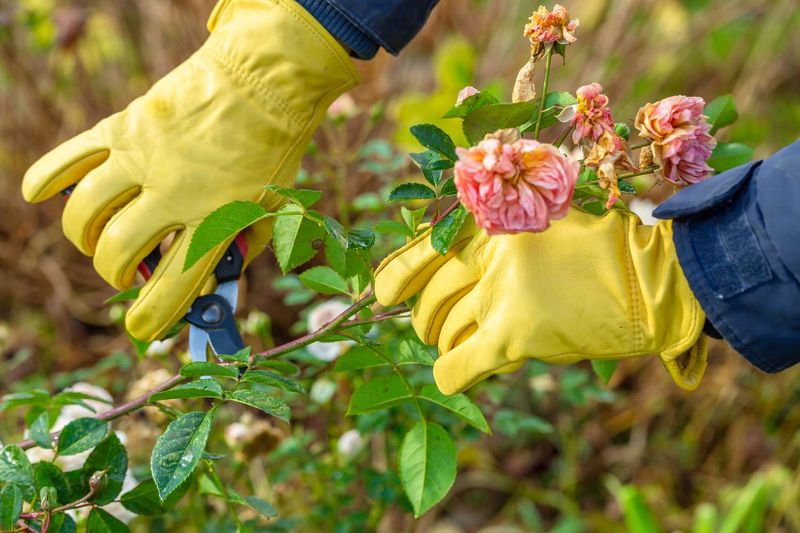
Fungal spores and bacteria ride along on pruning blades as easily as crumbs stick to a buttery knife. One infected cane can share its trouble with every healthy bush you visit afterward if blades stay dirty.
Clemson and other extension programs suggest cleaning tools between plants, especially after cutting anything that looks diseased. A household disinfectant spray or a diluted bleach mixture handles the job quickly and costs very little.
For bleach, mix one part bleach with nine parts water and dip or wipe the blades for about thirty seconds. Rinse and dry them afterward, because bleach can corrode metal and dull a sharp edge over time.
I keep a small jar of disinfectant and a rag clipped to my garden bucket for easy reach. That simple setup turned a chore I used to skip into a quick habit between each shrub.
Rose rosette disease, which is a growing concern in many parts of the country, is a good reason to keep your garden clean and your pruners disinfected. Spread mostly by tiny mites, it causes bright red, bunched shoots that some gardeners call witches’ broom.
Extension specialists usually advise removing an infected bush, roots and all, and bagging it right away.
Cleaning your pruners after touching that plant is still good practice, though the disease spreads mainly through mites, so removing the infected bush promptly matters most.
Wipe the handles too, since your gloves carry sap and spores just as easily as the blades do. A light coat of oil after cleaning keeps everything rust-free and ready for next season’s work.
3. Cut Brown Diseased Rose Canes Back To Healthy Wood
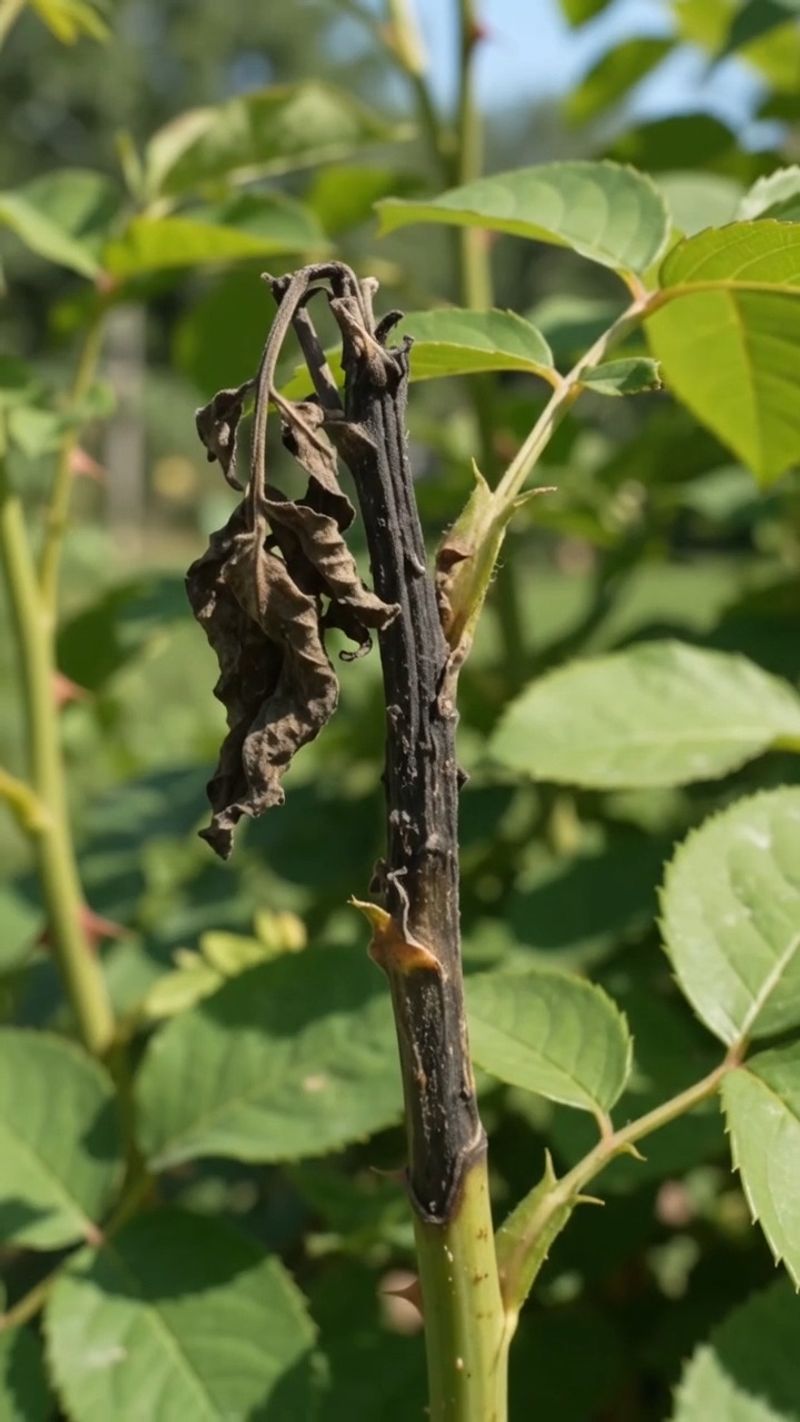
Winter strips a rose down to its bones, which makes sick or damaged canes surprisingly easy to spot. Healthy canes look green or reddish, while troubled ones turn dark brown and look shriveled and papery.
Rose experts call this the first job of pruning season, and I agree after years of trial and error. Removing that weak material takes away cozy hiding spots where canker fungi and pests wait for spring.
Look closely for sunken, discolored patches on the bark, because those spots often signal stem canker. Cankers can slowly girdle a cane over time, cutting off water and nutrients to everything above the wound.
Cut at least an inch below any damaged area, and keep going lower until you reach healthy tissue. The center of the cane, called the pith, should look creamy white rather than tan or brown.
I still remember slicing through a cane three times before finally seeing that clean, pale center appear. Patience at this stage pays off later, because a half-removed infection often creeps right back down.
Wait until late winter or early spring for heavy cutting in cold regions, once the worst freezes have passed. Removing obviously broken or diseased canes earlier is fine whenever you notice them, no matter the month.
Bag those trimmings and send them away with household trash instead of tossing them on the compost pile. Many home compost heaps do not get hot enough to break down stubborn disease spores reliably.
4. Remove Rose Canes That Cross And Rub

Two canes rubbing together in the wind sound harmless, but they slowly sand each other raw like rough sandpaper. Those scraped spots become open wounds where fungi and bacteria can sneak inside without much effort.
I once found a gorgeous hybrid tea with a long brown scar where two branches had been wrestling all winter. That single scar eventually turned into canker, and I lost the whole cane before the first bloom.
Stand back and study the bush from a few angles before you pick up your pruners. Crossing canes are often easier to spot from above or from the side than from straight ahead.
When two canes touch, keep the stronger, better-placed one and remove the weaker partner at its base. Choose the cane growing outward over one heading back toward the crowded center of the rose plant.
Older canes with gray, rough bark tend to bloom less, so they make good candidates for removal too. Younger green canes usually carry more energy and will reward you with stronger flowering stems next summer.
A small pruning saw works wonders when a crossing cane is too thick for hand pruners to handle cleanly. Cut flush with the main stem or crown so no stub is left behind to rot.
Removing these troublemakers also opens space inside the bush, which helps leaves dry faster after rain. That bonus airflow connects nicely with the next step, so keep your pruners handy and your eyes sharp.
5. Open The Center Of Your Rose Bush For Airflow
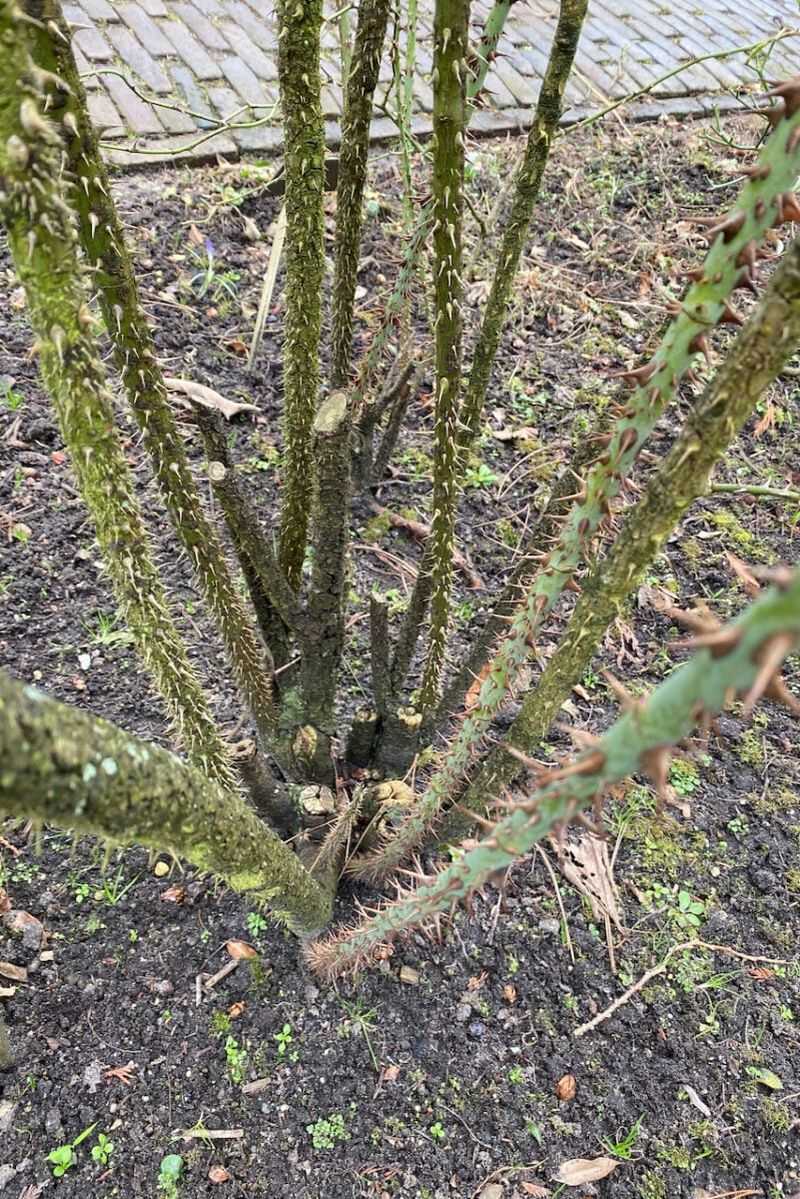
Black spot spores need leaves to stay wet for several hours before they can infect, which explains so much. A crowded, tangled rose holds moisture like a sponge, while an open bush dries off quickly in sunshine.
Shaping a rose like a vase or an open bowl lets light and breezes reach right into the middle. Most extension guides recommend this open form for hybrid teas and grandifloras, which grow best that way.
Powdery mildew behaves a little differently, since it thrives in humid air even when leaves stay dry. Better airflow still lowers humidity around the foliage, giving that fuzzy white coating fewer chances to settle.
For a typical hybrid tea, many gardeners keep three to five healthy canes spaced evenly around the crown. Each cane should point outward, leaving the center mostly empty, like the spokes of a wheel.
Shrub roses and climbers do not need this strict treatment, so go easier on them and simply thin crowded growth. Climbers bloom best on horizontal side shoots, so trim those back while saving the long main canes.
My favorite trick is to imagine a small bird flying straight through the middle without touching a twig. If that little visitor would crash, there is probably still a cane or two worth removing.
An open shape also makes scouting much easier when early spots or aphids show up in spring. You can see trouble at a glance instead of digging through a thorny thicket with your bare arms.
6. Snip Just Above An Outward Facing Rose Bud
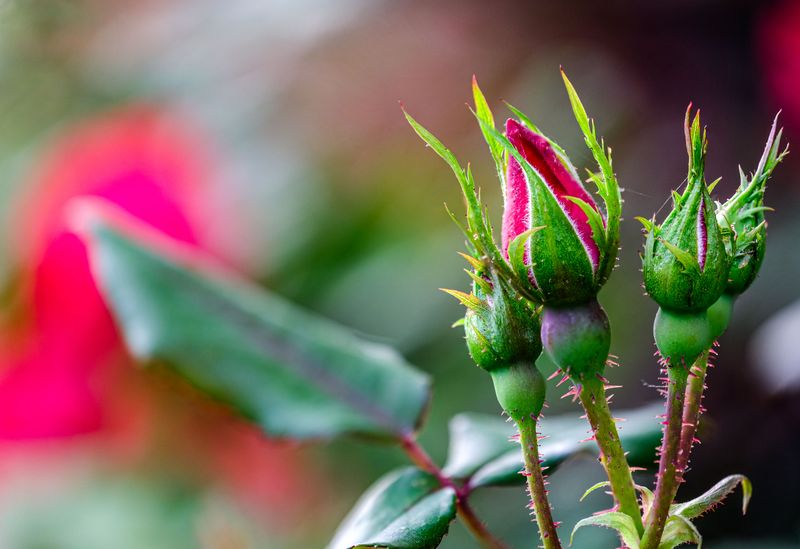
Rose buds sleep under the bark as tiny reddish bumps, and each one decides where the next stem will grow. Picking the right bud for your cut is like steering a ship, just much smaller and far more fragrant.
Look for a bud sitting on the outside of the cane, facing away from the center of the bush. New growth will follow that direction, keeping your hard work on an open shape from filling back in.
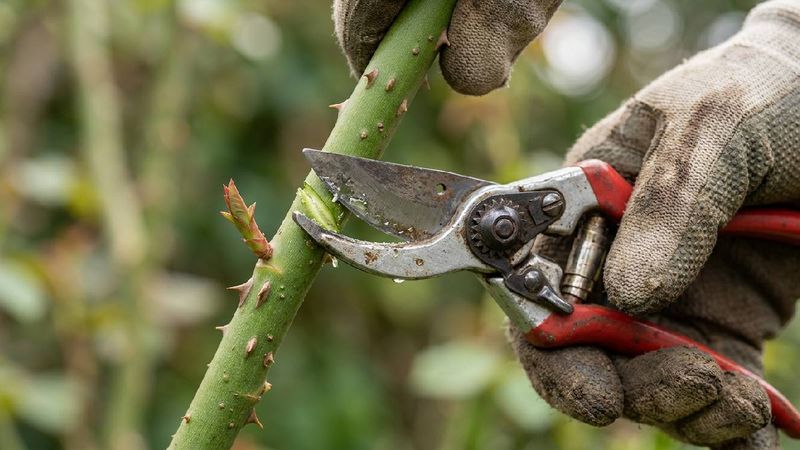
Make each cut about a quarter inch above the bud, slanting at roughly a forty-five degree angle. The slope should run away from the bud, so rain and melting snow slide off instead of pooling.
Cutting too close can damage the bud itself, while leaving a long stub invites the tip to brown and decay. I used to leave sloppy half-inch stubs, and many of them turned dark and brittle by early spring.
Timing matters here, because buds are easiest to see in late winter as they begin to swell. Many cold-climate gardeners wait until forsythia blooms, which signals that the hardest freezes have usually passed.
Gardeners in mild areas, such as much of California, often prune in January while the plants are semi-dormant. Wherever you live, avoid heavy pruning in early fall, since tender new shoots could freeze before hardening off.
Some gardeners seal fresh cuts with glue or paint, but many extension experts consider sealing unnecessary for healthy roses. A clean cut usually heals nicely on its own, unless cane borers are a known local problem.
7. Pull Rootstock Suckers And Thin Spindly Rose Canes
Grafted roses hide a sneaky roommate underground, a sturdy rootstock that sometimes tries to take over. Its shoots, called suckers, pop up below the knobby graft union and often look slightly different.
Many grafted roses sit on Dr. Huey rootstock, a vigorous climber with small, dark red blooms. I was thrilled once by mystery red flowers, until I realized the rootstock had quietly hijacked my bush.
Suckers steal water and nutrients from the variety you actually paid for, weakening it year after year. Snipping them at soil level helps a little, but they usually return from the same spot.
Gently dig away soil to find where the sucker joins the root, then pull or cut it off right there. Removing that little collar of tissue makes regrowth much less likely during the growing season ahead.
Spindly canes thinner than a pencil deserve attention next, since they rarely produce strong, healthy flowers. They crowd the middle of the bush and soak up energy that thicker canes could use far better.
Own-root roses do not have a graft, so any shoot from the base is the same variety you planted. Keep those vigorous basal shoots, because they often become the best bloomers in a few seasons.
Check plant tags or records if you are unsure whether a rose is grafted or growing on its own roots. A quick look for a swollen knob near the soil line usually answers the question too.
8. Rake Up Fallen Rose Leaves And Pruned Canes
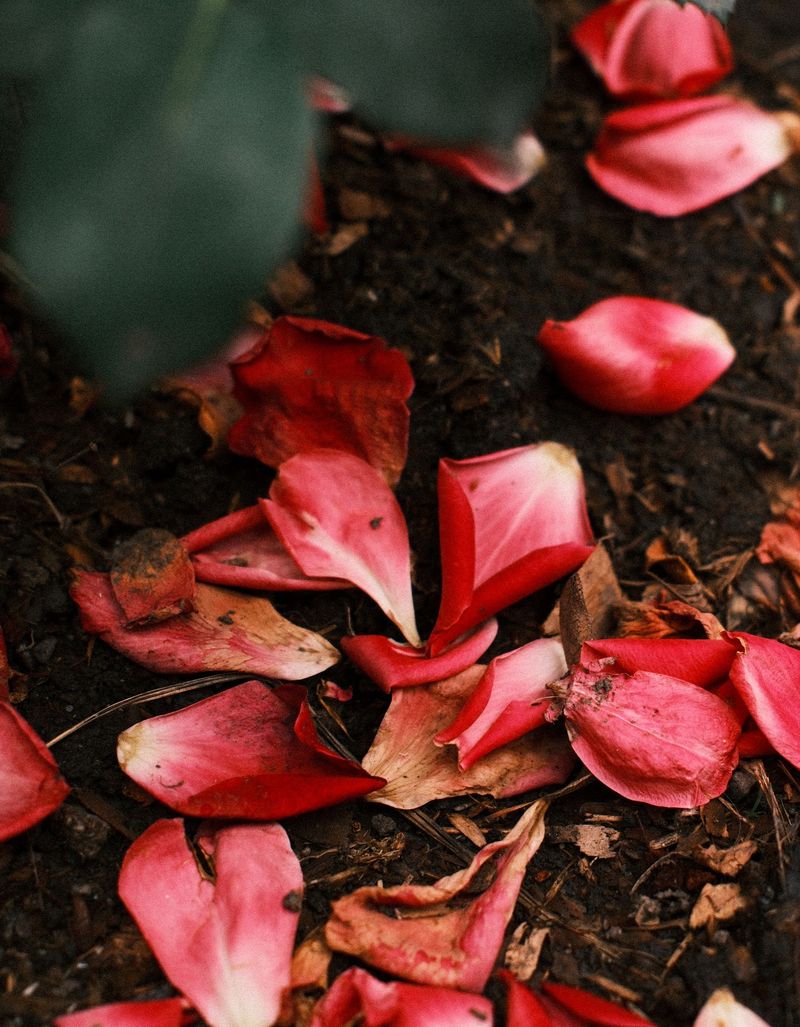
Black spot is a master at waiting, spending the cold months tucked inside fallen leaves and infected canes. Come spring, raindrops splash those spores upward onto brand-new foliage, and the cycle starts all over again.
Raking up that litter is one of the simplest ways to break the chain, according to many university extension services. I like doing it right after pruning, while the ground is already covered in clippings anyway.
Pull off any old leaves still clinging to the canes, since those can harbor spores as well. It feels a bit fussy, but stripping lingering foliage gives your roses a genuinely fresh start each season.
Bag the debris and put it in the trash or yard waste program rather than your backyard compost. Municipal composting often reaches higher temperatures, but check local rules before tossing diseased material in their bins.
Once the bed is clean, spread a fresh layer of mulch about two to three inches deep around each plant. Mulch acts as a barrier that keeps leftover spores from splashing up onto low leaves during spring showers.
Keep the mulch a few inches away from the canes themselves, so moisture does not sit against the bark. Bark that stays soggy all winter can invite rot, which quietly undoes the careful pruning you just finished.
Standing back to admire a tidy rose bed after all that effort is one of my favorite winter rewards. Those bare, neat canes look plain now, yet they hold the promise of healthier blooms ahead.