What Texas Hydrangeas Need This Month For A Heavier Bloom Next Spring
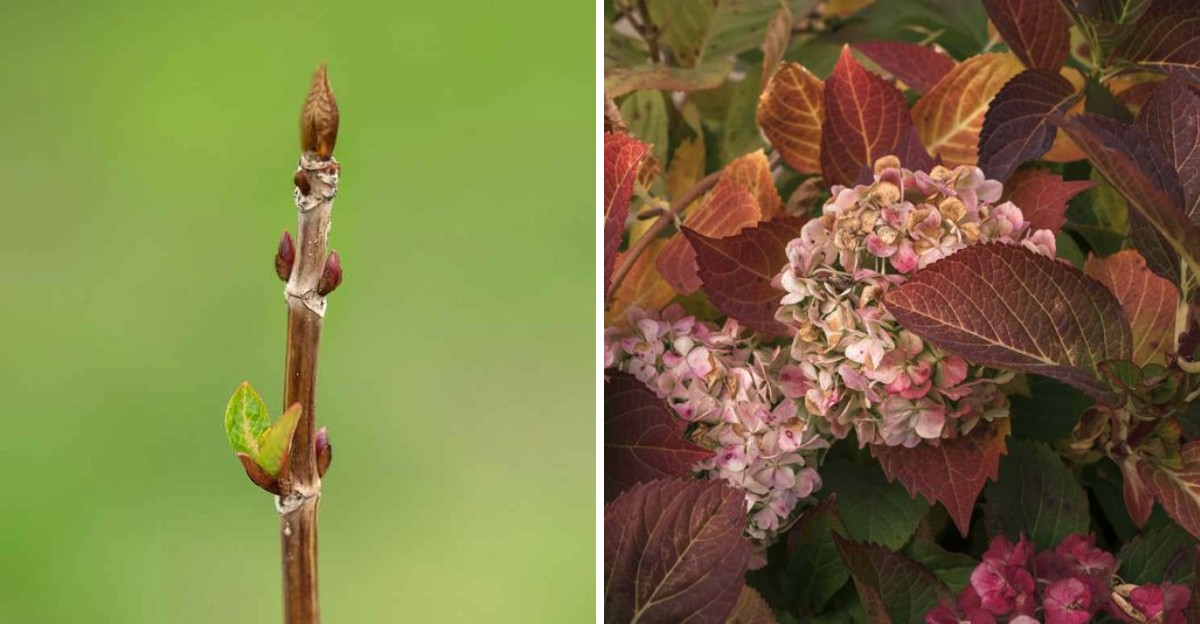
Next spring’s flowers are already hiding inside certain shrubs, packed into fat buds at the tips of last summer’s stems. Those buds formed weeks ago, while most of us were busy complaining about the heat and the water bills.
One careless snip in late fall can remove a whole season of blooms before anyone notices the mistake. Texas gardeners face extra puzzles too, like alkaline soil and surprise freezes that roll in after a warm, sunny week.
I have to admit, my own shrubs once gave me nothing but big green leaves for a whole spring. You might notice the same thing, and the cause is often something small that happened months earlier.
Most fixes this month are cheap and surprisingly relaxing, perfect for a cool morning with coffee in hand. So which small chores in Texas actually lead to heavier clusters, and which ones quietly hurt your chances?
1. Put The Pruning Shears Away For Bigleaf Hydrangeas
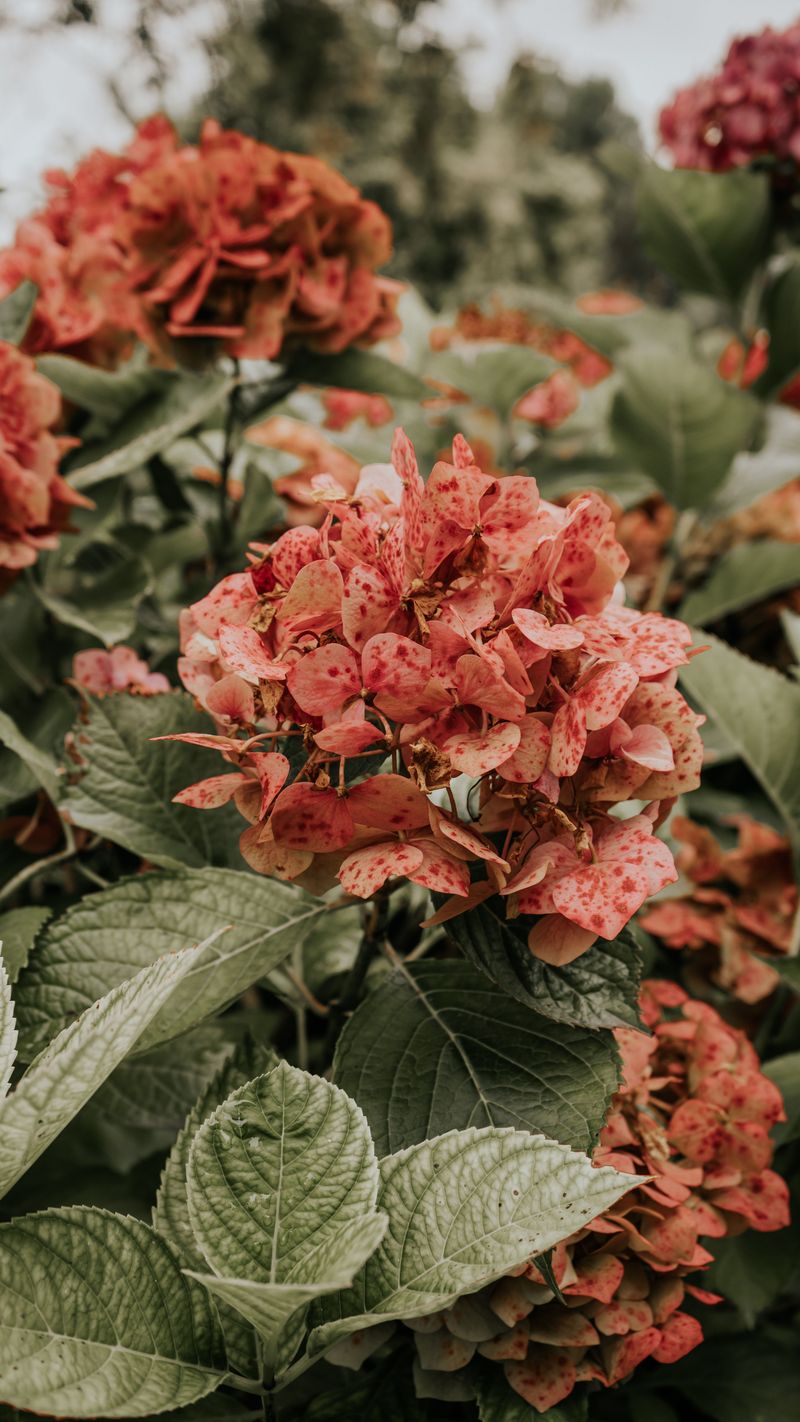
Bigleaf hydrangeas are sneaky, because their flower buds for next year are already sitting at the stem tips.
Those swollen green buds look like tiny artichokes, and each one holds a future mophead cluster inside.
Cutting those stems back now feels tidy, but it removes the exact spots where spring flowers would appear. I learned this lesson the hard way, staring at a shrub covered in leaves and zero blooms.
Bigleaf types, scientifically called Hydrangea macrophylla, bloom mostly on old wood that grew during the previous summer.
Some rebloomers like the Endless Summer series also flower on new growth, yet they still appreciate restraint.
Your best move this month is simple, leave the old flower heads alone and let the shrub rest. Dried blooms add a papery, antique look to the garden, and they may help shield the buds below.
Only trim stems that snap easily or look clearly broken after a storm or a careless bump. Make each cut just above a healthy bud or a strong side branch, using clean, sharp pruners.
Oakleaf hydrangeas follow the same old-wood rule, so they also deserve a hands-off approach until after flowering.
The best pruning window for both types arrives in early summer, right after the blooms begin to fade.
Personally, I tie a small ribbon on my pruners as a reminder to wait until next summer. It sounds silly, yet that little ribbon has saved more flower buds than any fancy fertilizer ever did.
2. Spot The Plump Flower Buds On Old Hydrangea Stems
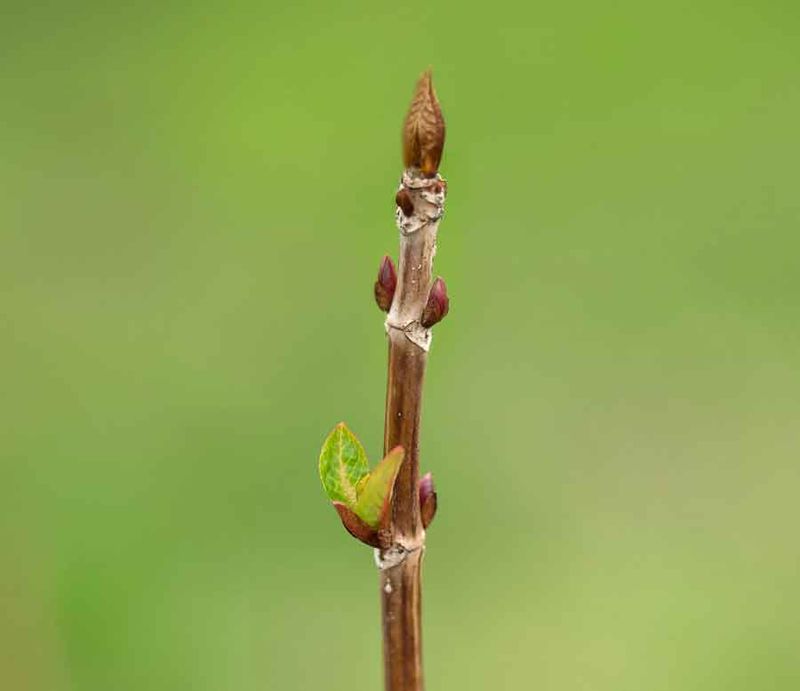
Hydrangeas come in several types, and each one hides its future flowers in a different place on the plant. Knowing which kind lives in your yard makes every fall chore easier and saves you from guessing.
Old-wood bloomers include bigleaf and oakleaf hydrangeas, which set buds on stems that already grew this past summer.
Panicle and smooth hydrangeas form buds on fresh spring growth, so their stems can handle a winter trim.
Walk outside on a cool afternoon and look closely at the tips of the woody stems. Fat, rounded buds near the ends usually signal an old-wood type that needs patience and gentle handling.
Leaves give strong hints too, and oakleaf hydrangeas are easy to spot with their big lobed foliage. Many oakleaf shrubs turn shades of burgundy and bronze in fall, which makes them a seasonal showstopper.
Panicle hydrangeas usually carry cone-shaped flower heads, while smooth types like Annabelle produce rounded white snowball blooms.
Bigleaf shrubs have shiny, thick leaves and either round mopheads or flat lacecap clusters in pink or blue.
If an old plant tag still sits in the pot or garden bed, keep it somewhere safe. I tape mine inside a notebook, because faded memories rarely remember the exact variety name later on.
You can also snap a clear photo and show it to staff at a local nursery or extension office. A quick answer now protects next spring’s display and keeps your pruning plans firmly on the right track.
3. Give Hydrangea Roots A Deep Fall Soaking
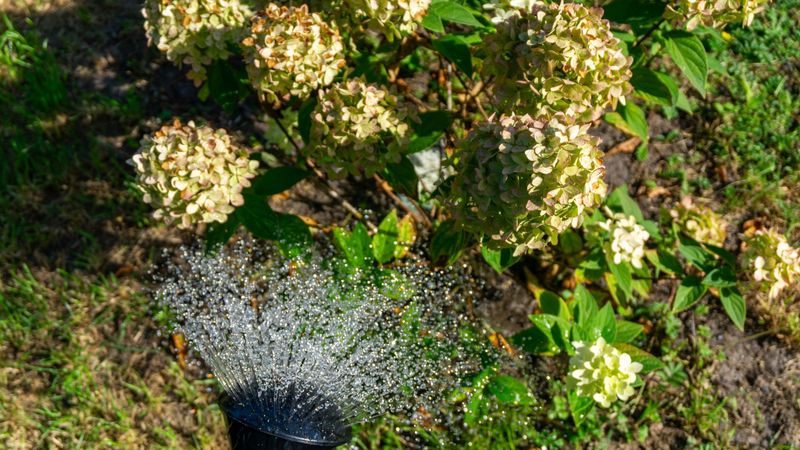
Big leafy shrubs drink a surprising amount of water, and their roots keep working long after the air cools. Hydrangea even gets its name from Greek words meaning water vessel, which sounds like a fitting hint.
Fall in Texas can bring long dry spells, especially in the central and western parts of the state. Stressed roots heading into winter often lead to weaker stems and fewer buds when spring finally arrives.
Check the soil by pushing a finger about two inches down near the base of the shrub. If it feels dry, give the plant a slow, deep drink that reaches well into the root zone.
A soaker hose or a gently trickling garden hose works better than a quick splash from a sprinkler. Slow water sinks deeper, while fast spraying tends to run off and leave the lower roots thirsty.
During dry weeks, a thorough soaking every seven to ten days usually keeps established hydrangeas comfortable.
Newly planted shrubs may need water more often, since their small root balls dry out much faster.
Morning is my favorite time to water, because the leaves dry quickly and the soil stays cool. Watering before a predicted freeze also helps, since moist soil holds warmth better than dry, dusty ground.
Skip watering when recent rains have already soaked the bed, since soggy roots can struggle and rot. A little attention now means plump, healthy buds instead of brittle tips come next spring.
4. Spread A Thick Layer Of Pine Straw Mulch
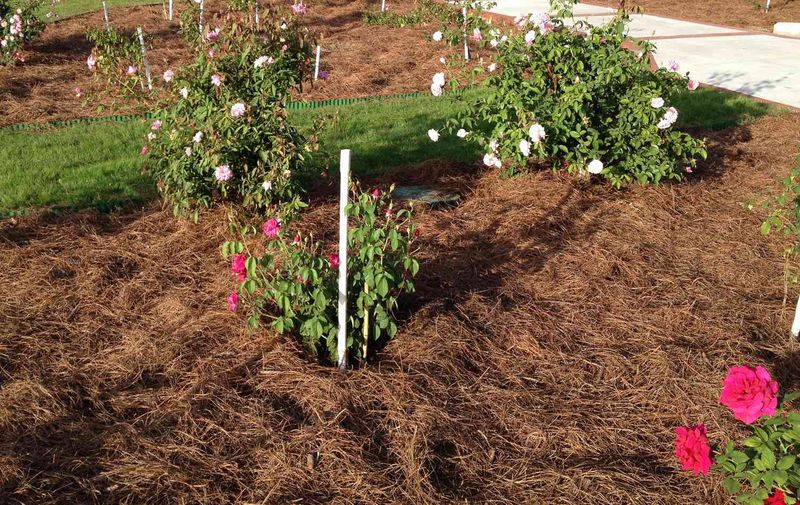
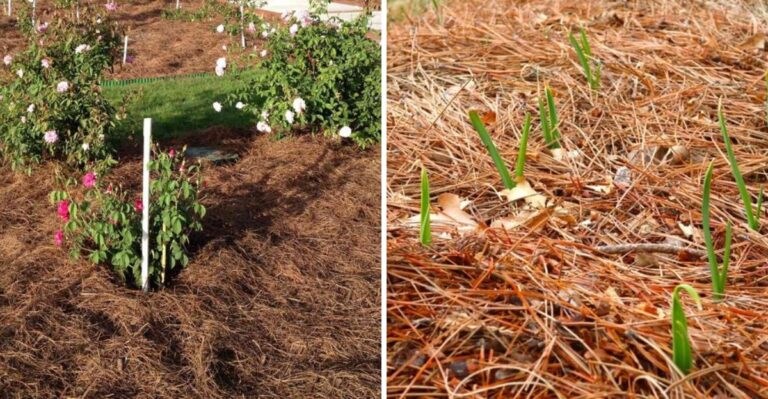
A fluffy blanket of pine straw around a hydrangea looks cozy, and it works harder than it appears. Mulch keeps soil temperatures steadier, so roots avoid the wild swings between warm afternoons and frosty nights.
Our winters often bounce from shorts weather to sudden cold, and that seesaw can stress shallow roots.
A good layer acts like insulation, softening each temperature change before it reaches the root zone below.
Aim for two to three inches of pine straw or shredded pine bark spread evenly around the shrub. Extend the layer out toward the edge of the branches, where many of the feeding roots spread.
Keep the mulch a few inches away from the main stems, since piled mulch can trap moisture against the bark. That damp pocket invites rot and gives hungry critters a hiding place right next to your plant.
Fallen leaves from your own yard make free mulch, especially after running a mower over them once or twice. I love how crunchy oak leaves turn into soft, dark crumbs by the time spring rolls around.
Organic mulch slowly breaks down and feeds the soil with fresh organic matter as the months pass.
Hydrangeas appreciate that rich, crumbly texture, which helps the soil hold moisture without staying soggy and heavy.
Pine bark and pine straw may nudge soil slightly toward acidity over time, though the change is usually small. Treat mulch as comfort rather than a cure, a simple step that keeps roots happy through winter.
5. Skip The Nitrogen Fertilizer Until Spring
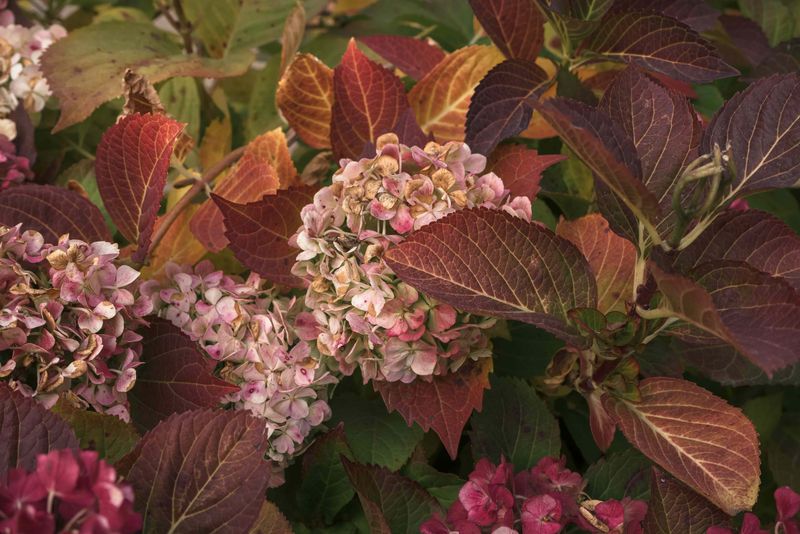
Feeding a hydrangea right now feels generous, but it is a bit like serving dessert at bedtime. The shrub is slowing down for winter, and a sudden nitrogen boost confuses that natural rhythm.
High-nitrogen fertilizers push soft, leafy growth, and that tender growth has little time to toughen before cold weather. One early freeze can scorch those fresh shoots, leaving the shrub weaker and less ready to flower.
Most experts suggest finishing fertilizer applications for hydrangeas by mid to late summer, then letting the plant rest.
Bigleaf types are especially sensitive, since extra nitrogen often produces lush leaves at the expense of blooms.
I have to admit, I once fed my shrubs too late and got a mountain of floppy greenery. The following spring brought only a handful of small flowers, which taught me to put the bag away.
Compost is a gentler choice this time of year, and it improves soil without forcing a growth spurt. Spread a thin layer of finished compost under the mulch, and earthworms will slowly carry it downward.
When spring arrives and new leaves appear, a balanced slow-release fertilizer gives hydrangeas a steady meal.
Follow the label carefully, because more fertilizer rarely means more flowers and can even burn tender roots.
Patience pays off here, and resting plants store energy in their roots for the big show ahead. Your wallet benefits too, since skipping fall feeding saves money without costing you a single bloom.
6. Test The Soil Before Adjusting Bloom Color
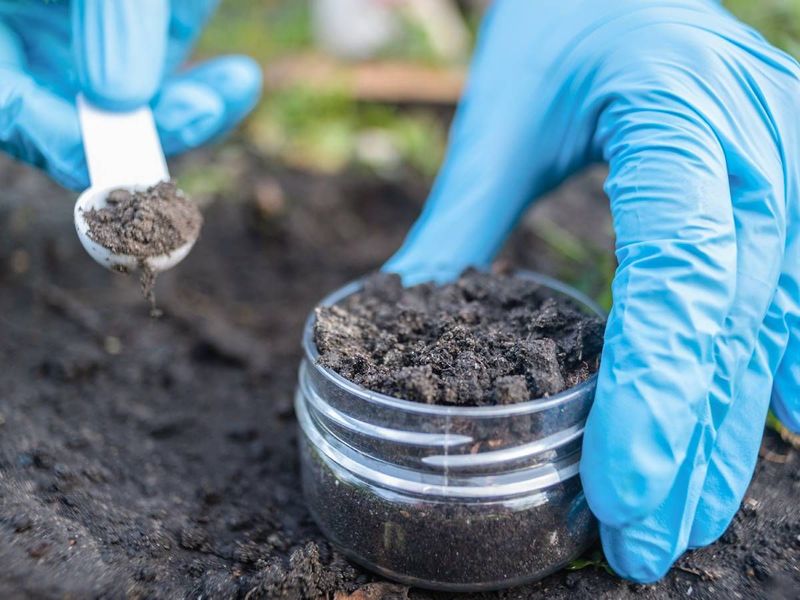
Bigleaf hydrangeas are natural mood rings, shifting between blue and pink depending on the chemistry hiding in your soil. Acidic soil lets the roots absorb aluminum, which turns blooms blue, while alkaline soil pushes them toward pink.
Much of Texas has alkaline soil, especially west of Interstate 35, where limestone sits close to the surface. That is why so many local hydrangeas lean pink, and why blue blooms take serious effort there.
Fall is a smart time to test, since results arrive with plenty of time to plan spring adjustments. The Texas A&M AgriLife Extension soil lab offers affordable tests that show pH and basic nutrient levels.
Blue flowers usually need a pH around 5.2 to 5.5, while pink blooms prefer roughly 6.0 to 6.5 or higher. White hydrangeas stay white regardless of pH, so color amendments matter only for pink and blue types.
Aluminum sulfate or garden sulfur can lower pH, but changes happen slowly in ground soil, often over months.
Applying lime raises pH for pinker flowers, though most alkaline yards already lean that direction naturally.
Personally, I find big containers easier for blue hydrangeas, since you control the potting mix from the start.
An acidic mix for azaleas gives roots a better chance at absorbing aluminum without fighting native limestone.
Avoid dumping amendments based on guesses, because too much sulfur or aluminum can harm roots and stunt growth. A test result turns color changing into a calm, planned project rather than a frustrating experiment.
7. Cover Hydrangea Shrubs Before A Hard Freeze
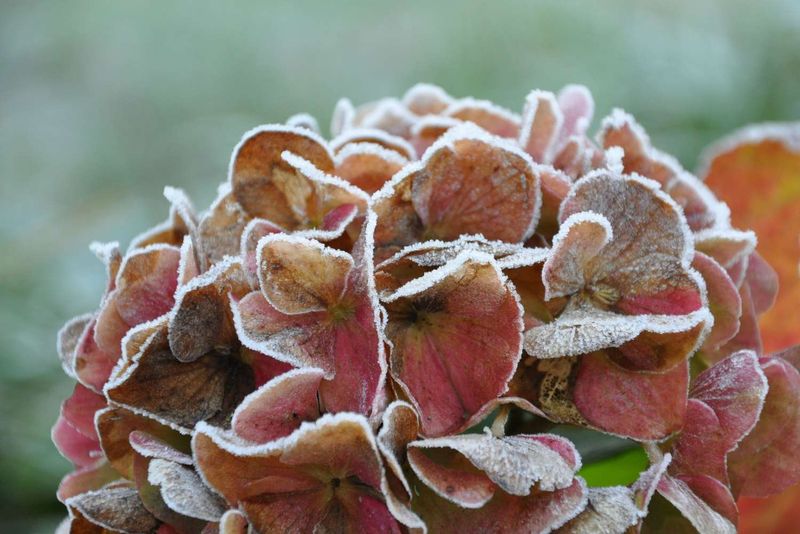
Those tender flower buds sitting on bigleaf stems are the most fragile part of the whole plant in winter. A single hard freeze after a warm spell can brown them, even when the roots below stay perfectly healthy.
North Texas and the Panhandle see the coldest snaps, while coastal and southern gardens usually stay milder.
Still, the February 2021 freeze reminded everyone across the state that harsh cold can reach almost anywhere.
Keep an eye on the forecast, and grab coverings when temperatures are predicted to drop into the low twenties. Frost cloth or an old bedsheet works well, draped loosely over the shrub so it reaches the ground.
Letting the cover touch the soil traps warmth rising from the earth, which is where the real protection comes from.
A few bricks or rocks along the edges keep gusty winds from tossing the fabric into the neighbor’s yard.
Avoid plastic sheeting directly on the branches, since plastic can transfer cold and damage the buds it touches. If plastic is all you have, layer a sheet underneath first to create a buffer between them.
Remove covers once temperatures climb back above freezing, so the shrub gets light and fresh air again. Leaving fabric on for days can trap moisture and encourage mold, which creates a new set of problems.
I keep a basket of old sheets by the back door all winter, ready for any surprise forecast. That quick ten-minute rescue can mean the difference between a bare shrub and a stunning spring show.
8. Move Potted Hydrangeas Against A Warm Wall
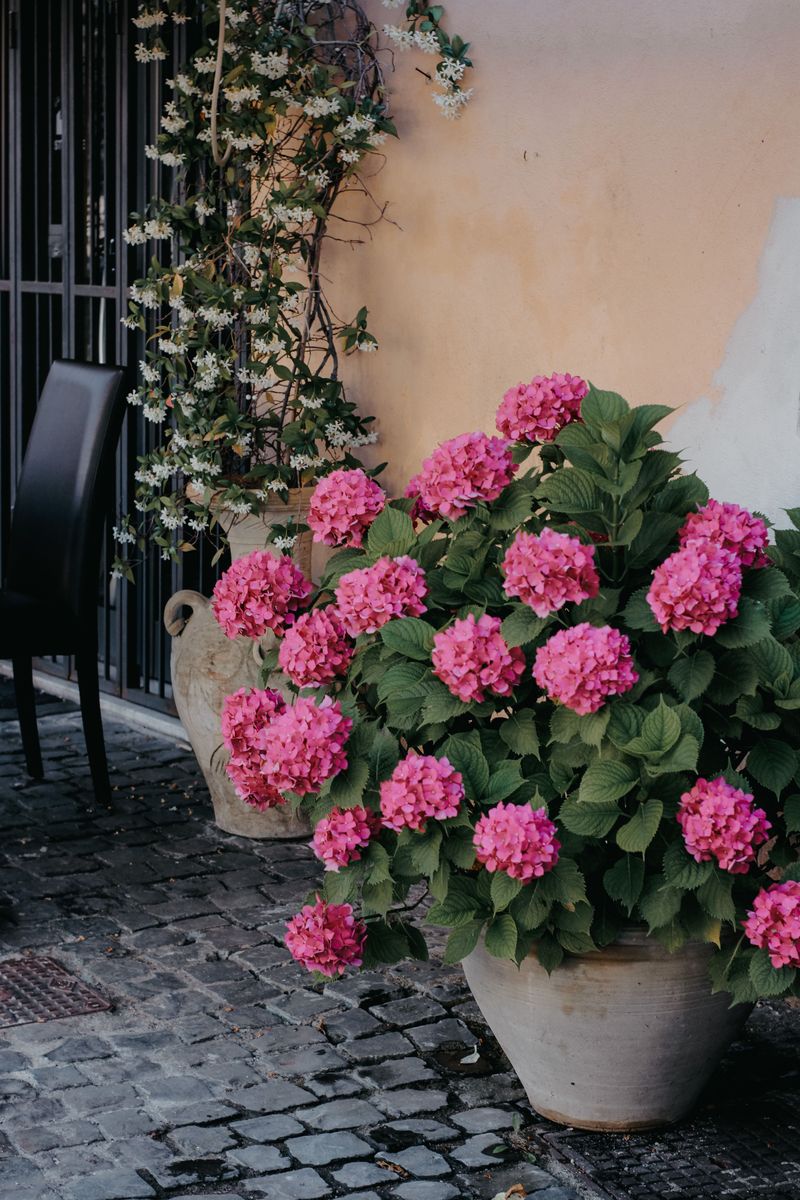
Potted hydrangeas face a cold challenge that their in-ground cousins rarely experience, since their roots sit above the soil.
Cold air surrounds the container on every side, so roots chill much faster than they would in the ground.
Roots are generally less cold-hardy than stems and buds, which makes a freezing pot a real risk. A plant that thrives in a flower bed might struggle badly when the same chill reaches its pot.
Slide containers close to a south or east facing wall, where stored daytime warmth softens nighttime temperatures.
Grouping several pots together also helps, because they shelter each other and share a little extra warmth.
During a hard freeze, rolling pots into an unheated garage or shed offers even better protection for a night. Bring them back outside once the cold passes, so they stay tuned to natural outdoor temperature changes.
Wrapping the container in burlap or bubble wrap adds insulation without blocking water from reaching the roots. I like how a burlap wrap looks rustic and charming, almost like the pot is wearing a winter sweater.
Check soil moisture every week or two, since pots dry out faster than garden beds, even in cool weather. Water lightly when the top inch feels dry, but make sure the drainage hole stays clear and open.
Small pots are the most vulnerable, so consider moving young plants into larger containers before winter fully settles.
More soil around the roots means more insulation, and that extra cushion helps protect next spring’s flower buds.
9. Plant Oakleaf Hydrangeas While The Weather Is Cool
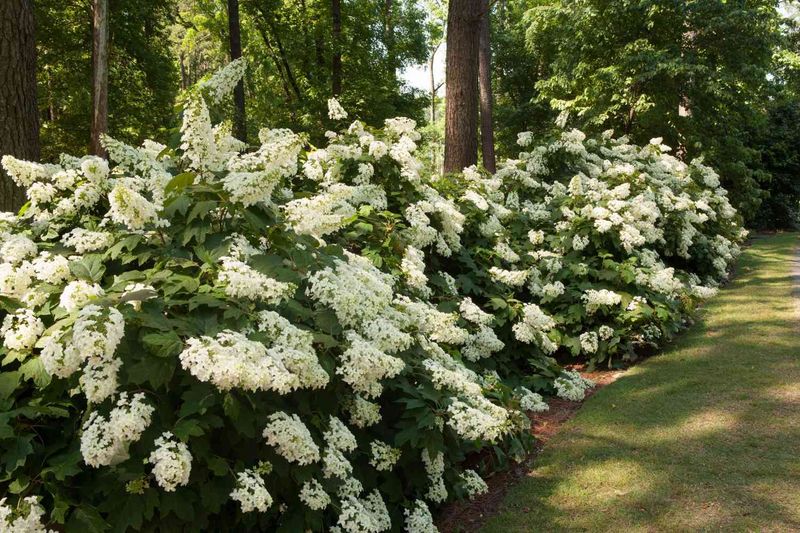
Oakleaf hydrangea is a native shrub of southeastern woodlands, and it handles hot summers better than many fancy cousins. Its leaves look just like giant oak leaves, and they glow in shades of burgundy during fall.
Fall is prime planting season across much of Texas, because cooler air reduces stress while warm soil encourages roots.
A shrub planted now spends winter building roots, so it greets spring with a stronger base for blooming.
Scientifically known as Hydrangea quercifolia, this species produces long, cone-shaped white flower clusters in late spring and early summer.
Those blooms often fade to pink or rosy tan, staying attractive on the shrub for weeks afterward.
Choose a spot with morning sun and afternoon shade, since harsh western light can scorch the large leaves. Good drainage matters too, and oakleaf types tend to sulk in heavy, soggy clay that stays wet.
Dig a hole about twice as wide as the root ball, but no deeper than the pot itself. Mix in some compost, set the plant level with the ground, then water deeply to settle the soil.
Smaller cultivars like Ruby Slippers and Sikes Dwarf fit nicely in tight beds and still deliver plenty of flowers. Larger selections like Alice can reach roughly ten to twelve feet, so give those giants generous elbow room.
I believe this shrub deserves a spot in nearly every shady corner, thanks to its interest across several seasons.
Peeling cinnamon-colored bark shows up in winter, giving you something lovely to admire while waiting for spring.