What a Hard Freeze Does to North Carolina Camellia Buds and How to Protect Them
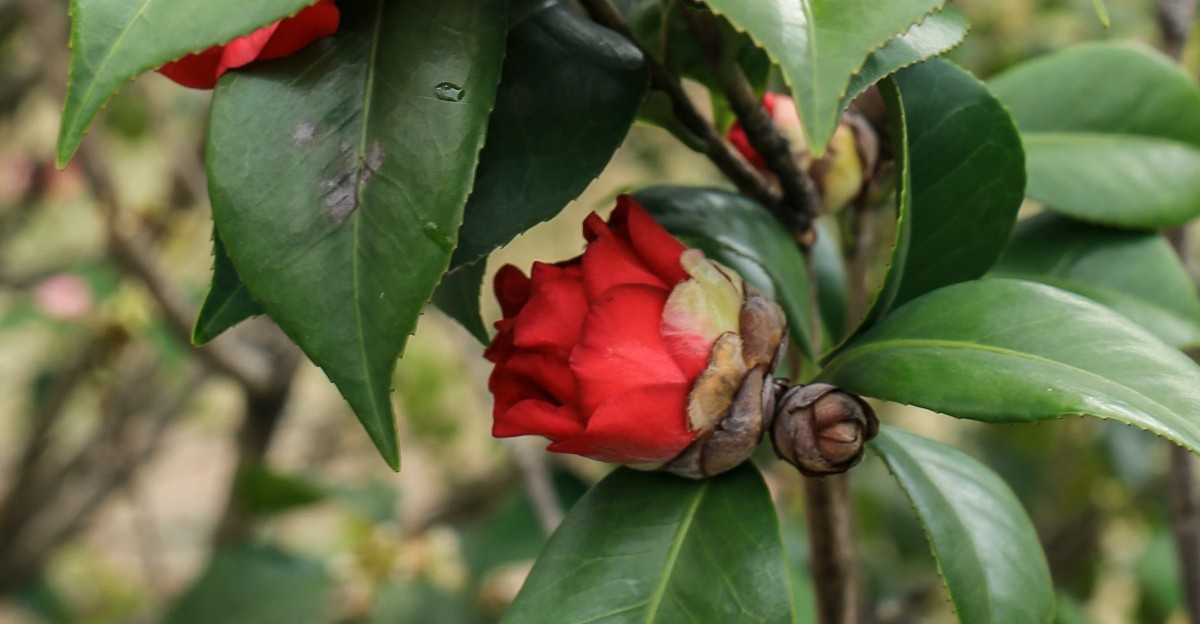
A flower bud can look plump, green, and perfectly fine after a freeze while its base has already quietly let go of the stem. A week later, it drops to the ground like a tiny green marble.
I know how frustrating it can be when a shrub spends all fall packing on buds, then one bitter night undoes the show. Tight buds can often handle surprisingly cold air. Buds that are cracked open and showing color are far more tender.
Here in North Carolina, winter loves to swing between balmy afternoons and sharp, clear nights. That seesaw keeps plants guessing, and it can catch eager buds off guard.
So what actually happens inside a bud when the thermometer plunges? And why do some shrubs sail through while the one by your driveway turns brown? The answers sit in ice, sunlight, water, and a little smart planning.
1. Ice Inside Camellia Buds Does Its Work Quietly
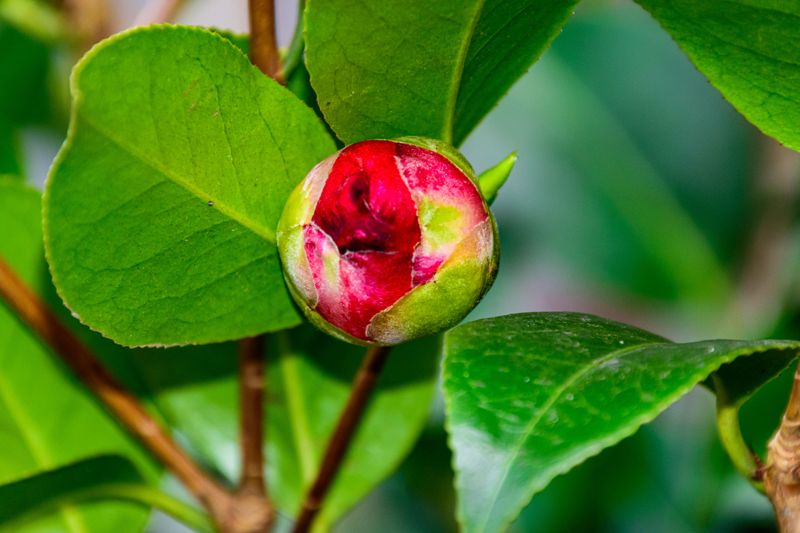
Ice is the real troublemaker here, and most of it forms where you cannot see it. When temperatures fall hard enough, ice crystals develop in and around the cells of the bud.
Those sharp crystals can tear cell membranes, and the tissue softens once it thaws. Camellia growers often say tight buds hold up fairly well into the mid to upper teens, though some sources note damage starting near 10 to 15 degrees.
Buds that are swelling and showing a streak of color are much more tender. Fully open flowers often brown at around 26 to 28 degrees, which is barely a hard frost.
Wind makes everything worse. A breezy, frigid night pulls moisture from leaves and buds at a time when cold roots cannot replace it, so dry injury piles on top of ice injury.
Speed matters too. A slow cooldown gives the plant time to toughen up, while a sudden plunge after a warm spell catches it soft.
That pattern shows up often in Piedmont and coastal winters, where a 70-degree afternoon can be followed by a night in the teens a few days later. Variety, bud stage, and location all shape the final outcome.
2. Cover Your Camellia Shrub Before the Coldest Night Arrives
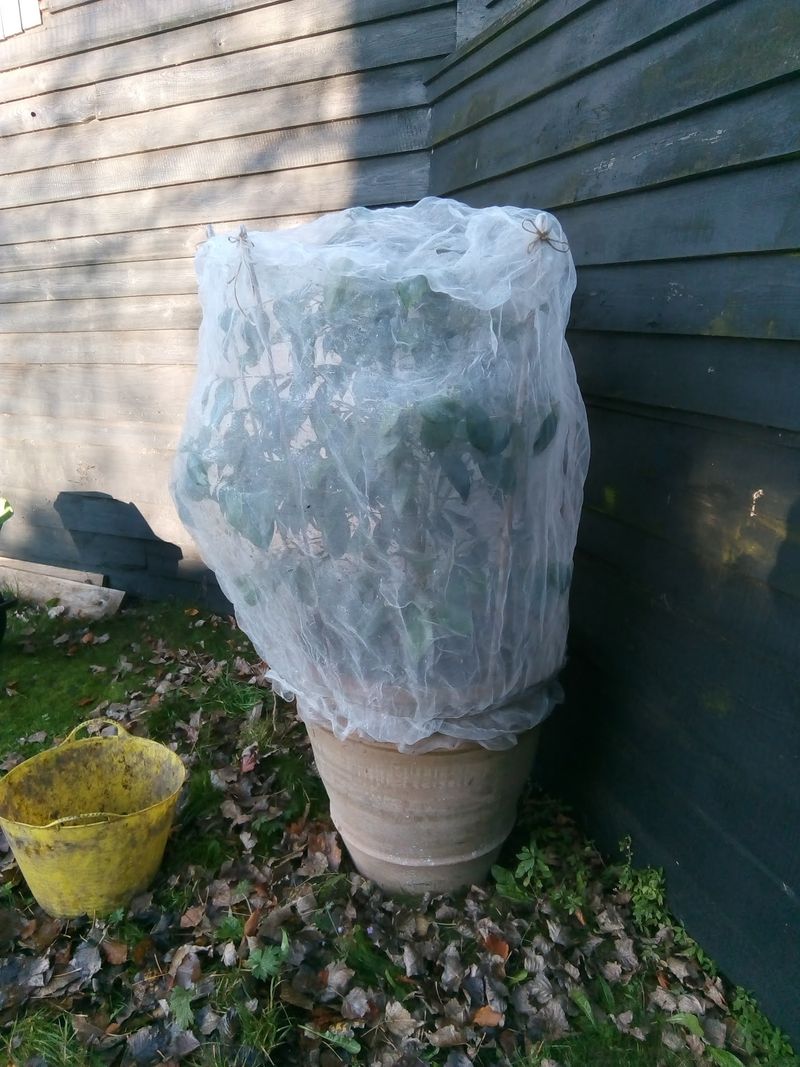
Grab a frost cloth, an old bedsheet, or burlap the afternoon before a hard freeze is forecast. Covering your shrub is the single most practical step for saving buds on a cold night.
The trick is to drape the cover all the way to the ground. Soil releases stored warmth overnight, and a cover that reaches the dirt traps that heat around the plant like a little tent. A cover that stops halfway lets most of it escape.
Skip plastic if you can. It conducts cold easily, and leaves touching plastic often get burned. If plastic is all you have, set stakes or a frame around the shrub so the sheet does not rest on the foliage.
Weigh the edges down with bricks or rocks so wind cannot lift them. For extra help on a brutal night, some gardeners tuck a string of old-style incandescent holiday lights under the cover for gentle warmth.
Remove the cover the next morning once temperatures climb above freezing. Leaving it on during a sunny day can overheat the plant and trap moisture.
Small shrubs are easy to wrap. Large, mature camellias are tougher, so focus on the side with the most buds.
3. A Deep Drink Helps Camellias Face a Freeze
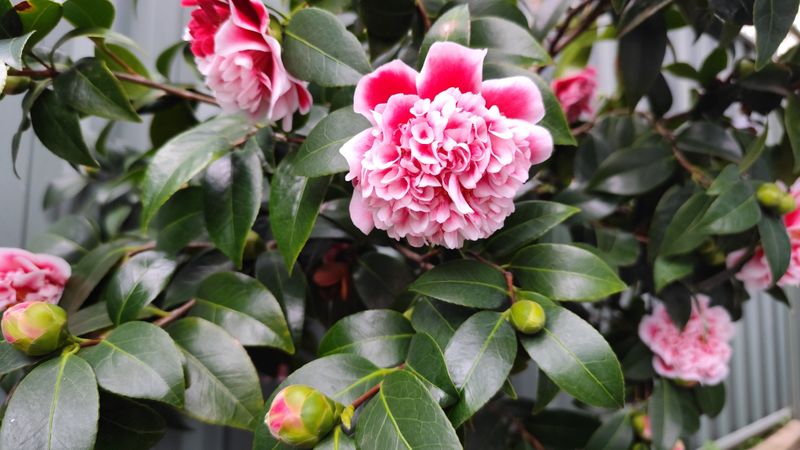
Thirsty plants freeze harder. That simple fact surprises plenty of gardeners, but dry soil and dry tissue leave camellias far more exposed to winter injury.
Moist soil holds and releases heat better than dry, dusty soil. It also keeps roots supplied so leaves and buds can replace moisture lost to cold, dry wind. If the ground is dry going into a cold snap, give your shrub a slow, deep soaking a day or two ahead.
Watering matters long before winter, too. Camellias set their buds in summer and develop them through fall, and NC State Extension notes that dry spells during that window often lead to bud drop later.
A steady inch of water per week during dry weather keeps those buds plump and healthy. Balance is key. Soggy, poorly drained soil can suffocate roots, especially in heavy Piedmont clay. Water deeply, then let the top inch or two dry slightly before the next round.
Do not water when the ground is already frozen or when temperatures are sitting below freezing. Aim for a mild afternoon so the water soaks in before nightfall rather than turning into a sheet of ice.
4. Soft Brown Camellia Buds Tell the Real Story
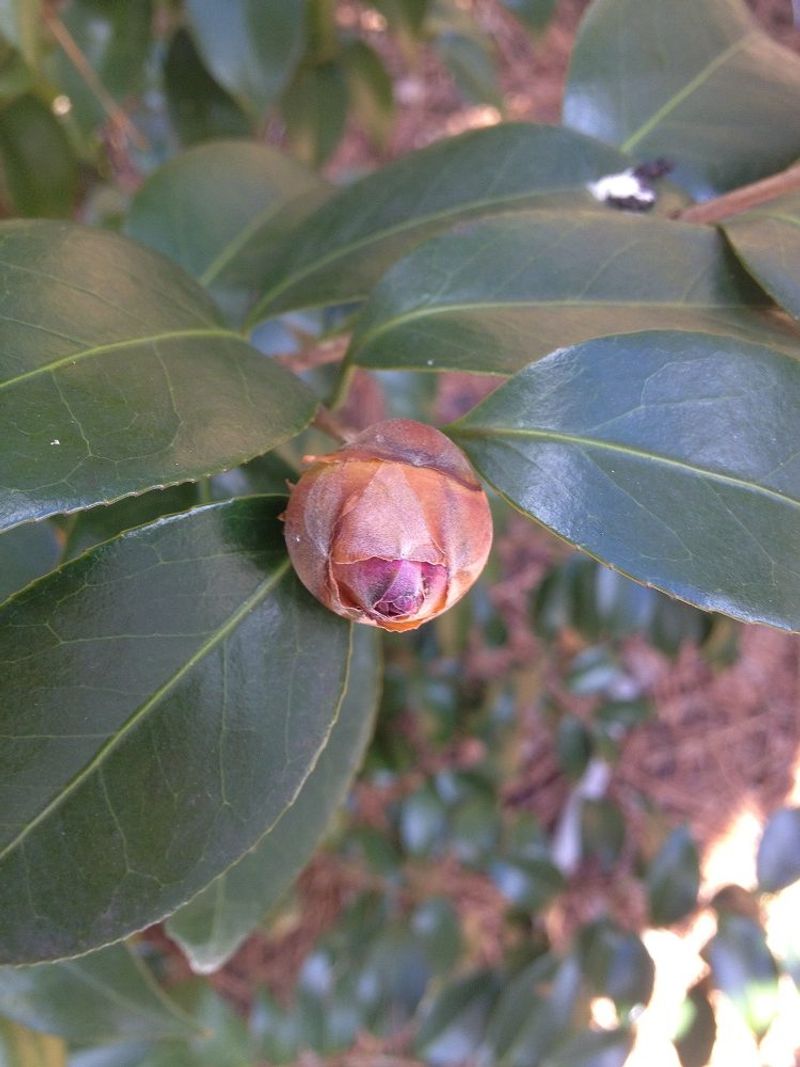
Give it a few days after the cold passes before you play detective. Damage often takes time to show, and the morning after a freeze can be misleading.
Healthy buds feel firm when you gently pinch them. Injured ones often turn brown at the tip, and they feel soft or a little mushy. You can also slice a bud open with a clean knife.
Fresh green or pale tissue inside is a hopeful sign, while brown or water-soaked tissue means that bud is finished.
Some buds trick you. The outside stays green, but the connection at the base was harmed, and the bud drops weeks later. A small pile of green buds under the shrub is a classic sign.
Open blooms are easier to read. Petals that went brown, limp, or translucent got caught in the cold.
Not every dropped bud points to a freeze, though. Dry soil in fall, too many buds on one branch, and root problems can all cause bud drop. Tiny camellia bud mites are another possible culprit.
Check a few buds on different parts of the plant. Buds on the sheltered side often fare better than those facing open wind.
5. Morning Sun on Frozen Camellias Can Make Things Worse
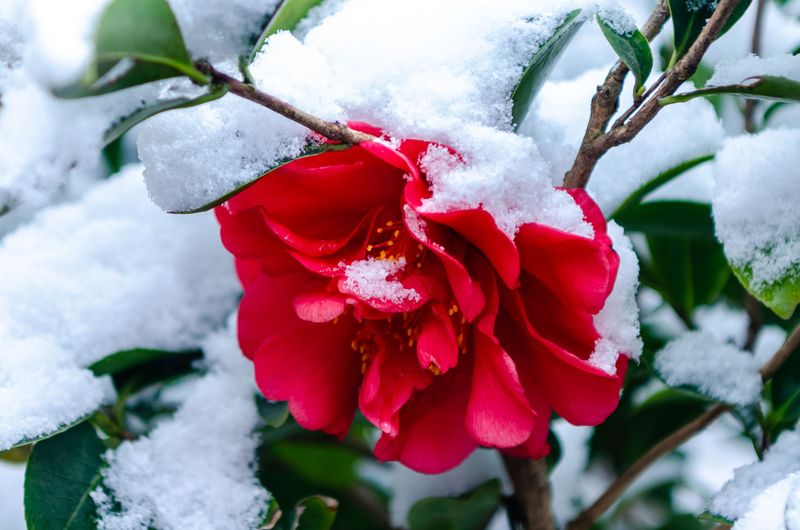
Sunlight sounds friendly on a cold morning. For frozen camellia buds and leaves, a blast of early sun can actually add insult to injury.
When frozen tissue warms up too quickly, cells have less time to recover, and injury can increase.
That is why many camellia experts suggest planting where morning sun arrives gently or late. A north or west-shaded exposure, or a spot under tall pines, often works beautifully.
Pine trees are a favorite companion across the Southeast for good reason. Their high, open canopy filters winter sun and blocks some wind, and it may hold a little warmth near the ground on clear nights.
Walls help as well. A camellia tucked near the house picks up stored heat from bricks and stays out of the harshest wind. Corners that funnel winter gusts, on the other hand, are tough spots.
Low areas deserve a second look. Cold air sinks and collects in valleys and the bottom of slopes, creating frost pockets that run several degrees colder than nearby high ground.
If you are planting new camellias this season, choosing the right spot does more long-term good than any blanket ever will.
6. Pine Straw Mulch Keeps Camellia Roots Snug
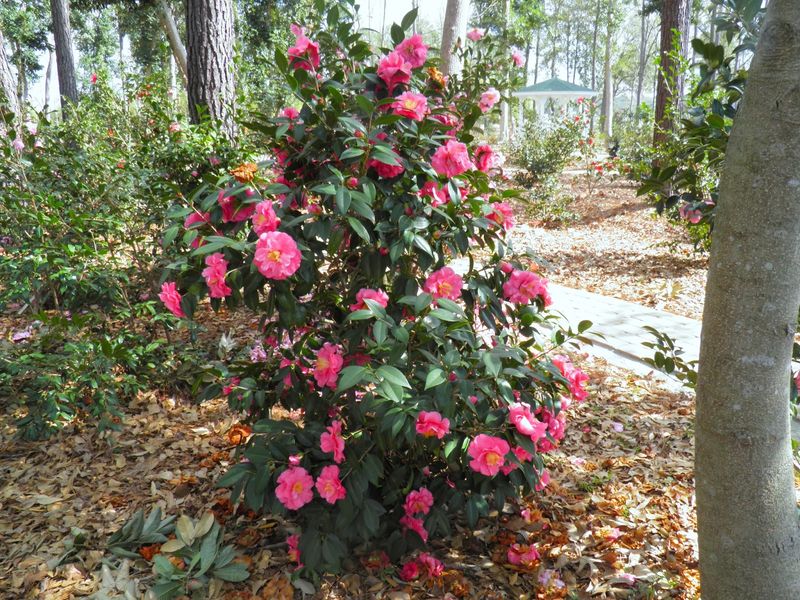
Here is a cozy little habit that pays off every winter. A three to four inch layer of mulch around your camellia acts like a quilt for its shallow roots.
Camellia roots stay fairly close to the surface. Mulch slows down temperature swings in the soil and holds in moisture, which helps roots keep feeding water to leaves during cold, windy weather.
Pine straw is a natural fit in this state, since it is easy to find and slightly acidic like camellias prefer. Shredded pine bark and composted leaves work well too.
Spread it out to the drip line, which is the outer edge of the branches. Keep a few inches of space around the trunk so bark stays dry and critters do not nest against it.
Mulch protects roots far more than buds, so think of it as a support step rather than a full defense. You will still want to cover the shrub on truly frigid nights.
Refresh the layer each fall as it breaks down. It also smothers weeds, cools roots in summer, and slowly feeds the soil, so it earns its keep all year long.
7. Cold Hardy Camellia Varieties Shrug Off Rough Winters
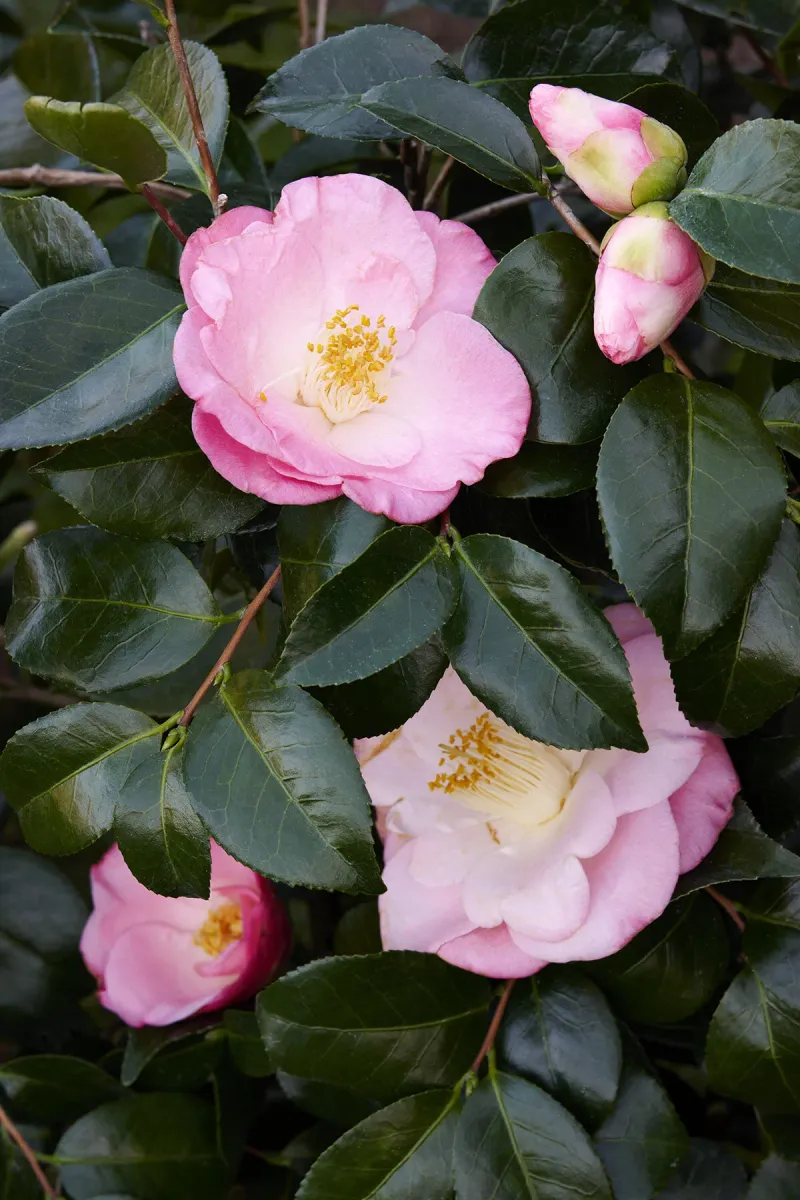
Plant breeders took the cold seriously, and gardeners in chilly spots are better for it. Dr. William Ackerman at the U.S. National Arboretum worked with Camellia oleifera to create tougher hybrids after severe winters in the late 1970s.
His Ice Angels group, including names like Winter’s Star, Winter’s Joy, and Winter’s Snowman, can handle temperatures well below zero in protected spots.
The April series from Dr. Clifford Parks, a longtime UNC botanist, is another reliable choice for colder areas.
Bloom timing matters too. Many sasanqua camellias flower in fall, so they often finish before the worst cold. Japonica types bloom from winter into spring, which puts their buds right in the path of January and February freezes.
Gardeners in the North Carolina mountains face the toughest conditions, with some areas in USDA Zone 6. Coastal areas reach Zone 8, and even 9a on parts of the Outer Banks, where most camellias settle in easily.
Local camellia societies and nurseries are a goldmine for advice. Ask which varieties bloom reliably in your town, since neighbors who have grown them for decades often know best. Picking a tough variety means fewer frantic nights hauling blankets outside.
8. Wait for Spring Before Pruning Freeze Damaged Camellias
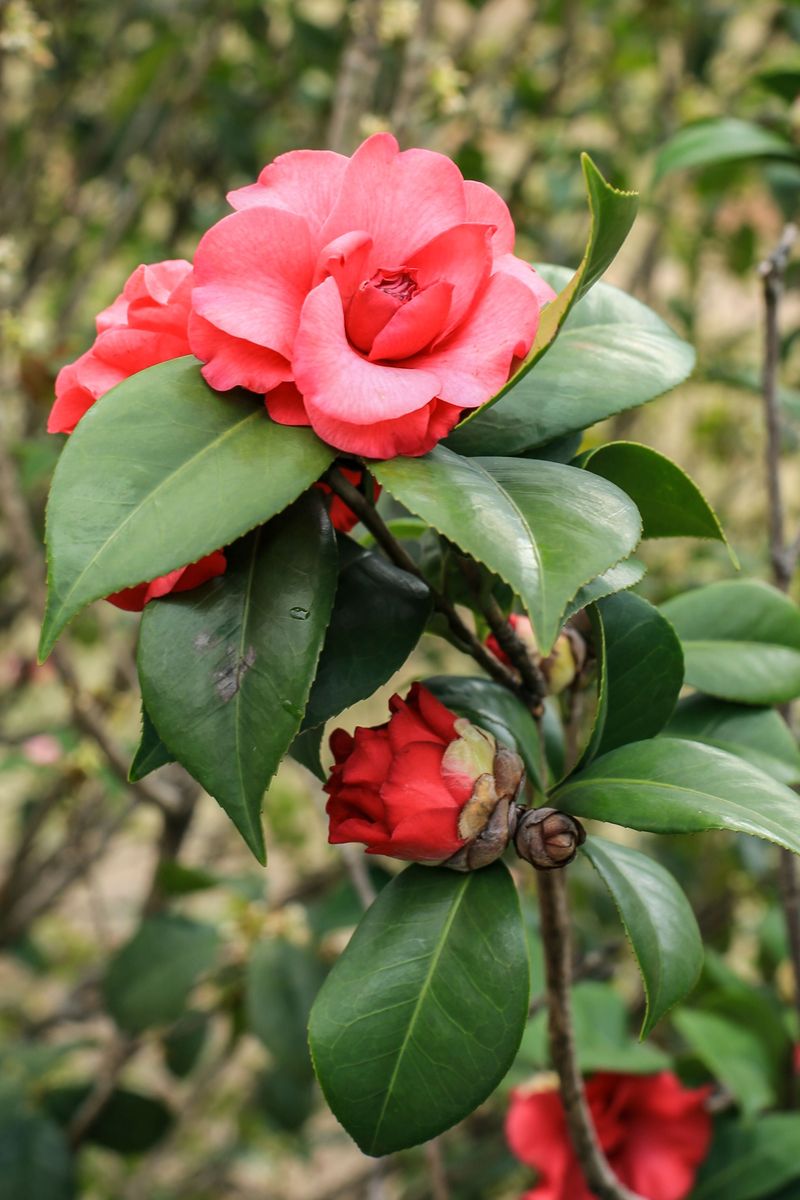
Patience feels hard when a shrub looks rough after a freeze. Still, putting the pruners down for a while is one of the kindest things you can do.
Brown leaves and lost buds look alarming, but stems often survive even when foliage does not. Camellias commonly push out fresh leaves in spring from branches that seemed hopeless in February.
Wait until new growth appears, then scratch a branch lightly with your thumbnail. Green tissue under the bark means it is alive. Brown, dry wood can be cut back to the nearest healthy bud or branch.
Spring pruning fits camellias nicely anyway. Shaping right after bloom keeps you from cutting off next year’s flower buds, which form during summer.
Hold off on fertilizer until spring growth begins. Feeding a stressed plant in winter can push tender growth that the next cold snap may harm.
Losing one season of flowers stings, but the plant itself usually bounces back just fine. Keep notes on which shrubs struggled, where they grow, and how cold it got.
Those notes become your best guide for covering, moving, or replacing plants before the next freeze rolls in.