The Simple Tool Chore Michigan Gardeners Do Before Winter That Pays Off in Spring
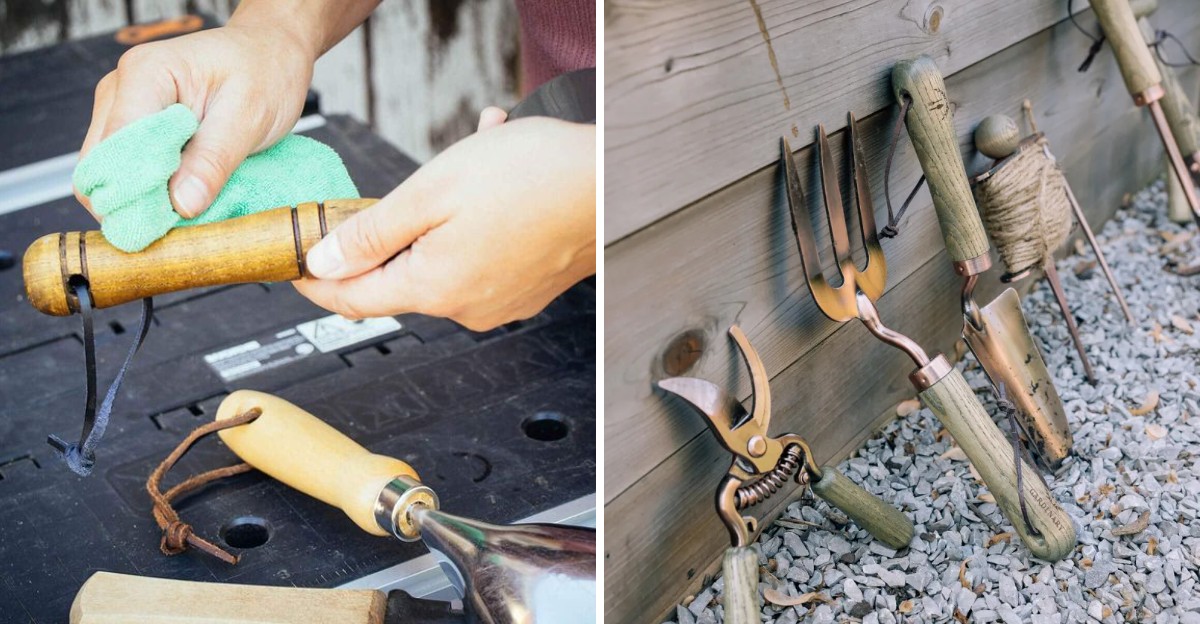
Bare steel can start to rust in a single damp night, and a Michigan garage in November offers plenty of damp nights. That orange bloom on a shovel blade is iron quietly trading strength for flakes.
I can’t imagine anything more deflating than grabbing my favorite pruners on the first warm April day and finding them stiff and stuck. The blades groan, the spring sticks, and suddenly my planting plans come to a halt.
Here’s something you might not expect. Old garden soil holds both moisture and tiny plant germs, so a crusty trowel can carry trouble straight into next year’s beds.
I like how a few minutes with a rag, a brush, and a little oil can change everything. Seasoned gardeners across the state treat this chore like tucking their gear into bed. So what exactly happens to tools that skip it?
1. That Crusty Soil On Your Shovel Blade Is Up To Something
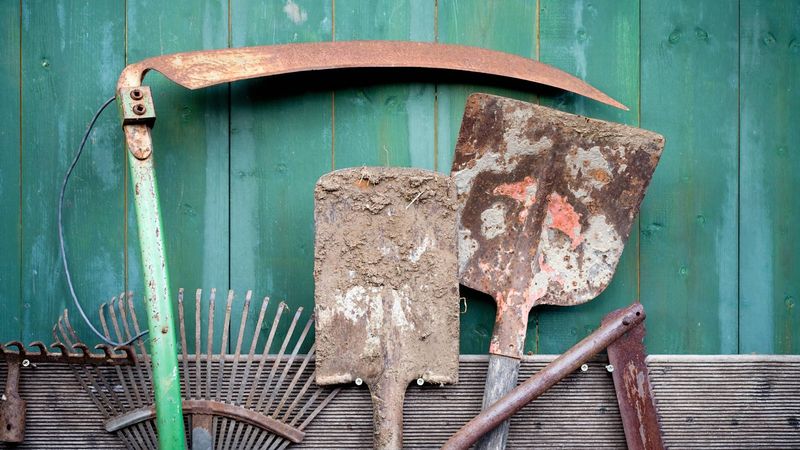
Leftover dirt looks harmless, but it acts like a wet sponge glued to your metal. Soil holds water against steel long after a rainy afternoon, and that steady moisture is what rust needs to get started.
Rust forms when iron, water, and oxygen meet. A clean, dry blade gives that reaction very little to work with. A blade wrapped in damp clay gives it a cozy home for months.
Fall in Michigan brings cool rain, heavy morning dew, and wide swings between freezing nights and milder days. Each swing can leave condensation on cold metal, and soil keeps that moisture trapped right where it does the most harm.
Over a long winter, small orange freckles can spread into pitting. Pitted metal is weaker, rougher, and harder to push through soil. Edges lose their bite, and hinges on pruners can seize up.
I tend to think of dirt as a slow-motion problem. You rarely notice it working, but you sure notice the results in spring.
Knocking off clumps with a stiff brush or a putty knife is the first and most useful step. A blast from the hose helps with stubborn clay. Just remember that the water has to go too, so dry every tool with an old towel before moving on to the next job.
2. A Thin Coat Of Oil Turns Bare Steel Into A Raincoat
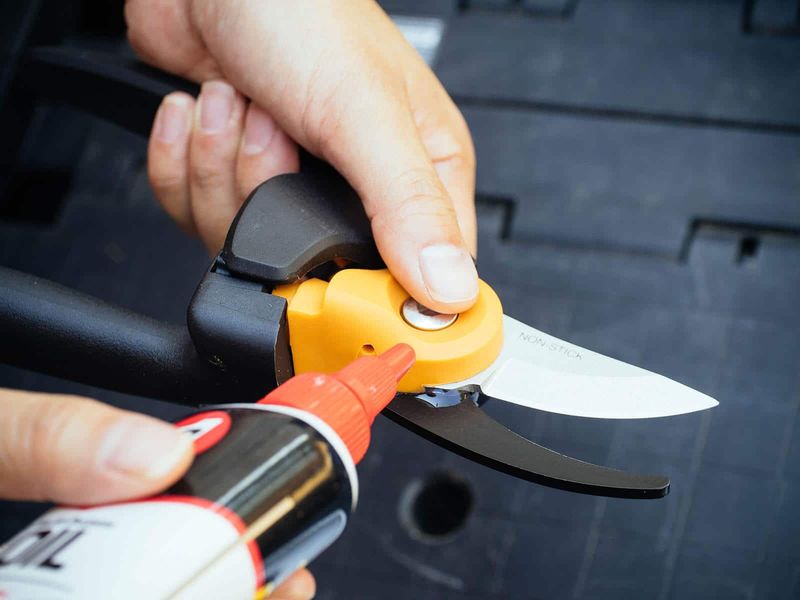
Oil works for one simple reason. Water and oil do not mix, so a light film on clean metal keeps moisture and air from touching the steel.
Once your tools are scrubbed and fully dry, grab a rag and a little oil. Many university extension services suggest light machine oil or a general household oil.
Some gardeners prefer boiled linseed oil or a plant-based option because it is gentler around soil.
You do not need a puddle. A thin, even sheen is plenty, and too much just collects dust. Wipe it across blades, shovel faces, rake tines, and the moving joints of pruners and loppers.
For pruners, open and close them a few times after oiling. That works the oil into the pivot and keeps the action smooth until spring.
Plenty of old-timers swear by the sand bucket trick. Fill a five-gallon bucket with clean builder’s sand and mix in a bit of oil until the sand feels slightly damp. Plunge shovels and trowels in a few times to scour and coat them at once.
One caution worth knowing. Rags soaked in linseed oil can heat up and catch fire as they dry, so spread them flat outdoors to dry before tossing them in the trash.
3. Pruner Blades Can Quietly Carry Plant Diseases Into Spring
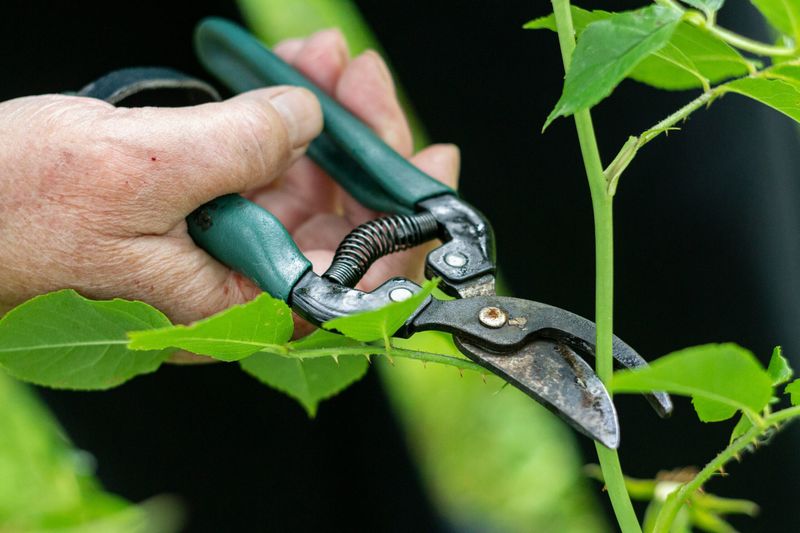
Here is a sneaky one. Bacteria, fungi, and viruses can ride on pruner blades and saw teeth from one plant to the next.
Cut a branch with fire blight or a stem with canker, and some of that infection can cling to the steel. Use the same tool on a healthy shrub next year, and you may hand the problem right over.
Fire blight is a well-known headache on apples and pears in Michigan orchards and backyards, and it spreads easily through cuts. That alone makes clean pruners worth the effort.
Before storage, wash off sap and grime with warm soapy water. Then disinfect. Common choices include 70 percent rubbing alcohol, household disinfectant sprays, or a bleach solution of one part bleach to nine parts water.
Bleach does the job, but it can be harsh on metal. If you use it, rinse well, dry thoroughly, and follow up with oil. Alcohol is easier on steel and dries fast.
Sap is worth extra attention too. Sticky residue traps grime and germs, and it gums up hinges. A little rubbing alcohol or mineral spirits on a rag usually loosens it.
I can’t help but think this step gets skipped most often. Yet it protects your plants as much as your tools, and it takes only a few extra minutes.
4. Sharpening Hoes And Pruners Now Saves A Spring Scramble
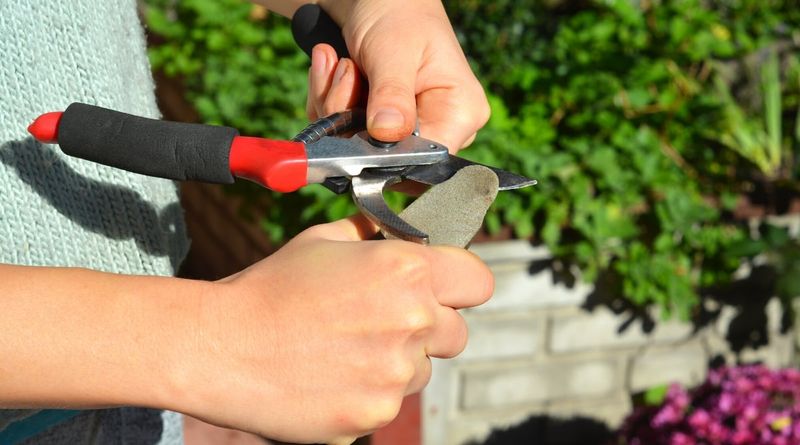
Late fall is the calm before the snow. Your tools are already out and clean, so it is the easiest moment to put a fresh edge on them.
Sharp blades make clean cuts. A clean cut on a branch tends to seal over faster than a ragged, crushed wound, which gives decay and pests fewer chances to move in.
Dull tools also make you work harder. A sharp hoe slices weeds with less effort, and a sharp spade glides into soil instead of bouncing off. Your wrists and back will notice the difference.
A flat mill file handles shovels, spades, and hoes nicely. Follow the existing bevel angle and push the file in one direction, away from your body. Pruners do well with a small diamond file or sharpening stone.
Clamp tools in a vise if you have one, and wear sturdy gloves. Freshly sharpened steel is unforgiving.
Fun fact for the curious. Many shovels come from the factory with almost no edge at all, so even a brand-new spade often benefits from a few file strokes.
After sharpening, wipe away metal dust and add your thin coat of oil. Then hang the tool up knowing it will be ready for the first planting day of the year.
5. Wooden Rake And Shovel Handles Crave A Drink Of Linseed Oil
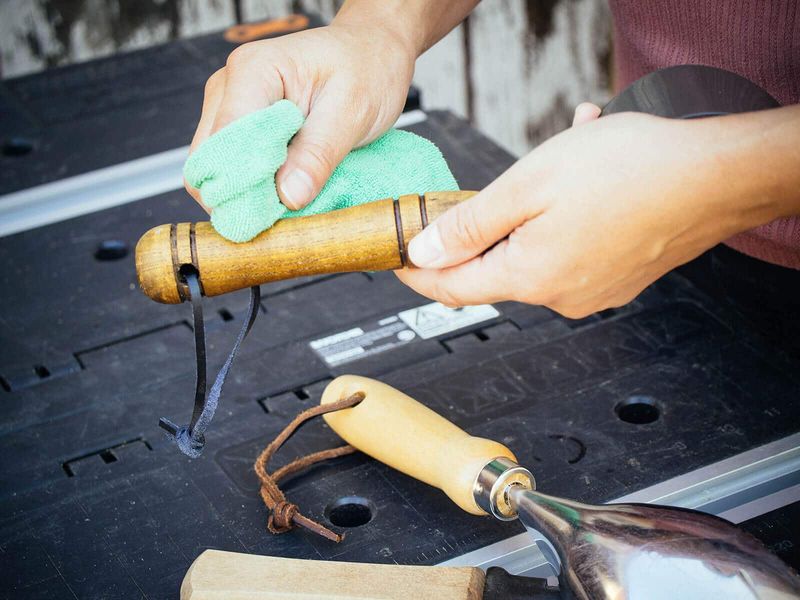
Metal gets most of the fuss, but wooden handles are the parts your hands actually hold. After a summer of sun, rain, and sweat, they often feel dry and gray.
Dry wood can check, split, and splinter. A cracked handle is uncomfortable at best and can snap under pressure at worst, which is a risk you do not want mid-dig.
Start by scrubbing off dirt and sap, then let the handles dry fully. Run your palm along them. If you feel rough patches or raised grain, a few passes with medium sandpaper will smooth things out.
Next, rub in boiled linseed oil or a tung oil product with a rag. Let it soak in for about 15 minutes, wipe away the extra, and let the handle cure. A second coat is a nice bonus for very thirsty wood.
Old gardeners have done this for generations, and many classic ash handles last decades because of it. Ash is a favorite handle wood because it is strong yet a little springy.
Take a moment to check fiberglass handles too. They do not need oil, but cracks or fraying fibers are worth catching before spring.
Remember to dry those oily rags flat outdoors before disposal, since they can heat up as they cure.
6. Hanging Tools On A Pegboard Keeps Winter Damp Off The Steel
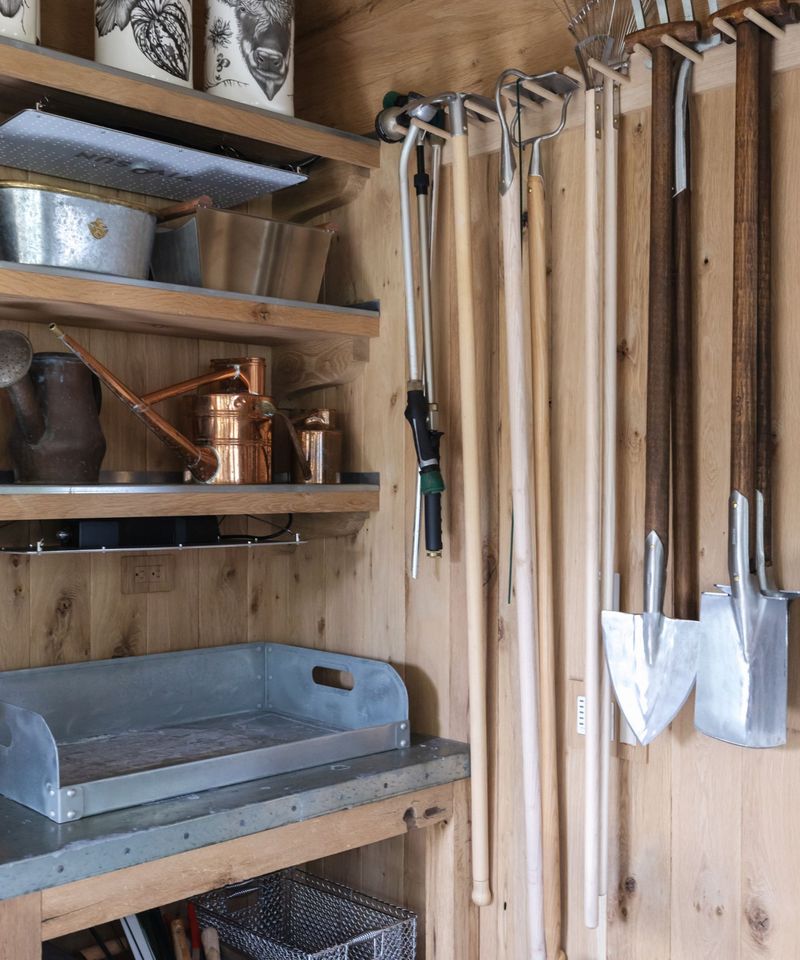
Where tools spend the winter matters almost as much as how you prep them. A clean, oiled shovel tossed on a wet concrete floor can still pick up rust by March.
Concrete wicks moisture from the ground, and snowmelt from cars and boots puddles in garages all season. Hanging tools on hooks, racks, or a pegboard keeps them up off that damp surface.
Airflow is your friend. Tools crammed in a pile trap moisture between them, while tools hanging with a little space can dry out between temperature swings.
Most Michigan gardeners store gear in unheated sheds or garages, and that is fine. Steady cold is not the main enemy. The bigger issue is condensation when warm, humid air meets cold metal, so good ventilation and that oil coat do the heavy lifting.
A few simple tricks help. Keep tools away from leaky windows and doors, store small hand tools in a bin with a moisture-absorbing packet, and avoid wrapping them in plastic that traps humidity.
I like hanging tools by type, with diggers on one side and cutters on the other. It turns spring into a grab-and-go moment. Bonus perk. Tools hung on the wall are far less likely to trip anyone heading out to shovel the driveway.
7. A Clean Row Of Garden Tools Makes Spring Feel Like A Head Start
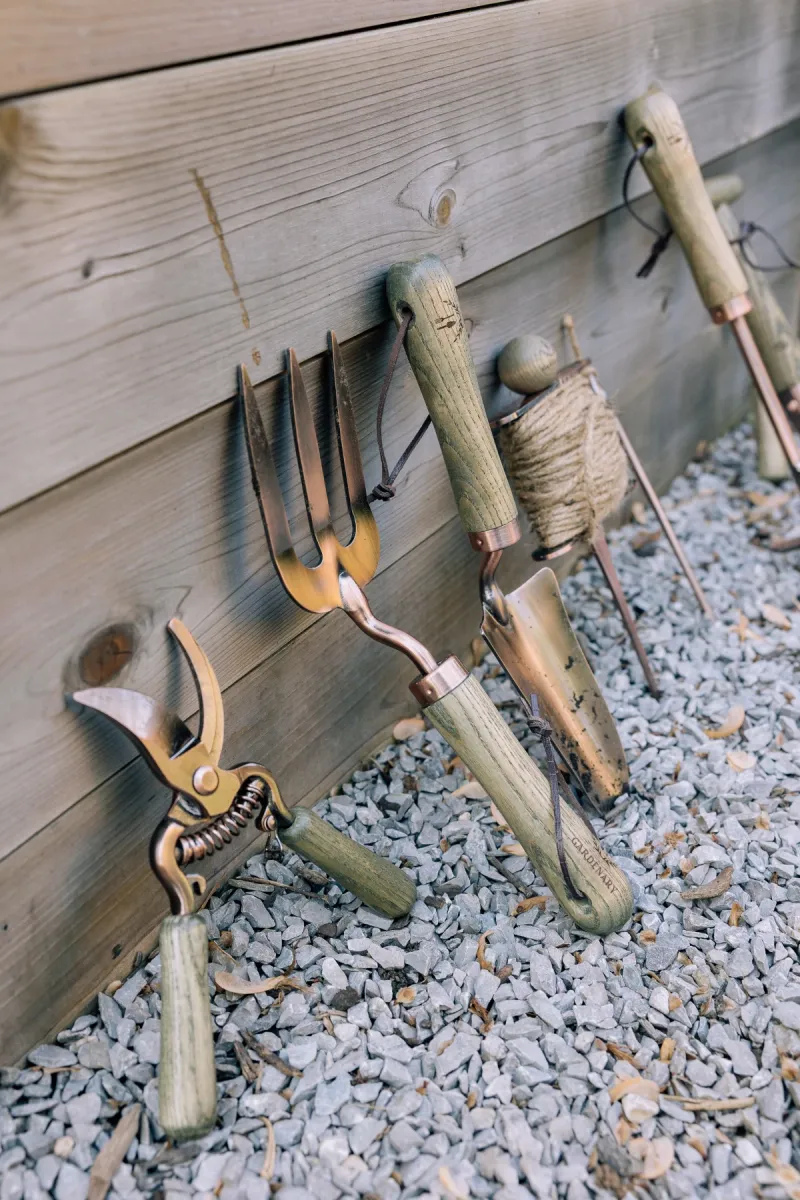
Good tools are not cheap, and quality pruners or a solid spade can last for decades with a bit of yearly care. A rusted, cracked set often ends up replaced far sooner.
That is the real payoff of this late-fall ritual. A couple of hours now protects money you already spent and saves a frantic hardware store trip in April.
Michigan winters are long, especially in the Upper Peninsula and northern Lower Peninsula, where snow can linger into spring. Tools in those regions may sit idle for five months or more, so the prep work counts even more there.
Make it easy on yourself with a simple checklist. Scrape and wash, dry fully, disinfect cutting blades, sharpen edges, oil the metal, treat wooden handles, and hang everything somewhere dry.
Pick a crisp weekend after your last fall cleanup, before the ground freezes hard. A sunny afternoon helps tools and handles dry quickly.
While you are at it, drain and coil hoses, empty watering cans, and note any tools that need replacing. Writing a short list now makes those winter sale ads far more useful.
One thing I love about gardening is how small acts of care ripple forward. Come spring, you will open the shed door to a row of tools ready to dig in.