What Texas Gardeners Should Do With Mums After They Finish Blooming
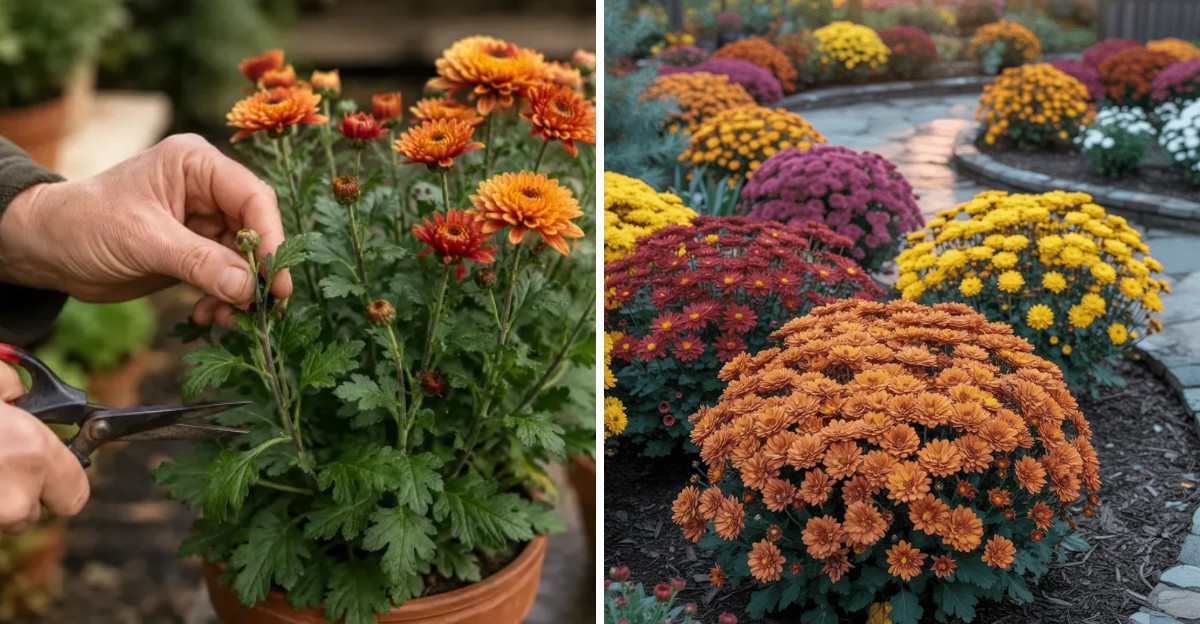
Many of the fall flowers sold in grocery store buckets are tough perennials that can live for years. I used to toss mine onto the compost pile the moment the petals turned brown.
Nobody warned me that the plant was simply resting. The roots were still alive and ready for another round.
In Texas, our mild winters actually give these bloomers an edge over gardens up north. Hard freezes come late, if at all, across much of the state. Garden types often return in spring with fresh green shoots, while florist types can be fussier.
Personally, I love a plant that rewards a little patience. A few easy chores now can turn a five-dollar porch decoration into a hedge of color next October. Here’s what that fading pot on your steps really needs from you.
1. That Brown Mum Pot on Your Porch Still Has Life in Its Roots

Last November, I almost dragged a crispy-looking mum to the curb. Then I spotted tiny green leaves hugging the soil, and I changed my plan fast.
Most mums sold in fall are garden chrysanthemums, which are perennials. The flowers fade, but the crown and roots keep living below the surface. Texas A&M AgriLife notes that garden mums can come back each year with basic care.
Florist mums are a different story. Those potted gift plants, often wrapped in foil, were bred for indoor display. They rarely build strong roots and often struggle outdoors.
Check the tag or ask where it came from. Plants from a garden center outdoor table are usually hardy types. Gift-shop plants with huge, perfect blooms are usually florist types.
Give your plant a quick health check before deciding anything. Gently tug a stem. If it holds firm and the base shows green growth, you have a keeper.
Brittle, mushy, or moldy stems at the base mean the plant has likely declined. That one can go to the compost.
Once you know what you have, the next steps are easy. A few minutes of sorting now saves you from tossing a plant that could bloom for years.
2. Snip Off Those Faded Mum Flowers First

Grab a pair of clean snips and a bucket. Removing spent blooms is the quickest chore on this list, and it makes the plant look better right away.
Gardeners call this deadheading. When you remove brown flower heads, the plant stops spending energy on seeds. That energy goes back into roots and leaves instead.
Early in the fall season, deadheading may even nudge out a few more buds. Late in the season, it mostly tidies things up and reduces hiding spots for pests.
Cut each faded flower just above a set of healthy leaves. Pinching with your fingers works too if the stems are soft.
Look closely while you work. Aphids and spider mites love hanging out on tired mums, especially during warm Texas falls. A strong spray of water usually knocks them back.
Toss any moldy or spotted flowers in the trash rather than the compost. Fungal spores can linger and come back next year.
I like to deadhead on a cool morning with a cup of coffee nearby. It feels more like a garden stroll than a chore. Your mums will look neater, and you will get a good look at their overall health.
3. Plant Potted Mums in the Ground Before Winter Settles In

A plastic nursery pot is a tight home for a perennial. Moving your mum into the ground gives its roots room to spread and settle.
Across much of Texas, fall planting works well because the soil stays warm while the air cools. Roots keep growing even after the flowers fade. Aim to plant at least several weeks before your first expected freeze.
Choose a spot with at least six hours of sun. Mums dislike soggy feet, so pick well-drained soil or a raised bed. Heavy clay, common around Dallas and Houston, benefits from a few inches of mixed-in compost.
Dig a hole about twice as wide as the root ball. Loosen circling roots with your fingers before setting the plant in place. Keep the crown level with the soil surface. Burying it too deep invites rot.
Water deeply after planting, then check the soil every few days. Water again when the top inch feels dry.
Space plants about 18 to 24 inches apart. They will look small now, but healthy mums fill out quickly in spring.
Honestly, this one step makes the biggest difference. In-ground mums handle winter far better than potted ones.
4. Cutting Mum Stems Back Depends on Your Part of the State
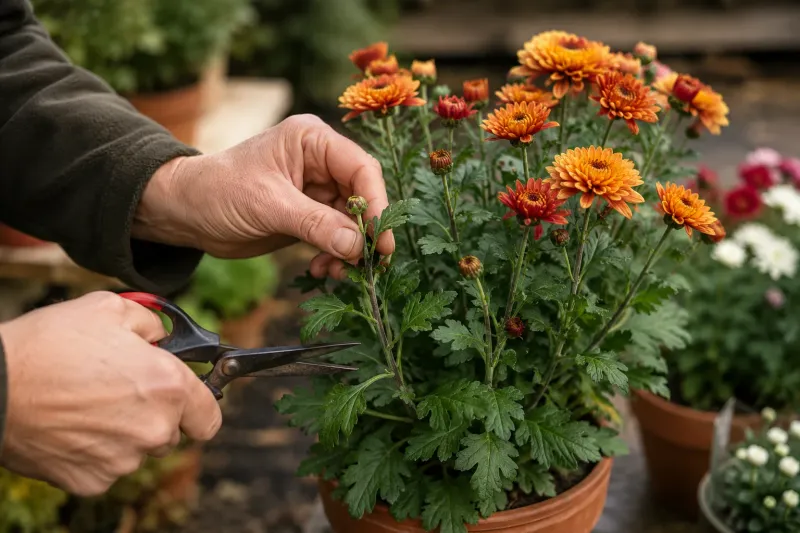
Ask five gardeners when to cut back mums, and you might hear five answers. Both main approaches work, so pick the one that fits your weather.
Option one is cutting stems down to a few inches after the plant goes dormant. Many South and Central Texas gardeners do this in late fall or early winter. It keeps beds tidy and removes spots where pests and fungus spend the winter.
Option two is leaving the old stems standing until late winter. In the Panhandle and North Texas, colder snaps are more common. The stems trap leaves and a little insulating air around the crown.
If you leave them, trim them down once fresh green shoots appear at the base in late winter or early spring. Use sharp, clean pruners for either method. Ragged cuts heal slowly and can invite disease.
Here’s a fun twist. Those little rosettes of leaves at the base during winter are next year’s plant already getting started. Cut above them, not into them.
Personally, I leave mine standing during cold stretches and trim when I see new growth. That gives me a clear look at where the healthy shoots are.
5. A Blanket of Pine Straw Keeps Mum Roots Cozy
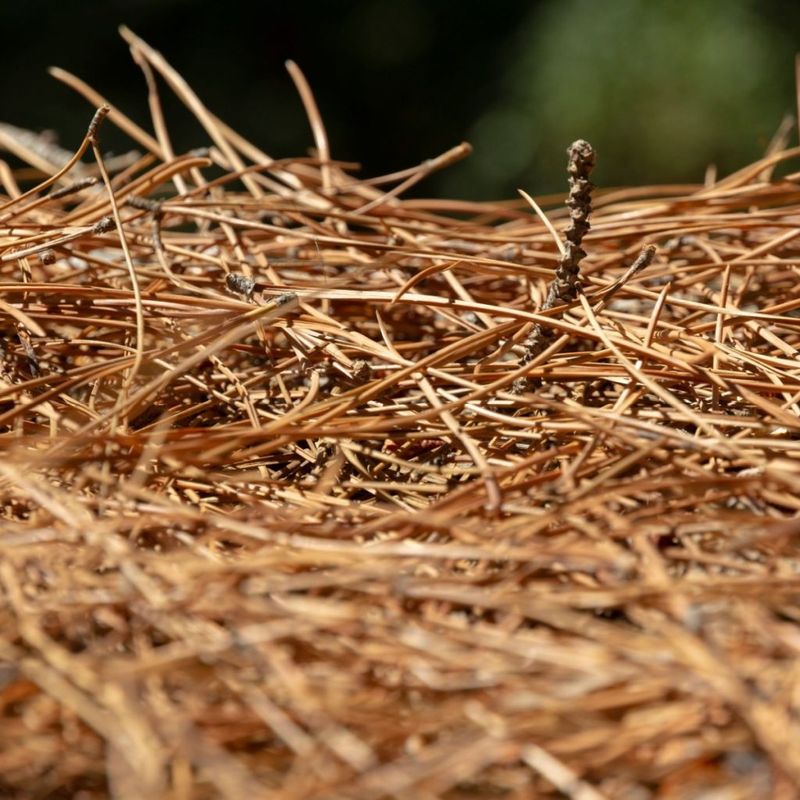
Mulch works like a soft quilt for sleeping roots. It evens out soil temperature, holds moisture, and keeps winter weeds from moving in.
Spread two to three inches of pine straw, shredded leaves, or shredded bark around your mums. Keep the mulch an inch or so away from the crown. Piling it against stems can trap moisture and lead to rot.
Pine straw is a favorite because it stays fluffy and drains well. Shredded oak leaves from your own yard are free and work nicely too. Timing matters. Add mulch after the soil cools in late fall, not during a warm spell.
Watering still matters in winter. Texas winters can be surprisingly dry, especially out west. Give mums a drink when the soil feels dry an inch down, and water before a predicted hard freeze.
Moist soil holds heat better than dry soil. That simple trick helps protect roots on frosty nights.
When an extreme cold front heads your way, toss a frost cloth or old sheet over the plants. Remove it once temperatures climb the next day.
You’ll love how little effort this takes. Ten minutes with a rake can carry your mums through the coldest weeks.
6. Container Mums Appreciate a Garage Getaway on Freezing Nights

Roots in a pot sit just inches from the cold air. That makes container mums much more sensitive than their in-ground cousins.
If you want to keep a mum in its pot, plan a winter hideout. An unheated garage, shed, or covered porch works well. Look for a spot that stays cool, ideally above freezing but below about 50 degrees.
Cut the stems back first so the plant takes up less room. Dormant mums do not need bright light while resting.
Water sparingly, maybe once every few weeks. The goal is soil that stays barely moist, not wet. Soggy soil in a cold garage is a fast path to root rot.
In South Texas and along the coast, many winters are mild enough to leave pots outside. Just push them close to the house and group them together. Move them inside only when a hard freeze is forecast.
Believe it or not, moving pots in and out is often the hardest part. A cheap plant dolly with wheels makes it easy. Once spring returns, bring pots back into the sunshine gradually over a week or so.
7. Spring Pinching Turns Lanky Mums Into Bushy Mounds
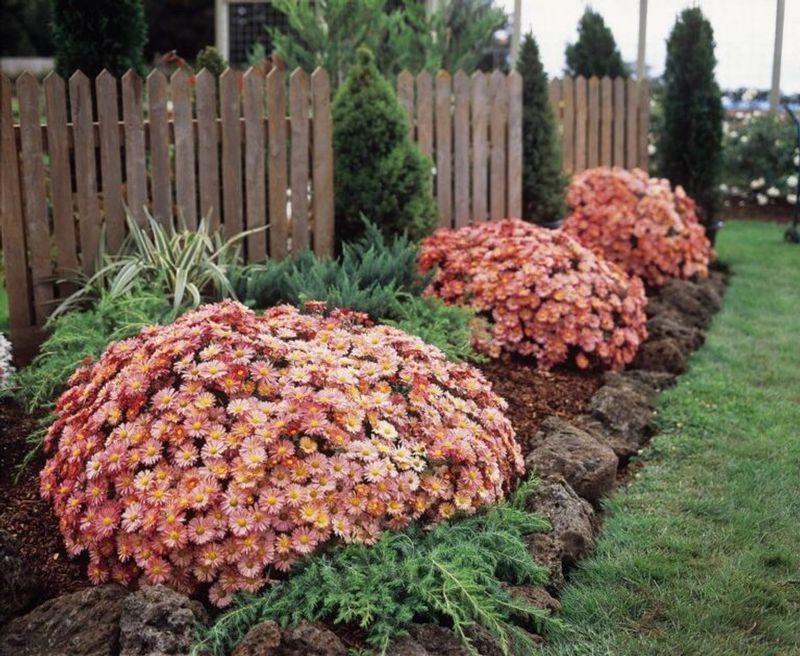
Leggy, floppy mums are a common springtime surprise. The fix is a simple pinch, and it shapes the plant for months to come.
Once new growth hits about six inches tall, pinch off the top inch of each stem. The plant responds by sending out side branches. More branches mean more flower buds come fall.
Repeat the pinch every few weeks as stems grow another four to six inches. Each round creates a fuller, rounder mound.
The stopping date is key. Most extension guides suggest finishing by early to mid-July. Pinch later than that and you may remove the buds forming for autumn.
Spring is also feeding time. Once green shoots appear, usually around March in much of the state, scatter a balanced slow-release fertilizer. Follow label rates, since too much nitrogen gives weak, floppy stems.
Summer heat in Texas can stress mums. A spot with some afternoon shade helps, and so does a deep watering during dry spells.
I find pinching oddly satisfying. It feels like giving the plant a quick haircut, and the results show up as a tidy dome of blooms in October.
8. Dividing Older Mum Clumps Gives You Free Plants
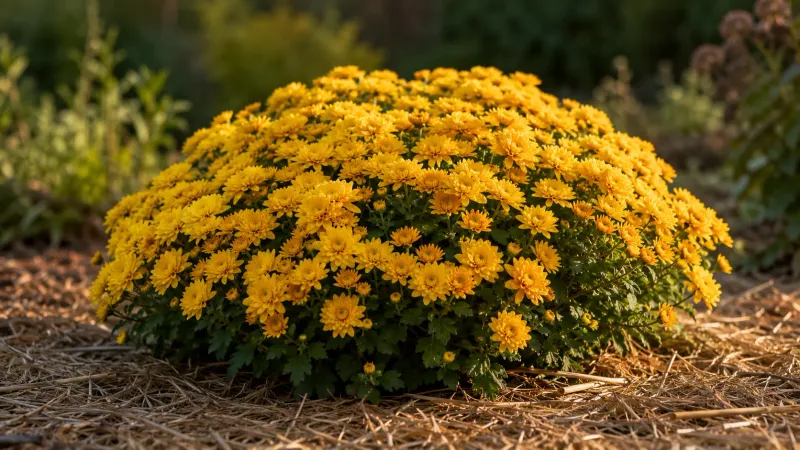
Free plants are the best kind. A healthy mum clump can turn into three or four new plants with one afternoon of work.
After two or three years, many mums develop a woody, tired center. Flowers thin out in the middle while the edges keep going strong. Dividing restores their energy.
Early spring is the best time, right as new shoots appear. Dig around the whole clump and lift it out with a spade.
Shake off loose soil so you can see the roots. Cut or pull apart the outer sections, making sure each piece has roots and several shoots. Toss the old woody center.
Replant divisions at the same depth they grew before. Water well and keep the soil moist for a few weeks while roots settle in.
Extra divisions make great gifts for friends and neighbors. They also let you fill new beds without spending a dime.
The most interesting part? Each division is a genetic copy of the parent, so you get the exact same color and form.
Treat your mums this way, and a single fall purchase can brighten your Texas garden for many seasons ahead.