The Soil Test Every California Gardener Should Do Before Planting Next Spring
Many California home gardens already hold plenty of phosphorus from years of all-purpose fertilizer, so adding more rarely helps. I love how one small lab report can end that kind of expensive guessing.
Sampling in late fall gives you time to read results before planting season, since slow fixes like elemental sulfur need months of help from soil microbes. Labs also get crowded in early spring, when everyone suddenly remembers their garden at once.
By the time my last tomato ripened, I’d learned that guessing at fertilizer was costing me more than a lab ever would. These days, I scoop a little dirt into a bag each fall and mail it off before the holidays.
One surprising tip keeps brass and galvanized tools away from your sample, and another warns against drying it in the oven. Which bed in your yard has been keeping secrets the longest?
One Cup Of Garden Soil Holds More Answers Than You Expect
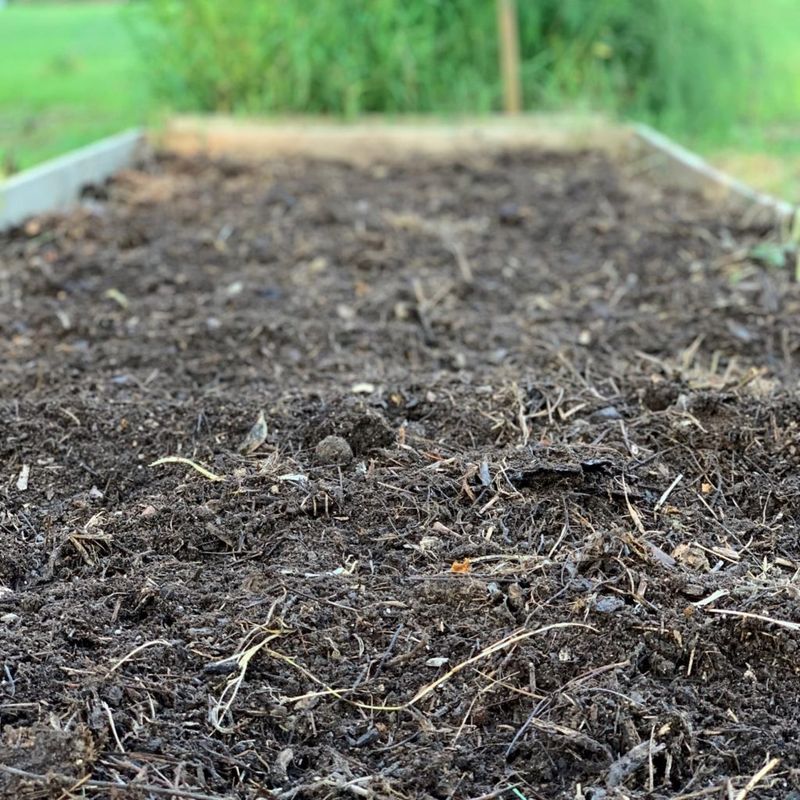
A lab soil test is the step most California gardeners skip, and it explains more problems than any fertilizer bag can. One small sample tells you pH, major nutrients, organic matter, and often salt levels.
California soils vary wildly from place to place. Coastal gardens may sit on sandy, fast-draining ground, while Central Valley yards often have heavy clay. Inland and desert areas commonly lean alkaline, with pH readings above 7.5.
Each of those soil types acts differently. Sand lets water and nitrogen slip away quickly. Clay holds water but can drain slowly and crowd roots. Alkaline soil can make iron, zinc, and manganese hard for plants to take up, even when those nutrients are present.
Guessing usually leads to buying the wrong products. Many home gardens already have plenty of phosphorus from years of all-purpose fertilizer, so adding more does little good and can wash into creeks and storm drains.
I treat the test like a checkup at the doctor. You would not take random pills hoping something helps, and soil works the same way. A clear report lets you spend money only where the ground needs help, which feels much better than guessing every season.
Late Fall And Winter Give Your Soil Report Time To Work
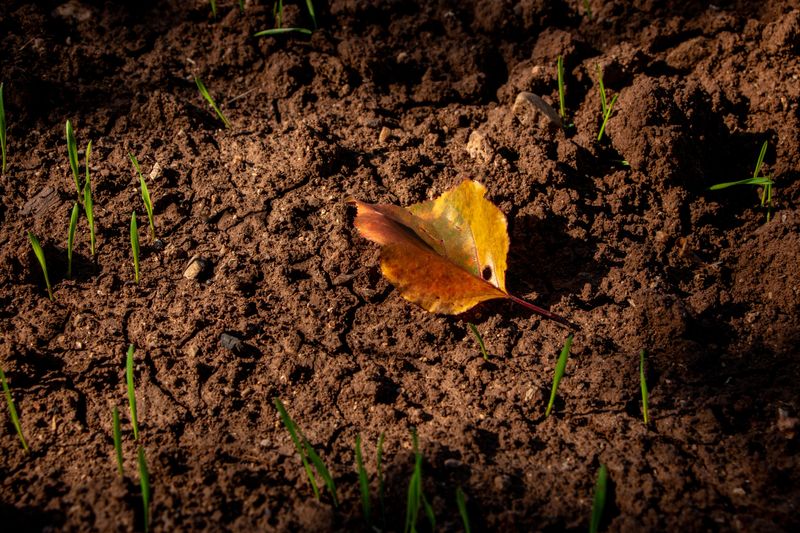
Timing is the quiet secret behind a useful soil test. Sampling in late fall or early winter gives you weeks to read results and make changes before spring planting.
Some fixes are slow. Elemental sulfur, which lowers pH, relies on soil microbes to break it down, and that can take months. Compost also needs time to settle in and start improving structure.
Labs get busy in early spring when everyone suddenly remembers their garden. Sending your sample now often means faster results and less stress.
In much of California, winter rain also helps. Rainfall can push some built-up salts below the root zone, and any amendments you add get watered in naturally. Just avoid digging or sampling when soil is soggy, since working wet clay can squash it into hard clods.
Wait a day or two after a storm, until a handful of soil crumbles instead of forming a sticky ball. Then grab your tools.
For warm-season crops like tomatoes, peppers, and squash, most California gardeners plant from March to May, depending on the region. Testing in November, December, or January puts you comfortably ahead of that window and gives you room to plan.
Grab A Clean Trowel And Sample Like A Pro
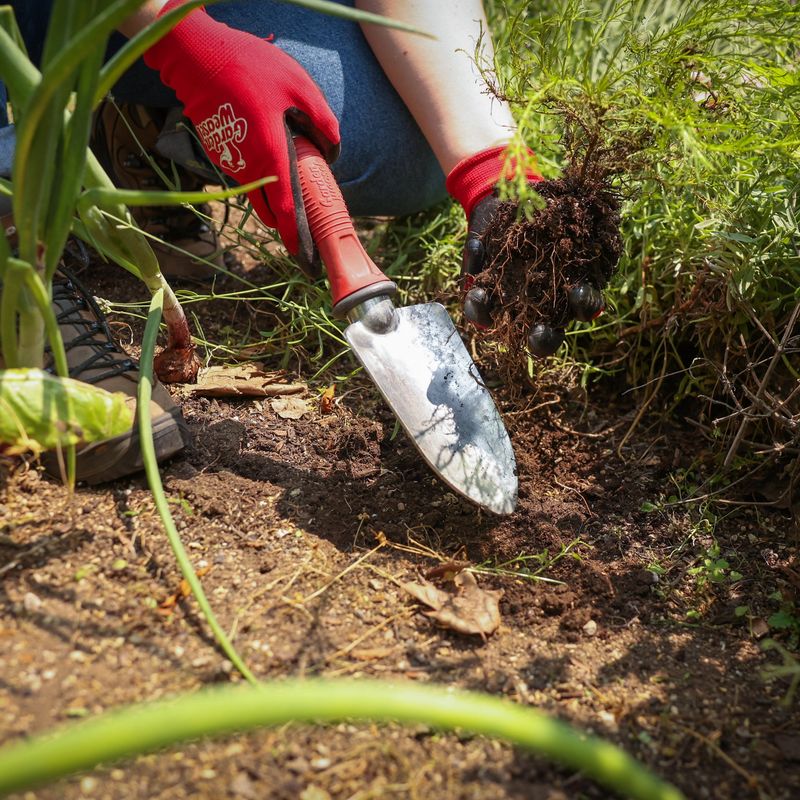
Good results start with a good sample, and that part is easier than most people think. You only need a clean trowel or shovel, a clean plastic bucket, and a labeled bag.
Skip galvanized or brass tools and metal buckets if you can. They may add zinc or copper to the sample and throw off the numbers.
Take 8 to 12 small scoops from across one area, such as a single vegetable bed or lawn. For vegetables and flowers, dig about 6 inches deep. For lawns, around 3 to 4 inches is common. Scrape away mulch or leaves first.
Steer clear of odd spots. Compost piles, burn areas, and places you fertilized recently can give misleading readings.
Mix all those scoops together in the bucket. Pull out roots, rocks, and bugs, then spread about a cup or two on newspaper to air dry. Avoid using an oven or microwave, since heat can change results.
If your front yard and vegetable garden are treated differently, sample them separately. Each area gets its own bag and label. A little extra effort here makes your report far more useful.
Professional Soil Labs Beat Those Cheap Color Kits
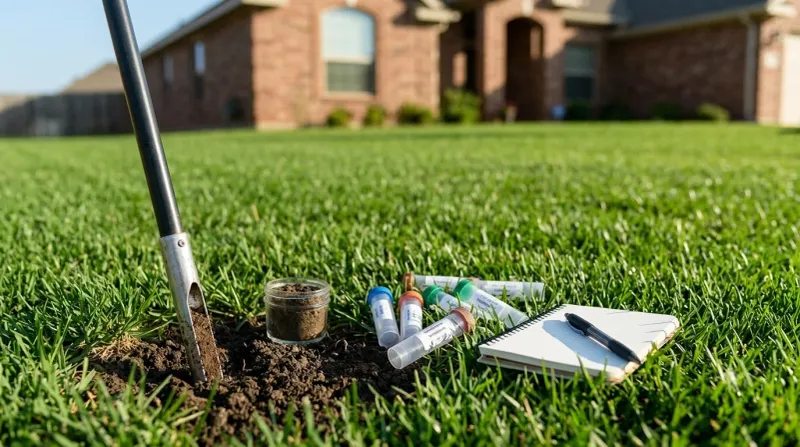
Those little color-change kits from the garden center are fun, kind of like a science fair project. Still, they usually give rough readings, especially for nitrogen, and they skip important details.
A professional lab gives you exact numbers and often recommendations too. Many California labs will test for pH, nitrogen, phosphorus, potassium, organic matter, and salinity. Some can also check boron or sodium, which matter in certain inland areas.
Your local UC Cooperative Extension office or UC Master Gardener program is a great place to start. The University of California does not run a home soil testing service for the public, but extension staff can point you toward commercial labs and help you read reports.
Prices change, so contact the lab first. Ask what each package includes, how to ship the sample, and whether they give home garden recommendations.
Fun fact: plenty of California labs mostly serve farms, vineyards, and orchards. That means they know local soil quirks well, from salty valley ground to acidic forest soils up north. Mention that your sample is from a home garden so the advice fits your scale. A basic test is often worth every penny.
Reading pH Numbers Unlocks Those Yellow Leaf Mysteries
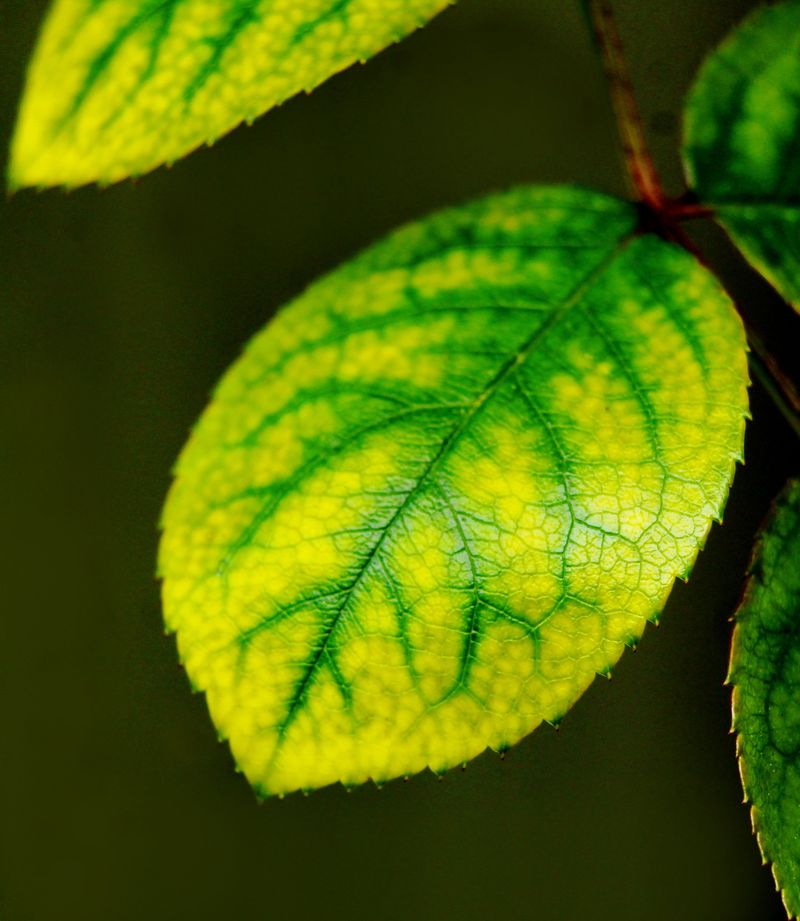
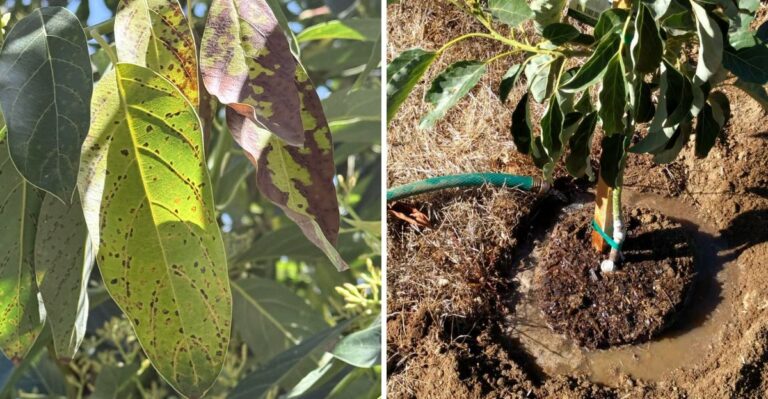
Yellow leaves with bright green veins are a classic clue. In alkaline California soils, that pattern often points to iron chlorosis, where plants struggle to absorb iron even though it exists in the ground.
Soil pH runs on a scale from 0 to 14. Seven is neutral, lower numbers are acidic, and higher numbers are alkaline. Most vegetables and flowers do best somewhere between about 6.0 and 7.5.
When pH drifts too high, nutrients like iron and manganese get locked up. When it drops too low, which happens in some rainy northern and mountain areas, plants may face other shortages.
Your report will also list nitrogen, phosphorus, and potassium. Nitrogen fuels leafy growth, phosphorus helps roots and flowers, and potassium supports overall toughness. Many California home gardens test high in phosphorus, so a balanced fertilizer may not be needed.
Look for an EC or salinity number too. Higher readings can mean salt buildup from irrigation water or certain manures. Salty soil can make plants look thirsty even when watered.
Don’t panic over unfamiliar terms. Most labs explain their ranges, and Master Gardeners love helping people decode these reports.
Sulfur, Compost, And Smarter Fertilizer Fix What The Report Finds
Here comes the satisfying part, when numbers turn into action. Your report becomes a shopping list that is usually shorter than you expected.
For alkaline soil, many labs suggest elemental sulfur to slowly lower pH. Follow the recommended rate closely, because too much can harm roots. Heavily calcareous soil with lots of natural lime resists change, so container beds or iron-tolerant plants may be smarter choices there.
Acidic soil, more common in parts of Northern California, may call for garden lime instead. Again, let the numbers guide you.
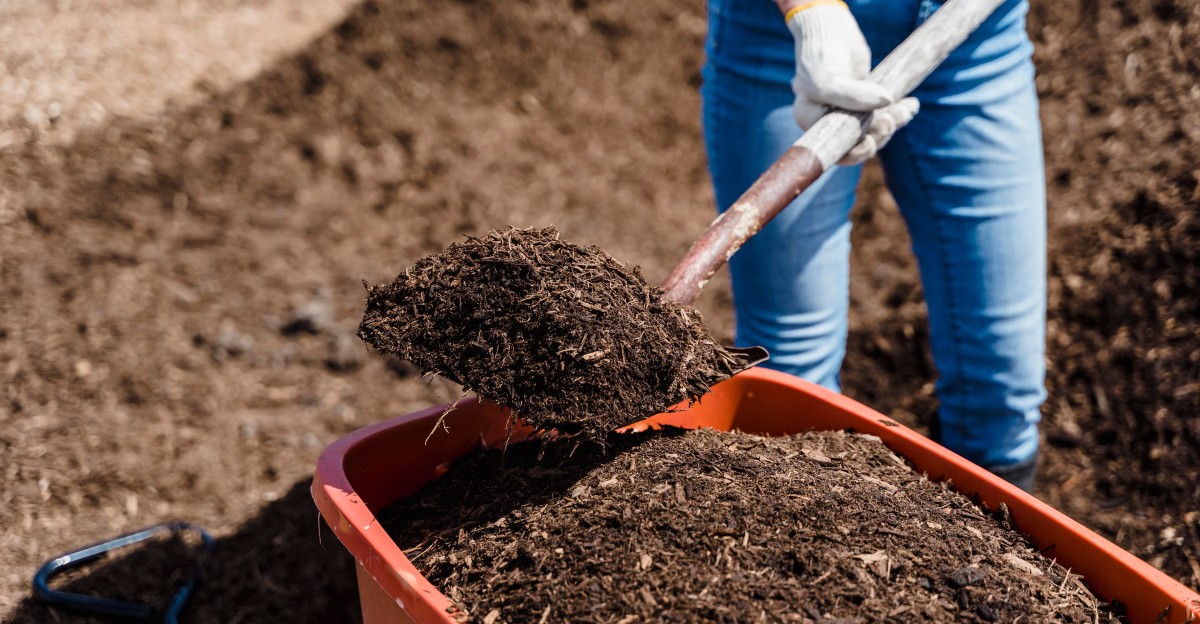
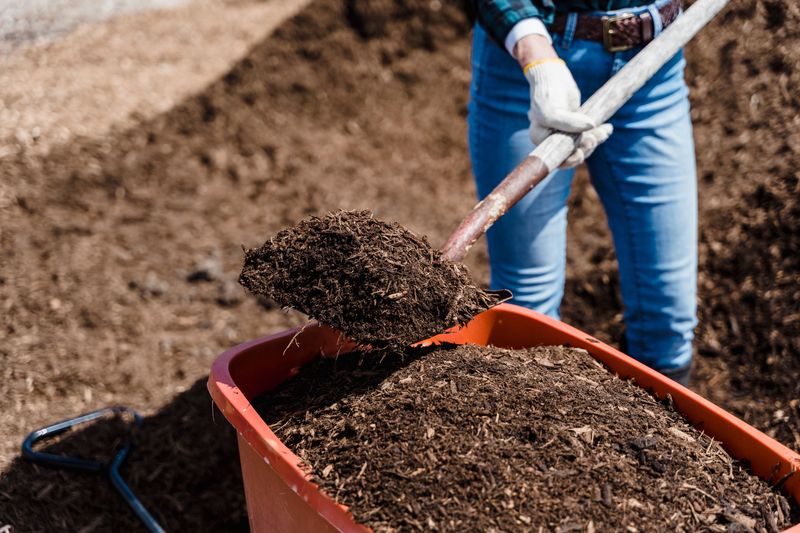
Compost helps nearly every soil type. It loosens heavy clay, helps sand hold water, and feeds helpful microbes. Spread 1 to 3 inches over beds and mix it into the top few inches.
If nitrogen runs low, a targeted nitrogen fertilizer makes more sense than an all-purpose blend. If phosphorus is already high, skip bone meal and similar products.
Salty soil can often improve with deep, occasional watering that flushes salts past the roots, as long as drainage is decent. Avoid adding more salty manure. I like making one change at a time so I can see what works.
Healthy Spring Seedlings Start With Testing Every Few Years
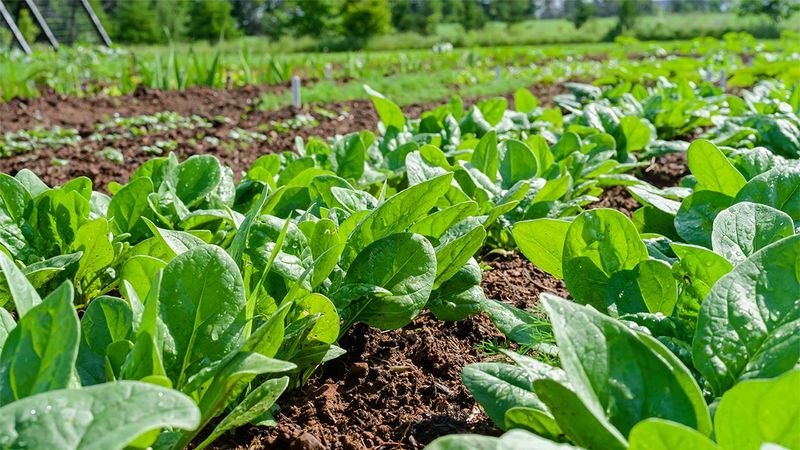
Picture-perfect spring seedlings are the payoff, but the work doesn’t stop after one report. Soil slowly shifts with every season of watering, mulching, and feeding.
Most experts suggest retesting every three to five years. Test sooner if you notice new problems, start a new garden bed, or make big pH changes. Retesting after a year of sulfur use shows whether your efforts are paying off.
Keep your old reports in a folder or snap photos of them. Comparing numbers over time is surprisingly fun and helps you spot trends, like rising salt or falling organic matter.
Sample at the same depth and same time of year each round. That consistency makes results easier to compare.
Meanwhile, simple habits keep soil happy. Add compost yearly, mulch bare ground to reduce water loss, and avoid walking on planting beds so roots have room to breathe. Cover crops in fall can add organic matter too.
My takeaway is simple. A soil test before planting saves money, water, and frustration. Mail that sample this winter, and your spring garden will thank you with stronger roots and greener leaves.